There is nothing like a blank canvas to tease the mind of an artist, and there is nothing like a neglected backyard of a newly acquired home to tease the mind of a master gardener. That is where the impetus for this blog started. My friend said that "all the trees in the backyard are diseased and need to come out" followed by the wish list of what to replace them with. When she got to a pomegranate tree, I said that we could make a tree from a cutting off Steve's parents tree that will not die despite many attempts by Steve's dad over the years to kill it. He thinks that it either came courtesy of a bird or maybe it was planted while his mother lived there as a child. Anyway, it is still alive and well and producing nice fruit every year.
So, step 1 in the process was to ask permission from Steve's dad to take a cutting from the tree. Permission was given, leading to step 2.....( I usually have an ulterior motive when asking him gardening questions.) I wanted to get him outside for an "expert consultation" but the weather has not co-operated much lately. He gets a kick out of requests for "expert consultation" as only an old farmer would. What I basically wanted was for him to show me how to pick a good branch to take the cutting from so that I could be successful in starting a little tree.
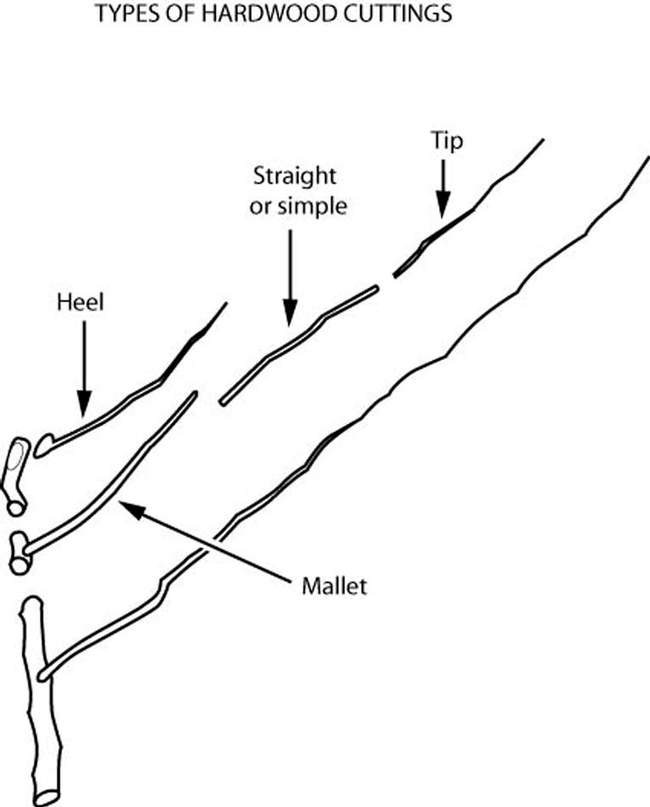
Well, so much for that. On to step 3--- DO YOUR RESEARCH. I went to the CA Master Gardener Handbook, chapter 5, Propagation, GardeningKnowHow.com, NC State Extension, and Missouri Botanical Garden, and of course, our ANR site for said research. Here's what I found: Cutting propagation is the preferred method for pomegranate trees as if grown from seeds, the resulting tree may not resemble the tree from which the fruit originated. Growing from a cutting guarantees that the resulting tree will be the same species and cultivar as the parent tree. The hardwood cutting should be done in the late winter ( the timing is right ), the cutting should be made from year old wood that is 1/4 to 1/2 inch in diameter and cut to a length of about 10 inches. THEN dip the cut end in rooting hormone. One can either use the greenhouse method to wait for the roots to develop in rooting medium or plant it directly into the desired permanent location -- full sun, well-draining loamy soil, with the node above the soil level. I also found that one should take the cutting in the early morning with clean, sharp pruning shears. Also, use a pencil, or a chopstick, to make a hole for the cutting so that the rooting hormone is not knocked off the cutting. If rooting the cutting in a pot or in the greenhouse, make sure to maintain high humidity to keep the rooting medium moist.
Now for step 4 -- "JUST DO IT"!
Attached Images:
