Sep 22, 2009
Sadly, Californians dispose of 5.6 million tons of food each year, using 16% of our landfill space! In our county, the local schools started composting their cafeteria waste a few years ago, with the help of the San Luis Obispo County Integrated Waste Management Authority. They have a school based education program that encompasses all types of composting, including vermiculture. UC Davis and UC Berkeley also are participating in vermiculture to reduce campus cafeteria waste. If you are interested in finding more ways to reduce the amount of food that goes to the landfills, check out this link:http://www.ciwmb.ca.gov/foodwaste/
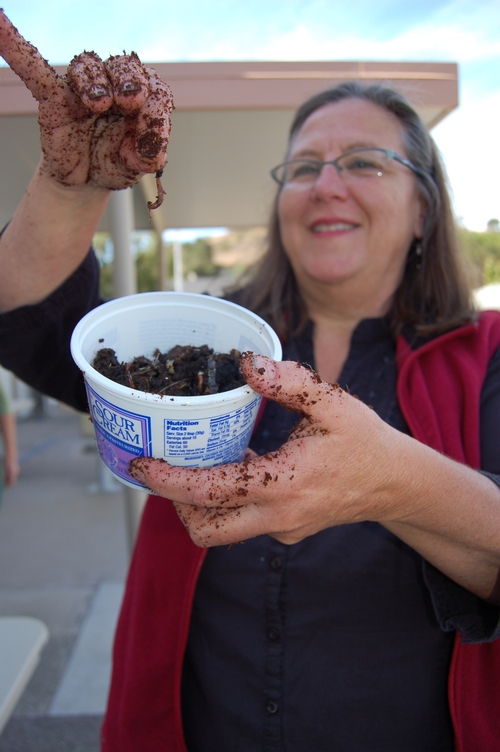
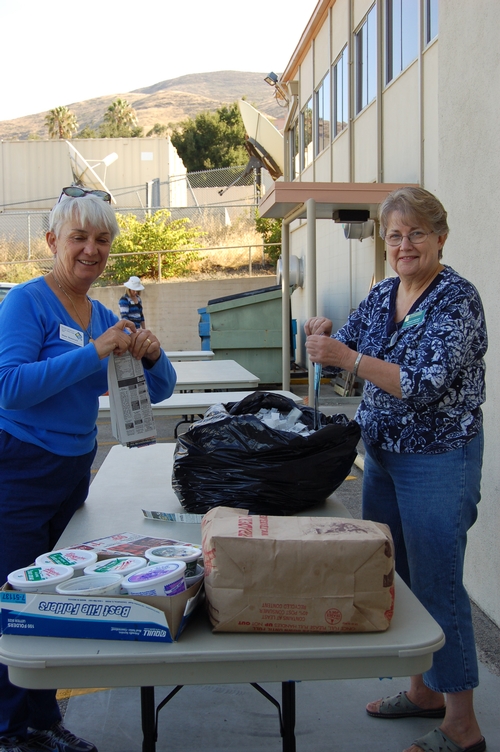
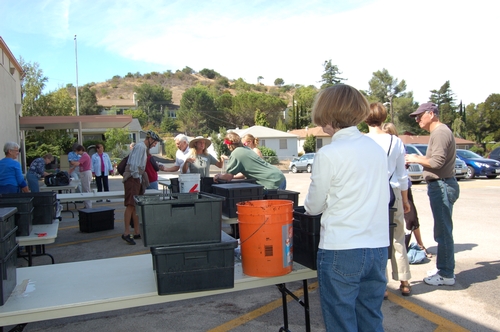
Our worm composting class is 2 hours and includes setting up your own "Wriggly Wranch" worm bin, (which is made of sturdy black recycled plastic), a nice little book (printed on recycled paper), recycled coconut fiber for bedding, a cup of worms and several years of advice. Our instructor Alice has been "vermiculturist" for years and always has a few more funny stories to share!
Photos by Lee Olson
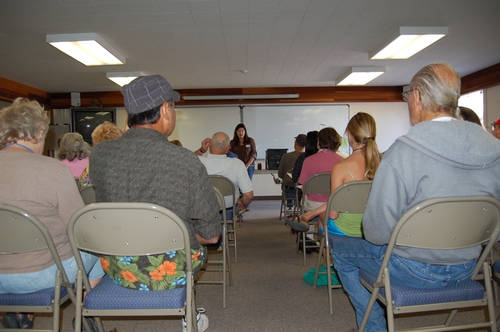
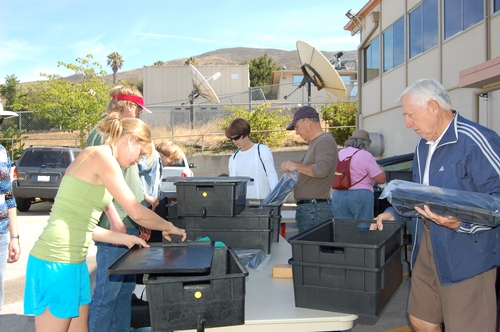
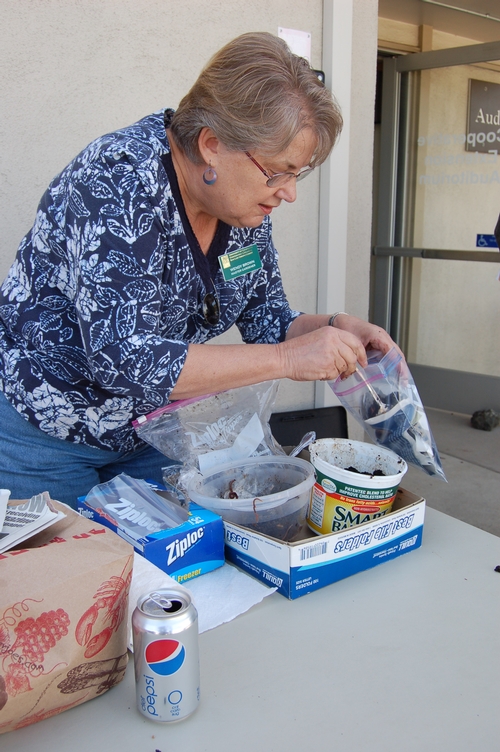
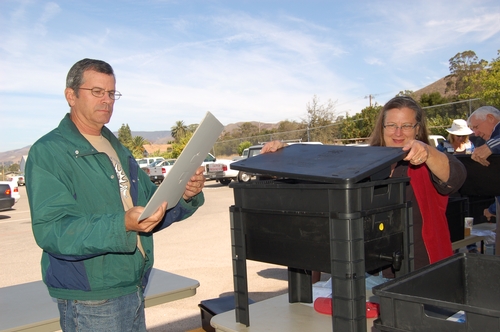
Some funny and important rules to worm composting , based on Alice's class and testimonials that I've heard! (and it's a treat to find someone else who has worms and you can share your experience, because your friends and family just won't get it!)
Here's just a few tips:
- Don't open your mouth when opening your worm bin! (Remember fungus gnats love decomposing, moist organic matter!) Thank you Alice! That's the most important rule!
- Don't over fuss with them- just let them be! (someone told me that they counted them often to see if they were reproducing..)
- Don't put a ton of potatoes in it. Rotting potatoes are horrid and Alice's worms weren't putting up with it.
- Don't put in big pieces of broccoli (it stinks beyond words!)
- Don't scream if you get something really gross (because your neighbors will think you are weird enough to have a box of worms out there to begin with).
- Don't add bread or yeast products or dairy or meat.
- Don't add lemons and oranges (too acidic).
- If your worm bin is soggy wet- add newspaper or shredded to give your worm some bedding.
- If you have ants, place each leg of the bin in a cup of water. Ants will not cross water.
- Slug Problems inside your bin: Place copper tape around the legs of the bin. Slugs and snails will not cross over.
- Too many fruit flies, try little bottles with a bit of apple cider vinegar in the bottom. Cover the opening with Saran Wrap and punch holes in it. They will be attracted to the strong fermenting odor and not be able to escape the bottle.
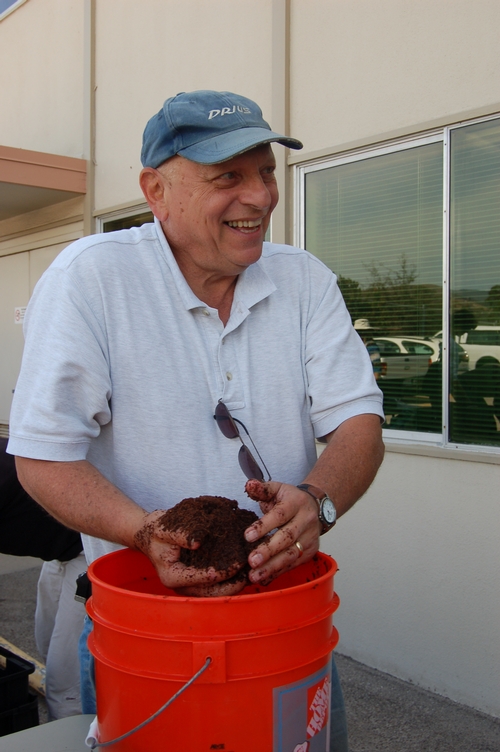
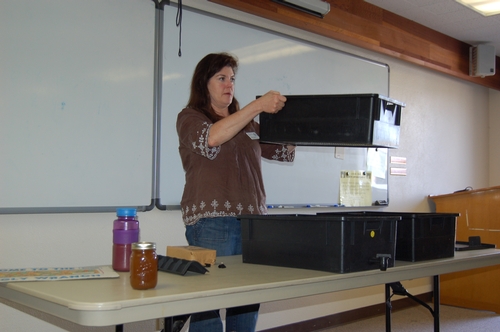
Here's how the worm composting boxes work:
- The bottom box is for catching "tea" (the moisture falling from the castings and decomposing organic matter) It has a spigot for easy access.
- The second box up has holes in the bottom, which the tea can exit. This box is where you start with your coconut fiber bedding, worms and fresh food.
- Add food, coffee grinds, crushed egg shells, etc.. Most people group the same foods together, so the worms can move into the areas that are ready to be eaten and then, if they for some reason do not like it, you can easily remove it later. Keep your lid on this box until it is full.
- As this box becomes full to the top, you may sit the next box right on top and start adding food. This is also a time you can incorporate some shredded or torn up paper (soy based newspaper inks). The worms will eventually all leave the second box and go into the top box. This takes a while! You will eventually find that the bottom box is all castings and very few worms.
- Removing your compost from the box: if you gently tilt your box of worm castings and brush them off, any remaining worms in the box will burrow deeper (they burrow away from light). When you have a few inches left at the bottom, you will notice that any worms that were there had all gone to the bottom of the bin. You can incorporate this small amount back into your other working bin.