The Coastal Gardener
The Coastal Gardener, a quarterly Newsletter from the UC Master Gardeners of Humboldt & Del Norte Counties.
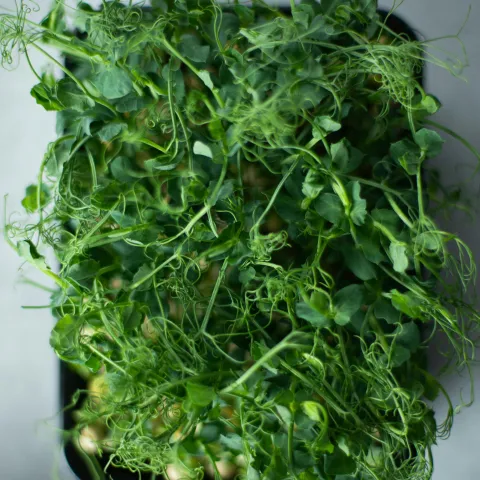
Your Indoor Winter Garden: Fresh Microgreens for Gloomy Days
December 17, 2025
By Lisa Nedlan
The Coastal Gardener, a quarterly Newsletter from the UC Master Gardeners of Humboldt & Del Norte Counties.