- Author: Janet Swanson, Master Gardener

Supplies for Pressing:
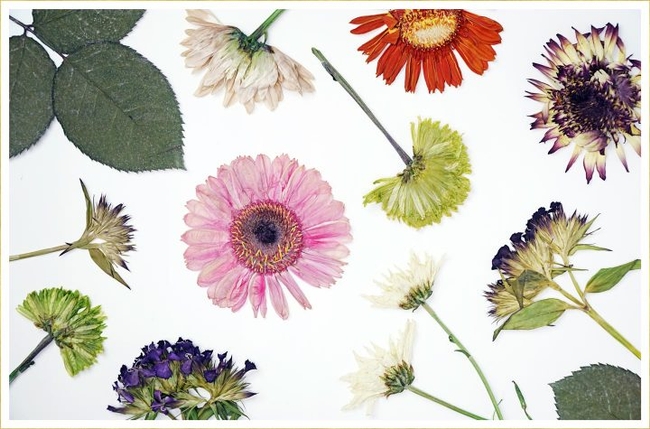
1. A variety of fresh and colorful flowers and leaves. Try to choose ones with no imperfections. Preferably ones with flat centers, as thick flowers tend to rot and mold before they completely dry. You can leave the stems or cut them off completely, it is up to you. Try it both ways to determine which way works for the specific flower.
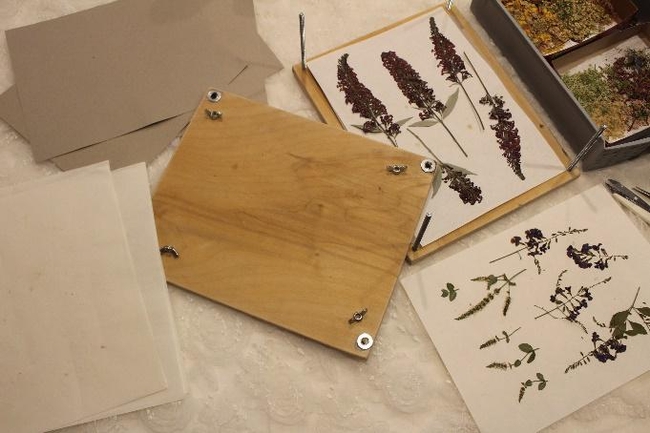
2. Flower press. You can purchase one or make your own. When making your own flower press, you will need two pieces of strong, flat wood with a ¼” hole drilled in each corner, four ¼” bolts (about 3” to 4” long) with washers and wingnuts to fit. Wood pieces approximately 10” x 12” (good for 8 ½” x 11” paper) are best, but you can make them whatever size works best for you.
3. Paper such as blotting paper, watercolor paper, or quality construction paper. (Smooth paper towels may work, but do not use them if there is a pattern as the pattern will transfer to the flower.) Also, smooth cardboard.
4. Or you can use thick books with the above-mentioned paper. Be careful as the flowers can stain and warp the pages of your book. Choose old, thrifted books (one you probably will never read again).
Time to pick your flowers:
Late morning is the best time to pick your flowers. Make sure it is after the morning dew has dried. If there is any water on the flowers, they will potentially rot or mold. Alternatively, pick flowers in the evening before the dew has set. Press them immediately before they begin to wilt.
Pressing the flowers and leaves:
To press your flowers, lay down the bottom board, then 1 piece of cardboard, and two pieces of paper. Place the flowers face down about an inch apart on the paper, top with 2 more sheets of paper, then another 1 or 2 pieces of cardboard (1 or 2, depending on thickness of the flowers). Repeat this process until all the flowers are in the flower press. Place the last cardboard on top, then the top board. Now add the washers and wingnuts onto the bolts. Tighten well. You can check after a week depending on the size of flowers. They may be dry. I usually wait about 2 weeks for them to completely dry.
Tips:
Make sure the flowers are not touching.
Place flowers of like size and thickness on each paper. Do not mix tiny flowers on the same paper with large flowers. Large thick flowers will prevent the paper from pressing down onto the small flowers.
Do not use corrugated cardboard because it will leave a lined pattern on the flowers. Same for paper towels.
As the flowers dry, the wingnuts may need to be tightened more. Check at least every couple of days.
Here are samples of things you can adhere your pressed flowers to:
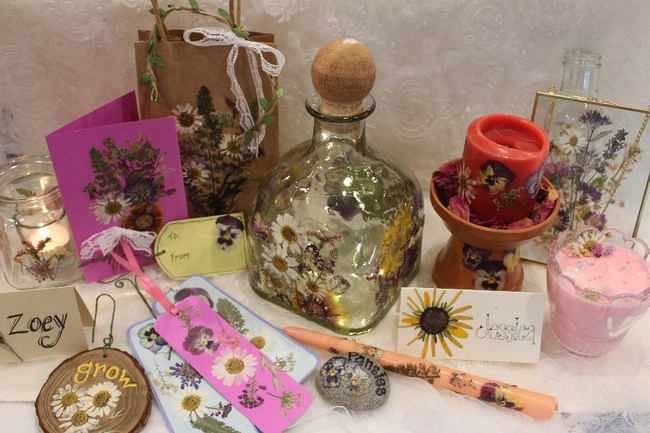
Glass items such as pretty shaped bottles or jars, candle holders, floating frames, glass bulb ornaments, vases and picture frame glass.
Paper items such as bookmarks, greeting cards, small gift bags and place cards. Also, candles, rocks, gift tags, and flowerpots.
Supplies needed:
Flowers, Decoupage, Tweezers, Scissors, Paint brushes (2 or 3 sizes). Optional items - glitter and ribbon.
Appling your flowers and leaves:
First practice by laying out your design in different patterns until you find the most eye-appealing look. Use leaves as the background. You can either apply the decoupage directly to the glass or to the back of the flower, making sure to get the whole flower and every edge coated with decoupage. Try both methods to see which you prefer. Applying it to the glass first is much easier because the flowers are very fragile and tend to tear applying the decoupage to the petals. Once you have decoupaged the flowers to your item, it is best to let them dry. Give them a coat of decoupage after they are completely dry (takes about an hour+/-). Be gentle! Dried flowers can be very fragile. When you do add the final coat of decoupage, that is the time to add a little glitter (if you want it to sparkle).
Finishing your creations:
Now it is time to display your items. Adding fairy lights into the bottles makes a pretty floral glow. Place a candle in a votive cup before placing it into your candle holder; this gives an extra layer in between the heat and flowers.
For the paper bookmarks, it is best to give them an extra layer of protection since they will be handled. I like to add laminate. You can purchase self-seal; no heat laminating pouches from a stationery store.
You can also purchase a microwave press. It gives you quicker results.
Have fun collecting, pressing, and making fun creations for yourself or gifts.


