- Author: Erich Warkentine
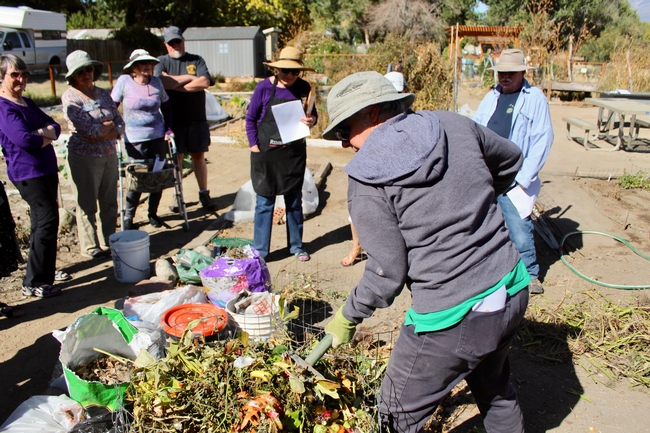
On October 6, Inyo-Mono Master Gardener volunteer Laura Mogg presented the latest Sunday Seminar on composting. She explained the benefits and practical details of composting, and provided a handout from UC Cooperative Extension providing further details.
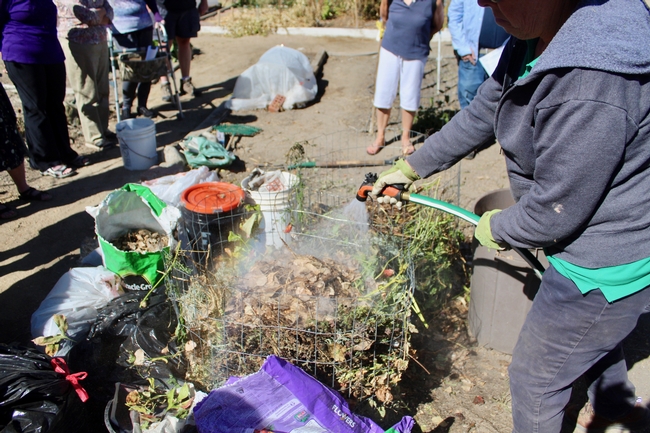
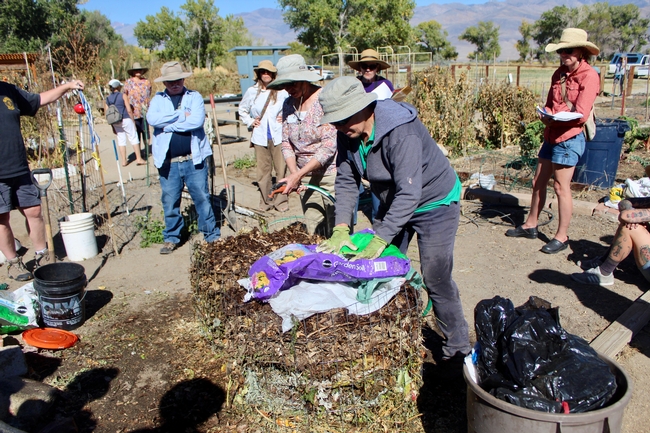
Laura provided a demonstration of a simple and easy way everyone can compost garden and kitchen waste. Materials are simple: a bit of fence material that is shaped into a cylinder 3 ft wide and 3 ft tall into which layers of leaves, kitchen scraps, coffee grounds, and animal waste from herbivores are added. An even mix of fresh green waste and brown waste is ideal, and any large or woody plants should be cut into small pieces for best results. The pile within the cylinder is thoroughly watered down and topped with a plastic cover to keep it from drying out in our arid climate.
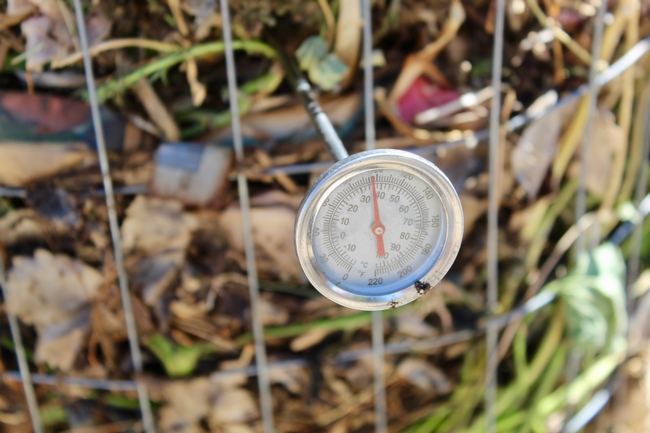
A compost thermometer is required to monitor the temperature of the pile to see when it is ready to turn (between 140°F and 150°F) and to monitor watering and turning until its ready. The finished compost will be about 1/3 the volume of the original contents of the pile.
Bottom line: it didn't look all that hard, and the benefits to our gardens and landfills are too big to ignore.
- Author: Alison Collin
Two years ago, overwhelmed by carpets of wormy, windfall apples I resorted to tossing them into a large plastic stock tank that had numerous holes in its sides, remnants of its original purpose - a crawdad washing device.
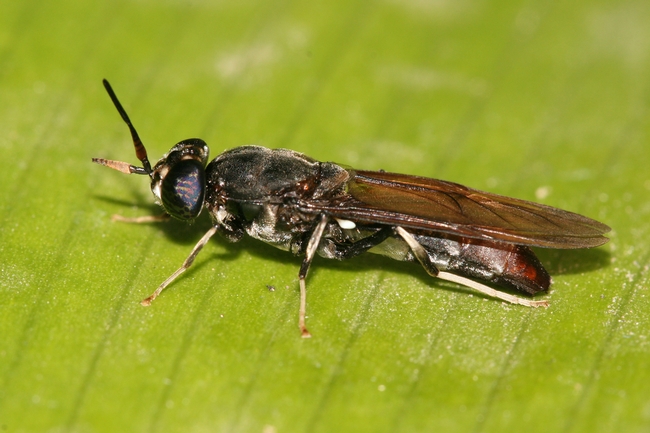
However, after a couple of weeks I needed the container and on tipping it over was astounded (and a bit revolted) to find that the bottom contained layers of hundreds of larvae. They were dark, grayish brown. I had not been aware of pest flies in the area, and there was no odor, but the huge numbers of larvae present gave me cause for concern. Research showed that I had just made my acquaintance with Black Soldier Fly larvae, Hermetia illucens, a species that efficiently breaks down organic material, especially the green (high nitrogen) matter in decomposing plant materials, and are considered to beneficial.
The adult flies are about 3/4” long, and are shiny black, looking more like a wasp than a house fly. However, these are not a pest or nuisance fly since they have no functioning mouth parts and therefore cannot bite, nor do they have a stinging mechanism. They flit about the garden, intent on their sole purpose; finding suitable sites for laying eggs which are deposited in batches of 600-800 at a time. There are far fewer nuisance flies around when Black Soldier Flies are present since the soldier flies devour the larvae of other species, and it has also been noted that significant reductions in levels of E. coli and salmonella are present in chicken manure when it has been processed by Black Soldier Fly larvae.
They like warm, moist conditions (e.g. rotting apples), and when the larvae hatch they feed voraciously on pretty much anything so long as those conditions are met; kitchen waste (they love coffee grounds), animal manure and carcasses, deserted bees' nests, and even dead fish as seen in this video: https://www.youtube.com/watch?v=DhR2jDS2IJI . The larvae are a pale beige with darker rings around the body segments, but as they mature they become a dark grayish brown. They can eat twice their body weight daily and soon convert kitchen vegetable waste into little fat bodies containing up to 43% protein and 35% fat. This makes them ideal food for chickens, and many chicken keepers farm them for this purpose. The larvae are also dried and used as food for exotic pets and fish. As they prepare to pupate, they tend to move upwards in order to leave their wet environment, searching for drier debris or soil until they mature as flies. This trait is put to good use since the mature larvae can easily be collected as they migrate out of their initial food source.
They do have a downside in some situations. Unfortunately, although Black Soldier Fly larvae and red worms both like the same food, the fly larvae are extremely active, like warm, moist conditions, and tend to make the soil acidic which is not good for worms, so if you have worm bins it is prudent to check them from time to time and remove any Black Soldier Fly larvae that may be present.
The frass that black soldier flies produce makes a clean, odor-free compost, but in my experience the food conversion into the body of the insect is so efficient, there is not a great volume of compost remaining! Dried larvae may also be pulverized and used as fertilizer.
For further reading on this subject:
https://en.wikipedia.org/wiki/Hermetia_illucens
- Author: Jan Rhoades
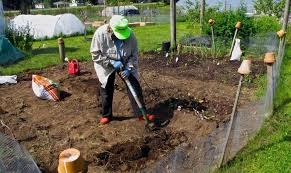
To provide a good home for our plants we need to incorporate some organic matter, usually compost – but not an overload – just the right amounts over time contribute to long term soil fertility, good soil structure and increase the soil's capacity to hold water and air.
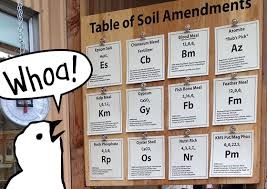
All those amendments have their place and their purpose. What are you looking for? How much do you need? How is this product applied? What's in it? Keep in mind that this is an annual event, or even a seasonal event if your gardening season is long and you plant crops successively. Someone once said, “Begin with the end in mind.”
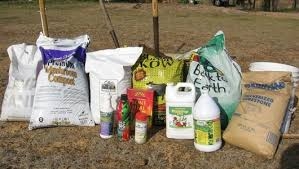
There are organic fertilizers such as compost, aged manure, rock phosphate, soybean meal, and fish meal, and there are inorganic fertilizers that are available either as a single nutrient or multi-nutrient product. These fertilizers can be slow release providing nutrition over time or soluble like an athlete's energy drink, providing quick nutritional value.
Most soil has some residual nutrients, however, only a soil test can assess what is there. Fertilizing without the results of a soil test is like eating everything in the pantry hoping to get the nutrition you need. Additionally, this practice can exacerbate an existing problem or imbalance. A soil test will also tell you the pH which, if too high or too low, can affect the uptake of nutrients present in the soil.
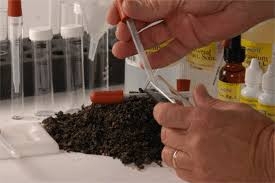
A soil test is a good place to begin to understand what kind of amendments might be needed to build your soil. Generally, DIY kits are not as reliable as sending a soil sample to be analyzed by professionals.
We all want to be thrifty, however, there are a few things you should never add to your garden soil:
- Un-decomposed wood chips or sawdust – these materials are high in carbon but lack enough nitrogen to decompose quickly – so they use up nitrogen that plants want and need.
- Fresh manure can harm plants due to elevated ammonia levels. – Use only aged, composted manure that has reached at least two heating cycles (130-140 degrees F) Also, know that nitrogen levels in composted manure are low and phosphorus and potassium levels are higher – so adjustments will have to be made. Also, salt levels will be higher.
A good way to remember all this is that fertilizers feed plants and compost feeds the soil. Nutrients alone cannot keep plants healthy if they are living in poor soil. Compost improves the mobility of air, water in the soil, and makes nutrients more available to plants.
Finally, there is such a thing as too much compost and too much fertilizer. Armed with the results of your soil test, you will be able to make wise choices about what to buy, how much to use, and when to apply it. When in doubt, a good quality all purpose composted soil amendment and an all purpose fertilizer are probably a reasonable way to get started. Of course, be sure to use them as directed on the bag.
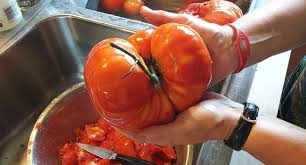
For more in depth information on soil and composting be sure to use the links on the website. This year, biggest tomatoes ever – right??
My yard is covered in snow, but I am still composting here in Mammoth Lakes. I am composting my kitchen scraps indoors - with the help of compost worms. Coffee grounds, tea leaves, veggie scraps all go in the compost bins. Vermicompost is the official term for composting with worms. Vermicomposting is sometimes confused with vermiculture which is the process of raising worms.
The most commonly used worms for composting are Eisenia fetida, known as "Red Wigglers" or "Red Worms" that you can find in sporting goods stores to be used as fishing bait. You can buy worms at sporting goods stores, online, or get some from a friend who has a vermicompost setup already.
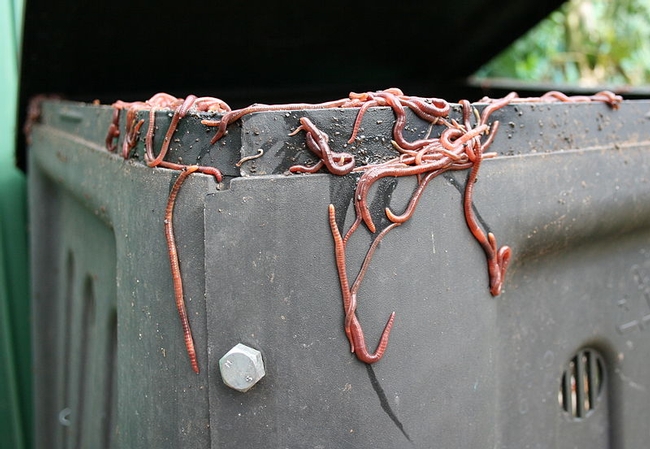
It's not the most lovely of names for such a helpful creature, but do not fear, these are very skinny little worms! I once saw an adult relative run away from an earthworm on the pavement; that really made me laugh but it also pointed out to me that some people think worms are yucky, or even scary. Compost worms, however, are really useful. Communities have reduced waste going to their landfills through composting efforts incorporating vermicomposting. In addition to reducing waste, the product of worm composting, called castings, is a nutrient rich fertilizer and a great soil conditioner. You can add it to your outdoor plantings and to houseplants. It is also easy to create “worm tea” as a liquid fertilizer. Even if you use an outdoor compost pile, vermicomposting is a great option for processing kitchen scraps.
Housing for worms is surprisingly easy to make and also to maintain. My smallest worm bin was a gift over 25 years ago; it takes up about a square foot of space. I have two other bins, the Taj Mahal of worm bins with multiple trays that I won as a door prize (thank you Master Gardeners), and another I put together as a demonstration project. The demonstration bins I made and still use are from plans for a “Cheap and Easy Worm Bin” available on the Whatcom County Washington State University Extension website http://whatcom.wsu.edu/ag/compost/Easywormbin.htm. This is a very simple homemade worm bin using plastic totes. Be sure to get opaque totes as compost worms are sensitive to light. The Whatcom County Extension website also has simple instructions on starting your worm bin and harvesting castings.
Any search on the internet will bring up many enthusiastic articles related to vermicompost, but please don't get the idea it is complicated or difficult. You can even leave the bin and go off on a three week trip without your worms missing you. They just continue to work over what material is in the bin.
The whole process is surprisingly easy and free. Should I have mentioned free earlier? It's really hard to beat free! Once you have purchased your bin and starter worms, the rest is free and the resulting product is a high quality soil amendment that also reduces waste to our local landfill, your plants will love you for it.
In my next articles on vermicompost, I will cover the particulars of maintaining a compost worm bin, using castings and creating worm tea.
Further information including a list of suppliers can be found at www.calrecycle.ca.gov/Organics/worms/WormFact.htm
Another good resource is: http://www.bae.ncsu.edu/topic/vermicomposting/
For information on our local soils go to the section entitled “Eastern Sierra Gardening Info” in the UCCE Master Gardeners of Inyo and Mono counties' homepage at http://ucanr.edu/sites/mginyomono.
By Paula Sayer, Master Gardener Volunteer
Do you keep losing your pets in your leaf piles, but feel tired at the thought of all the work involved in chopping and turning a decent compost pile? Compost doesn't have to be a lot of work.
I'm briefly going to cover 3 types of composting. We'll call them rapid composting, general composting and building leaf mold. Composting can be done any time of the year but is somewhat dependent on the outside temperature with lower temperatures slowing the process. You don't need to add any worms or microorganisms- they are naturally present on plant materials.
Rapid Composting
Rapid composting takes planning in gathering the correct ratios, and work setting it up and maintaining it, however you can be rewarded with results in 2-3 weeks. Materials will need to be chopped into ½” to 1 1/2” - it's easiest to mow leaves. Soft tissues don't need to be so small, but woody tissues should be shredded or omitted. Combine equal parts of dry materials (leaves, straw, etc) and green plant material (grass clippings, prunings, fruit and vegetable waste) and mix thoroughly so there is no matting. Water the pile until it is moist not soggy. The pile should be at least 3 foot square to ensure adequate heat retention, and in most of our area, bins with covers may be needed to retain enough moisture.
Now the hard work. Every day for at least 2 weeks you need to turn the pile, moving the outer edges into the middle, where the temperature should me around 160°F. Hotter will kill the microorganisms making the compost, but cooler will slow the whole process down considerably. Don't add any more material to the pile unless the temperature doesn't rise within 48 hours, in which case check the moisture level, or add more nitrogen (green) material – grass clippings or ammonium sulfate. The pile should have a “pleasant” odor. A stink usually indicates too much water. Soon the volume and the heat of the pile will reduce and it will turn dark brown, then it's ready to use.
The advantage of rapid composting when done right, is it will kill many weed and seeds, insects and eggs plus many organisms that can cause disease in plants. And it is fast!
General Composting
General composting is basically the same. One difference would be if you don't chop materials into small pieces they will take longer to decompose. The carbon/nitrogen ratio and the water requirements are the same, but another difference is the less frequently you turn the pile the longer it will take to compost. The temperature will not be so high so it will not kill many seeds or diseases (in fact, my pile has been known to grow some awesome potatoes).
But what if, like me, you have a lawn of Bermudagrass, you don't trust your composting abilities to kill those seeds, but you have heaps and heaps of leaves? No matter how you pile them and water them, at the end of the winter they're still going to be just a pile of leaves. If you're lazy you can use nature's process and let the leaves decay naturally into a leaf mold.
Leaf Mold Composting
You can successfully compost leaves without green material, by making leaf mold. This is a cold process – decomposition is done by fungi whereas compost relies on bacteria. Although the end result is not as high in nutrients as compost, it is an excellent soil conditioner. It can take a long time to complete.
Leaves lower in lignin decompose faster, so ash, cherry, maple, poplar and willow break down in about a year, while beech, birch, hornbeam, oak, sweet chestnut magnolia and holly will take 2 or more years. They all tend to mat together and form an impenetrable barrier to air and water, so shredding or mowing them can help speed up the process.
There are several options, depending on space. You can start with a really large wire-mesh bin (the leaves will shrink tremendously) Shredding will help reduce the initial volume. Water them well and cover them, increasing the amount of coverage if they dry out. Water them occasionally to keep them moist, fluff them up every year and after 2-3 years you'll have sweet smelling goodness. Personally I've had more success with stuffing leaves into old soil/compost/fertilizer bags. Pack them in, soak them, stab the bag with a fork a few times and stack them out of the way for a year or two, keeping them out of the sun or the bags may disintegrate before the leaves break down.
For more information about composting, visit this page on the web: http://anrcatalog.ucdavis.edu/Items.aspx?search=compost


