It's springtime, and many of us are adding new plants to our gardens. That means it is also a good time to review the principles of creating defensible space around our homes.
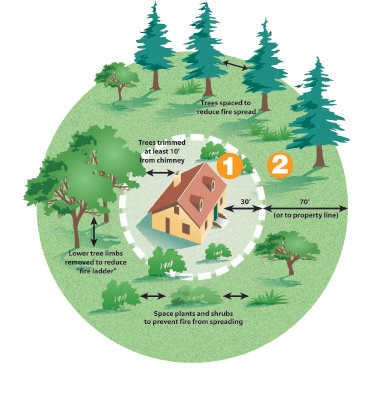
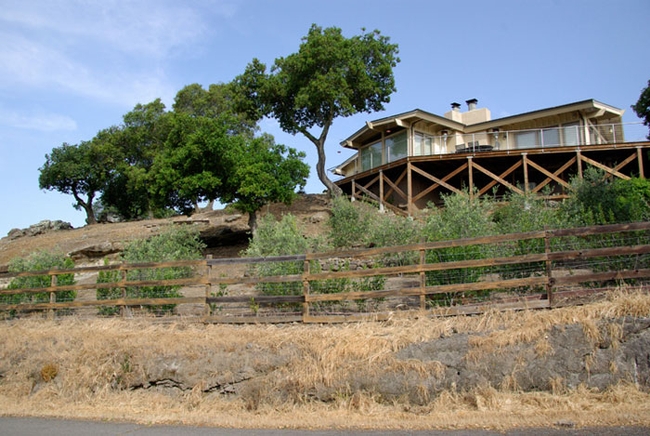
The key to establishing defensible space is to utilize plants that are fire resistant and judiciously space them both horizontally and vertically. Increasing the space between plants limits the ability of fire to spread. As a rule of thumb, Cal Fire recommends that on flat ground the space from the edge of one shrub to the edge of the next be twice the height of the shrub. For example, if shrubs are two feet tall, they should be spaced four feet apart. If the shrubs are growing on a moderate slope the space between them should be four times the height of the shrub. The space between trees should be 10 feet from canopy to canopy and increase to 20 feet on a moderate slope.
If a fire reaches the crown of a tree, its heat intensity increases and this can increase the combustibility of surrounding vegetation. Low tree branches create fuel ladders that allow fires to climb into a tree. To prevent fires from ‘crowning,' these ladder fuels must be eliminated. Cal Fire recommends that the lower branches of a mature tree should be pruned to create a clearance of three times the height of the shrubs beneath it. For example if a shrub is four feet tall, the tree should be pruned so that there is 12 feet of clearance between the top of the shrub and the lowest branches of the tree. For younger trees, the lower one-third of branches should be removed.
Applying mulch is a good strategy for conserving soil water, reducing weeds and preventing erosion. Normally, materials such as wood chips, shredded bark, leaves or straw are used as mulches because these organic materials have the added benefit of enriching the soil and improving its water-holding capacity. However, organic materials burn, so within the five feet closest to a home, it is recommended that non-combustible mulches of rock, gravel, pavers or broken concrete be used instead of traditional organic materials.
When planning a firewise landscape, the contribution of hardscape features should not be overlooked. Decomposed granite, cement, asphalt or gravel pathways and driveways make effective firebreaks. Structures such as patios and masonry walls and water features like pools, ponds, and streams will also impede the advance of a fire.
Before moving beyond the 30-foot home defense zone, mention should be made of items that do not belong too close to a home. Most propane tanks should be located a minimum of 10 feet from any structure, and woodpiles should be at least 30 feet away. A cord of seasoned firewood contains the energy equivalent of approximately 174 gallons of gasoline! Would you store that much gasoline on your porch? Also, flammable liquids such as gasoline, paint thinner, and turpentine should be properly stored away from ignition sources and combustibles.
If organic mulches are used in the reduced-fuel zone, a 2008 study showed that a mulch of composted wood chips spread two to three inches deep showed the slowest fire-spread rate of the eight mulches tested. A potential disadvantage of wood chip mulches is that they tend to smolder and can be difficult to extinguish. In general, fine, stringy mulches such as shredded bark burn more rapidly than larger chunks.
Establishing defensible space can be summarized by the following three R's: 1) Remove dead and dying plant material; 2) Reduce the density of vegetation and ladder fuels; 3) Replace hazardous vegetation with less flammable, well-irrigated fire resistant plants.
Further information on fire safety for homeowners can be found on the Cal Fire website at Home - Ready for Wildfire. And for property owners who are considering landscaping from scratch, the Sonoma-Marin Saving Water Partnership has developed eight fire-rebuild landscape design plans that are well worth considering (Water Smart Landscape Design Templates - Sonoma- Marin Saving Water Partnership).
For more information on creating fire resistant landscapes, attend our Firewise Gardening workshop on May 2, part of the Master Gardeners' 2024 Spring Workshop Series. For information about all the workshops, and to register, visit our website. All workshops are free, but registration is required.
Why not buy some plants for your fire-resistant landscape at the Master Gardeners' Plant Sale on Saturday, May 18, 2024? The sale will be held at our Demonstration Garden at Patrick Ranch, 10381 Midway, between Chico and Durham, from 9 am till noon. For more information, and a partial list of plants, see our Plant Sale webpage.
UC Master Gardeners of Butte County are part of the University of California Cooperative Extension (UCCE) system. To learn more about us and our upcoming events, and for help with gardening in our area visit our website. If you have a gardening question or problem, email the Hotline at mgbutte@ucanr.edu or leave a phone message on our Hotline at 530-552-5812. To speak to a Master Gardener about a gardening issue, or to drop by the MG office during Hotline hours, see the most current information on our Ask Us section of our website.
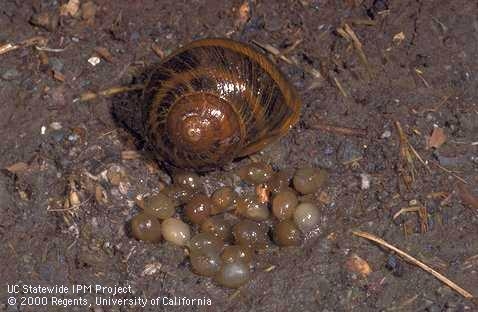
Our rainy spring weather has been great for our gardens – but may also have encouraged some unwelcome garden visitors, including snails and slugs.
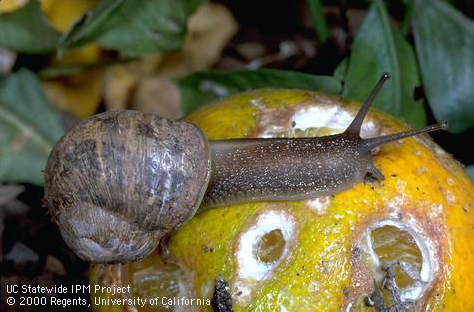
To control snails, slugs and other pests, the University of California recommends that homeowners follow the Integrated Pest Management (IPM) process. IPM is a strategy that focuses on long-term prevention of pests by utilizing cultural, biological, mechanical and physical controls. With IPM, pesticides (chemical control) are used only as a last resort, and when pesticides are used, they are applied in ways that minimize harm to nontarget organisms, humans, pets, and the environment.
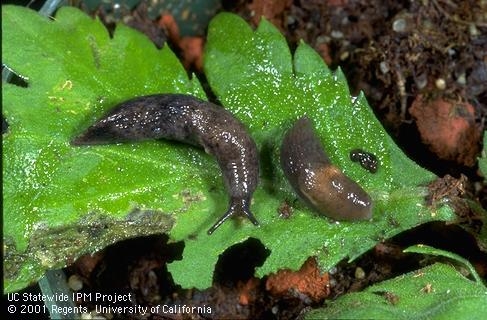
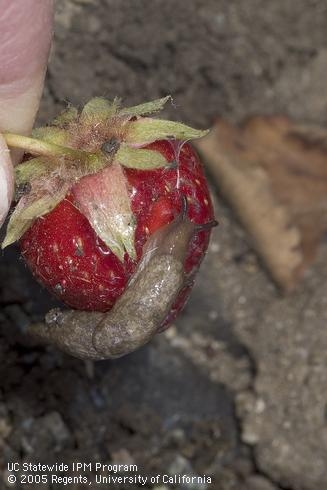
Mechanical or physical controls kill a pest directly or block a pest from an area experiencing damage. In the case of snails and slugs, handpicking is an effective mechanical control if it is done on a regular basis. They can be searched out after dark with a flashlight and then either crushed in place or picked up with rubber gloves. Once they have been picked up, they can be placed in a bag and thrown away in the trash, or placed in a bucket of soapy water and disposed of in a compost pile after they are dead. Alternatively, if you are lucky enough to know someone with pet turtles, you can give your snails and slugs to them (as long as they are healthy) -- most turtle owners are happy to receive these pests, which add protein to the turtle diet. Those with backyard chickens may be similarly appreciative, as chickens, too, eat snails.
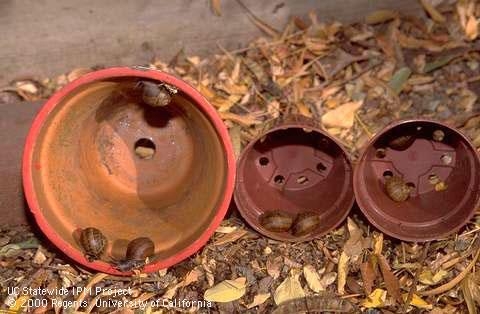
Copper flashing or copper foil can be used as a physical barrier for slugs and snails. It is believed that copper is an effective barrier because it reacts with the slime of these pests, causing a disruption in their nervous system that is similar to an electric shock. These barriers should be at least four inches wide with the bottom buried in the soil to prevent slugs from crawling under them. Dry ashes or other abrasives such as diatomaceous earth can also be used as barriers for slugs and snails. Such abrasives should be piled about one inch high and 3 inches wide to be effective. However, these materials lose their deterrent value if they become damp, making them not very useful in most garden situations. Another drawback of wood ashes is that they are quite alkaline and can have a detrimental effect on soil pH.
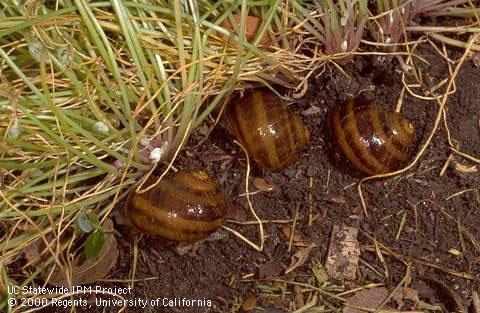
Slug and snail baits can be applied as a last resort, but are most effective if used in conjunction with the IPM methods described above. There are other effective baits, but baits containing iron phosphate are the only ones that are safe for children, domestic animals, birds, fish and other wildlife. Iron phosphate baits are sold under many trade names including Sluggo and Escar-Go. The bait should be placed in moist areas that snails or slugs are likely to frequent. Timing is also important. If the weather is very hot, dry, or cold, baiting will have a limited effectiveness because slugs and snails are least active during these times. Take advantage of snail and slug habits by irrigating before baiting and scattering the bait in the late afternoon or evening.
UC Master Gardeners of Butte County are part of the University of California Cooperative Extension (UCCE) system. To learn more about us and our upcoming events, and for help with gardening in our area visit our website. If you have a gardening question or problem, email the Hotline at mgbutte@ucanr.edu or leave a phone message on our Hotline at 530-552-5812. To speak to a Master Gardener about a gardening issue, or to drop by the MG office during Hotline hours, see the most current information on our Ask Us section of our website.
It's that time of the year again – Ant Season!
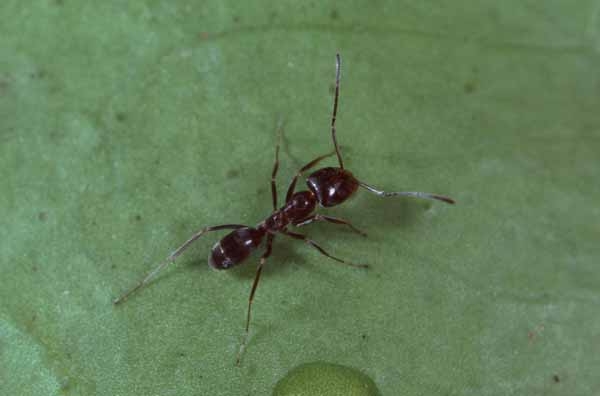
While it is not realistic to eradicate all ants from your backyard, you can effectively reduce the number of ants entering your home by following a 3-Step integrated approach as follows:
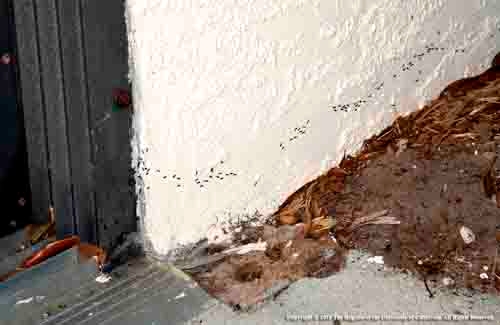
1) Identifying the location where the ants are getting into the house. Inspect baseboards, floors, electrical outlets, vents, pipes, drains and walls for any entryways and seal them off (caulk is good for this). Destroy any nesting sites found close to the house. Cut back trees, shrubs or wooded material touching the house and clear away mulch or debris that is next to the house.
2) Clean up food and water sources in the home. All sources of “attractive” food should be removed or securely sealed. Use soapy water to kill ants and eliminate their trails.
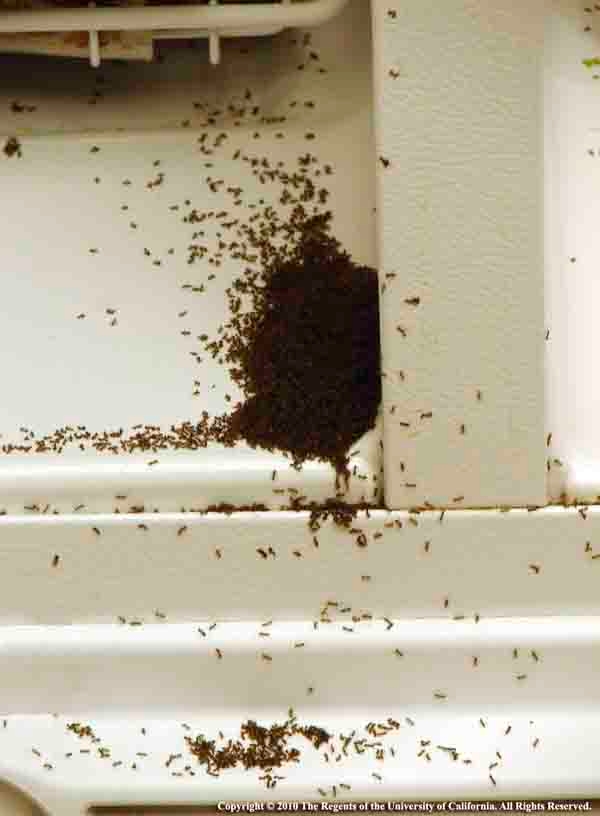
Moderate (trails of hundreds of ants) and Severe (several hundred to thousands of ants continue to invade for weeks or months). Supplement steps 1 and 2 above with the addition of bait stations as follows:
3) Install bait dispensers around the outside of the house (UC Researchers have had success using bait dispensers such as KM AntPro Liquid Bait Dispenser). Baits are more effective and less toxic than traditional pesticide treatments for ants. Baits are insecticides mixed with materials that attract worker ants. The advantage of a bait station over an insecticide spray is that the spray only kills the worker ant while the bait station allows worker ants to take the bait back to the colony to feed and kill the colony ants, including the queen ant. When all the queens die, the colony is destroyed. Continue to refill dispensers regularly with liquid borate-based bait until the ant problem ceases. It is critical that you select the right bait/attractant for Argentine ants (liquid baits with 1% or less borate are suggested). Install at least one dispenser on each side of the house, next to structures where ants are trailing (but at least 5 ft. from any nest). Keep ant bait stations out of direct sunlight.
For more information on dealing with the various pests that plague your home and garden, attend the workshop on Integrated Pest Management (IPM) May 17, at the Demonstration Garden at Patrick Ranch. This workshop is part of the Master Gardeners' 2024 Spring Workshop Series. For information about all the workshops, and to register, visit our website. All workshops are free, but registration is required.
UC Master Gardeners of Butte County are part of the University of California Cooperative Extension (UCCE) system. To learn more about us and our upcoming events, and for help with gardening in our area visit our website. If you have a gardening question or problem, email the Hotline at mgbutte@ucanr.edu or leave a phone message on our Hotline at 530-552-5812. To speak to a Master Gardener about a gardening issue, or to drop by the MG office during Hotline hours, see the most current information on our Ask Us section of our website.
Looking for a drought tolerant plant? Euphorbias are one of the most dramatic garden plants, and they happen to do well in our ongoing conditions of drought. The genus is expansive and includes 2000 species of herbaceous perennials, annuals and biennials, as well as evergreen and deciduous shrubs. You might think you are unfamiliar with this plant family, but one tender (and colorful) variety of euphorbia is customarily purchased during the holiday season: the Poinsettia. The poinsettia's red leaves surround a “flower” called a cyathium, which is really a structure that consists of fused bracts that form a cup around the (actual) tiny flowers.
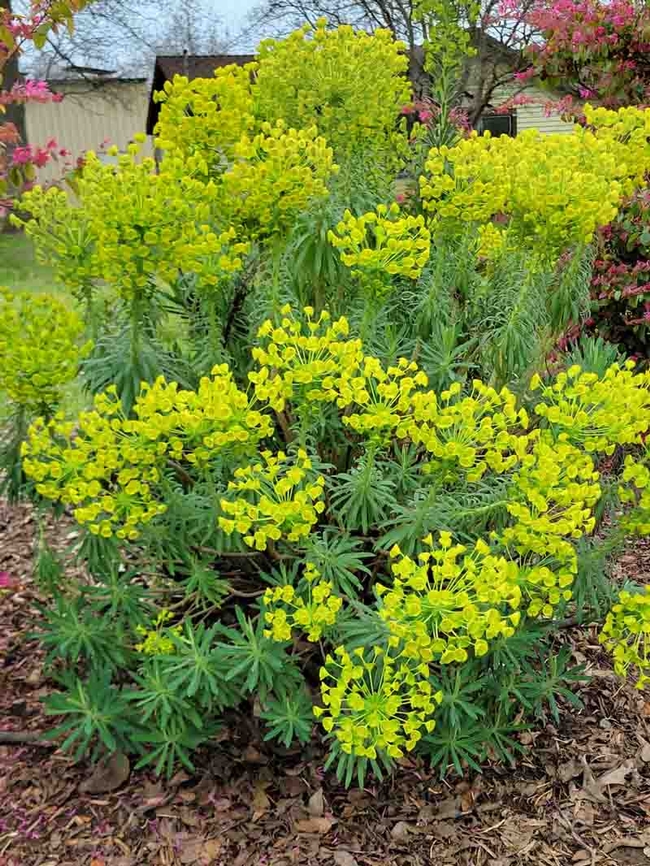
Euphorbia characias is perhaps the most commonly seen euphorbia in our area. The upright stems of this Mediterranean native are crowded with narrow blue-green leaves that form a dome-shaped bush four feet high & wide. Chartreuse or lime green flowers in dense, round to cylindrical clusters appear in late winter and early spring. Characias is very drought resistant and thrives in part to full sun.
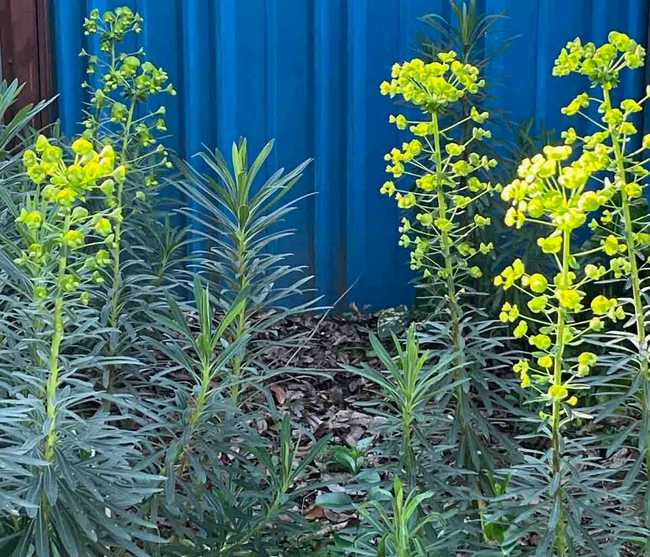
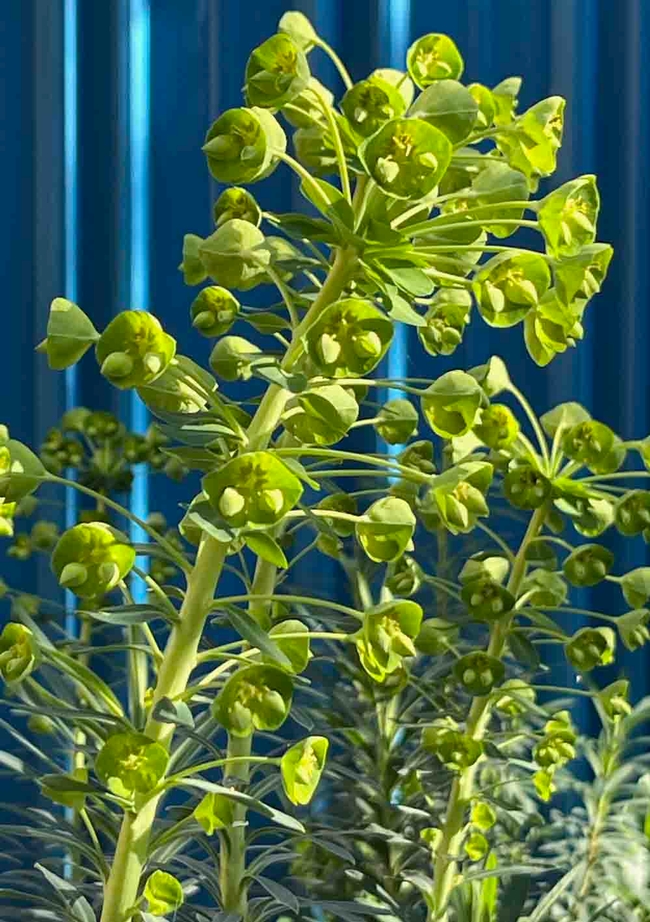
Classified as an Evergreen Spurge, the sub-species “Tasmanian Tiger” grows three feet wide and high with bow-tie like flower bracts edged in white. The conical flower heads appear in spring. Prune spent flower heads and stems down to the base of the plant—new ones will form during the summer. This euphorbia provides interest all four seasons in our mild climate.
Euphorbia “Polychroma” is another showy variety that looks especially lovely alongside spring-blooming tulips and other bulbs. It is also known as cushion spurge. Its bright golden flowers sit atop cushion-shaped light green leaves. This versatile plant is useful in edgings, rock gardens and containers. And autumn brings an extra treat: red foliage color. Trim this plant back hard to four inches in early summer to maintain a bushy, compact size.
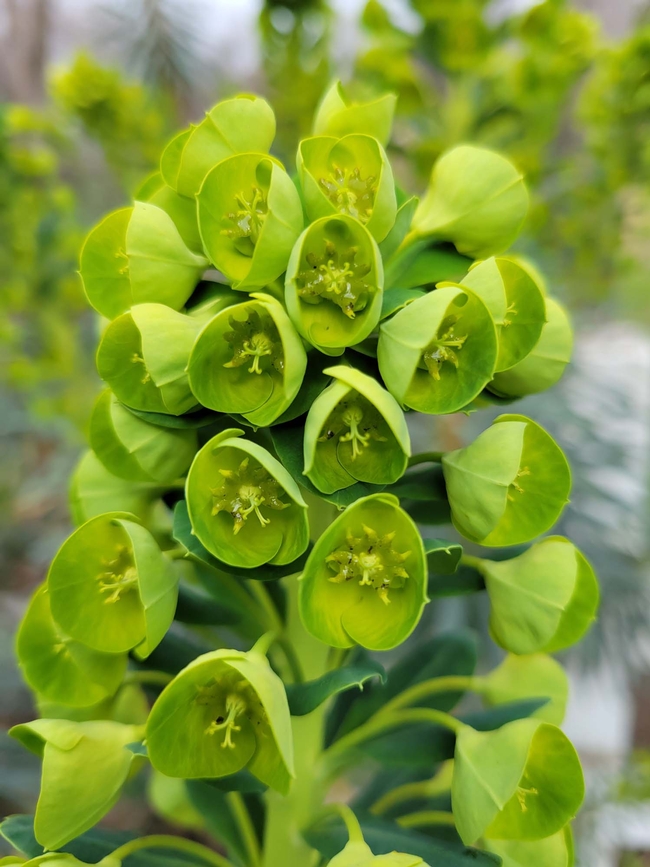
If your garden is plagued by deer and rabbits, they will avoid euphorbias because the stems of these plants contain milky white sap that can be an irritant to the skin or toxic if ingested. For this reason, it is a good idea to handle euphorbias with gloves to avoid getting the sap on your skin or in your eyes. The sap has a latex base, so it is also good practice to clean your pruners after using them on euphorbias, to help maintain a sharp blade.
Euphorbias make unusually attractive cut flowers that can be incorporated in floral arrangements. To prevent the sap from bleeding, dip the stems in boiling water or seal the stems by holding a flame to them for a few seconds before adding them to an arrangement.
UC Master Gardeners of Butte County are part of the University of California Cooperative Extension (UCCE) system. To learn more about us and our upcoming events, and for help with gardening in our area visit our website. If you have a gardening question or problem, email the Hotline at mgbutte@ucanr.edu or leave a phone message on our Hotline at 530-552-5812. To speak to a Master Gardener about a gardening issue, or to drop by the MG office during Hotline hours, see the most current information on our Ask Us section of our website.
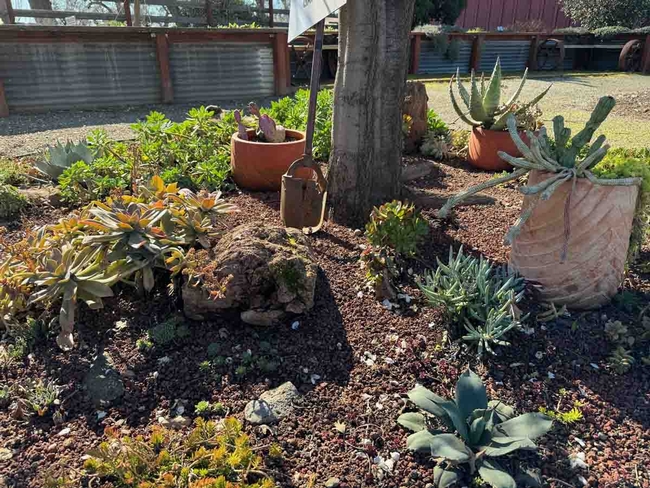
The current emphasis on water-wise gardening has created an interest in succulents. All succulents are able to store water and food in their leaves, stems and roots. These stored nutrients can be released when needed. This makes them drought tolerant. Succulents require good drainage, deep but intermittent water, bright light, and good air circulation. The soil should be open and airy with low organic matter.
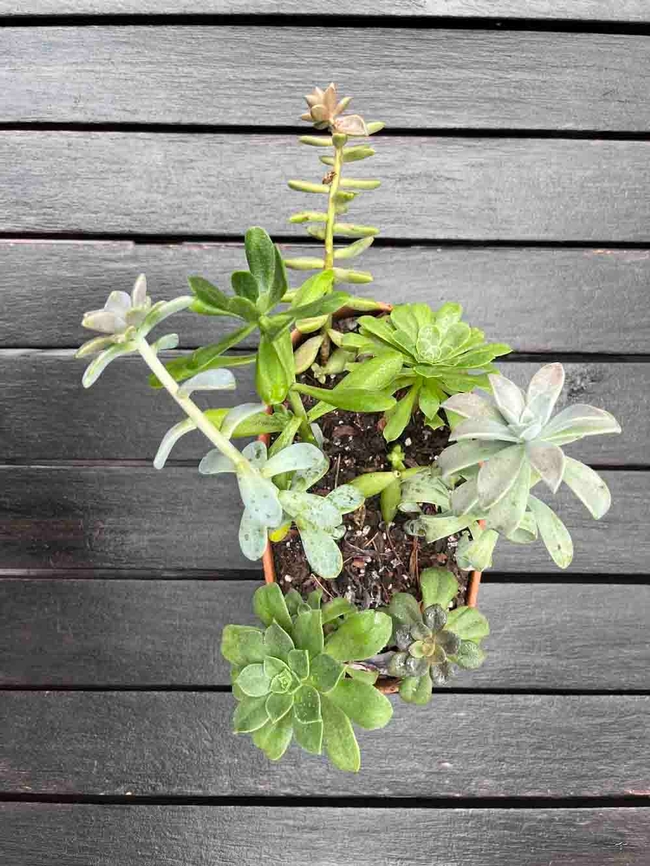
Because many purchased succulents are unmarked, while others are given by friends as cuttings, it can be difficult to know the genus of a particular plant. This is especially the case because the genera of Echeveria, Sempervivum, and Graptopetalum are similar in appearance. However, careful observation will aid in identifying succulents. First, look to see if the succulent is spiky or chubby, and whether it forms rosettes. What is the shape of the leaves? Look at size, texture, and color. Notice if offsets hang from the edges of a rosette, or attach to its center.
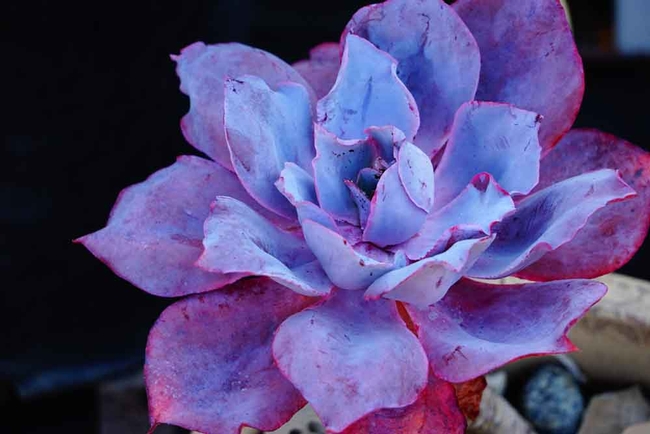
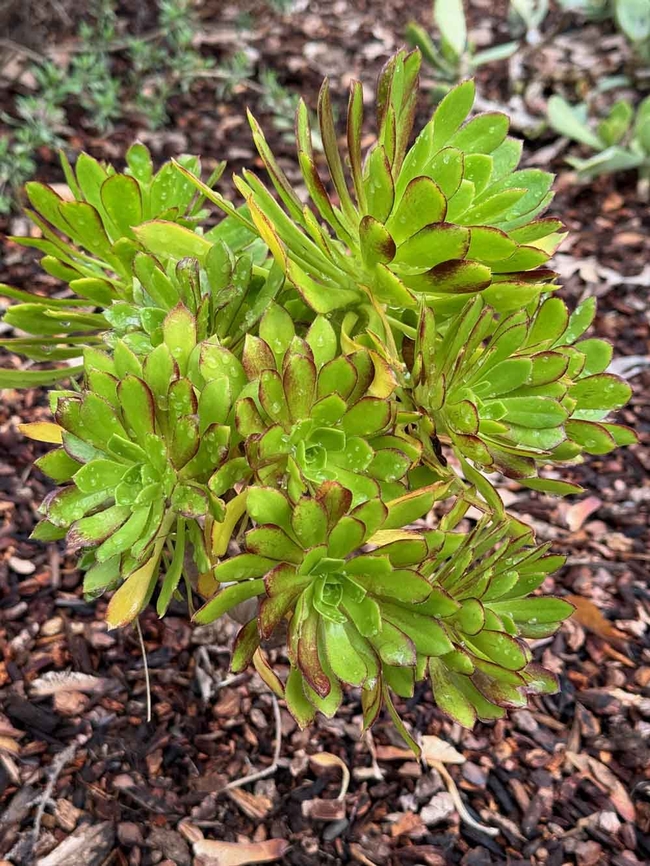
Sempervivums are native to Europe. Their value as talismans is reflected in their name semper (always) and vivus (living). This reputation comes from their ability to survive in freezing weather while their leaves stay green. Sempervivums are commonly called Houseleeks or Hen and Chickens. Open rosettes range from one to five inches across and form clumps to two feet or wider. The leaves of Sempervivum are narrower than those of Echeveria, they have pointy tips, andaregray-green to red-brown in color. Small pink, red, or orange star-shaped flowers arise on fleshy stems to 10 inches tall. These succulents reproduce from offsets attached to a stolon (a stem that can take root).The stolon breaks easily, allowing the tiny offsets to roll away before forming roots.
Graptopetalum are native to South America. These succulents are so closely related to Echeveria that they hybridize to form the intergeneric hybrid x Graptoveria. The rosettes are two to five inches in diameter and have gently pointed chubby leaves, noticeably thicker than those of Echeveria. The rosettes grow at the tips of ever-lengthening stems, creating a low cascading grouping about 12 inches tall. Commonly called Mexican Ghost Plant, their leaves are a pale, chalky, ghostlike gold or green. With partial shade and regular water the color changes to a mauve blue. The flowers are star-shaped, large, white-and-red or yellow and one-quarter of an inch in diameter. They bloom in spring and early summer. Graptopetalum reproduces by rosettes that break off and root.
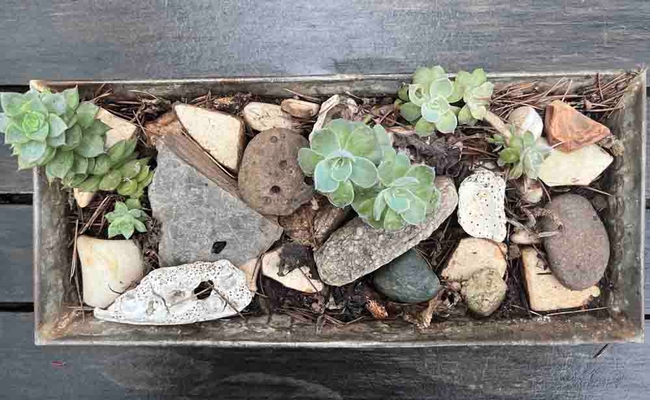
When looking at “mystery” succulents think in terms of leaf shape, color, and thickness. Then look to see if there are offsets. Are the offsets located on stolons or attached to a main stem? Watch for flowers and see if they are bell shaped or star shaped. All of these characteristics will provide information about the genus of the “mystery” succulent.
Table for identifying Echeveria, Sempervivum, and Graptopetalum:
|
Characteristics of common varieties |
Echeveria |
Sempervivum |
Graptopetalum |
|
Origin |
North & South America |
Europe |
South America |
|
Rosette size |
3/4”-20” diameter |
1”-5” diameter |
2”-5” diameter |
|
Offset Spread |
spread from a main stem |
clumping, stolon held |
rosettes break off from root |
|
Leaves |
thick & spoon-like |
narrow & pointy |
thickest & rounded |
|
Leaf color |
gray-green, bluish |
gray-green, red-brown |
chalky gold or green |
|
Flower shape |
bell shaped |
star shaped |
star shaped |
|
Flower color |
white, orange, pink, red |
red, yellow, pink |
white/red, yellow |
|
Flower growth pattern |
on stem amidst leaves |
on stolon from center |
stem from center |
|
Common name |
Hen & Chicks |
Hen & Chicks |
Ghost plant |
Table created by Barbara Ott
UC Master Gardeners of Butte County are part of the University of California Cooperative Extension (UCCE) system. To learn more about us and our upcoming events, and for help with gardening in our area visit our website. If you have a gardening question or problem, email the Hotline at mgbutte@ucanr.edu or leave a phone message on our Hotline at 530-552-5812. To speak to a Master Gardener about a gardening issue, or to drop by the MG office during Hotline hours, see the most current information on our Ask Us section of our website.


