We have endured multiple years of drought, and are probably in store for more. For many of us, it makes sense to replace all or part of our lawn area with less water-intensive plantings.
Step One: observe and plan. What existing trees and plants do you want to keep or remove? What are the sun and shade patterns within your yard? What types of grass grow in your lawn? Do you want any additional amenities, such as paving or a shade structure? How will you irrigate your new plants?
Step Two: kill your lawn. Homeowners can use two eco-friendly methods to kill their lawns: Solarizing or Sheet Mulching. For detailed instructions on solarizing, click here. For instructions on sheet mulching, click here.
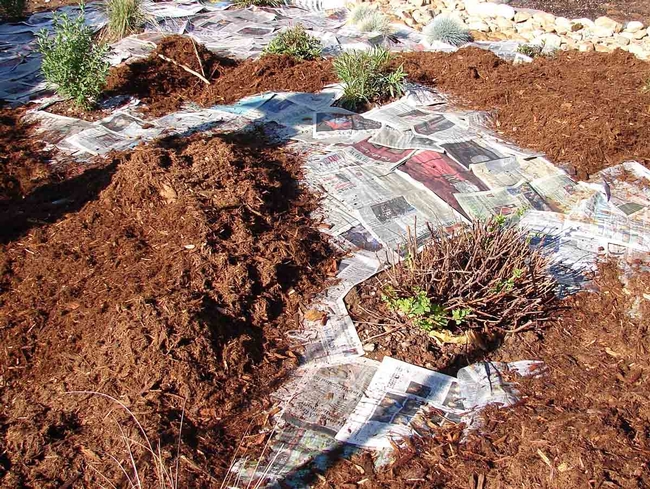
Sheet mulching kills weeds by starving them of light. It takes 6 to 10 months and can be started any time of the year as long as at least three months of growing season are included. Sheet mulching works in sun or shade, and is effective on all grasses, including Bermuda grass, and many annual and perennial weeds. It is left in place permanently; over time, the dead lawn, sheeting, and mulch will break down into soil-enriching compost. Sheet mulching should be placed before new plants are installed if being used alone to kill lawn or weeds. It can be placed after plants are installed if solarizing has been completed first. New hardscape and irrigation should be installed before commencing solarizing or sheet mulching.
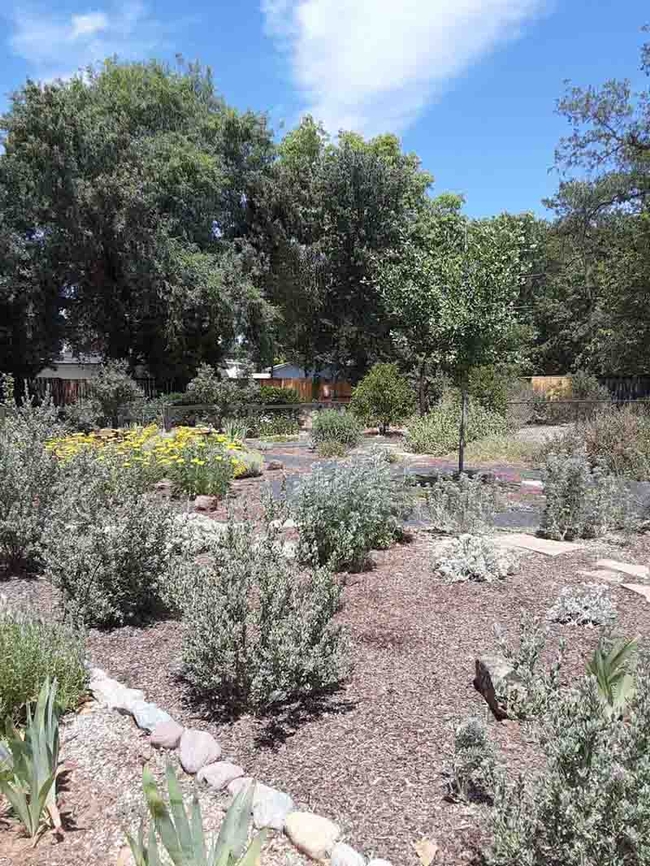
Step Three: replant. Whichever method you choose to kill your lawn, time it so that you are ready to replant in the fall, winter, or early spring. The cool temperatures and moist soils of our wet season allow drought tolerant plants to develop the healthy roots they need to thrive with little water during the heat of summer. Taking time to thoroughly kill the grass and waiting until the climate conditions are suitable for new plants will ensure the long-term success of a lawn replacement project.
UC Master Gardeners of Butte County are part of the University of California Cooperative Extension (UCCE) system. To learn more about us and our upcoming events, and for help with gardening in our area, visit our website. If you have a gardening question or problem, email the Hotline at mgbutte@ucanr.edu or leave a phone message on our Hotline at (530) 538-7201. To speak to a Master Gardener about a gardening issue, or to drop by the MG office during Hotline hours, see the most current information on our Ask Us Hotline webpage.
As days shorten and temperatures cool, the pace of gardening slows along with plant growth. But there is still plenty to be done during the fall and winter months. In fact, much of what is done in the garden now will set the tone for the following year.
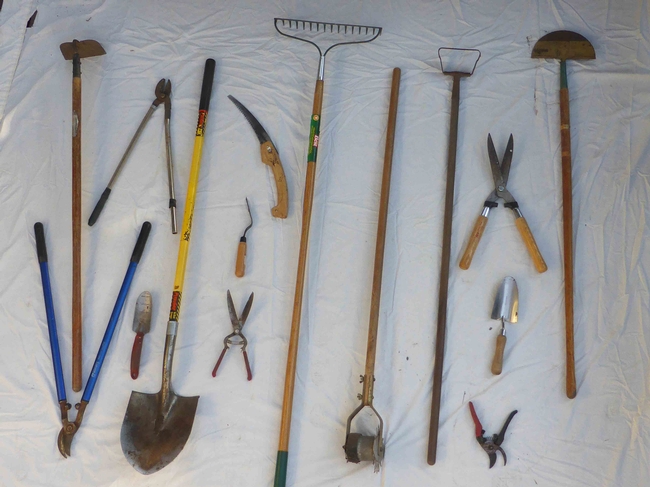
Prune deciduous trees and shrubs during their dormant period. However, it is worthwhile to do a little research on each plant to become familiar with its pruning requirements. For example, pruning early-flowering plants such as azaleas, flowering quince, or forsythia in the fall will remove flower buds and reduce the spring flowering display. If these plants require pruning, it should be done just after they have finished blooming.
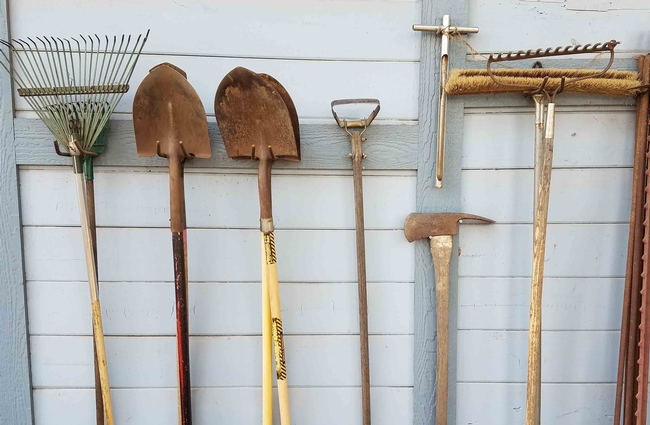
Planting bare root trees and shrubs during their winter dormancy allows healthy root systems to develop before budding out in the spring. Fall is also the time to plant bulbs and perennials. Squirrels can notice disturbed soil and may dig up tulips and other bulbs. Disguise your work by flooding the soil surface with water and then covering the soil with mulch.
Conduct an irrigation review and adjust your watering schedule to reflect the lower water requirements of fall and winter. Make any repairs (such as fixing broken pipes, hoses, or damaged sprinkler heads) before spring. If you have an automatic system, be sure it is operating correctly.
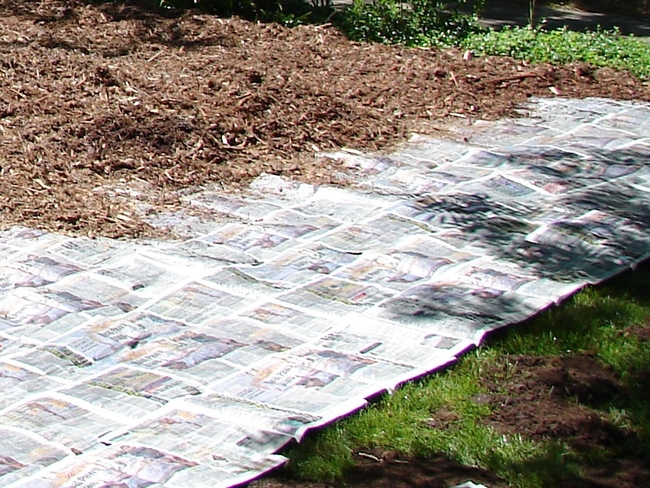
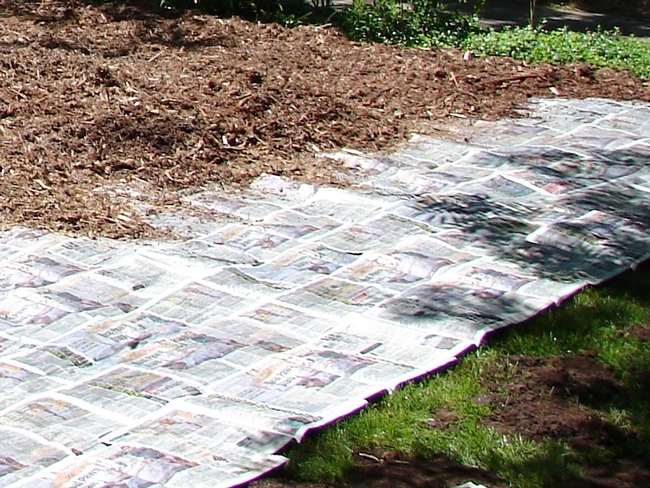
If you plan to create new garden beds, fall is a good time to do it before you are faced with the rush of spring gardening jobs. And if you plan on creating a new bed in an existing lawn area, a good method is to cover it with a thick layer of newspaper topped with a layer of mulch. This will kill the lawn (as long as it's not a dormant perennial like Bermuda grass) and the bed will be ready to be worked in early spring without the effort of manually removing the sod.
Plant Sale!!! The Master Gardeners will hold their Fall 2021 Plant Sale on October 30, from 9am to 1pm at the Demonstration Garden at Patrick Ranch (10381 Midway, Durham). Along with the Plant Sale, there will be two free workshops: “Gardening with Natives” at 10am, and “Berry and Grape Gardening” at 11am. No registration is required for these workshops; Covid safety protocols will be followed.
UC Master Gardeners of Butte County are part of the University of California Cooperative Extension (UCCE) system. To learn more about us and our upcoming events, and for help with gardening in our area, visit our website. If you have a gardening question or problem, email the Hotline at mgbutte@ucanr.edu (preferred) or call (530) 538-7201.
Does growing a vegetable garden sound like something you'd like to do, but you don't feel confident or equipped to do it? Well, here's the deal: find some dirt, and then add plants. It's that simple. With the advent of the coronavirus pandemic, food insecurity, and the general chaos that so many of us are living with these days, lots of people who weren't gardening before are now thinking about it.
Soil is comprised of four things: minerals (from decomposed rock), air, water, and organic matter. The organic material originates from living organisms (or stuff that was once alive). A single teaspoon of soil may contain as many as 4 billion bacteria; 1 million fungi; 20 million actinomycetes; and 300,000 algae. All of these beneficial microorganisms, along with friendly earthworms, work to produce healthy soil. Even though soil is packed with minerals, organic matter and microscopic critters, it still has pores which hold water and air. It's not surprising to find water there, but why air? Plant roots and most microorganisms “breathe,” and the soil takes in oxygen and releases carbon dioxide. The ideal soil composition for growing plants is 45% minerals, 5% organic materials, 25% water and 25% air.
Now consider the soil you are eying for your potential vegetable garden. About half of most soil consists of minerals. Soil minerals are categorized by size: sand particles are the biggest, silt is medium-sized, and clay particles are the smallest. Soil texture accordingly falls into those three general categories: coarse (sand), medium (silt), and fine (clay). The best soil for home gardens is a medium-textured “loam,” which means it has a relative balance of sand, silt and clay with 5 to 10% organic matter.
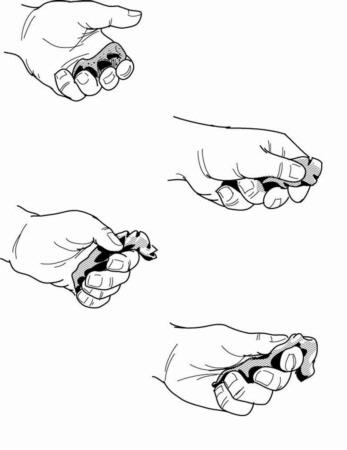
As you hold your own soil in your hands, you may already be able to tell whether it has a favorable texture. The appearance of your dirt when it's dry can offer clues, too. Does it shrink and crack into blocky structures? That would be clay. When you add water, does the water puddle easily (clay) or drain quickly (sand)? Even if you're not blessed with a perfect, loamy soil, that's ok. A sticky clay soil may be harder to work with, but clay plays a crucial role in soil fertility, so clay soil is often rich and holds moisture well. A sandy soil is less able to retain moisture and nutrients, but it's easier to work with. Fortunately, there are steps you can take to improve your soil so that it moves away from the extremes and closer to a balanced loam.
Your objective is to give your soil some tender loving care, and your soil will return the favor by giving you healthier plants and better produce. Your soil's texture and mineral composition is what it is, but one element that can be altered is its percentage of organic material. No matter what kind of soil you have, adding organic matter will make it better. Organic materials include grass clippings, fallen leaves, straw, wood chips, bark, hulls, plant clippings (chopped small), and everyone's favorite -- manure. Now, here's an important point: it takes time for the organic materials to enrich the soil by breaking down and releasing nutrients that become usable by plants. So, what's the best and quickest way to get those things into your soil? Compost. Compost consists of organic matter that is already decomposing; as it mixes into the soil it continues to decompose slowly, releasing nutrients to plants and improving soil texture. Compost costs money, but you can also make your own in as little as two to three weeks at little or no cost. (For instructions on DIY compost, see “Compost in a Hurry.”
Maybe you're thinking, why can't I just throw on my leaves or grass clippings and dig them in? You can do that, but unfortunately, that reduces nitrogen (the nutrient plants need most) for a while because the soil microorganisms compete with your plants for nitrogen as the microbes decompose those grass clippings and leaves. You would still need to add some nitrogen fertilizer. The next best thing to do with your organic material (if you're not using a compost bin) is to turn it into mulch.
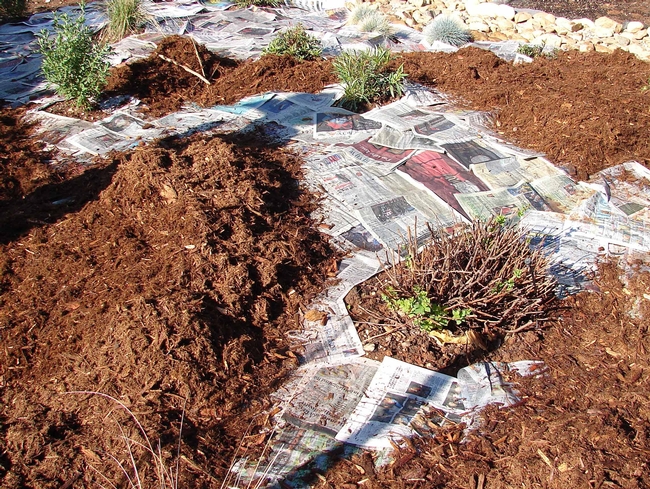
Remember that front lawn you're thinking you could convert into a vegetable garden? Sheet mulching is one way you can get rid of the grass, so you can eventually get down to planting vegetables. Cover it, mulch it, forget about it. If you want to learn more about lawn removal, including specifics for sheet mulching see the Real Dirt article on Lawn Removal: Do it Right.
Healthy soil produces healthy plants, and mulching and composting are two ways to turn your dirt into the rich soil that gardeners dream about. Even better, they require no chemicals, and you won't have to spend any money if you're resourceful. In times like these, it's good to know you can get started gardening without emptying your wallet. It's simple. Find some dirt and make it better!
Source: Information on soil composition is from Ben Faber et al. “Soil and Fertilizer Management.” California Master Gardener Handbook, University of California Division of Agriculture and Natural Resources, 2015, pp. 37–81.
The UC Master Gardeners of Butte County are part of the University of California Cooperative Extension (UCCE) system. To learn more about us and our upcoming events, and for help with gardening in our area, visit our website. If you have a gardening question or problem, email the Hotline at mgbutte@ucanr.edu (preferred) or call (530) 538-7201.
- Author: Cheryl Cozad
In the wild areas on our planet, trees, bushes, and grasses grow on ground that has continual additions of new layers of dead and dying plant matter. Leaves fall from trees and shrubs, grasses dry in the summer: these materials cover the soil and gradually decompose. No Till gardening takes its cue from this natural process. There's no double-digging. No bi-annual rototilling. No weed pulling.
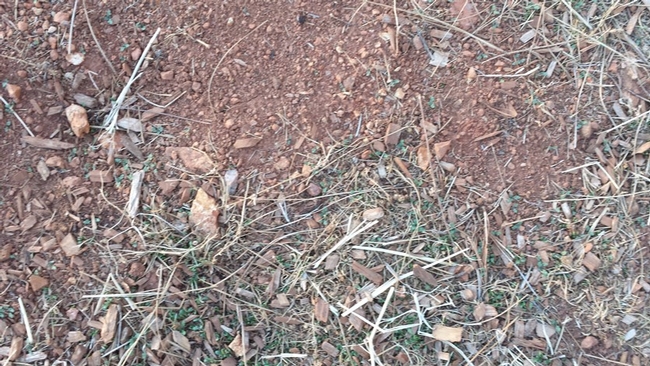
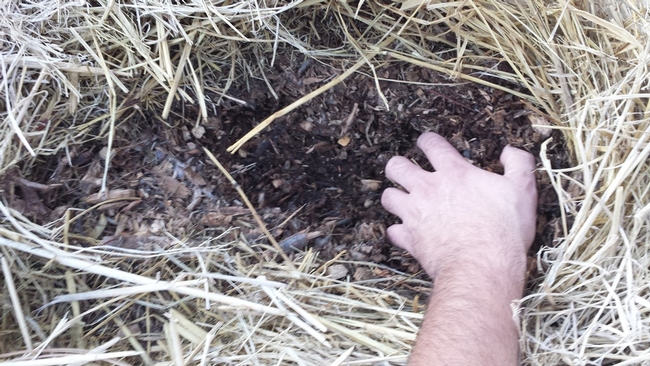
Soil is inhabited by billions of microscopic organisms. It is this abundant life, attracted to the sugars put out by plant roots, that creates a mutually beneficial feeding relationship with plants. Breaking up the soil by tilling, digging, or weeding disrupts these vital organisms.
No Till aids the soil's ability to retain water. The roots of previous weeds and other pre-existing plants create pathways for water to penetrate and be stored in the soil.
When you avoid tilling you'll have fewer weeds in your garden, since tilling brings weed seeds to the surface where light signals them to grow.
A No Till garden requires less work on the part of the gardener. Ultimately, a No Till bed will need less weeding, less watering, and less digging.
There is no need to wait before planting in a No Till garden – you just plant on top of the decomposing plant life.
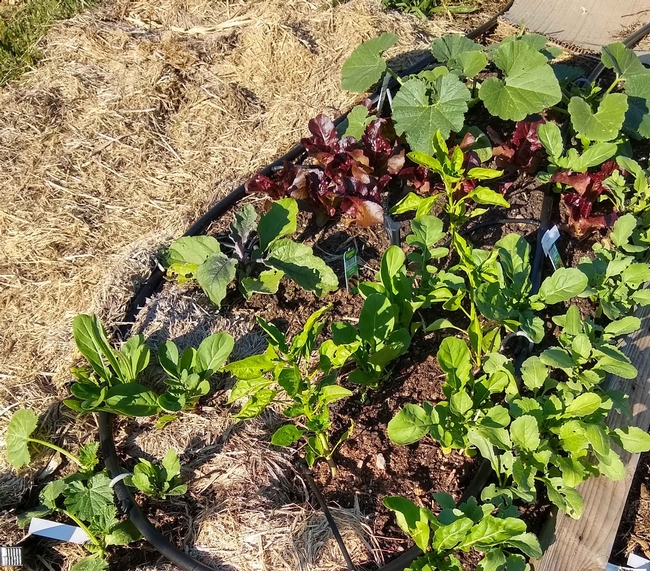
There are several different approaches to creating a No Till garden. The simplest method is described here.
Materials you will need:
- Cardboard (with tape & labels removed) or newspapers (newsprint only – no colored ads or glossy pages).
- Compost, well-aged manure, worm compost, or organic soil mix. Organic blends are a little more expensive but they will do a better job of supporting the growth of your subterranean microbes, which help your plants get the nutrients they need for optimal growth and resistance to pests and diseases.
- Plants and seeds.
- Mulch (wood chips, straw, grass clippings, or pine needles).
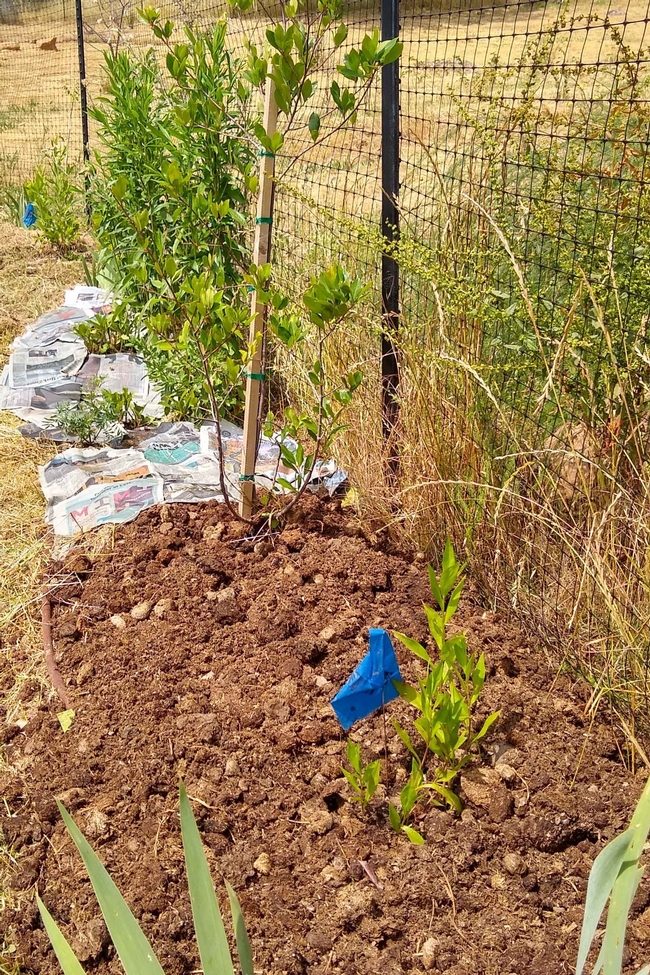
- Select a sunny site. Think small. Two 5 x 10 - foot beds can grow a lot of produce. Even No Till gardening can get overwhelming if you take on too much.
- Cut existing vegetation to the ground and water the area well. Avoid burying large clumps or a thick layer of fresh green vegetation under a compost layer. Anaerobic decomposition can be detrimental to root growth.
- Apply a 4-to-6- inch layer of a well-composted mix. Well-aged horse manure (often available free from stables), plus worm compost makes a terrific mix. The City of Chico Compost Facility on Cohasset highway (currently closed due to COVID-19) sells finished compost that can be mixed with an organic soil mix or worm castings as another option.
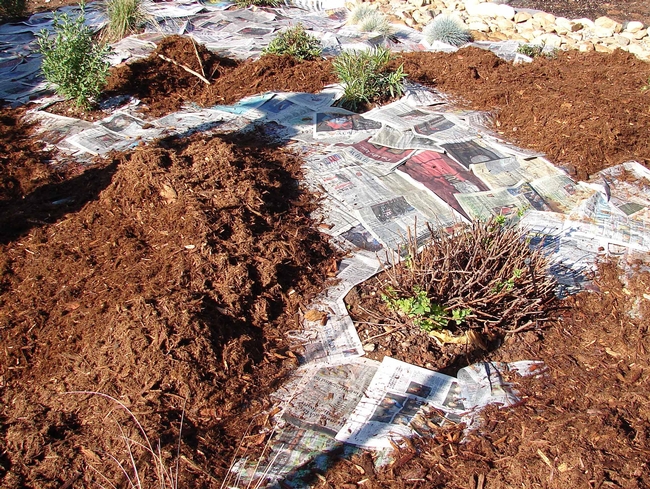
- Cover the compost layer with overlapping pieces of cardboard, or 5 to 10 thicknesses of newspaper (overlapping them by one-third). Dousing the sheets of newspaper in a bucket of water will help stabilize them.
- For large deep-rooted plants (like tomatoes, peppers & eggplants) cut a circle in the cardboard or newspaper. Scoop out soil, add 2 to 3 shovelfuls of compost mix, and plant. For shallow-rooted vegetables or flowers, cut an X to open the cardboard or newspaper and plant smaller plants.
- Water well.
- Cover the bed with 4 to 6 inches of mulch. This will weigh down the cardboard or newspaper, prevent soil from drying out, and keep light from activating weed seeds. It also looks attractive.
- Install a drip or micro-sprinkler system or make a hand-watering schedule. Plan to water your No Till bed daily for the first week. Gradually taper off to every 3 to 5 days.
- Repeat! When a crop is finished, cut it to the ground, add compost, tuck in new plants, and mulch heavily.
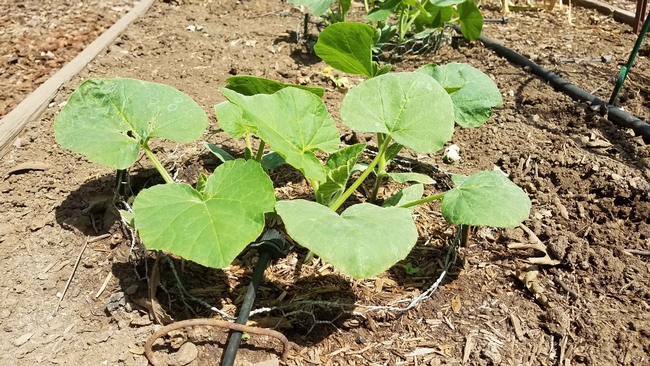
Plants love the even moisture and lower soil temperatures created by No Till and mulch. Give it a try. Your microbes and your back will thank you.
For inspiration, browse the California State University, Chico Regenerative Agriculture website. For specific vegetable planting times, see our Planting Guides for the Chico Valley Area and for the Foothills.
The UC Master Gardeners of Butte County are part of the University of California Cooperative Extension (UCCE) system. To learn more about us and our upcoming events, and for help with gardening in our area, visit our website. If you have a gardening question or problem, call the Hotline at (530) 538-7201 or email mgbutte@ucanr.edu.
By Eve Werner, Butte County Master Gardener, July 3, 2015
California Water Service is currently offering rebates of up to $1000 for lawn removal and replacement with drought-tolerant plants in single-family residences. It's not difficult to realize landscape water savings of over 80% through careful plant selection and site preparation, and accurate application of irrigation according to the plants' actual needs.
If you plan to undertake a lawn replacement, make sure you do it properly; incompletely killed grass can regrow amid new plantings, ruining the appearance of your new landscape and creating a maintenance nightmare. The following three steps will lead to success.
Step One: observe and plan. What existing trees and plants do you want to keep or remove? What are the sun and shade patterns within your yard? What types of grass grow in your lawn? Do you want any additional amenities, such as paving or a shade structure? How will you irrigate your new plants?
Step Two: kill your lawn. Homeowners can use two eco-friendly methods to kill their lawns: Solarizing or Sheet Mulching (also below).
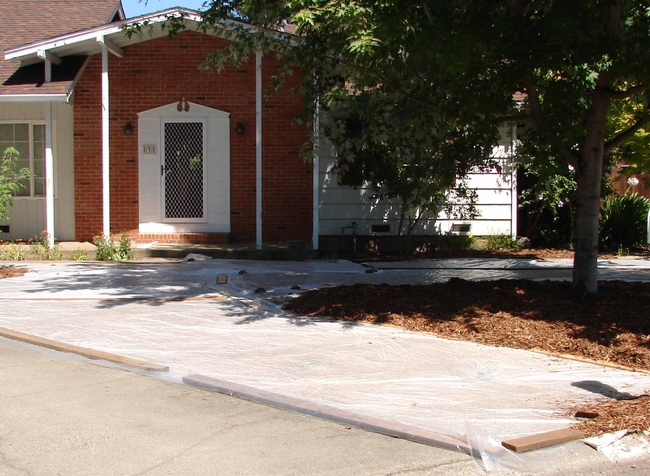
Solarizing uses the sun's radiation to kill lawn grasses as well as many common annual weeds, harmful soil microbes, and seeds down to a depth of 4 to 12 inches in six weeks. Most beneficial microbes survive, including earthworms. Solarizing requires six hours per day of full summer sun and takes 4 to 6 weeks to complete. It works best on fescue, ryegrass, and bluegrass, with partial success on Bermuda grass. Solarizing must be completed before new plants are installed.
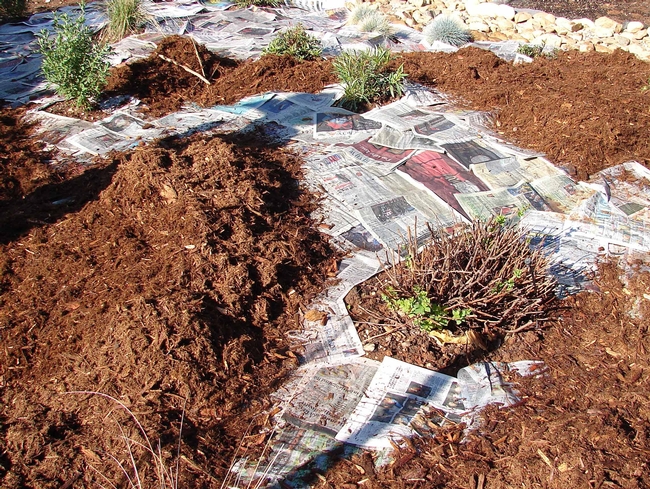
Sheet mulching kills weeds by starving them of light. It takes 6 to 10 months and can be started any time of the year as long as at least three months of growing season are included. Sheet mulching works in sun or shade, and is effective on all grasses, including Bermuda grass, and many annual and perennial weeds. It is left in place permanently; over time, the dead lawn, sheeting, and mulch will break down into soil-enriching compost. Sheet mulching should be placed before new plants are installed if being used alone to kill lawn or weeds. It can be placed after plants are installed if solarizing has been completed first. New hardscape and irrigation should be installed before commencing solarizing or sheet mulching.
A third option for lawn removal is to dig or scrape out the lawn. Be warned, however, that this method will not kill Bermuda grass and most perennial weeds, which have deep roots that will re-sprout. If you choose to dig out your Bermuda grass lawn, be sure to follow up with sheet mulching to prevent aggressive regrowth of the grass.
Step Three: replant. Whichever method you choose to kill your lawn, time implementation so that you are ready to replant in the fall, winter, or early spring. The cool temperatures and moist soils of our wet season allow drought tolerant plants to develop the healthy roots they need to thrive with little water during the heat of summer. Taking time to thoroughly kill the grass and waiting until the climate conditions are suitable for new plants will ensure the long-term success of a lawn replacement project.
For additional information about the CalWater turf replacement rebate, visit their website at www.calwater.com.
Photo credits: Eve Werner
Sheet Mulching, By Eve Werner, Butte County Master Gardener
Sheet mulching, also known as sheet composting, kills weeds by starving them of light. Dead plant material will break down into compost to enrich the soil. New weeds are reduced because it is difficult for them to anchor their roots in deep mulch. The sheeting and the mulch will break down over time, forming compost. Sheet mulching should be placed before new plants are installed if being used to kill lawn or weeds. It can be placed after plants are installed if other weed removal techniques such as solarizing have been completed first.
Materials:
- Newspaper or plain cardboard. Don't use glossy colored pages as they may contain metal pigments.
- Water from a hose with a spray attachment.
- Compost or worm castings in a 1-2” layer. Quantity calculation for mulch is: (Area in square feet) x .08 to .15 ÷ 27 = cubic yards of compost required. Note, if you are replanting with native CA plants, you can omit this step.
- Wood chip mulch in a 4”-6” layer. ‘Walk-on' bark, has longish strips of wood and barks that knit together to help it stay in place. Shredded wood/barkmayalsobeavailablethrougharborists for much less cost; verify with the supplier that it is disease free.
- Quantity calculation for mulch is: (Area in square feet x .33 to .5) ÷ 27 = cubic yards of mulch required.
Process
- Scalp your lawn or weedy area with mower set at lowest setting. Remove grass/weed clippings.
- Water the soil thoroughly. To prevent runoff, you may have to apply water for a short period, wait for it to soak in, and then repeat as needed.
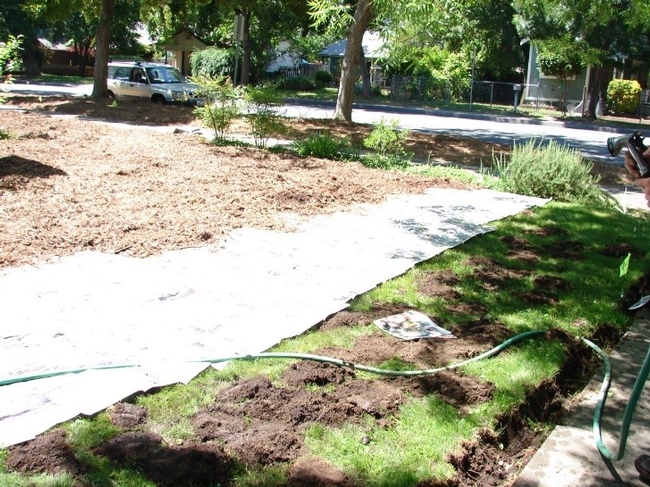
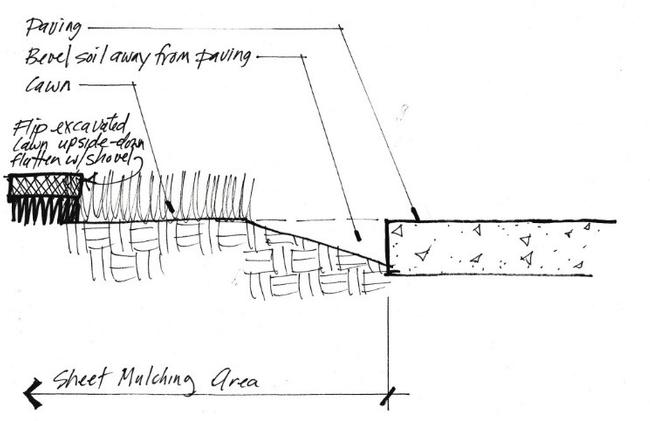
- To reduce spillage of mulch onto adjacent paving, dig a shallow beveled trench along any edges that are bordered by paving. See drawing, below.
- Spread 1-2” depth of compost or worm castings over entire area.
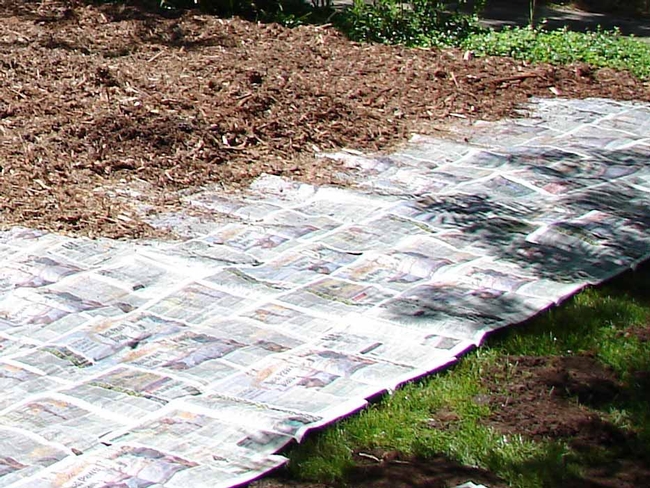
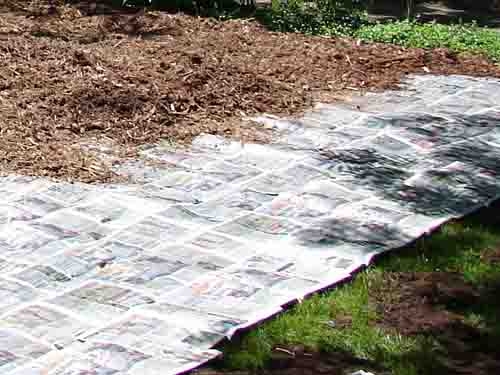
- On a windless day, place newspaper (about 5-8 sheets thickness) or cardboard over grass to be killed, overlapping like shingles. Make sure there or no gaps or holes. Lightly sprinkle newspaper with water as you go to prevent it from blowing away. Once wet, the paper will easily tear; be careful when walking on it. If it tears, place additional newspaper over the hole.
- If you are laying the sheeting around existing plants, keep the paper a foot from the plant stem, further for plants that spread by underground stems.
- As you are laying the paper, place wood mulch over the top of the paper to a 4”-6” depth. Place the mulch as you lay the paper so you don't have to walk on/tear the wet paper. If you are placing the mulch when the plants are already in the ground, keep the mulch a foot from the plant stem.
- Sheet mulching requires 6-10 months to kill a lawn. It can be left in place permanently.
- To plant with sheet mulching in place, push back the mulch and cut away paper sheeting in a circle wide enough to dig your hole. Dig the planting hole 2x the width and 1x the depth of the plant root ball. Loosen coiled roots and place the plant in the soil so that the top of the root ball is slightly above the adjacent soil. Back fill with soil from hole, forming a slight rim at the edge of the planting hole. Replace mulch, keeping it 8” from the plant stems.
Sheet Mulching in Progress
Beveled trench along the sidewalk, newspaper layered 5-8 sheets thick, and an initial layer of wood chip mulch.
Beveled Trench Diagram

