Dehydrated Zucchini Flour
Lynn Pastusak, UC Master Food Preserver Volunteer
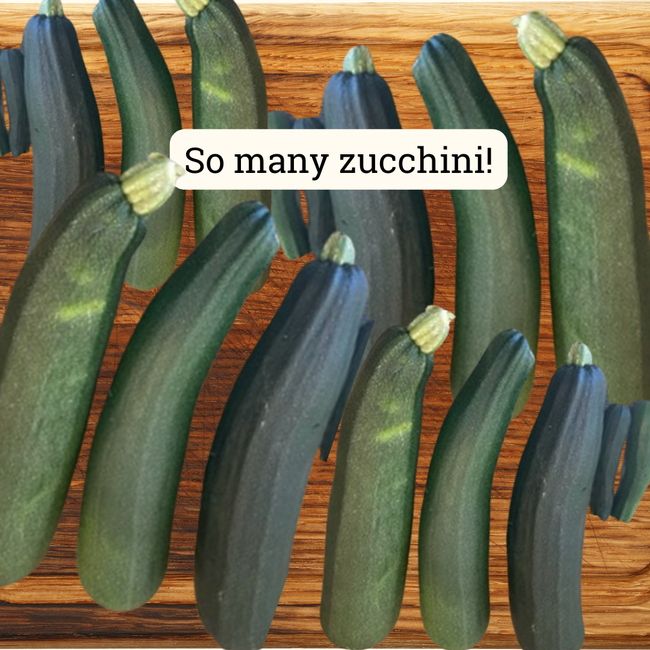
I went out of town for four days and came home to massive zucchini!! What was I going to do with these monsters? I hate to throw away good food, especially beautiful home grown food. Then I had an ah ha moment, I could make zucchini flour!
Zucchini flour? What's that? It's mild flavored and gluten-free. That sounds nourishing, I thought, and I can hide it in my recipes! I'd never done it, but it sounded like a fun project and a great way to keep a big zucchini in a small container.
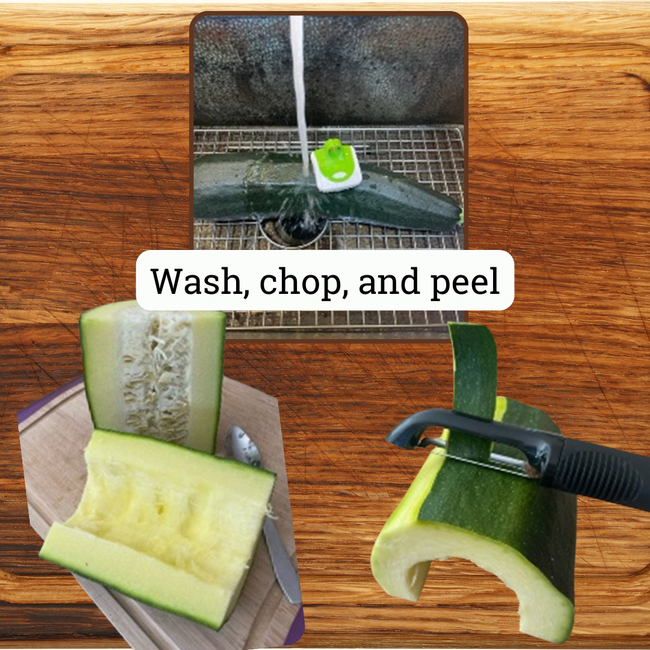
The very first thing to do is make sure all your kitchen supplies and surfaces are scrubbed clean and sanitized. Is there a difference? Absolutely. Find more information here about cleaning, sanitizing and disinfecting. After everything is squeaky clean, scrub the zucchini with a vegetable brush under running cold water. Don't put the zucchini in a sink or bowl full of water. The germs and bacteria will just float around. The running water washes all the bad stuff down the drain.
Then cut the zucchini into manageable sizes and remove the seeds. I used a grapefruit spoon. Its little, sharp, serrated teeth worked perfectly and made the job of scraping out all those seeds and pulp easy.
Next, you will need to decide whether to pare or not to pare the zucchini. If you leave the peel on, the flour will be a bit greener in color. Also, the peel may be bitter. Taste the peel before you pare it and decide what is best for you. The peel was not bitter on my zucchini, but I wanted to see the color and texture difference of my flour. I'll show the results later.
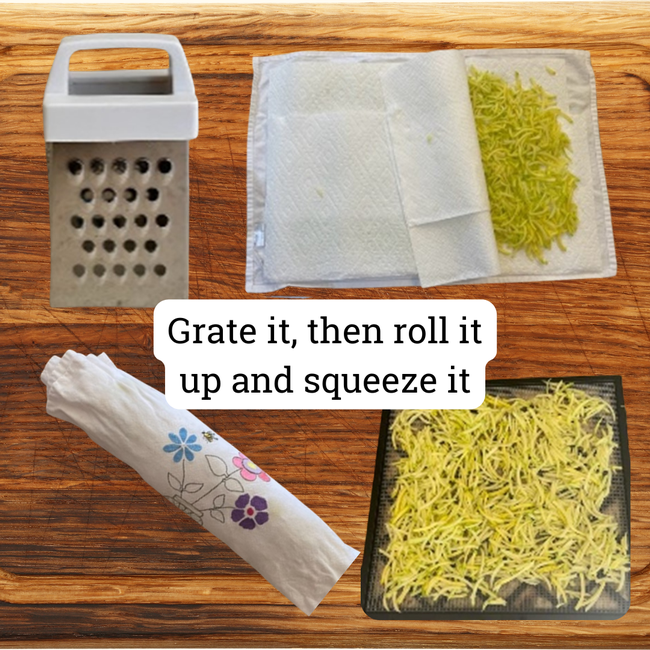
Then, cut the zucchini into workable pieces and grate them using a handheld cheese grater - or if you have a rotary grater or electric grater, it will go a lot faster. I used my electric grater, and it was super fast!
Zucchini holds a lot of moisture. The wetter it is, the longer it will take to dry in the dehydrator so you will want to dry the grated zucchini as much as possible. You can do this by placing the grated zucchini in a colander for about 15 minutes and pressing down on it to squeeze out the liquid or by squeezing the grated zucchini with a potato ricer. Another way, and is how I did it, is to lay some paper towels on a cloth towel; place a layer of grated zucchini on the paper towels; place another layer of paper towels on top of the zucchini; roll the towel up tightly and squish with your hands to absorb the liquid.
After the zucchini has released enough liquid, preheat the dehydrator to 135°.
Place the drained grated zucchini on the dehydrator trays. The pieces are pretty thin, so you don't have to worry about spreading the grated zucchini out sparsely. It's ok if some are overlapping a bit. You might want to stir them gently after a couple hours of drying in case there are some patches not drying as quickly because they are overlapped and stuck together.
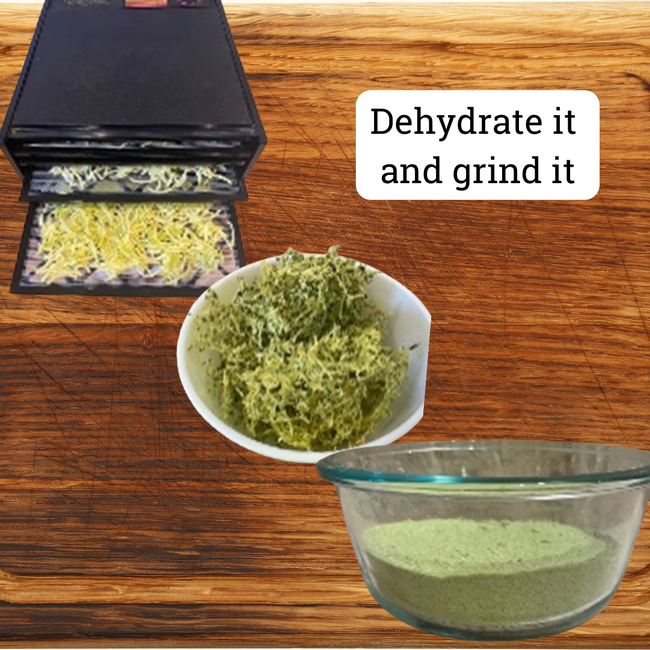
Heat the grated zucchini in the dehydrator. The University of Maine Cooperative Extension recommends heating zoodles, which is a type of grated zucchini, at 135° until the zucchini is very dry and crispy. It's difficult to determine the exact heating time as moisture in the air (humidity) has a major impact on drying time, but it should take about 7-11 hours.
Remove the dried grated zucchini from the dehydrator.
Now comes the fun part! Fill your blender, food processor, or chopper about 2/3 full with the dehydrated grated zucchini and grind it until it is finely ground. Any grinder will work. Some grind finer than others. I used my Vitamix and it ground it to a very fine consistency.* (Read the important note below before removing the lid.)
Congratulations! You've just made flour!
*Important! After you are done grinding, keep the lid on your grinder for a few minutes to let the dust settle. If you don't, you will have a cloud of zucchini dust puff out all over the place when you remove the lid. It can be quite messy and it's not good to inhale all those fine particles.
Remember, I mentioned that I wanted to experiment with leaving the peel on or off. I left the peel on the first batch and pared the second batch. It's difficult to tell with the photos, but there was a slight difference in color; the peeled zucchini was a pale green and the unpeeled zucchini was a bit darker green. I did not notice a difference in the texture or taste. Therefore, I just combined both flours into one container.
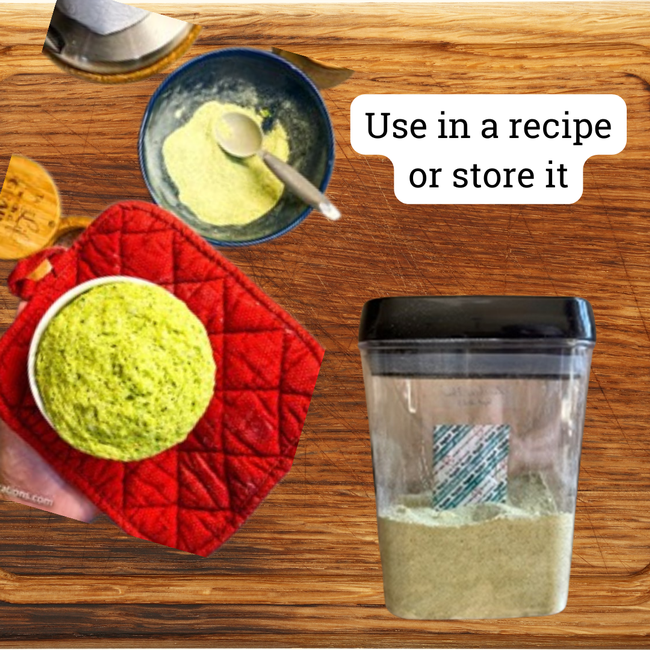
Store the zucchini flour in an airtight container, such as a mason jar with a tight-fitting lid. You can also vacuum seal the jar lids for longer lasting storage. The zucchini flour tends to pull moisture from the air which can cause clumping and molding. To prevent this, you may add a food safe silica packet to absorb the moisture. This is optional, but well worth it. You can read more about silica packets here.
Do not store the zucchini flour in the refrigerator. There is too much moisture in the refrigerator which will undo all your dehydrating work.
Use your beautiful zucchini flour within 6 months for best taste; however, it can be stored for up to 1 year, especially with a silica packet. Not sure if it is good? Smell it; it's no good if it smells musty. It's no good if it is wet and has large clumps of mold. Here's an article to tell you more about bad flour.
So, how much flour will you get? Roughly 3 ½ pounds of zucchini will make about 2 cups of dried shredded zucchini which will end up making a scant ½ cup of zucchini flour.
Now that you have successfully made the zucchini flour, what do you do with it? You can make cakes, breads, cookies, muffins, and quick breads that don't require a lot of rising time since there is no gluten in the zucchini flour. Zucchini flour can replace coconut flour (1:1 ratio). You can replace 1/4 to 1/3 cup of regular flour with the zucchini flour (1:3-4 ratio). (I've been told you might want to add 1-2 tablespoons additional water or oil and mix it extra well.) Try adding some of the zucchini flour to soups, stir fries, casseroles, smoothies, scrambled eggs, or pancake batters. Have fun and add color and nutrition by adding a bit (not a lot) when making pasta (1:10 ratio).
There are a variety of easy to make recipes using alternative flours, such as zucchini flour, available on food blogs. A quick Google search will turn up many options. Find a reliable source for recipes and have some fun experimenting in the kitchen!
- Author: Jennifer Codron, UC Master Food Preserver Volunteer
Spring has sprung and not only are the birds and bees stirring, but humans on the Central Coast are out and about after a much-needed rainy winter season.
There are parties, garden workdays and spring cleaning to attend to. All of these activities leave very little time for working in the kitchen! When my rhubarb started coming in, I decided I wanted to use the fresh stalks without spending too much time in the kitchen. So, I made strawberry rhubarb jam with low-sugar pectin. (Ball Realfruit Low or No-Sugar Needed Pectin)
Friends and family often ask for a lower sugar product so no-sugar/low-sugar pectin is a great solution to use with a berry jam recipe. The peel-off label on the jar of pectin provides a useful table of ingredients listing the amounts to multiply by the number of jars you wish to make. My water bath canner fits about 7 jars, so I multiply the recipe by four to make about 8 - 8oz. jars of jam. That eighth jar is always my sampler that I do not process and just store in the fridge.
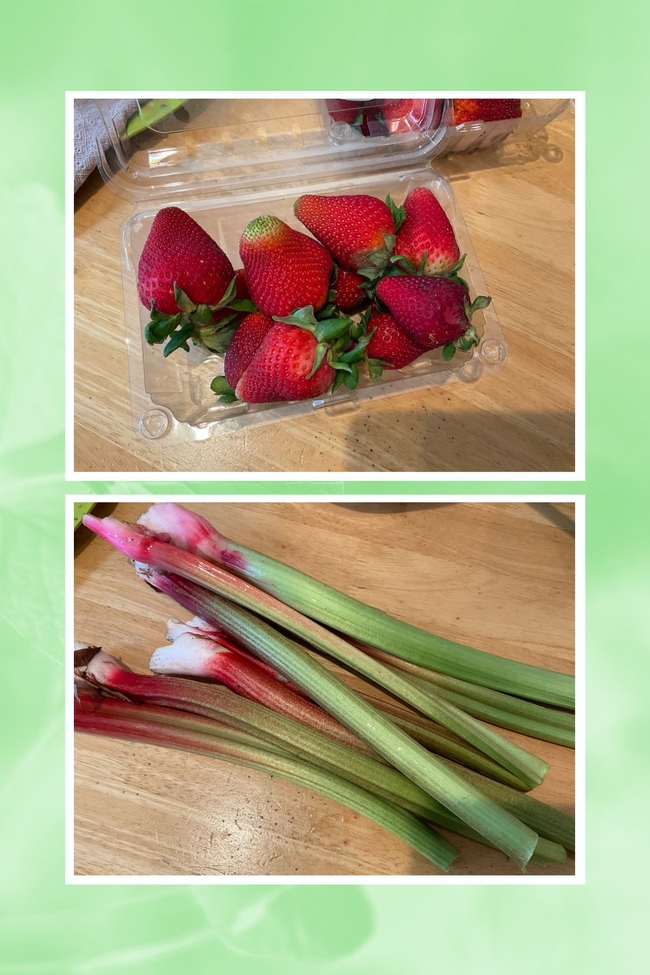
Strawberries can often be found at the farmers markets on the Central Coast, sometimes year-round! These were purchased at Cal Poly while I was in the orchard u-picking citrus fruit.
I grew up with rhubarb growing in our garden in Michigan. My Finnish grandmother always had a patch in her garden, too. It is not always easy to find here on the Central Coast, so I decided to plant my own. These stalks came from my second plant which did much better planted in full sun.
The people of China were the first to use this plant as a medicinal herb over 5,000 years ago. When the English discovered rhubarb, they began eating the leaves which caused great stomach discomfort as the leaves contain oxalic acid and should never be eaten. Two hundred years later, Europeans discovered the tart stalks and used them to make tarts, which gave rise to the nickname “pie plant.”
University of Wisconsin Horticulture
Now let's get started. First, follow this link to read up on how to properly prepare your jars.
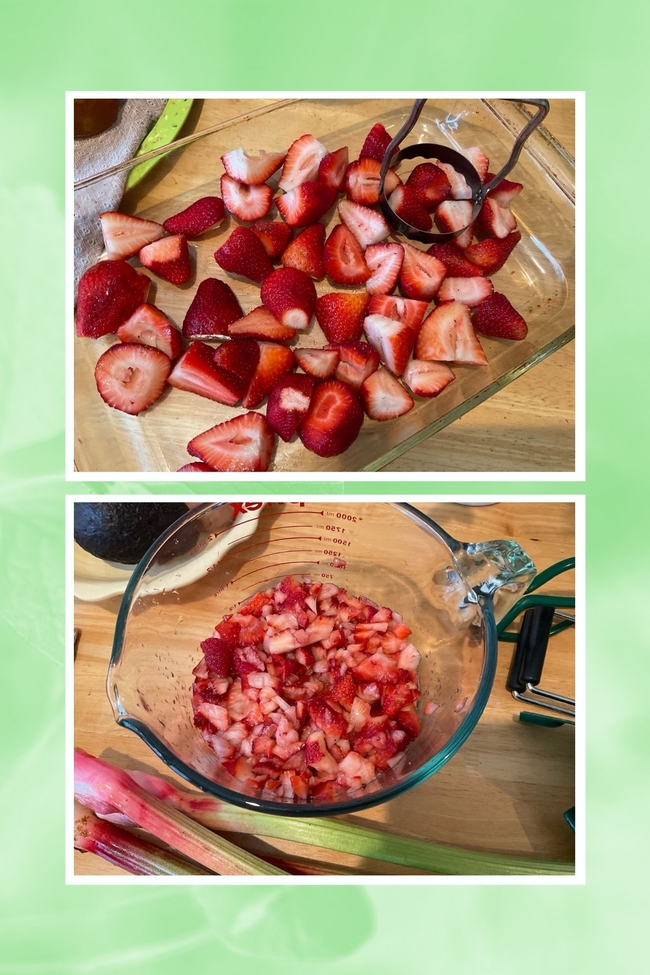
Once your jars are preparred, clean and remove any blemishes and stems. Chop your strawberries, arranging them in a single layer. I use an old-fashioned biscuit cutter for chopping the berries. I leave it a little chunky as I like pieces of fruit in my jam.
Then, measure the chopped strawberries.
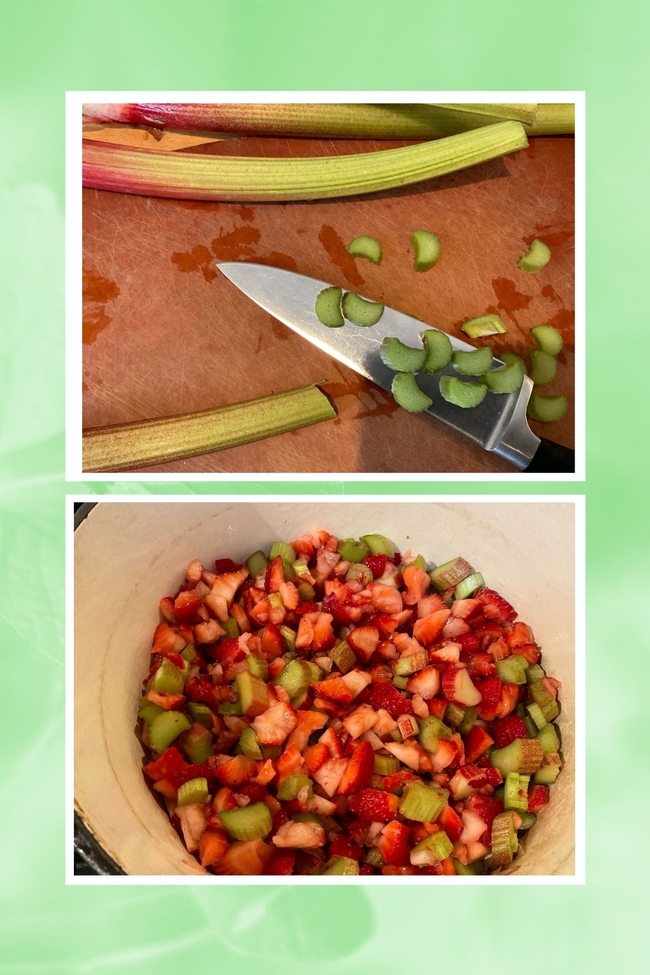
Chop the rhubarb into equal sized pieces.
Then, mix the chopped and measured fruit into heavy bottom pan and add water or fruit juice.
Gradually stir in pectin and bring to a full rolling boil, stirring constantly.
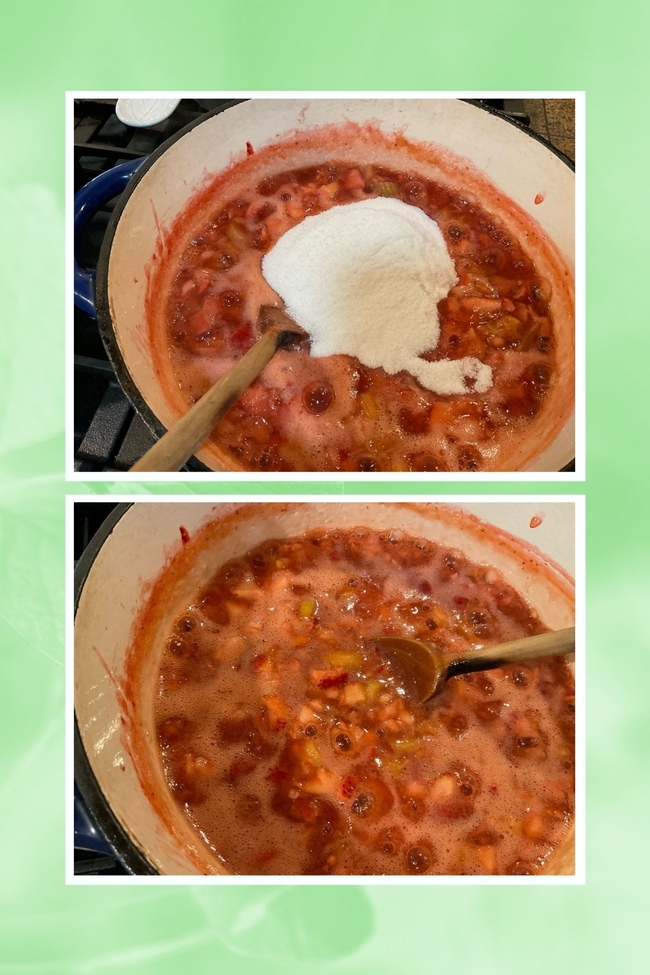
Then add sugar. It is important to fully dissolve the pectin before adding the sugar.
Return to a full rolling boil and boil hard for 1 minutes, stirring constantly. Remove from heat and skim any foam off the top that has formed.
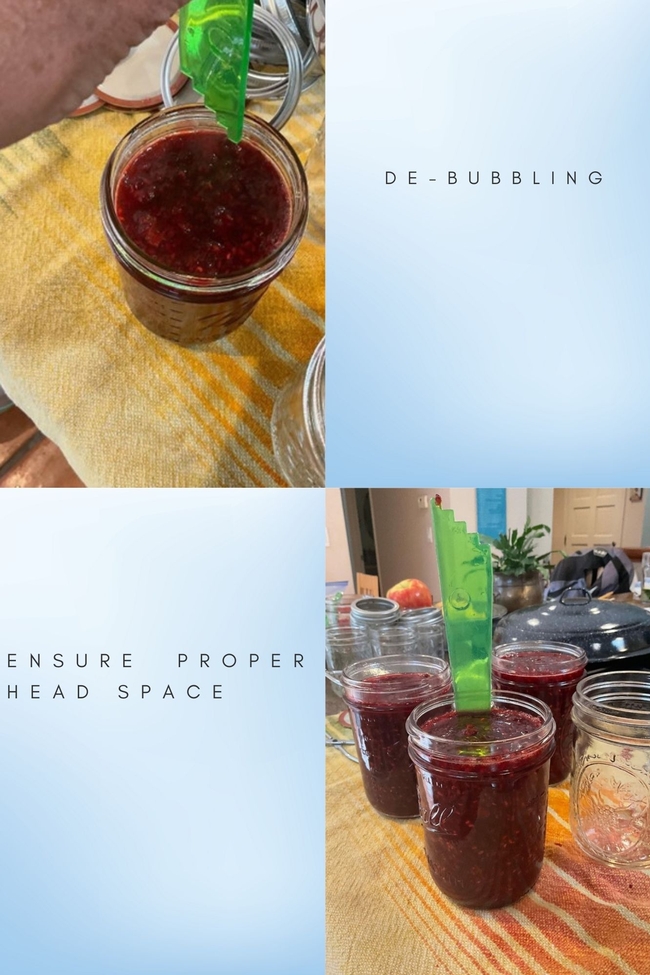
Pack jam into prepared 8 ounce jars and measure the head space. There should be ¼ inch from the jam to the top of jar.
De-bubble each jar by sliding the tool down the sides of each jar.
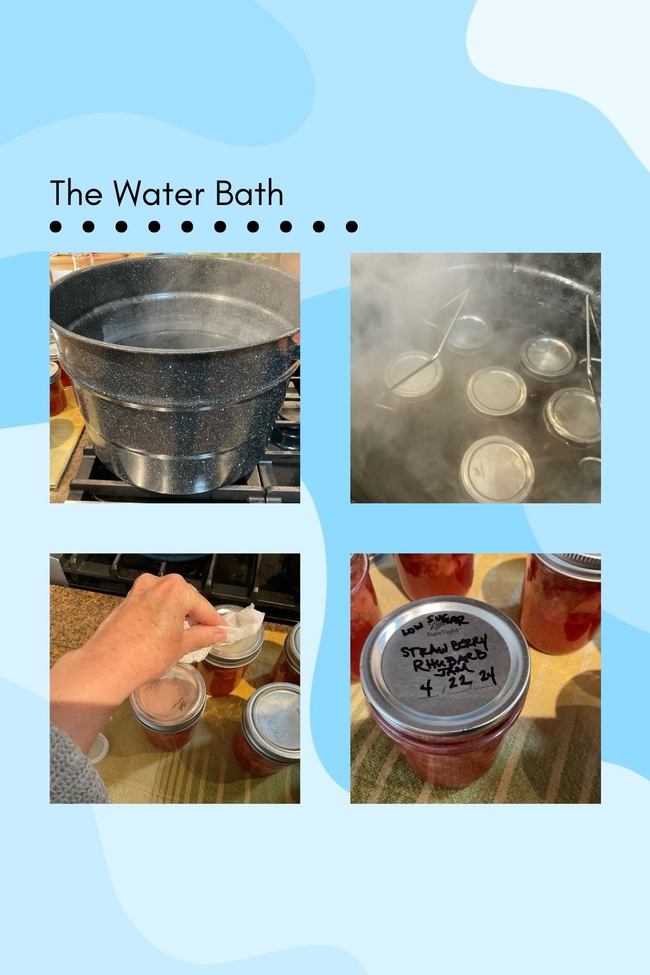
Process the jars for 10 minutes in a boiling water bath canner at a full rolling boil. Steam will escape through the side of the lid during this process. At any point, if the water drops below the boiling point, start your timer over for the full processing time as directed by the recipe. After 10 minutes, turn off the heat, remove the lid and let the jars stand for 5 minutes.
After the 10 minute processing time and 5 minute standing time, carefully remove the lid and let the steam escape away from you. Leave the jars in the water bath canner for another 5 minutes.
When removing the jars, be careful not to tip the jars. Leave any remaining water collected on the lid in place. Water spots will likely form on the lid, which is ok. A little vinegar on a clean towel will easily remove those water stains.
Remember to label and date the jar and remove the band for storage. Store for a max of one year.
This recipe is a quick process and perfect for a teacher gift or host gift for spring parties, or to include with your beach picnic in the summertime!
- Author: Jennifer Codron, UC Master Food Preserver
- Editor: Jennifer Hopkins
Lately, I've been experimenting with making jam the “old fashioned way,” which means a long cooking time and no added pectin. I'm finding that the fruit's flavor is much more concentrated and the jam has an extra layer of richness that I don't taste from jams made with added pectin. These jams require quite a bit of sugar, so you may prefer to use a low or no sugar pectin to reduce the sweetness.
Today I made raspberry jam using the Ball Complete Book of Home Preserving (2016) recipe, Berry Jam, pg. 23. After purchasing the raspberries at my local farmer's market, cleaning and sanitizing the kitchen and gathering my canning supplies I set out to create some delicious jam during the height of raspberry season.
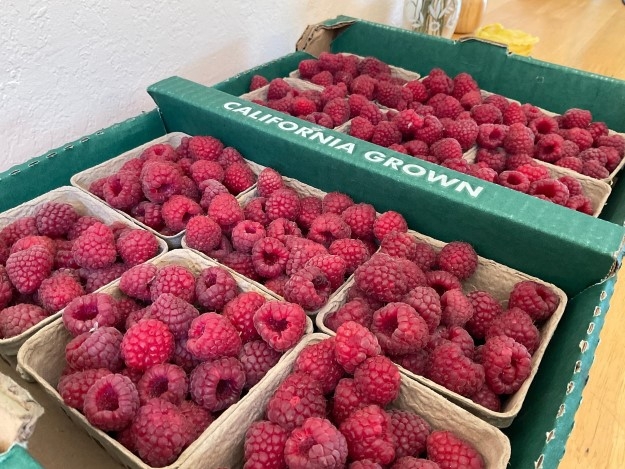
First, prepare your canner and jars.
Wash the raspberries and pick through making sure not to use any moldy or badly blemished berries. Ideally, you want a mix of ripe fruit and some of the berries a little underripe. These contain more natural pectin which helps the jam set.
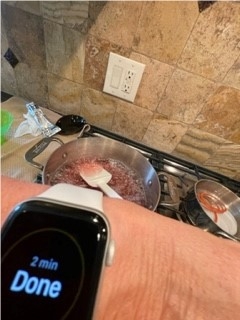
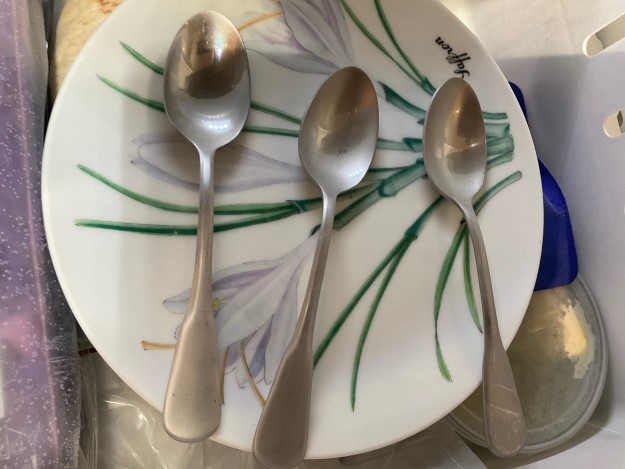
When making a full sugar no pectin jam you will need to cook the jam longer and use the spoon gel test to make sure it will properly set after canning. To do this, take 3-5 teaspoons and set them on a plate and place in the freezer as you are cooking the berries.
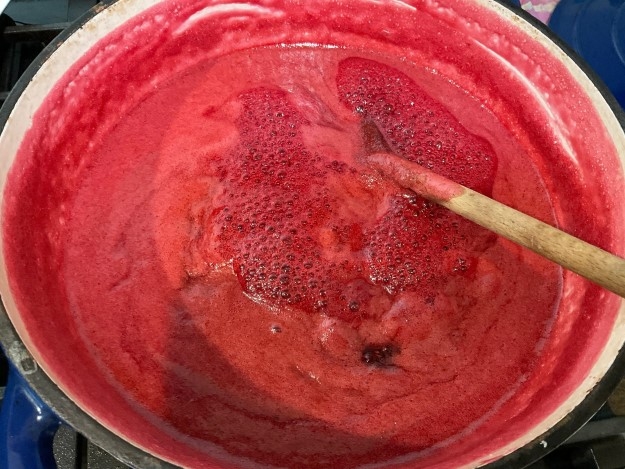
Combine berries, sugar, and lemon juice in a large heavy bottom pot and bring to a boil over medium heat.
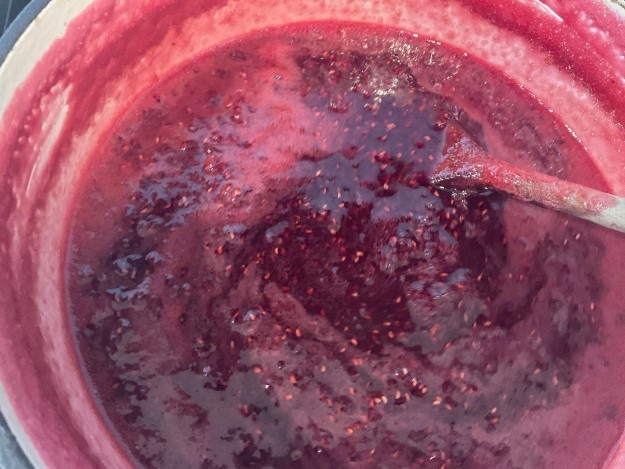
Bring this mixture to a boil and let boil for about 10 to 15 minutes until the foam recedes and the mixture starts to become glossy.
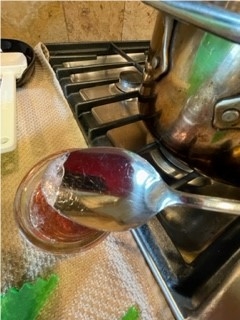
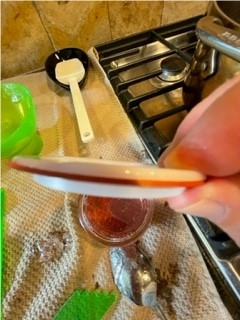
You can now take one teaspoon from the freezer and dip it into the mixture and return the spoon about half full to the freezer for about 3-4 mins. After that time, take the spoon out, make sure the bottom feels cool, not warm, and tilt it to the side. The drops should run together and form a sheet as viewed in the last spoon photo. If the jam runs quickly, keep stirring and cooking the mixture. Repeat the test after another 5 minutes.

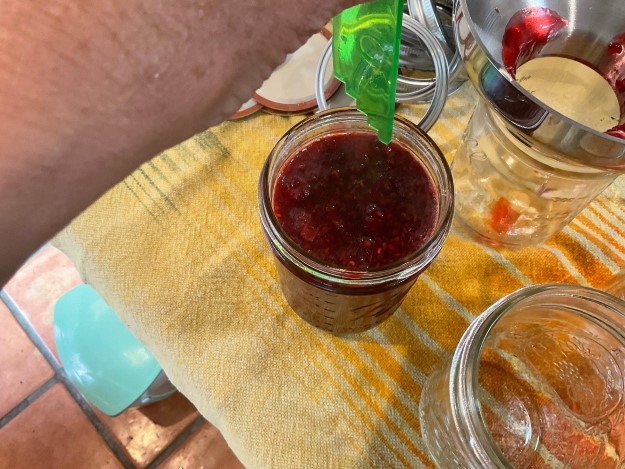
When the jam is done, remove from heat and ladle into the warm jars, leaving ¼ inch headspace. You can measure with the ruler tool and scrape down the sides of each jar to remove any bubbles that may have formed. Now take a damp paper towel and wipe the rims to remove any drips that may have occurred. After ensuring a clean rim on the jar, place the lids on and screw on the bands until fingertip tight. You don't want the bands too tight. You want to allow the air to move out under the band to help seal the lid during the canning process.
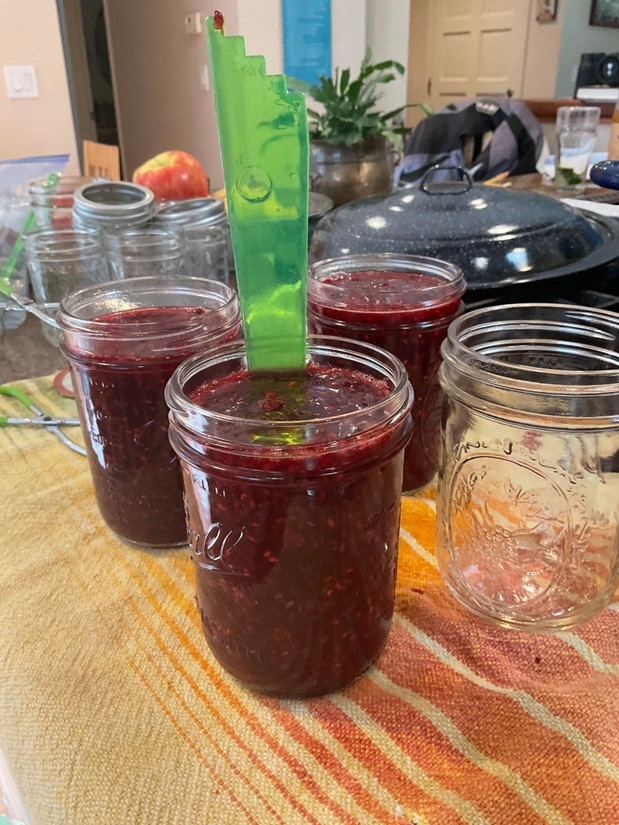
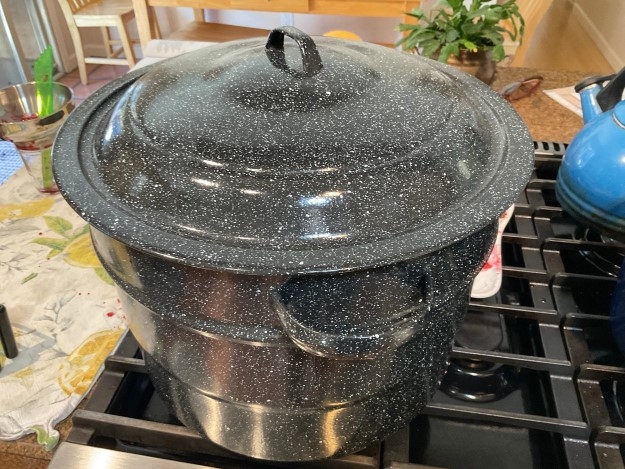
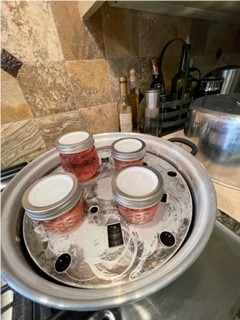
Process the jars in a boiling water canner at a full roiling boil for 10 minutes. Steam will escape through the side of the lid during this process. If the water ever drops below the boiling point, start your timer over for the full processing time as directed by the recipe. After 10 minutes, turn off the heat, remove the lid and let the jars stand for 5 minutes.
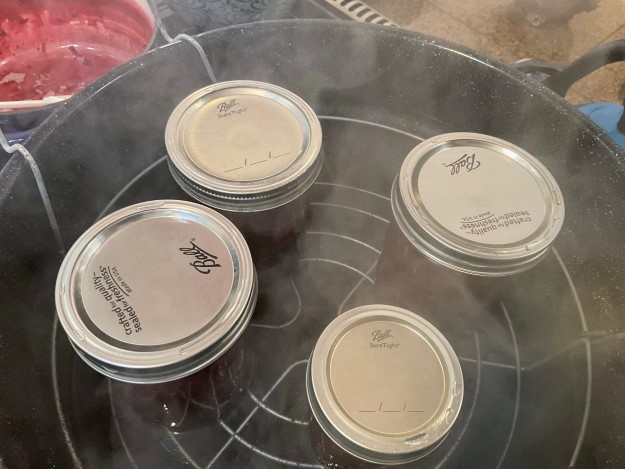
After this time, use a jar lifter and carefully remove each jar to a towel on your counter. You can use a tray lined with a towel if you want to move the jars to a different location before letting them set for 12-24 hours.
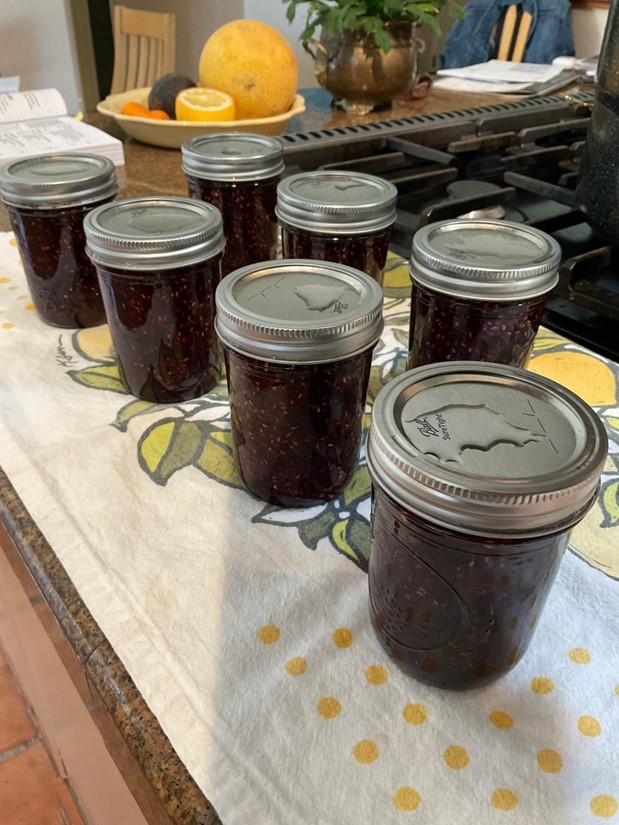
Don't worry about the water that pools on top of the lids. Just leave it be. Do not tilt the jars to remove it. Once the jars have sealed you can remove this with a paper towel and a little vinegar to remove any white sediment.
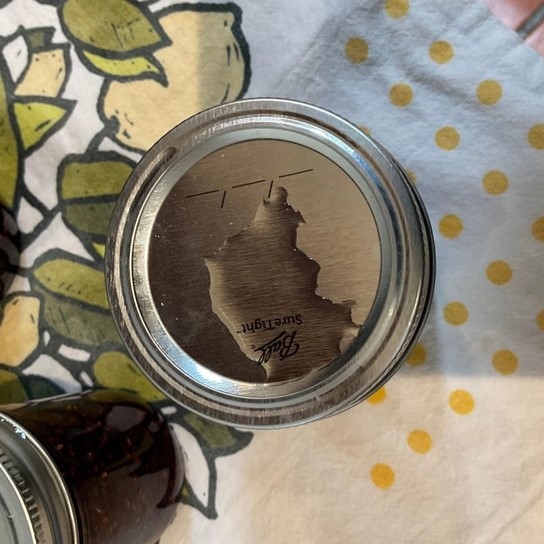
After 12 hours make sure the lids have sealed properly, the lids should be concave. Label the jars and store without the bands in a cool, dark location. If a jar or two has not sealed properly simply place them in the refrigerator and use them within a month. Once opened, store jam in the refrigerator. Use unopened jars within a year for best flavor.
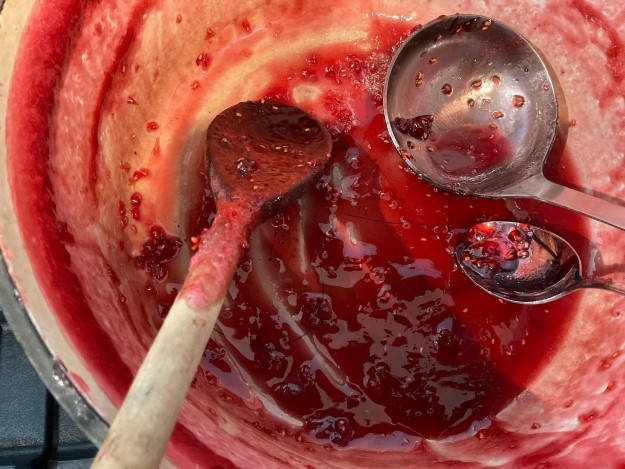
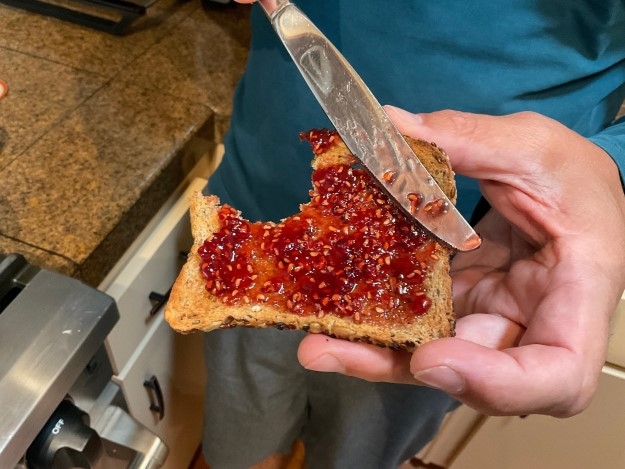
I love this jam spread on toast but also plan on filling thumbprint cookies with it. The long cooking time creates a thicker jam with a richer color than what you usually get with a pectin added jam. The process is more labor intensive but well worth it!
- Author: Jennifer Codron, UC Master Food Preserver
- Editor: Jennifer Hopkins
Curious about Chutney
Author: Jennifer Codron, UC Master Food Preserver Program Volunteer
Fall is here and so are the many delicious varieties of apples on the Central Coast! Apples are versatile and can be used in a variety of ways, like chutney. Chutneys are a delicious spread packed full of fruit pieces, added spices, vinegar, and sugar that can zest up sandwiches, eggs, charcuterie boards and can even be used as a topping for meats such as pork and chicken.
Some people, including myself, have never eaten Chutneys outside of Indian cuisine, but these condiments are also popular in Middle Eastern cuisine and have also been adapted by the British. I was curious to see what ingredients go into a chutney as well as the process of making one.
Once you have decided to try your hand at preserving chutney, begin by selecting a research-based, approved recipe for canning. I used this revised recipe from the National Center for Home Food Preservation Publication, So Easy to Preserve. This revision is intended to increase the apple flavor. I used a mixture of both tart and sweet apples to increase the depth of flavor. You could also substitute some pears for the apples as long as you maintain the total amount of fruit needed in the recipe.
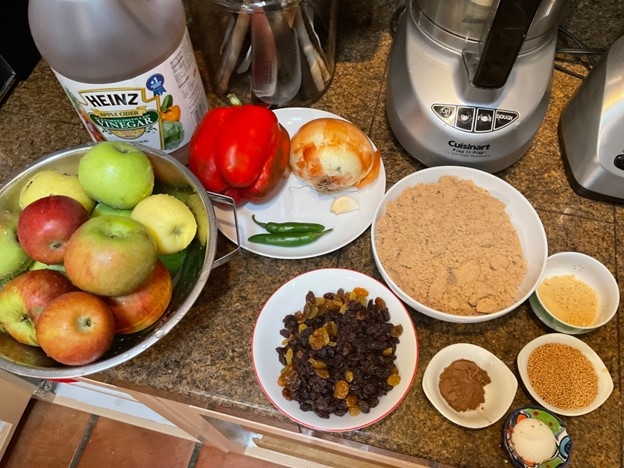
When you are ready to begin, start by washing your hands and thoroughly cleaning and sanitizing your workspace. Next, gather the ingredients you will need for the recipe.
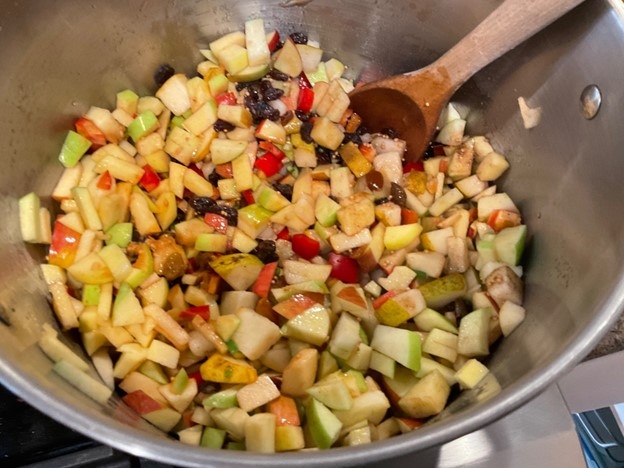
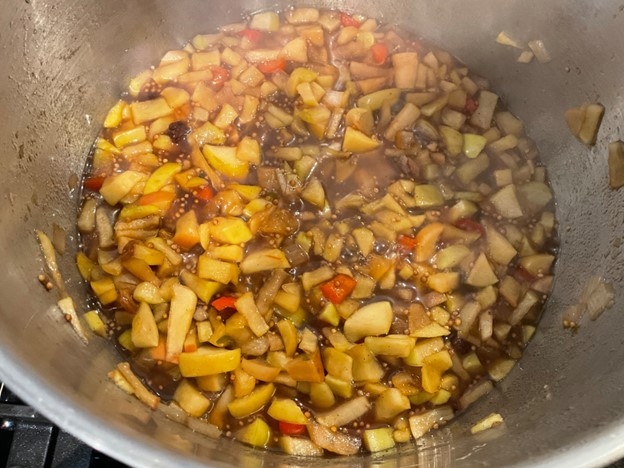
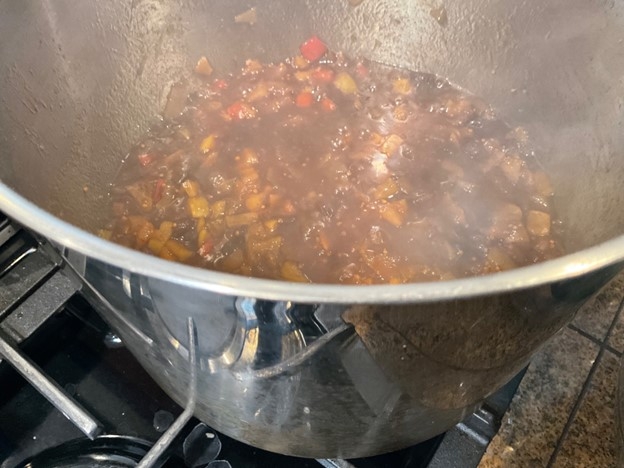
Then, place all ingredients in a large pot on the stove and bring to a boil. Simmer this mixture until it begins to thicken. The recipe states about 45 minutes but this took me closer to an hour and 15 minutes. Be sure to stir often near the end of cooking time when the mixture starts to thicken. To test for doneness, dip a wooden spoon into the top layer of chutney. If liquid runs onto the spoon, you know that you'll need to cook it a bit longer. The color will darken into a beautiful caramel color.
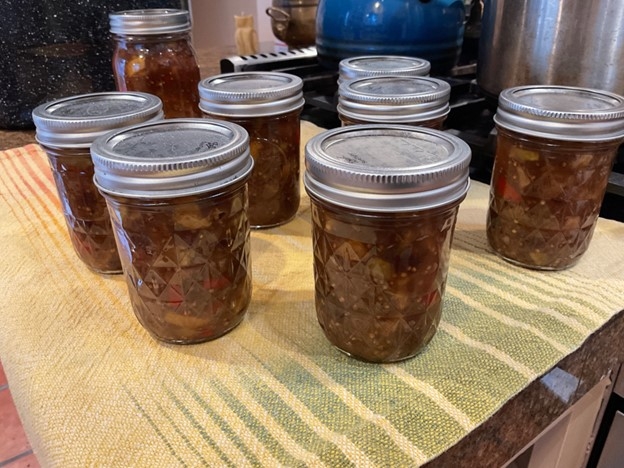
The apples and peppers and onions begin to break down and release their juices.
The mixture darkens and turns into a rich caramel color.
While you are cooking the sauce, make sure your washed jars are heated before filling. Cover them with water in a boiling water canner and simmer them at 180 degrees F until they are ready to be filled. Carefully remove them to a clean towel on a tray right before you are ready to fill the jars.
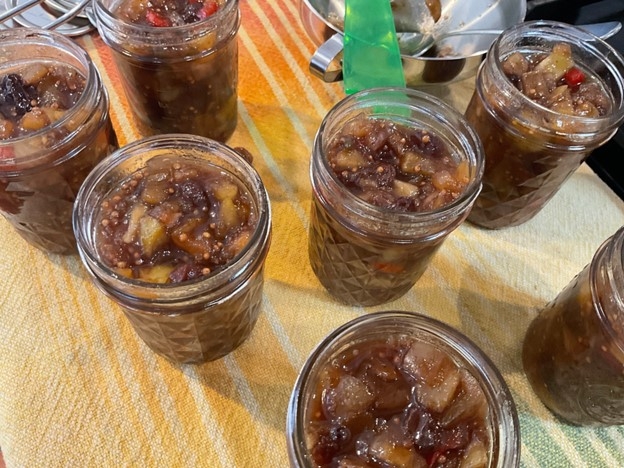
Once the mixture is thick, turn off the heat. Ladle out the mixture into the jars. This is a chunky mixture so it is easy to over fill the jars. If you do, just use a clean spoon to scoop some out and distribute to another jar. Use your debubbler to scrape down the sides of the jars to remove any air bubbles. Next check to make sure you have a ½ in. headspace before wiping the rims with a damp paper towel. Next place lids on jars and screw on bands until fingertip tight.
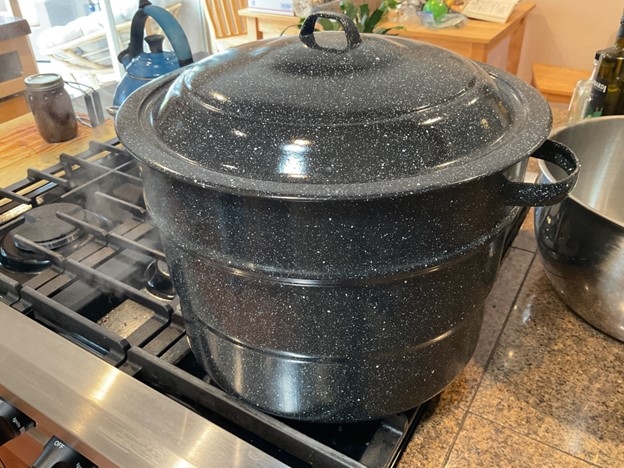
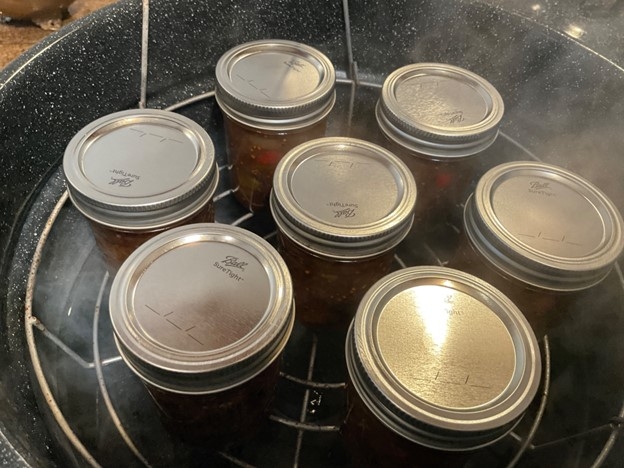
Place the jars spaced evenly on the rack in the canner, drop the basket down to the bottom and make sure there is an inch or two of water covering the tops of the jars.
Next,place the lid on and bring the water to a rolling boil. Once it has started boiling, start your timer for 10 minutes and make sure the pot continues to boil the entire time. Steam will be coming out the sides. If it drops below the rolling boil, turn up heat and bring to a boil and restart processing time.
After 10 minutes, turn off the heat,and leave the jars to settle for another 5 minutes before removing to the tray with a clean towel. The puddle of water on the lid is ok and should not be wiped away. Leave your jars for 24 hours.
After twenty-four hours, check to make sure the lids have sealed. They will not press in if sealed correctly. Take a little vinegar on a paper towel and wipe any hard water deposits that have formed. Remove the rings and write the type of food and date on the jar lid before storing.
For the best flavor, wait a couple of weeks before eating. Enjoy this apple condiment year-round and it also makes a nice gift. Enjoy!
Have home preservation questions?
Visit our website for more food preservation tips and safety resources or email our help line at slomfp@ucanr.edu !
- Author: Dayna Ravalin, UC Master Food Preserver
- Editor: Jennifer Hopkins
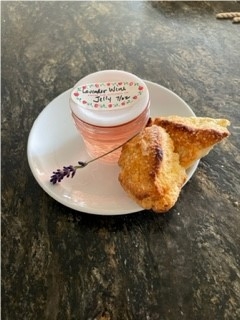
Have you ever wondered what to do with leftover wine or perhaps a bottle that didn't quite suit your taste? I know I have been in this predicament a few times. It's a shame to pour it out, so what do you do with it? How about make some wine jelly? The procedure is simple, and it will yield a flavorful product that can accompany a variety of cheeses, meats, and charcuterie boards. Or, if you're like me, enjoy it on a cream scone or slice of sourdough toast with a cup of tea. YUM!
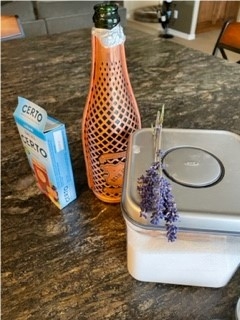
Photo: Dayna RavalinRecently, I opened a bottle of champagne and didn't like the taste so I decided to use it to make wine jelly. I chose the Herbes de Provence Wine Jelly recipe from the Ball® Complete Book of Home Preserving 2012 edition. Since I used champagne instead of still white wine (my champagne was flat) and dried lavender for the Herbes de Provence, the variation I made is called Lavender Wine Jelly.
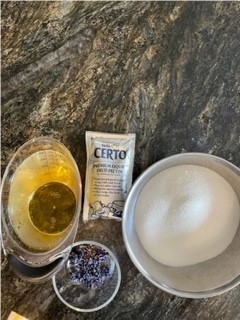
First, before starting any preservation project, make sure your workspace is very clean, including all equipment. Wash your hands with soap and water for at least 20 seconds before you begin. Next, gather your supplies.
Then, measure your ingredients using appropriate utensils for the job. Use dry measuring tools for non-liquid ingredients and liquid measuring tools for liquids, of course!
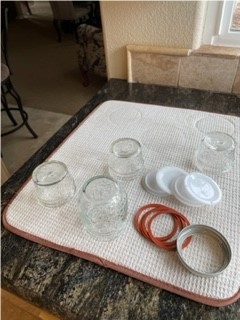
Next, wash all your jars, lids, and rings and prepare them according to the manufacturer's recommendations. As you can see from the photo, I use reusable lids for my canning projects. Single use lids work very well too.
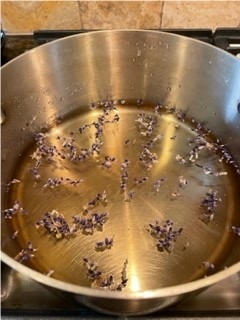
Pour your measured wine into a stainless-steel pot and add the dried culinary lavender.
Note: Make sure the variety of lavender you are using is meant to be used in cooking. Not all lavender is created equally.
Photo: Dayna Ravalin
Bring the lavender and wine to a boil, cover, and remove from the heat and allow to steep for 20 minutes.
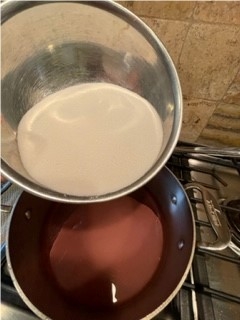
After steeping, I transferred the liquid using a strainer lined with several layers of cheesecloth set over a deep bowl and let it drip for several minutes. You can also use a dampened jelly bag for this step. You will need 1 ¾ cups of infused wine. You may need to squeeze the cheesecloth or jelly bag to get enough liquid.
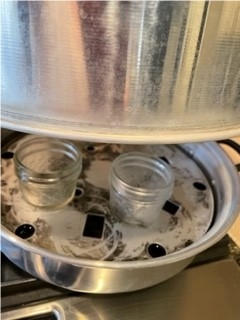
Meanwhile, heat your jars in your atmospheric steam canner or boiling water canner. I use a steam canner, when possible, to minimize the amount of needed water for processing and ease of use. The processing time is the same as for a boiling water canner. Recipes must require less than 45 minutes of processing time and be considered a high acid food in order to be safely canned in an atmospheric steam canner.
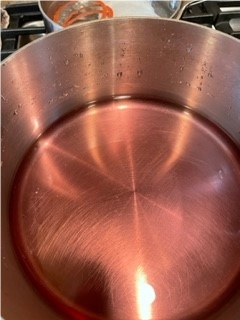
Transfer the steeped wine into a large stainless-steel pot. As you can see, my wine turned a beautiful rose color thanks to the newly dried lavender pigment.
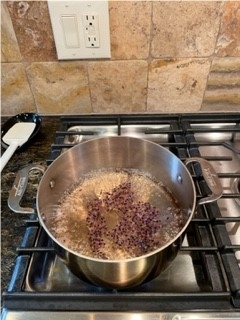
Stir in the sugar all at once.
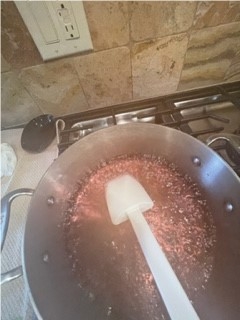
Bring to a full rolling boil that cannot be stirred down and stir in the pectin.
Boil hard for 2 minutes, stirring constantly.
Remove from heat and quickly skim off the foam.
Quickly pour the hot jelly into the hot jars removing air bubbles and adjusting headspace to ¼ inch. Wipe jar rim and lid your jar.
Apply the jar ring and load into the canner.
Process these jars in a boiling water canner or atmospheric steam canner for 10 minutes. Remove jars from the canner after the recommended wait time and allow to cool for 24 hours.
After 24 hours, check seals, remove rings, and store in a dark cool place. Make sure to place any unsealed jars in the refrigerator to enjoy right away.
This recipe is such fun and doesn't require the longer preparation time that other jelly recipes do. Enjoy this during the upcoming holidays or enjoy now during the warmer months as part of a charcuterie board, or just pair it with a wedge of brie cheese and your favorite cracker. Either way, you'll always want to have some in the pantry! It also makes a great gift!
Recipe:
Lavender Wine Jelly
Ingredients
2 cups dry white wine
1 Tbsp. dried culinary lavender
2 cups granulated sugar
1 pouch (3oz.) liquid pectin
Directions:
- In a large stainless-steel saucepan combine wine and lavender. Bring to a boil over high heat. Remove from heat, cover and let steep for 20 minutes.
- Transfer to a dampened jelly bag or a strainer lined with several layers of dampened cheesecloth set over a deep bowl. Let drip undisturbed, for 20 minutes. Measure 1 ¾ cups infused wine. If you do not have the required amount, squeeze the bag.
- Meanwhile, prepare canner, jars, and lids according to manufacturer recommendations.
- Transfer infused wine to a clean, large, deep stainless-steel saucepan. Stir in sugar.
- Stirring constantly over high heat, bring mixture to a full rolling boil that cannot be stirred down. Stir in pectin. Boil hard, stirring constantly for 2 minutes. Remove from heat and quickly skim off foam.
- Quickly pour hot jelly into hot jars, leaving ¼ inch headspace. Wipe rim. Center lid on jar. Screw band down until resistance is met then increase to fingertip tight, or according to manufacturer directions for reusable lids.
- Place jars in canner and process for 10 minutes. Once process is complete, remove jars according to canner type after recommended wait time (5 minutes for boiling water canner), and cool for 24 hours. Label jars with contents and date of preparation and store in a cool, dark place.
UC Master Food Preservers do not endorse or promote any brand of products.

