Cover Crops & Soil Enhancement
What to Do Off-Season in the Edible Garden

Putting the garden to rest
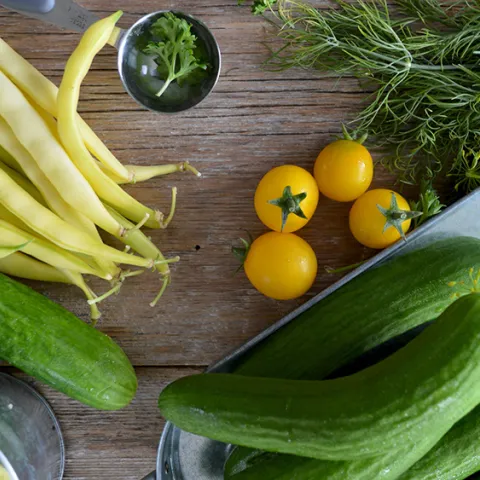
Thanks to Marin's mild winter weather, home gardeners can grow vegetables year-round. But you may choose to give the garden (and yourself) some rest and rejuvenation once you've harvested your last summer-fall crop. Here are two options for putting the edible garden to bed before you kick back in your easy chair and flip through seed catalogs.
Two basic options for your edible beds:
> Grow cover crops
> Straw-covered manure layer
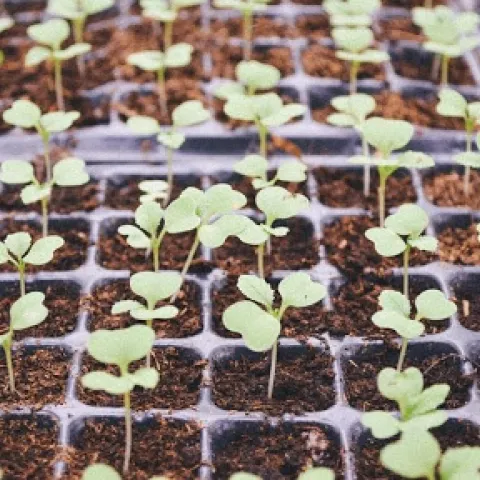
Option one: GROW COVER CROPS

Cover crops are plants grown primarily to improve soil. Planted when traditional garden crops are not present, they enrich soil and provide numerous other benefits. Cover crops are often referred to as a “green manure.”
Advantages
• Build soil fertility
• Increase soil organic matter
• Suppress weeds
• Protect soil from wind and water erosion
• Provide habitat for beneficial insects and earthworms
• Loosen soil without digging, as roots reach down deeper than any shovel
• Fix nitrogen in the soil. Research shows that legume crops, especially vetch, are the best for nitrogen fixing.
• Suppress some harmful soil-dwelling nematodes: Mustard plants do this naturally.
• Provide aesthetic addition to winter gardens.
Disadvantages
• May require watering, at least until fall rains keep soil evenly moist.
• Cutting down the crop and digging it into the garden bed is work.
• Patience is required while the chopped material breaks down in the planting bed. Alternatively, put greens in the compost pile.
TIMING: when to plant and cut down a cover crop
Planting cover crop seed at the right time is important for success.
September or October: Sow cover crop. To enhance the soil for spring edibles, avoid planting cover crops after November.
February or early March: When cover crops are 25-50% in flower, cut them down, chop them up, and dig the greens into the soil 3 to 6 weeks prior to planting. The buried material will decompose and provide nutrients and organic material to the soil while increasing biological activity, water infiltration, and soil tilth. Shredded cover crop may also be added to your compost pile instead of digging it into the bed.
Example: Plant cover crop on October 1, cut down on March 1, plant tomatoes and other spring crops on April1-15.
Any time of year: Plant a cover crop at any time to enhance a tired bed, as long as the crop planting is consistent with the growing season.
HOW TO PLANT a cover crop:
• Inoculant: Some UCCE (University of California Cooperative Extension) Farm Advisors recommend inoculating legume seeds prior to planting to effectively fix nitrogen. Legumes work with bacteria called Rhizobium that live on their roots, and allow the plant to fix nitrogen into the soil. Buy inoculant where you buy cover crop seeds.
• Planting depth is based on seed size. In general, the larger the seed, the more soil cover it requires. Follow instructions on seed package and the suggestions below.
• Rake the soil smooth, removing any significant debris from a previous crop.
• Broadcast the seed at the recommended rate for the plant type.
• Cover the seed with soil to the recommended depth for the plant type.
• Water if necessary and keep moist until rains begin.
WHAT TO PLANT
Choose a cover crop based on your goals:
Improve soil structure
Plant deeply rooted plants and/or plants with large biomass such as barley, rye, and daikon radish.
Build soil microbial biomass
(fungi, bacteria and other microbes): Plant Phacelia.
Protect the soil from erosion
Plant grasses, mustard, and radish.
Suppress weeds
Plant grasses, mustard, and radish.
Attract beneficial insects
Plant mustard and radish.
(These plants may also attract undesirable insects such as cucumber beetles and stink bugs).
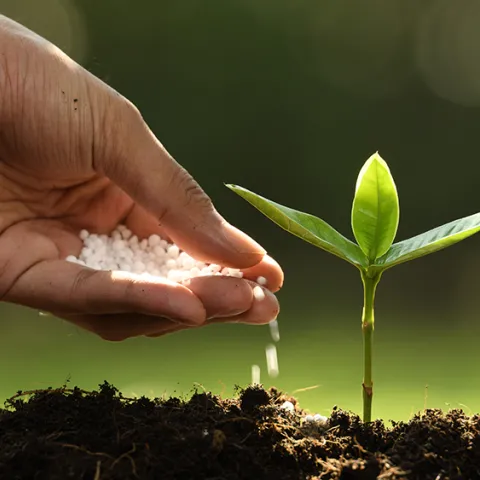
Increase nitrogen
Plant vetch and other legumes.
Seeding for the season
Common Cover Crops for California are included in the chart below. Once you’ve identified the desirable crop, check with local nurseries or online seed suppliers for availability.

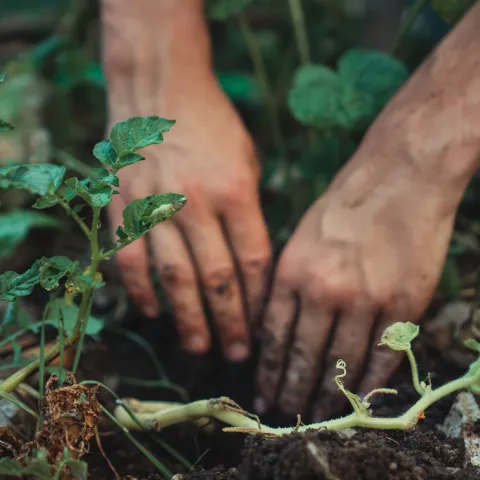
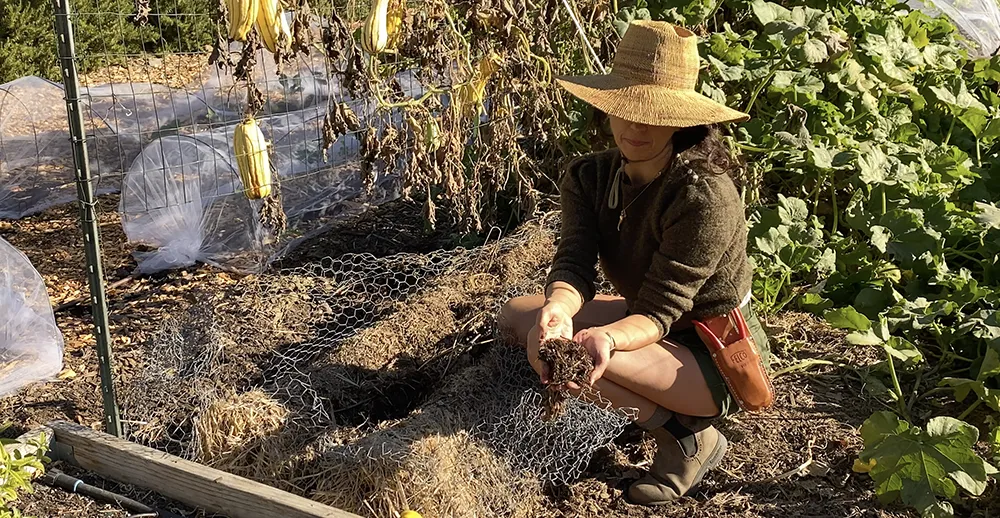
Option two: LAYER OF MANURE COVERED WITH STRAW

A rice straw-covered layer of manure is another way of boosting soil.
Advantages
• Works slowly over the winter to enrich soil
• Attracts earthworms
• Feeds legion of beneficial microbes needed for healthy spring crops
• One-and-done deal; there is nothing to cut down in spring like there is with a cover crop.
Disadvantages
• Sourcing, transporting, and shoveling manure
• A smelly wait for a couple of days for the barnyard aroma to dissipate
HOW TO LAYER IT UP
• Pile on 2 or more inches of herbivore-generated manure (horse, chicken, cow, goat, llama and rabbit are all equally good (preferably from animals that have not been treated with antibiotics or other pharmaceuticals).
• Top it with a fluffy layer of rice straw (often available inexpensively at horse or farm supply stores) or dry leaves three times as deep as the manure layer. The straw stays neat-looking for months, and thick layers of organic material smother most weeds.
• Winter rains keep the pile moist, attracting earthworms and helpful decomposers.
• Straw and leaves hold in moisture and prevent rain from compacting the soil.
• In spring, turn the composted manure and straw into the top layer of soil before planting.
BACK TO EDIBLES
> What Edible Gardens Need
> Best Choices for Marin
> How to Prepare
> How to Plant
> Edibles in Containers
> Planting Calendar
> Grow & Care Sheets for Vegetables, Herbs & Fruits
> Tips & Techniques
> How to Maintain
> Fruit Trees
> Top 20 Edible Garden Problems
> Cover Crops & Soil Enhancements in the Off-season
> Conserving Water
•••••••••
Visit our EDIBLE DEMO GARDEN at IVC Organic Farm & Garden
News from the Edible Demo Garden
Seasonal Advice and Happenings at our Edible Demonstration Garden
Every month, the team at the Edible Demonstration Garden chronicles what's happening in the garden - planting, harvesting, problems and more. Check out our stories!
> BACK TO THE EDIBLE DEMO GARDEN
December 2021: Composting & Testing Your Soil
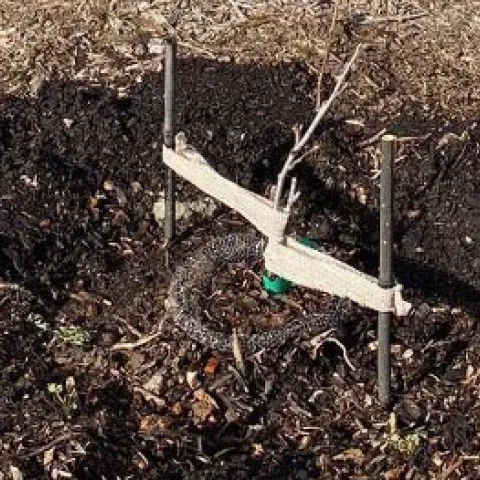
Soil Testing for the Home Gardener
Every Master Gardener in our training class learns how to use a do-it-yourself soil testing kit that will give you a pH reading and the level of Nitrogen (N), Phosphorous (P), and Potassium (K) in your soil. The kits we use are inexpensive (under $20). The process involves dissolving pills in distilled water with a soil sample and after the soil settles, comparing the color of the water against a key that tells you the level of a particular nutrient. Are these tests totally accurate? Probably not, but they can give you a rough estimate of your soil fertility for the primary nutrients that are required in larger amounts than other soil nutrients. One piece of advice, do this with a buddy because the directions are complicated and it helps to have one person read them while the other one actually does the testing. It is more fun that way too.
If you don’t feel like being a chemist, there are also nutrient testing kits you can purchase that just require you to send a soil sample to a lab for testing. You get a list of the results and also some recommendations for amending any deficiencies. These test kits are also under $20 but you have to pay the postage for shipping to the lab.
Choose which method suits you best. For Master Gardeners, getting your hands dirty and experiencing science up close and personal can feel quite rewarding.
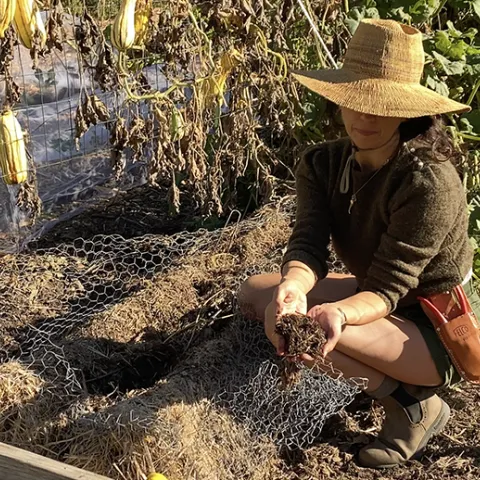
Soil Testing Results
We tested the pH and the nitrogen level in our straw compost and found out that the pH was perfect for growing vegetables. The Nitrogen level, however, was between low and very low. So what was the difference between last year and this year? In October, we had substantial rain: 17 inches for the reservoirs in Southern Marin and 7.6 inches for Stafford Lake in North Marin. We left our bales in place during October because we were still harvesting winter squash and the rains came down hard on them.
At the end of the growing season, the leftover nitrogen is mostly dissolved in water held in the pore space between the soil particles. It is very mobile and probably was depleted by the onslaught of heavy rains as it was washed into the soil below. So what we hoped would fertilize our soil will now be used as mulch which will improve the soil structure but not fertilize our plants.
Compost to Increase Fertility for your Spring Garden
As a result of our testing, we will now go back to the tried and true use of compost to solve our garden fertility problems. Even though our straw compost was a faster way to start our horseradish growing again, by the spring, the farm’s compost had proven to be just as effective even with the slower start.
The nitrogen in compost is in a form that is not available to plant roots. But it is slowly converted over time to a form that can be used by the plant. Now is the time to apply compost to your winter garden plants and the also the parts of the garden that will be left fallow. Also, adding a mulch like straw, for example, on top of the compost will help to conserve soil moisture just like it does in the summer.
Let’s hope that we get more storms this winter but with the compost’s slow process of converting organic nitrogen to a usable nutrient, your garden will be all ready to go come spring. As we Master Gardeners love to say, "compost, compost, compost"!