Display Site-Specific Photographs Using the Attachment Viewer Instant App Template
If a picture is worth a thousand words, then that makes a strong reason why the photos of your program activities should not be hidden in a cloud. ArcGIS Online offers various tools through which photos from your various program activity locations can be displayed on your website to share stories and communicate the impact of your work.
Displaying photos with data collected from Survey 123
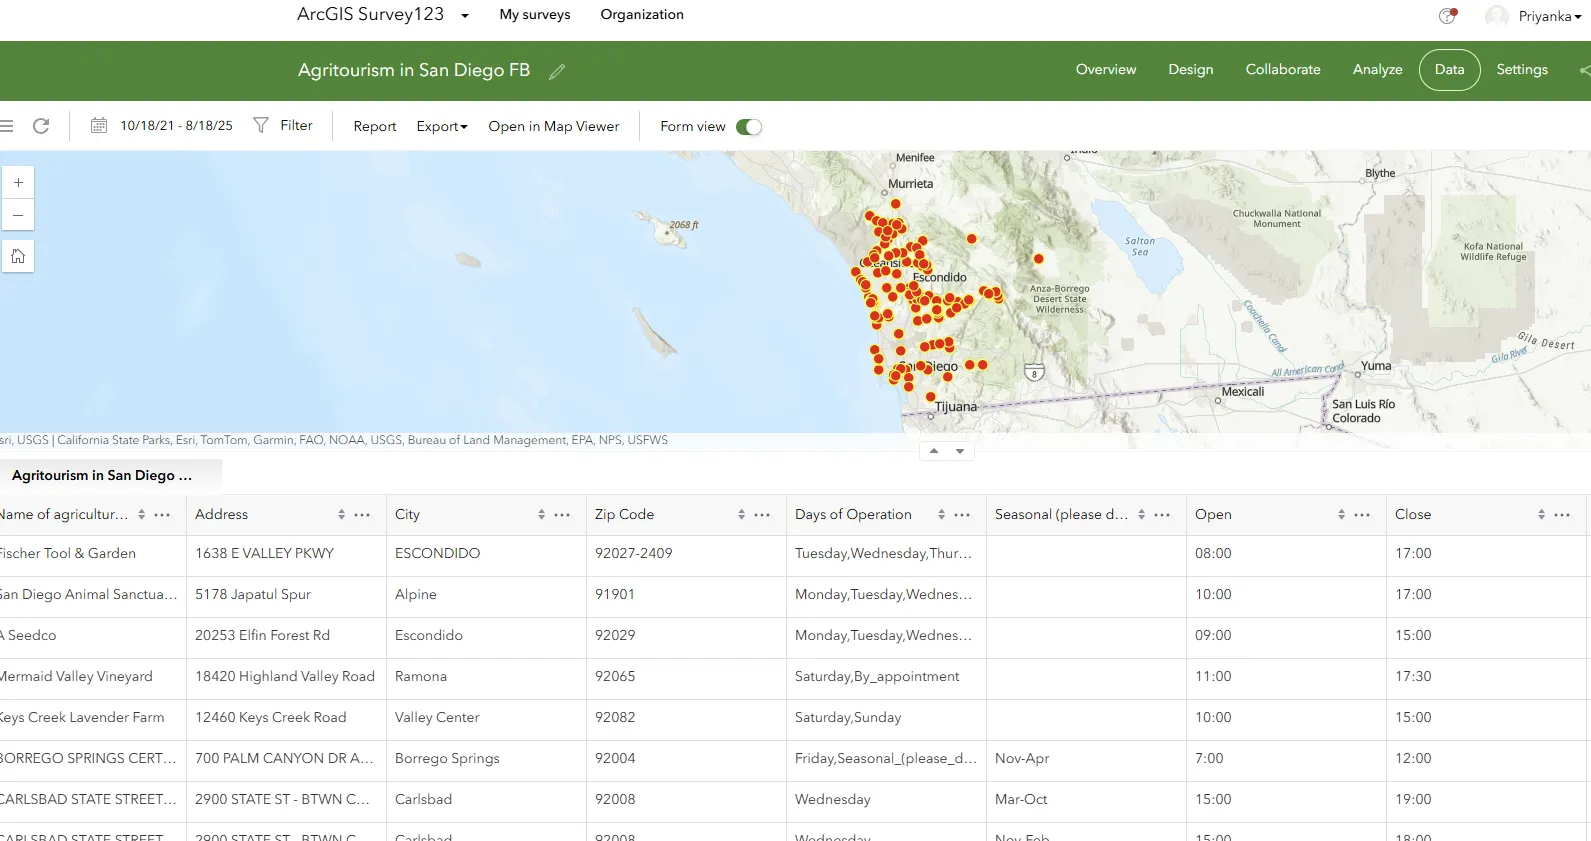
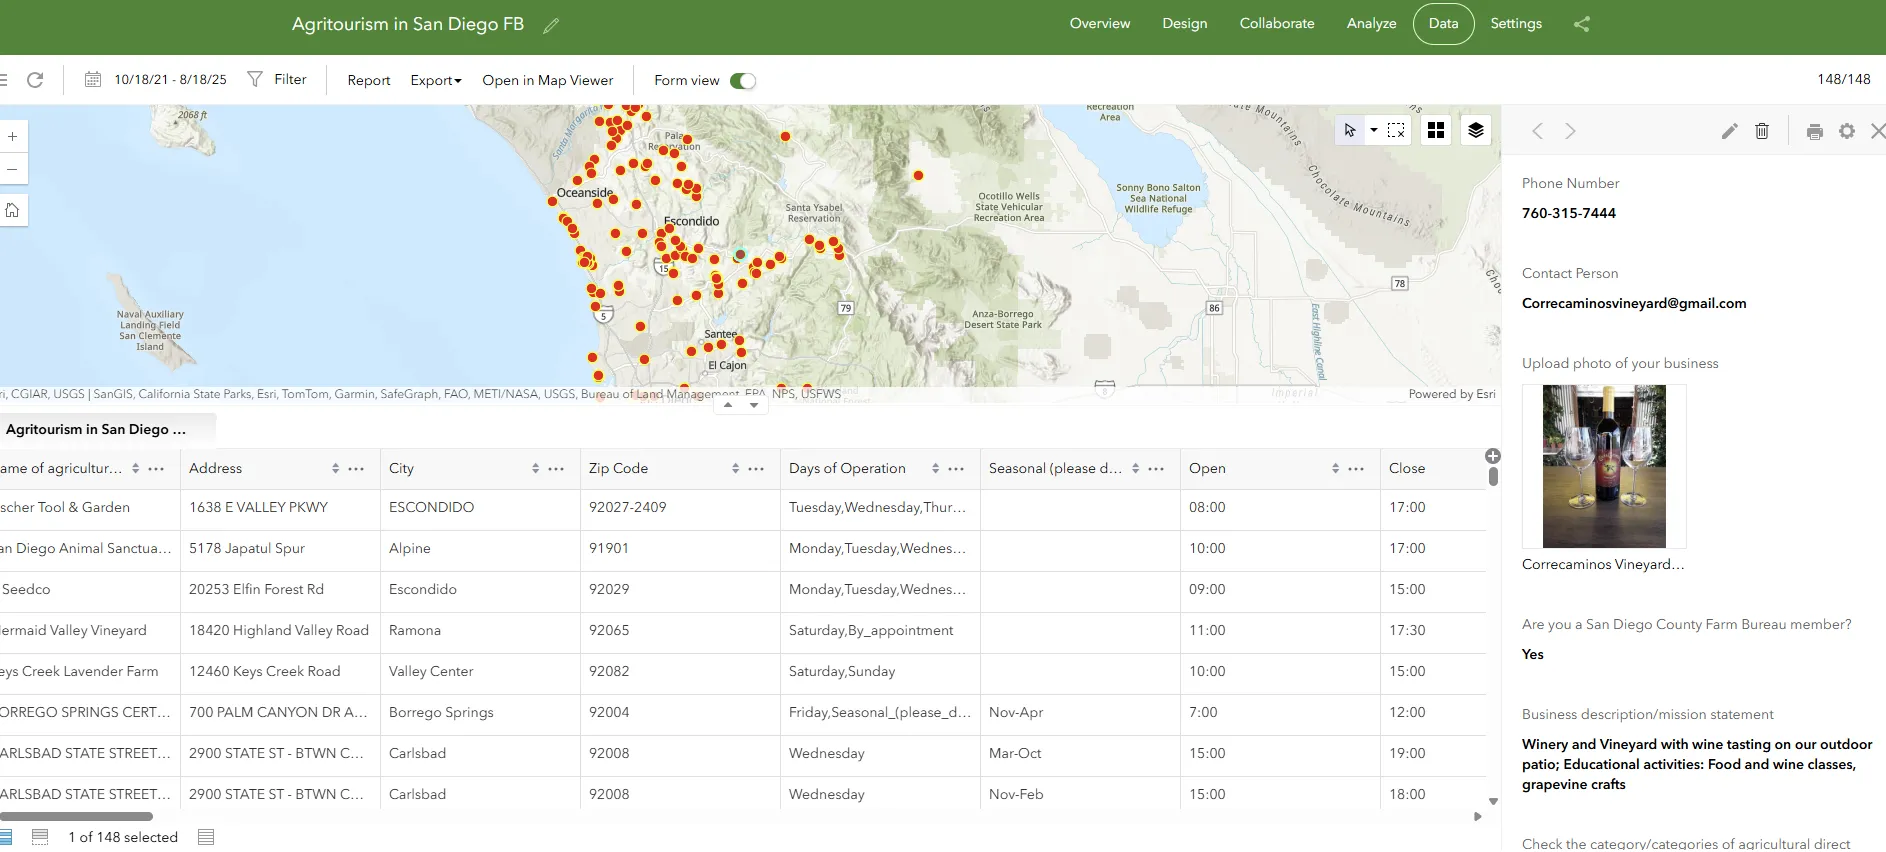
Survey 123 app is used by many of the program teams within UC ANR for collecting field data. In many instances there are photos attached to locations where the data are gathered from. For example, San Diego Agro Tourism Survey has photos associated with each site location. Similarly, the Invasive Species Scouting Tool has photos of trees associated at each location where the data were collected. Yet, there are interesting stories based on photos and through these data remain buried behind the walls of ArcGIS Online. This is mainly because the data are collected but doesn't get visualized.
What if the photos that you collected through your Survey 123 App be displayed in as an Instant App? Now, in just a few minutes you can share interesting insights to the world with the data you collected over a period of months or several years. In case of instances where you have collected data through Survey 123 and have photos associated at various locations, then Instant App Attachment Viewer template would be a perfect template for you to use.
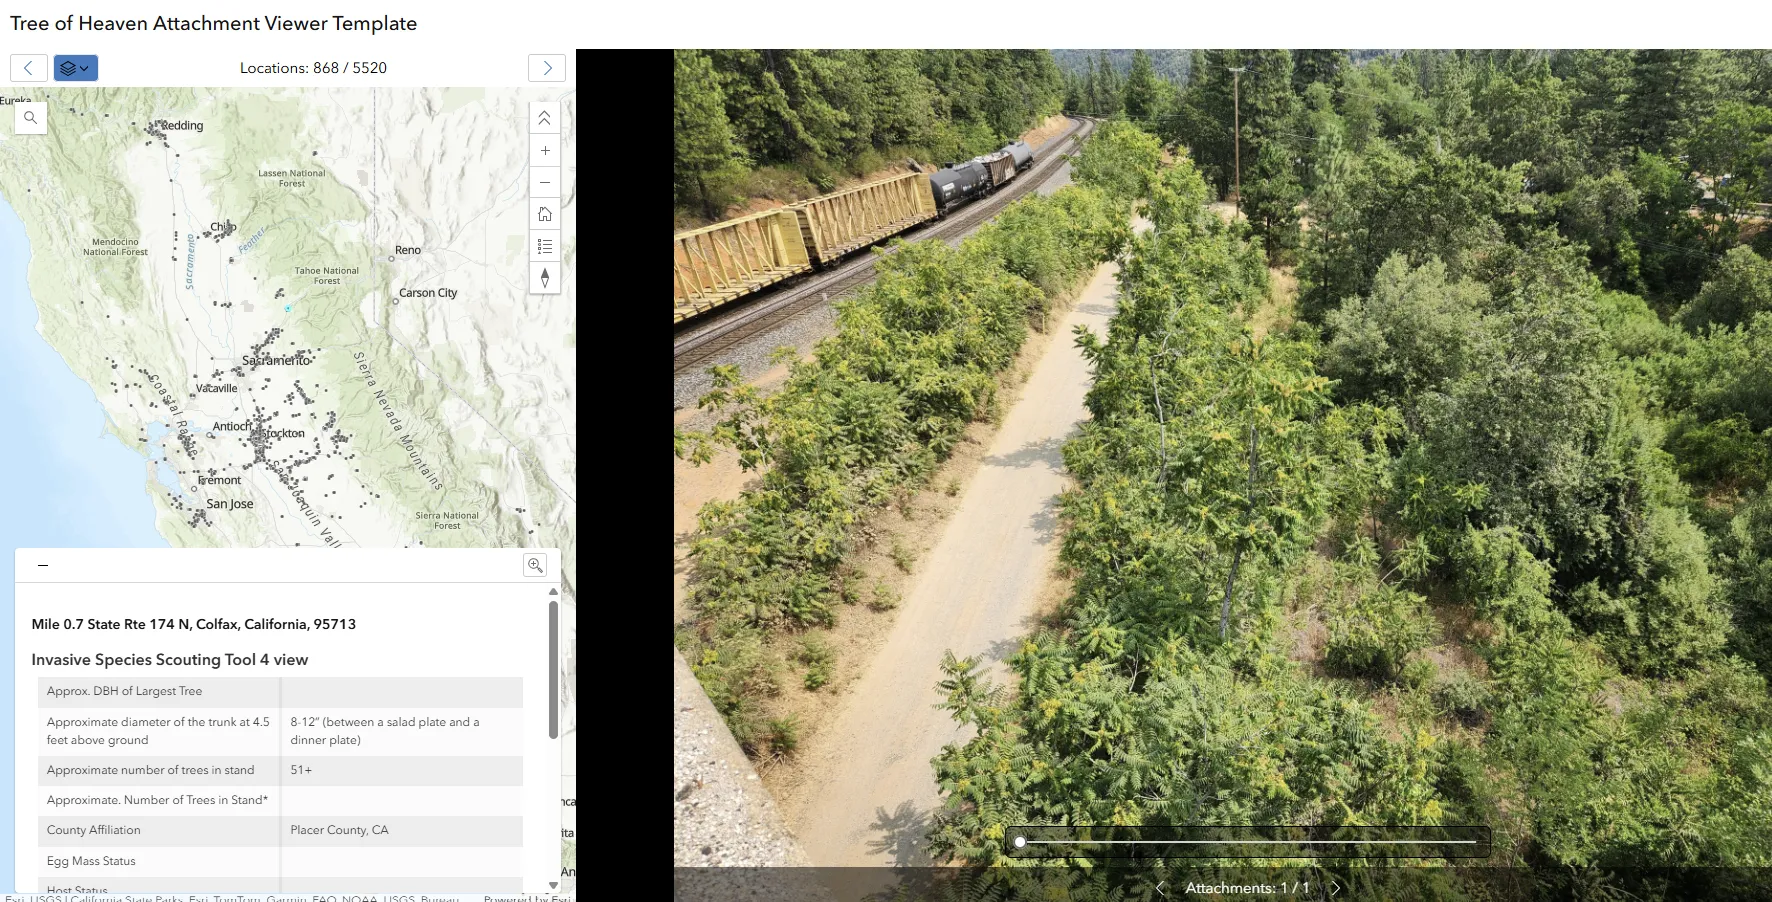
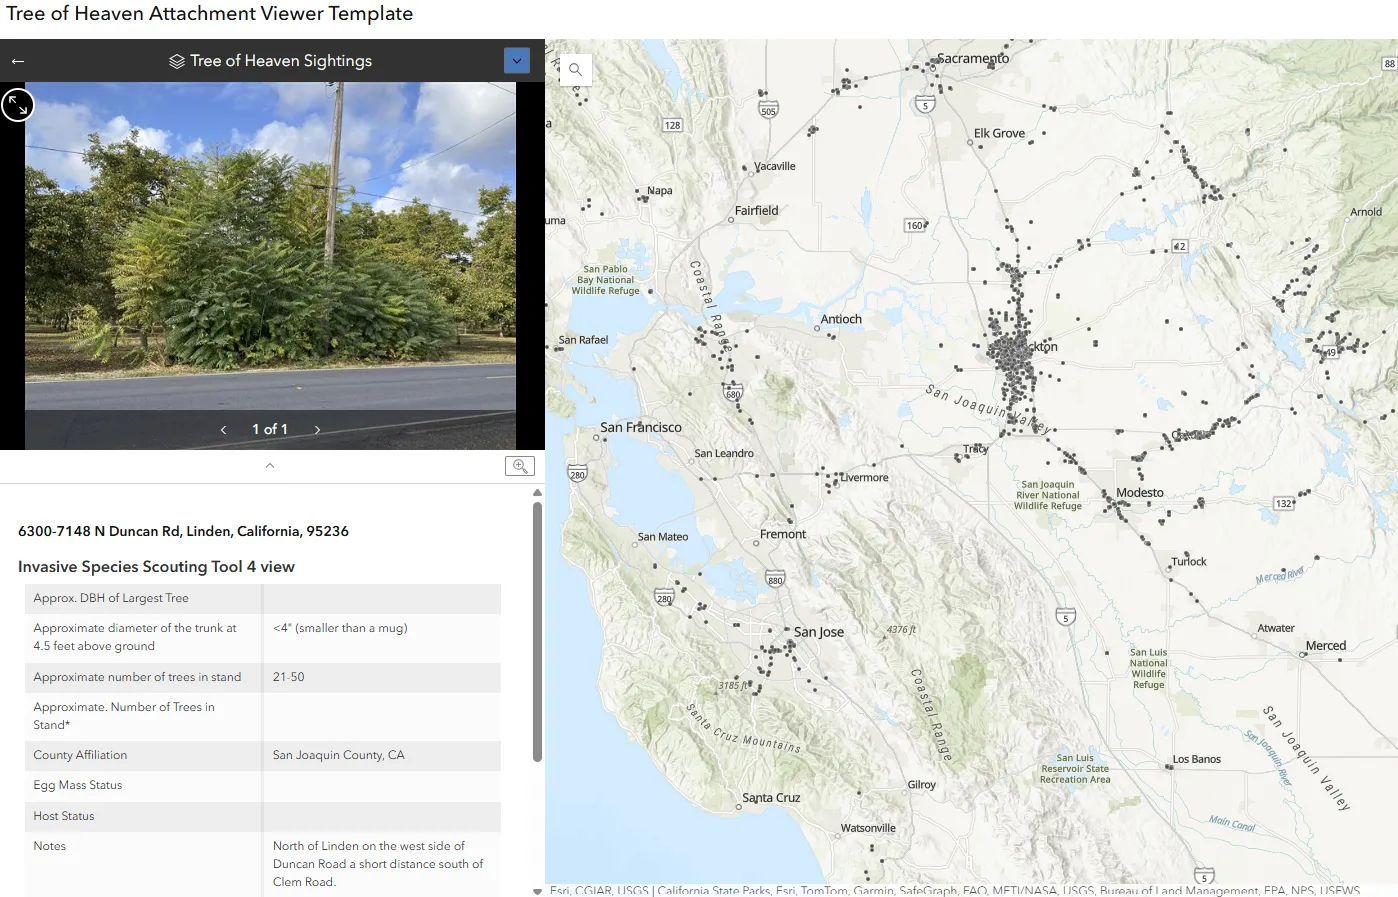
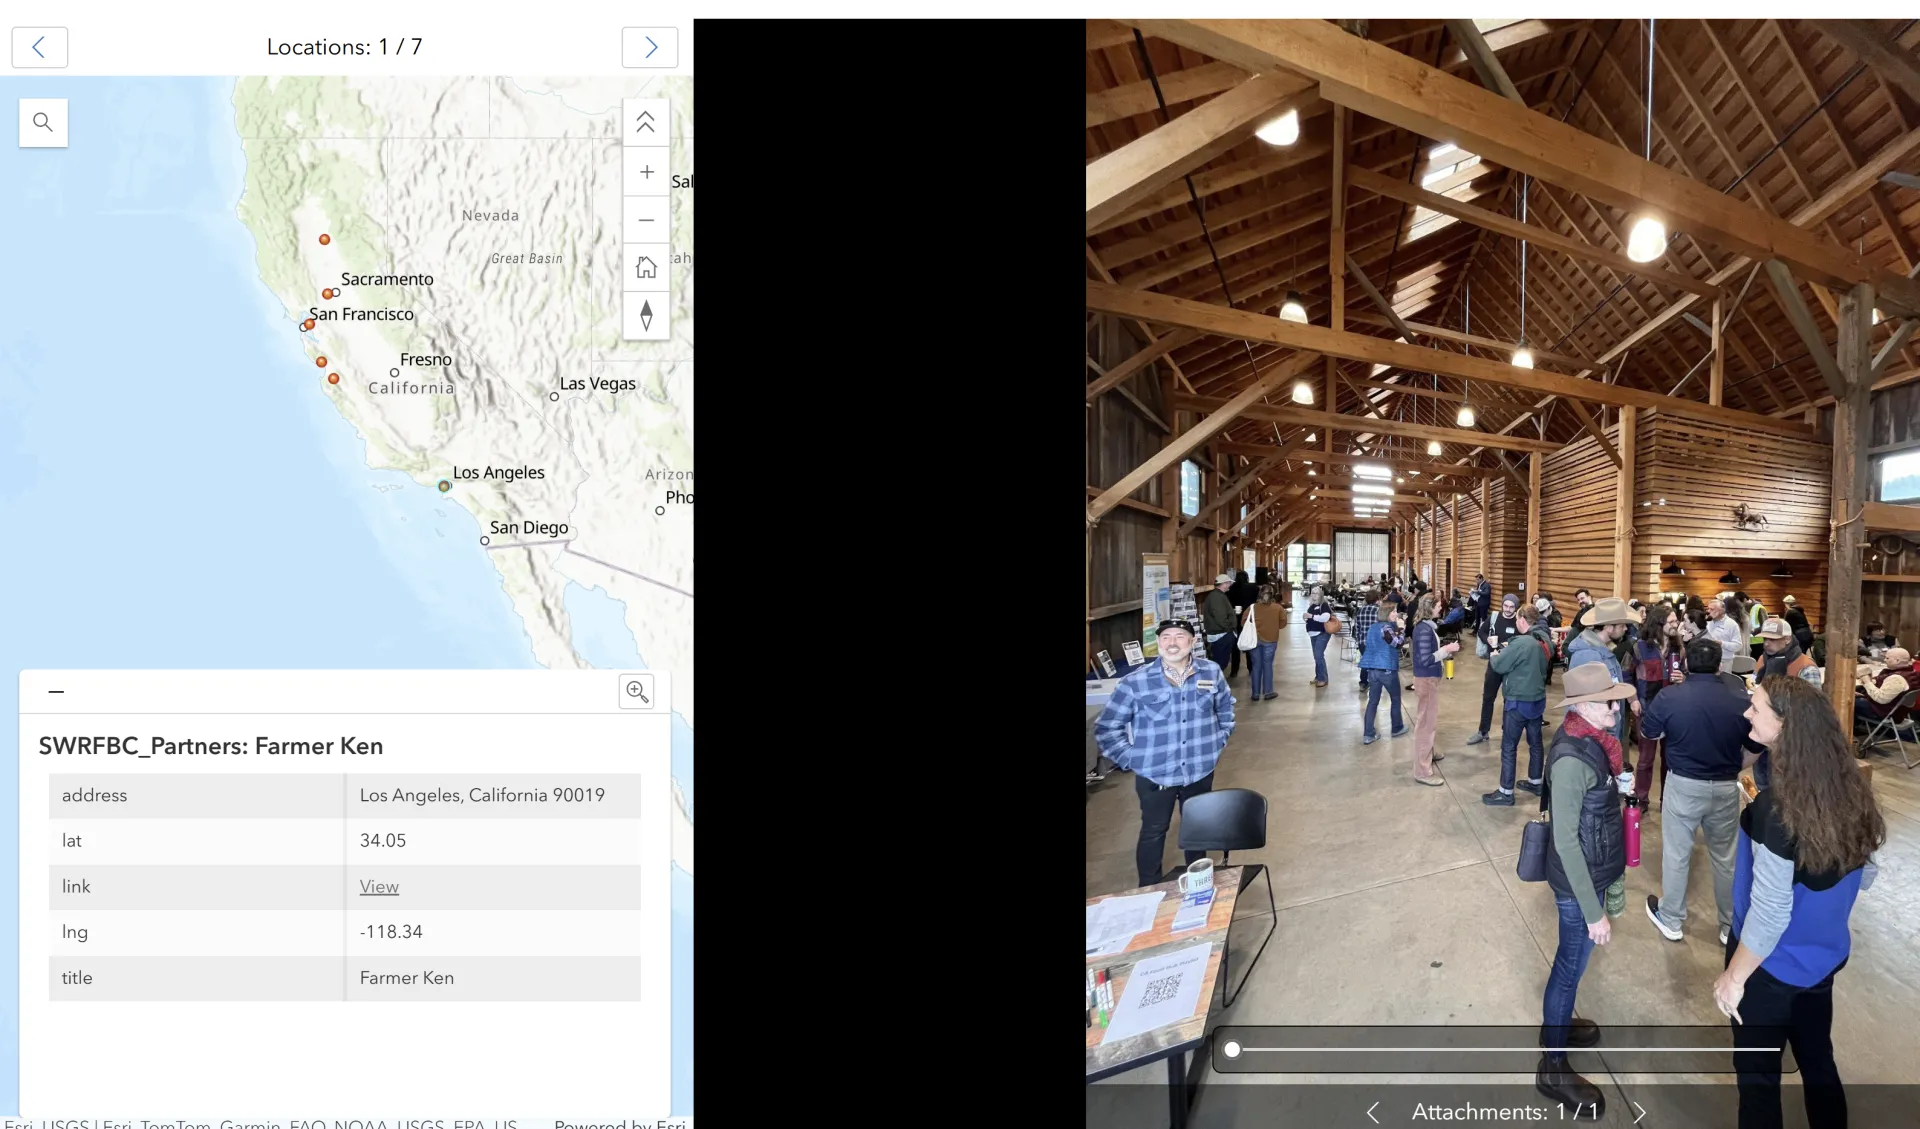
- Invasive Species Scouting Tool – This dataset consists of 5642 records collected between March 2024 and August 2025.
Here is another example from the Invasive Species Scouting Tool using Survey 123. Since Survey 123 is primarily for collecting data, it is not the most appropriate for displaying phots with wider public. However, when Survey 123 data with photos are displayed using the Attachment Viewer template, it makes it very easy to scroll through the photos at each location. Here is an example of an image focused attachment viewer template.
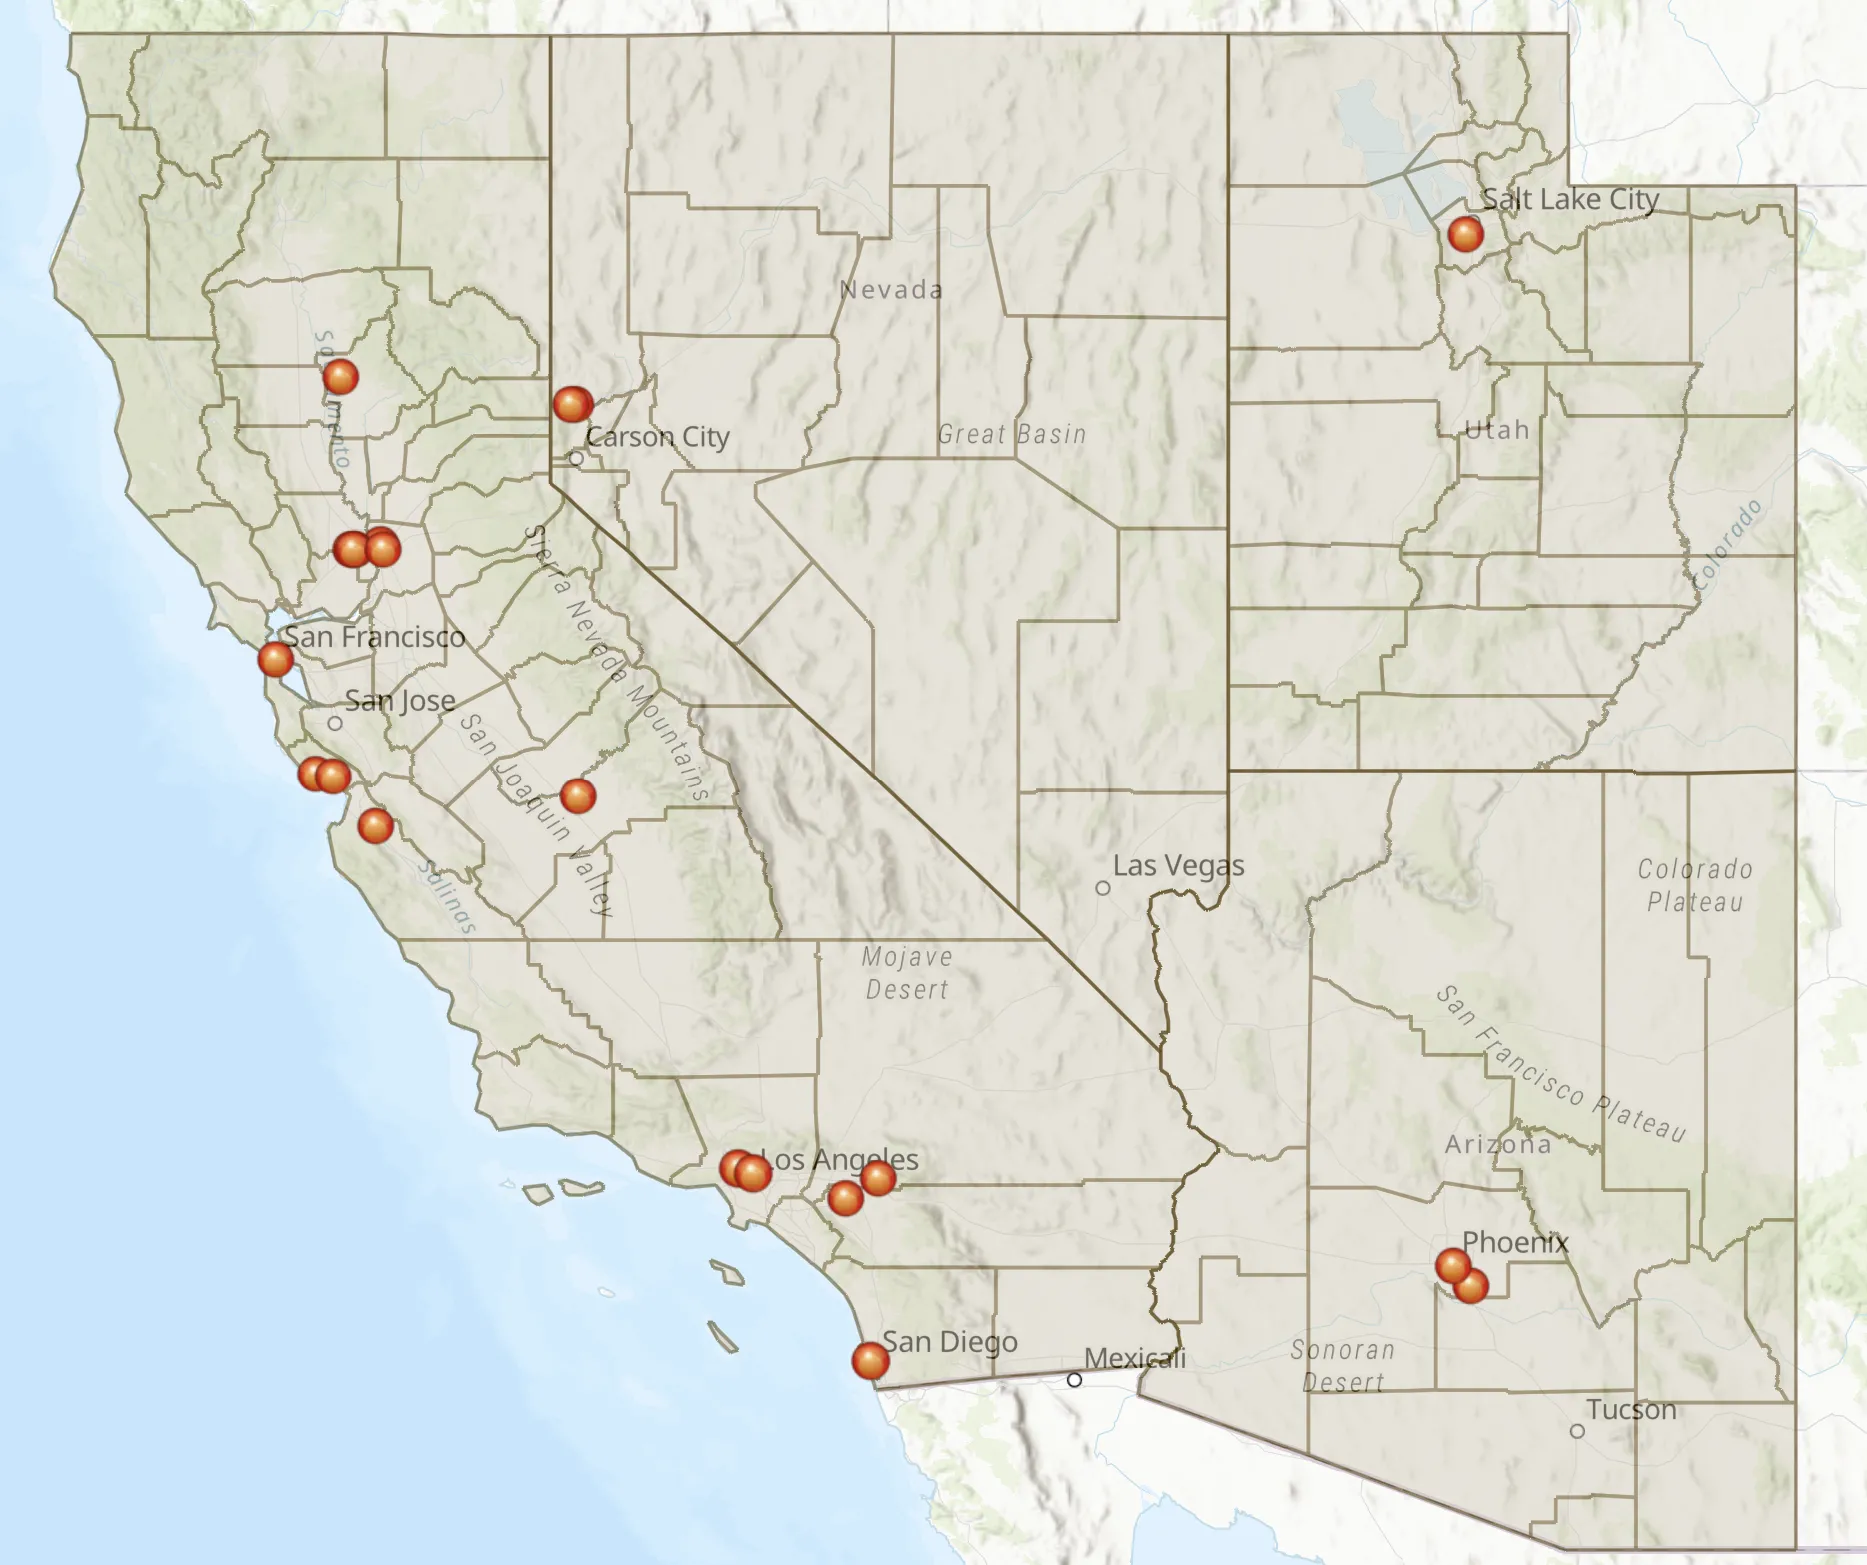
Attaching photos to a web-map based on a csv of site locations
While displaying photos using Survey 123 may be the most preferred way for programs like Environmental Stewards and Master Gardener that routinely collect field data and photos, this may not be the most suitable options for other programs. For many programs like Master Gardener or 4-H, program coordinators at the local level or state level may have photos for various site locations. In other instances UCCE county offices may have photos associated with each of their partner location. However, these photos may not be geo-tagged i.e they may not have any lat-long coordinates associated with the photos. Thus ArcGIS cannot display these photos. However, this is not difficult as long as you have a spreadsheet of all your site locations with address or ZIP Code or some type of geographic identifier that can link photos to a specific location. For all such scenarios it is recommended that you create a web-map from a CSV that has the location of your partners with address/city/ZIP Code. Based on this location information, your spreadsheet can be geocoded in ArcGIS Online and displayed as a web-map.
Step 1: Create a spreadsheet of your site name and address/city/ZIP Code. Upload these spreadsheet to ArcGIS Online and create a new feature layer.
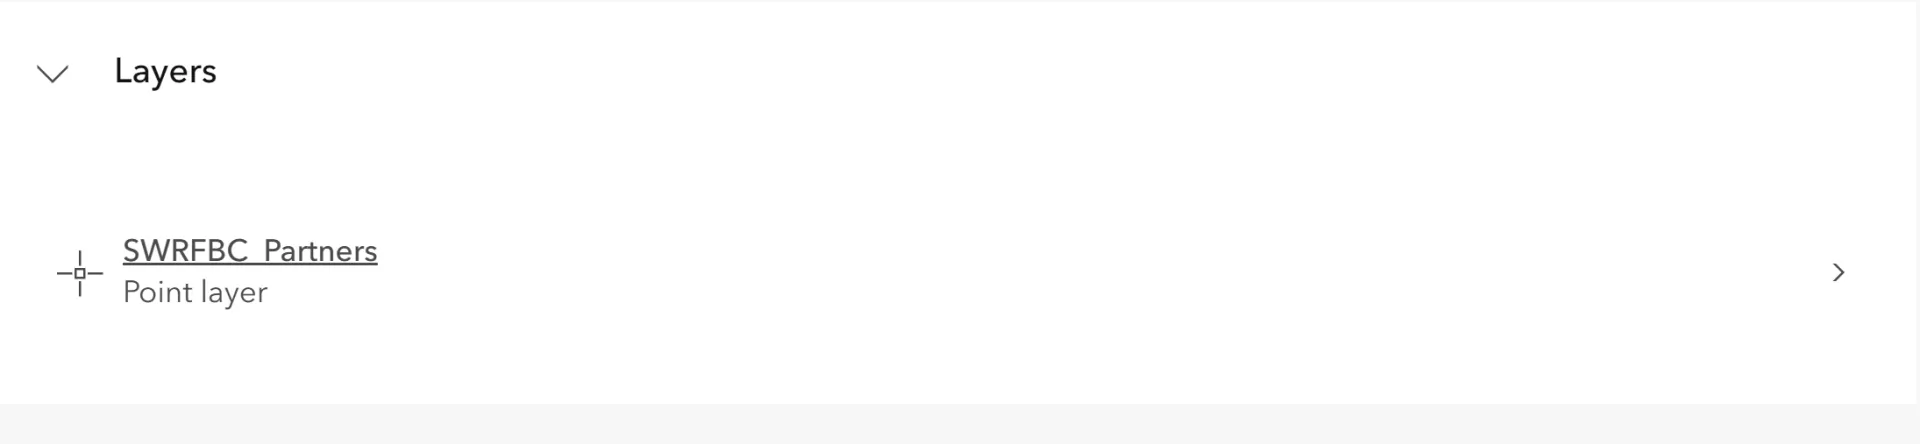
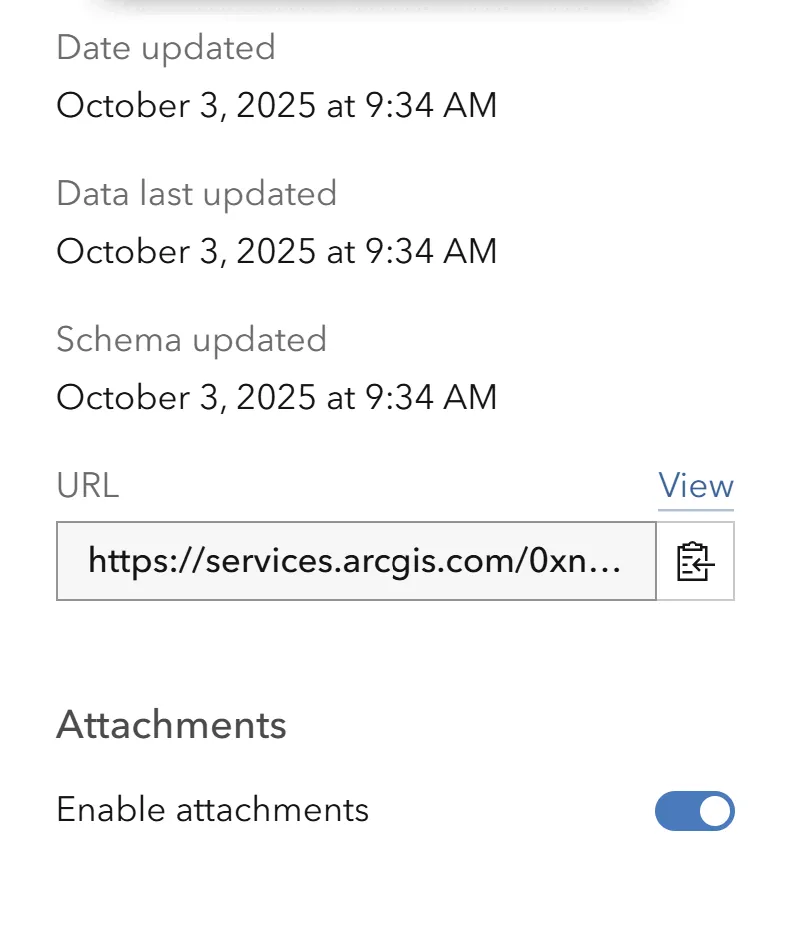
Step 2: Next, click on the item details of your hosted feature layer and then enable attachments. This will allow you to attach photos in the attribute table.
Step 3: Open the web-map with the layer that has attachments enabled. Then open the attribute table.
Web-map from your CSV
View the Details of Your Hosted Feature Layer
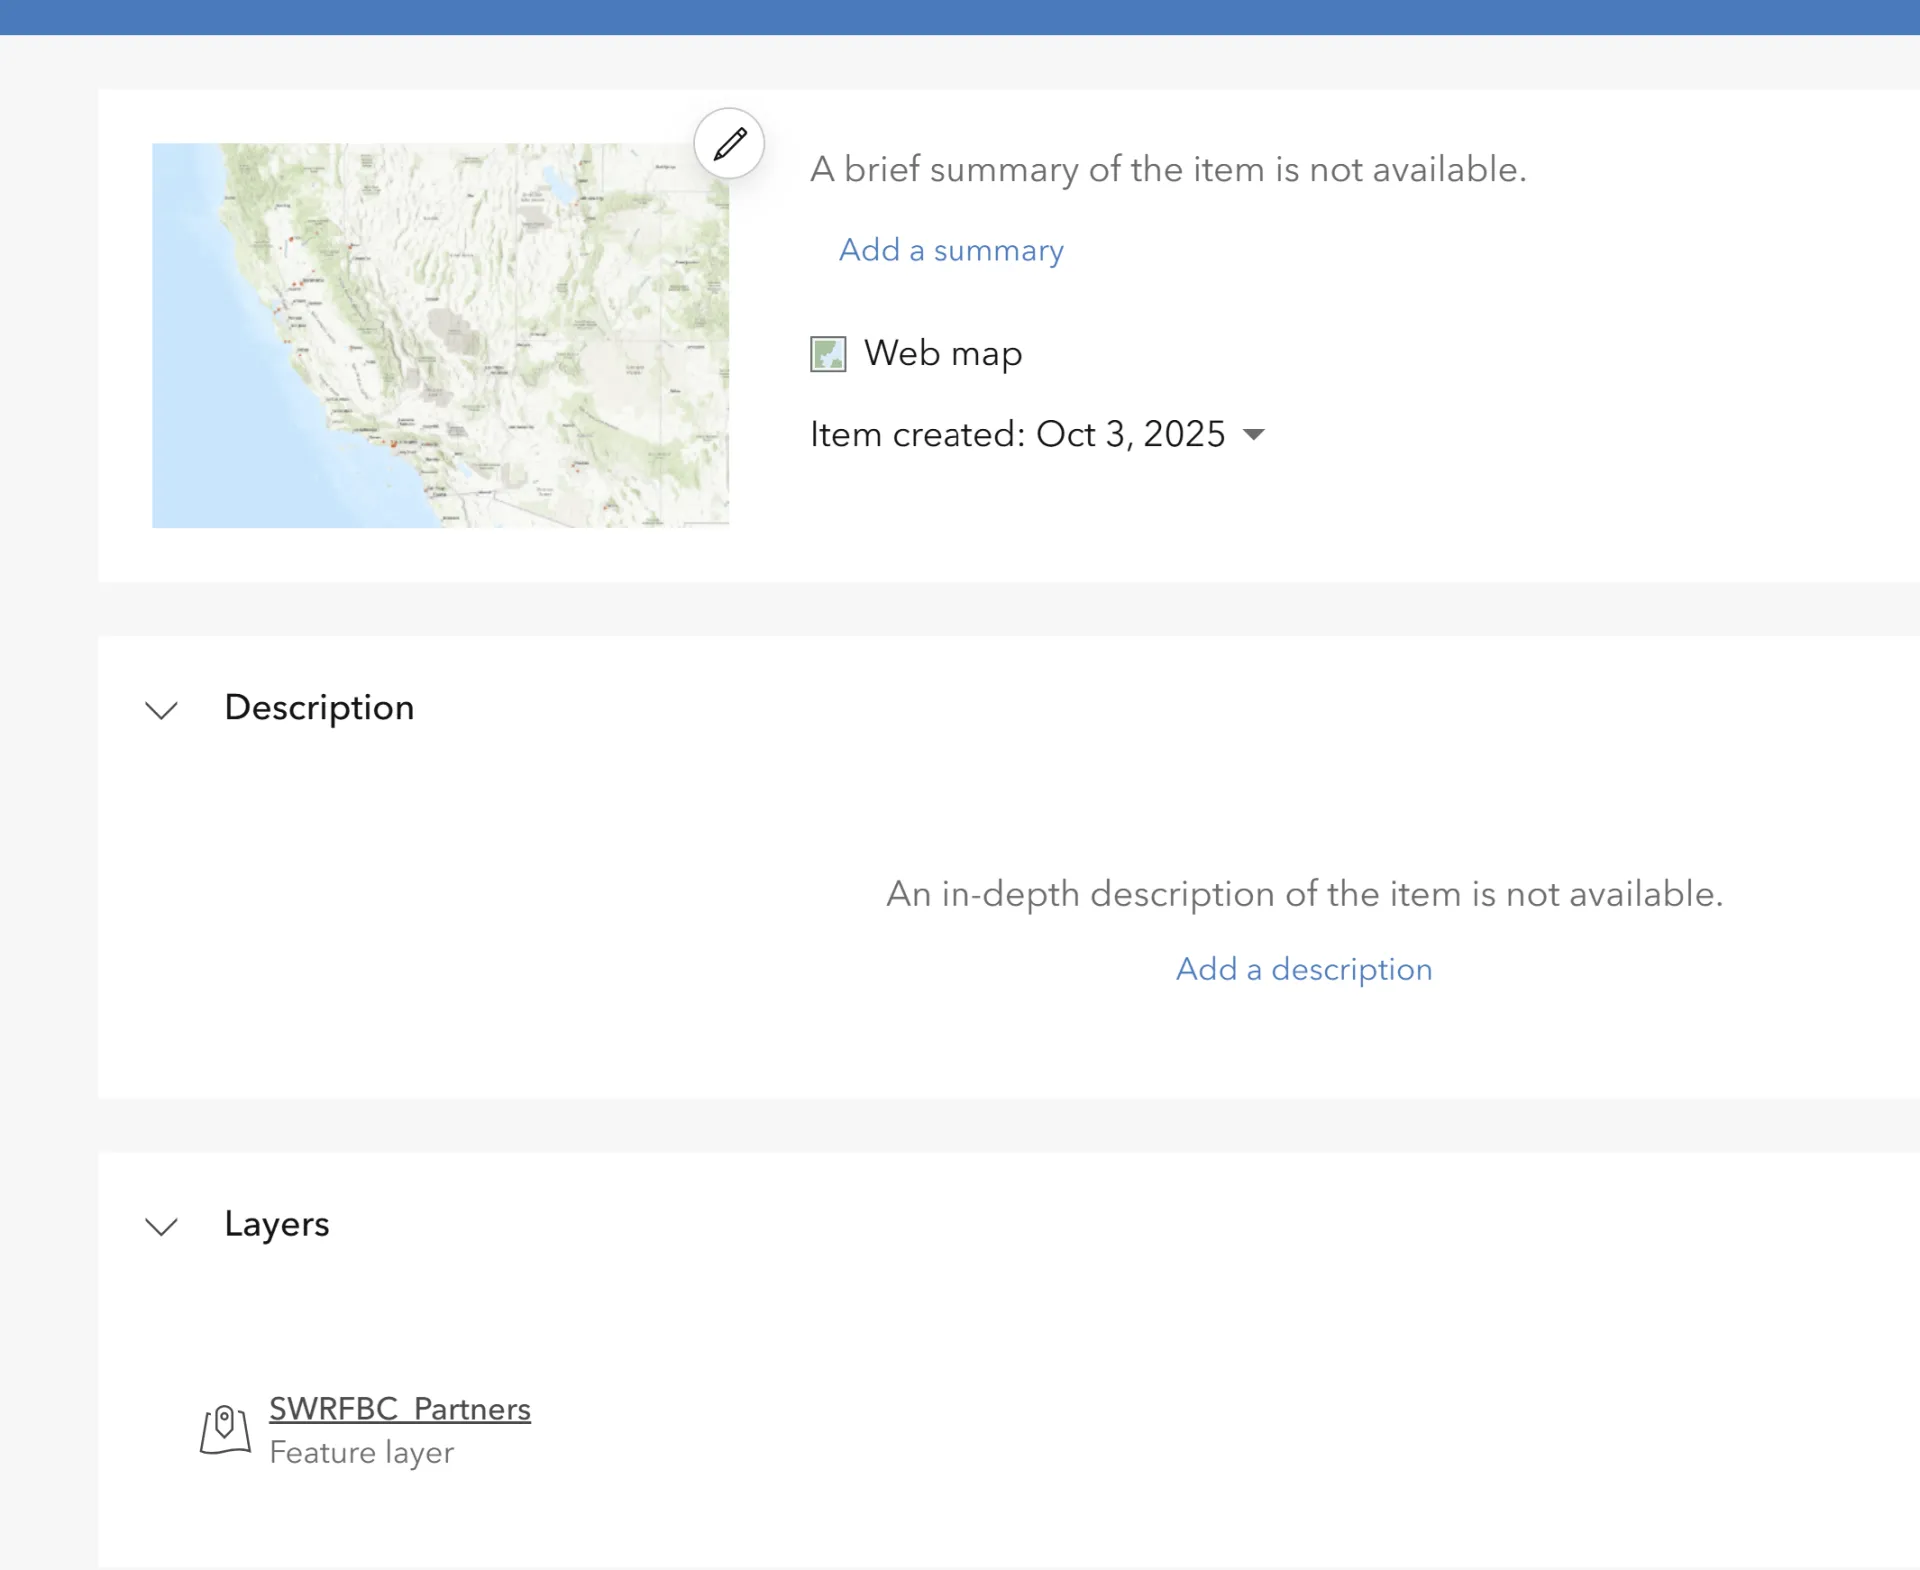
Click on the Layer Name
Toggle Attachments Button On

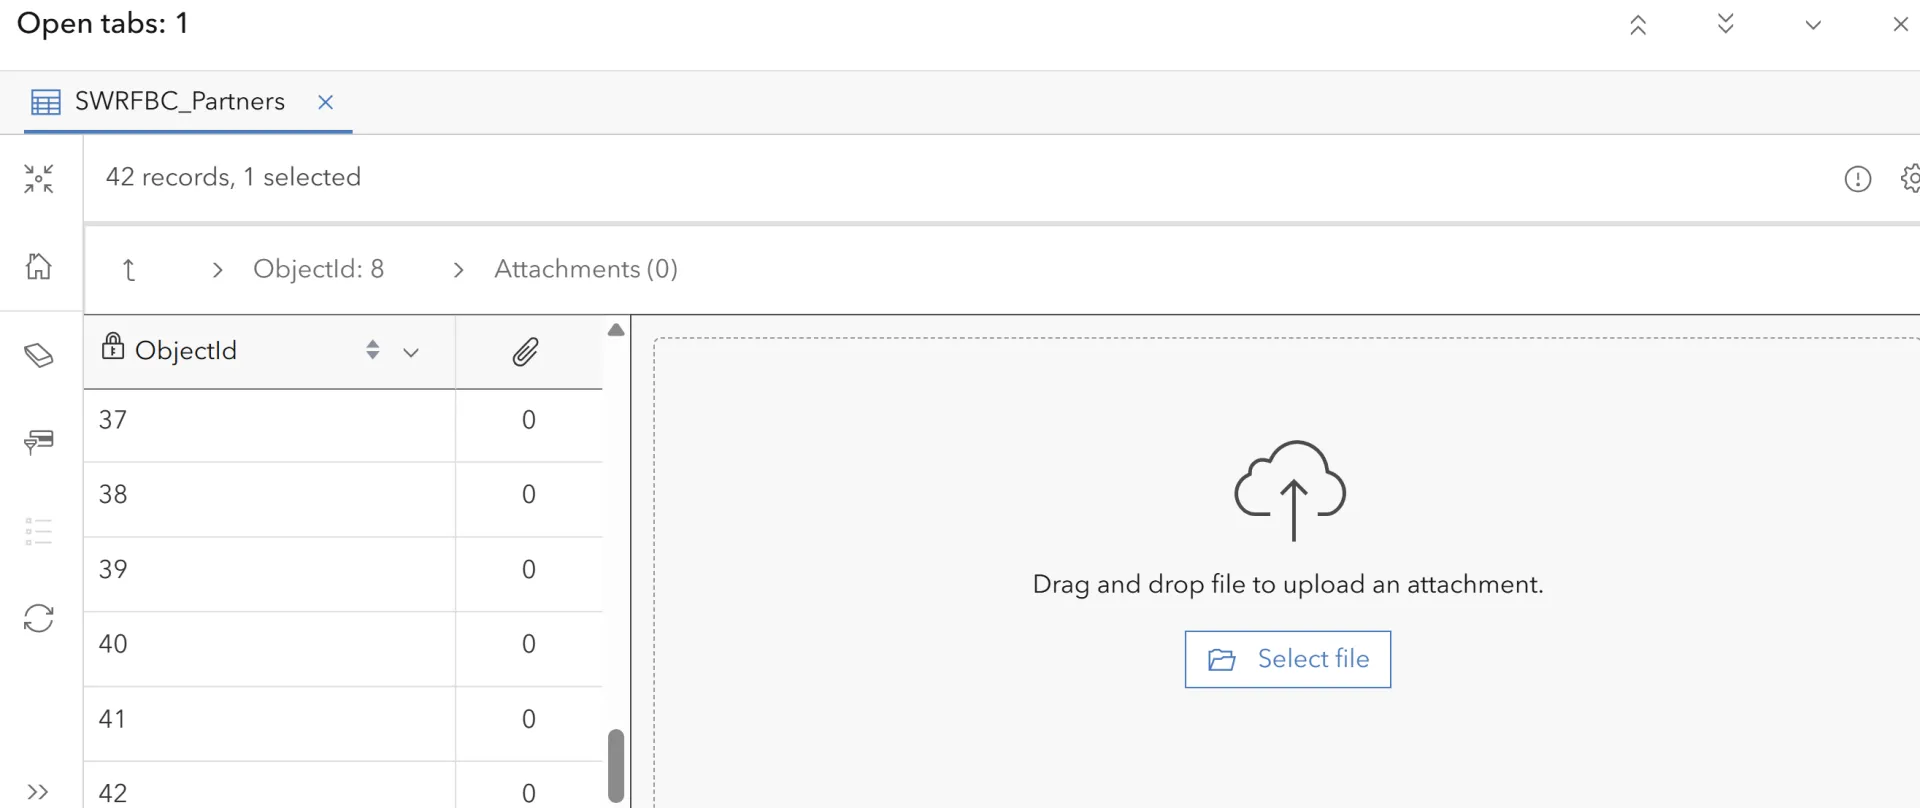
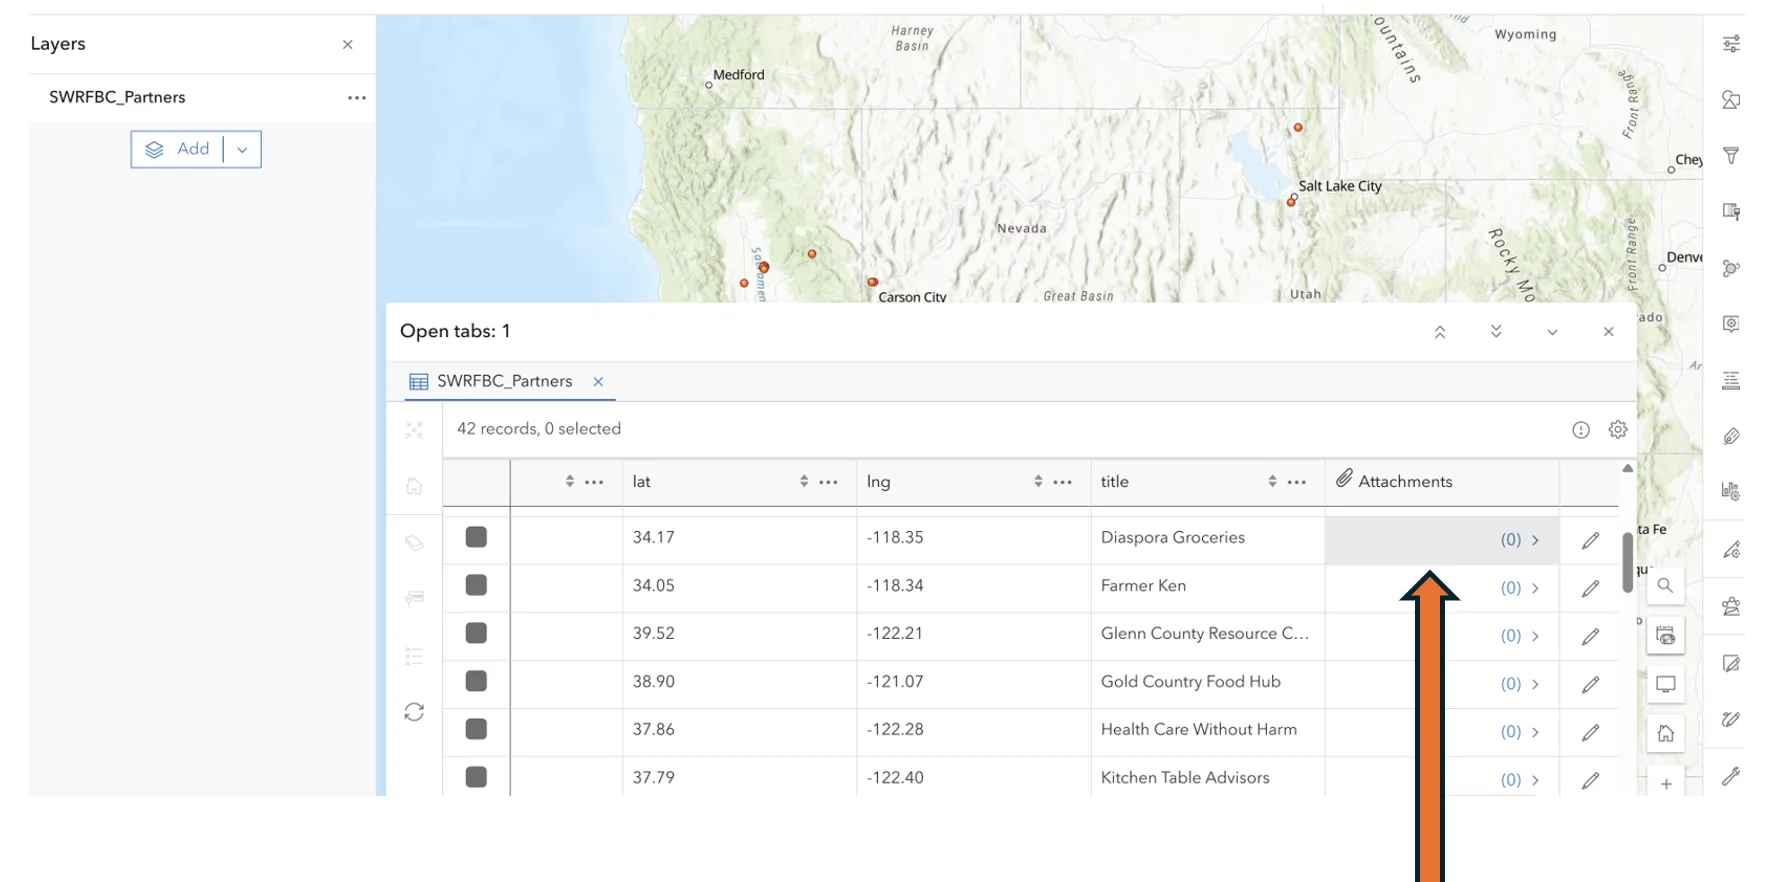
Once photos are uploaded for each row, it will get displayed in your attribute table as shown in the image above.
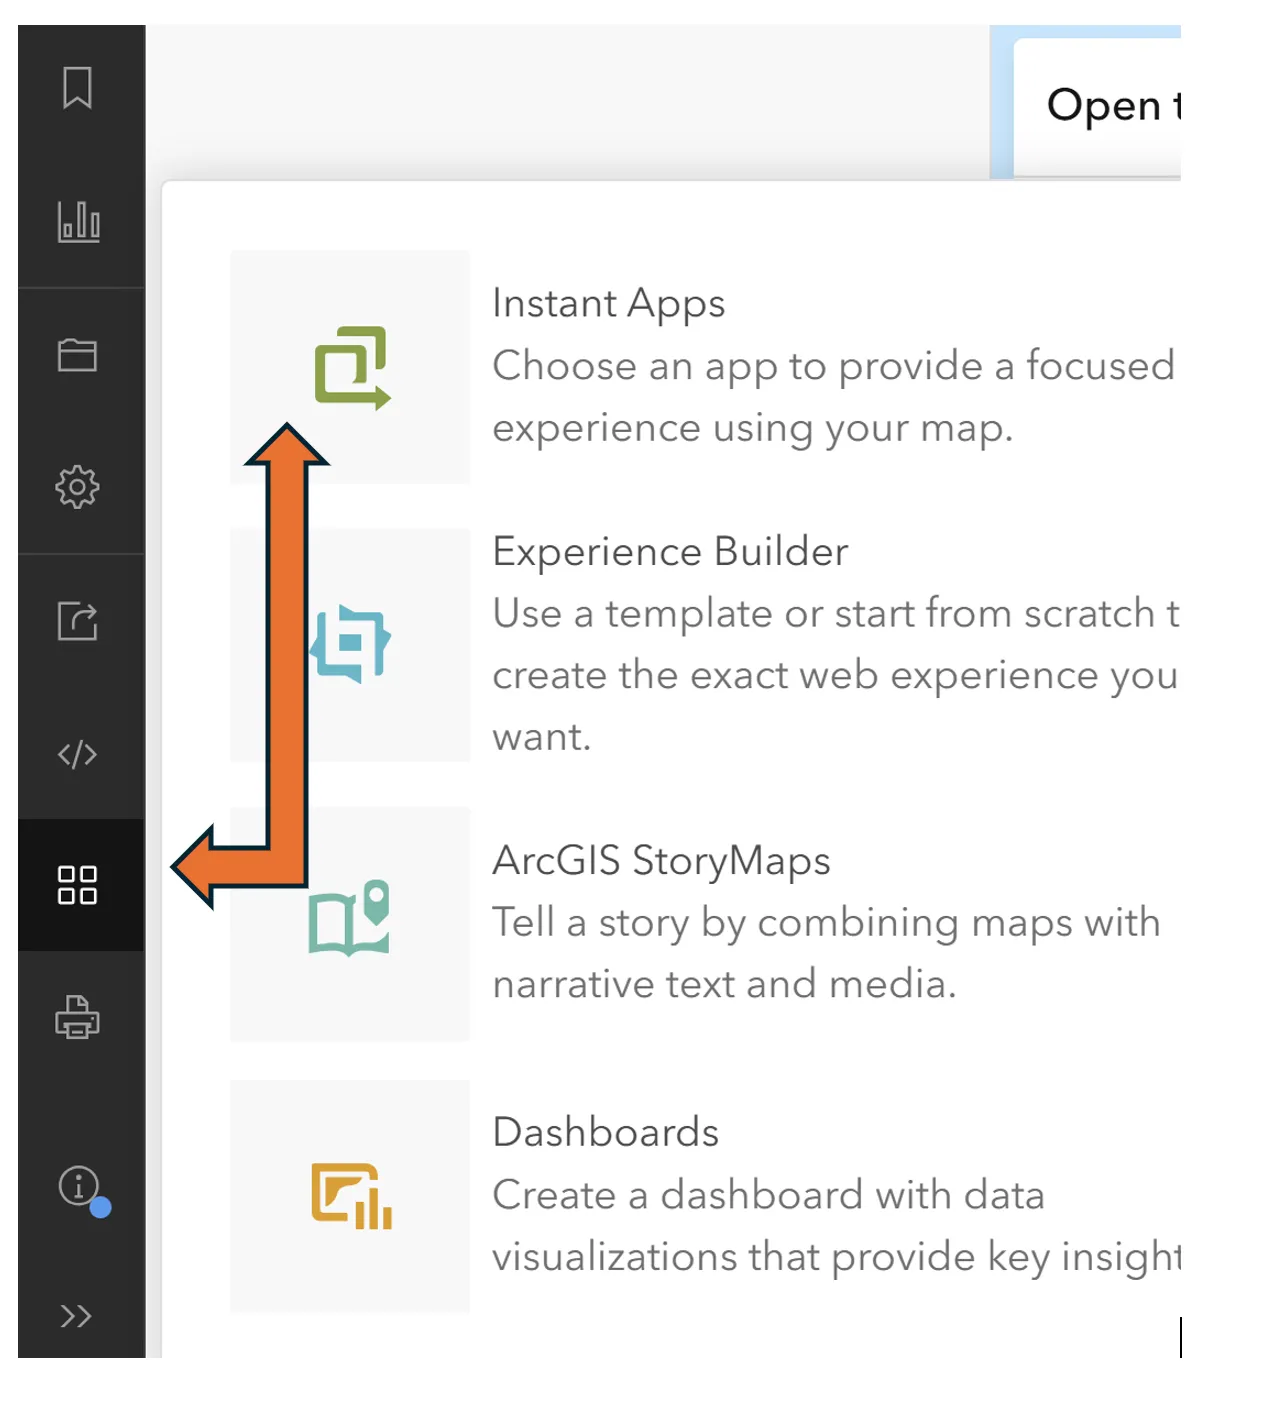
Choose Create an App option and select Instant Apps
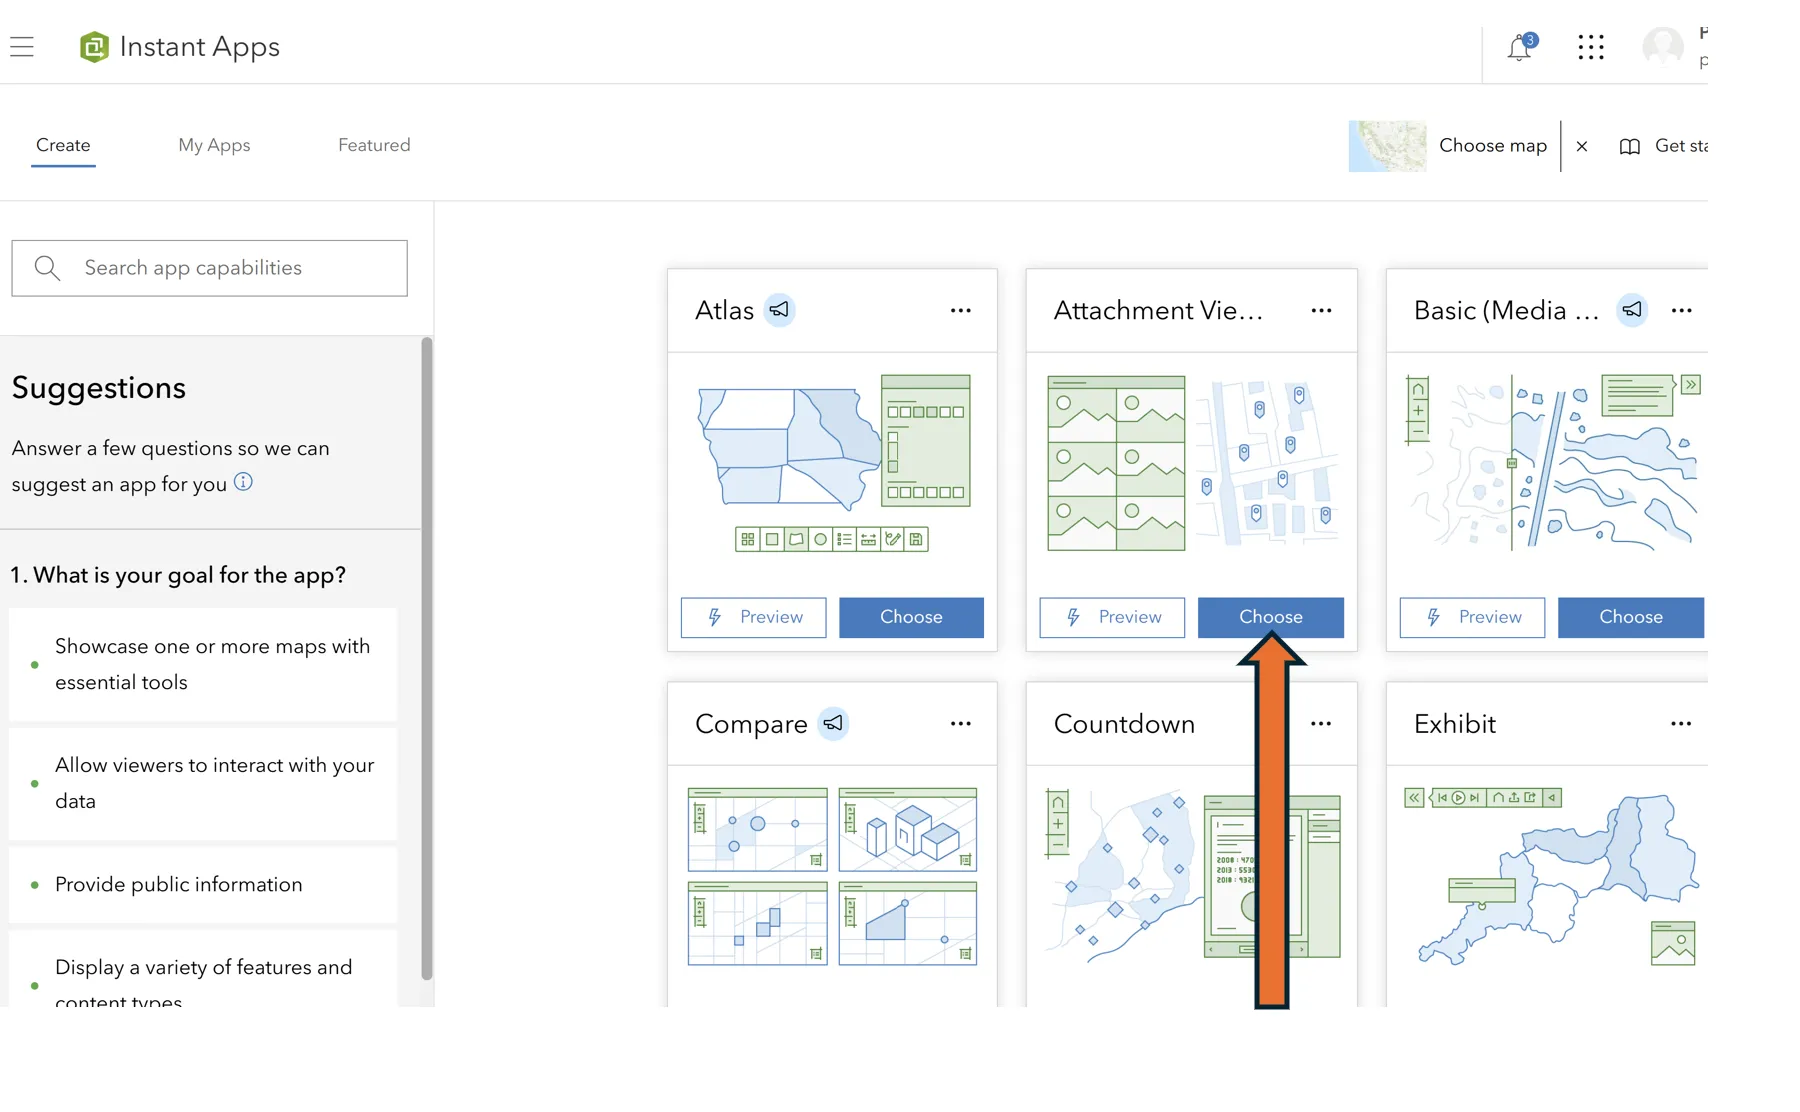
Choose Attachment Viewer template within the Instant App Gallery
For addition questions to display photos, reach out to IGIS Team.