Posts Tagged: home canning
Peek inside a UC Master Food Preserver kitchen
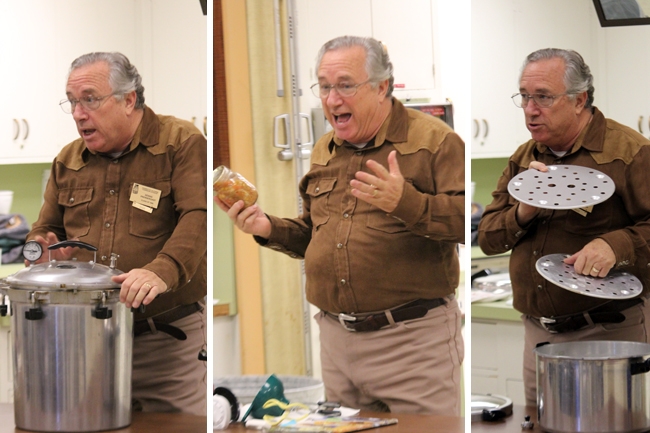
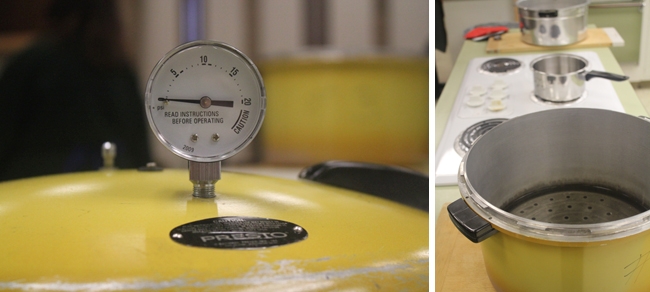
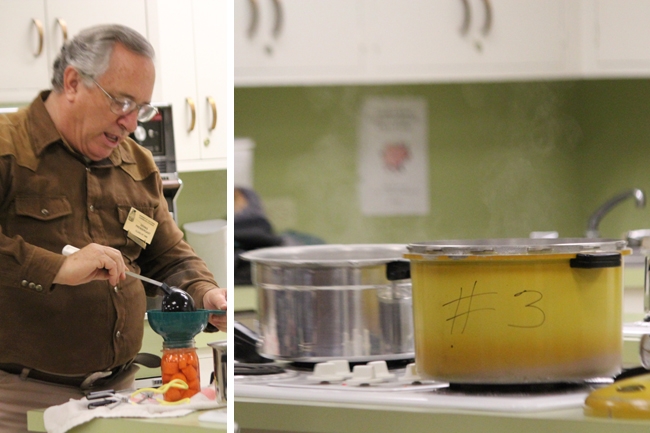
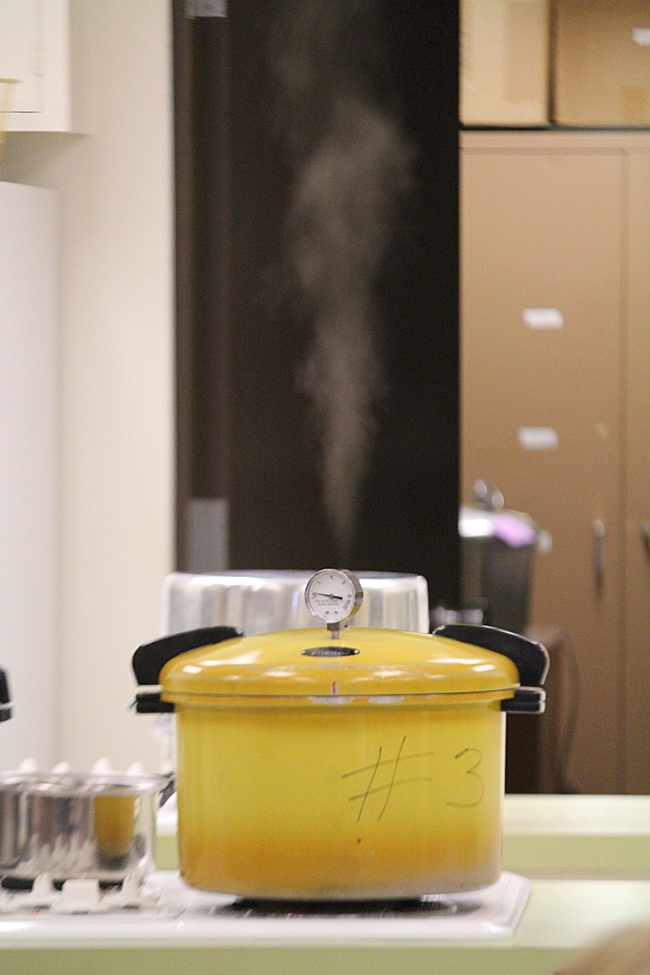
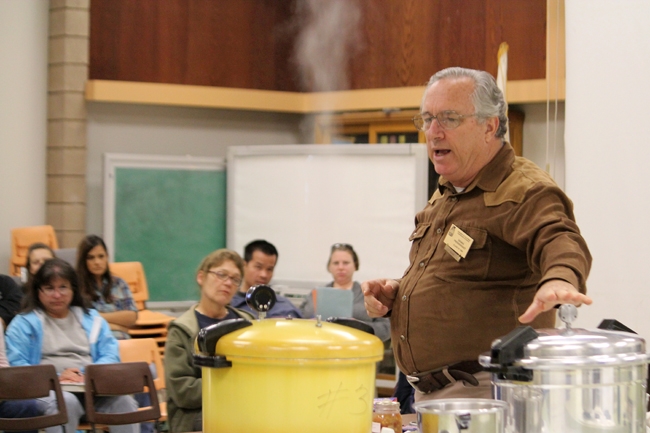
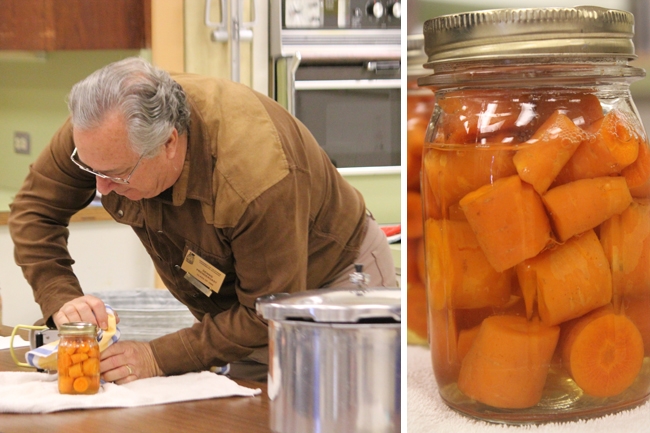
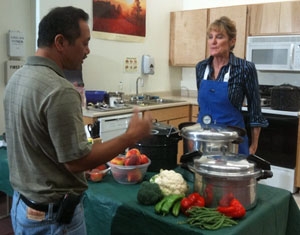
I brought my camera with me to a Master Food Preservers class Saturday at UC Cooperative Extension Sacramento County on pressure canning. In case you’ve been thinking about participating in a Master Food Preservers class, here’s a peek inside the Sacramento demonstration kitchen:
“Cooking is a whole different ball game from canning — a whole different science,” Prendergast said. He's been a UC Master Food Preserver since 1995, and regularly teaches the monthly Saturday morning classes in Sacramento county. Next month's Saturday morning class will be on dehydrating, 10 a.m. to 12 p.m., Dec. 10.
UC Master Food Preservers is a volunteer organization structured in a way similar to UC Master Gardeners. Master Food Preserver candidates complete training to become knowledgeable in food preservation and then are required to volunteer time sharing their knowledge with the public by teaching classes and answering questions.
UC Cooperative Extension currently has Master Food Preservers in four counties:
- Sacramento
- El Dorado (now known as Central Sierra)
- Los Angeles
- San Bernardino
In Sacramento County, the Master Food Preservers offer a monthly class on Saturday mornings that focuses on techniques of a specific preservation process – either water-bath canning, pressure canning or dehydrating. Once a month on Wednesday evenings, the group offers classes that focus on preserving specific fruits or vegetables.
This Wednesday’s class is on “Fall Fruits and Winter Squash” which will include quince and pomegranates among others. The class is 6:30 – 8:30 p.m. at the UC Cooperative Extension office, 4145 Branch Center Road in Sacramento; registration to attend is $3.
Home preserved foods: Nutrition friend or foe?
This time of year, many food preservation enthusiasts are hard at work in their kitchens canning, freezing, drying and fermenting. They are scouring their recipe books (USDA approved, of course!) for interesting and delicious ways to take fruits and vegetables at the peak of their freshness and preserve them so they may be enjoyed year-round. For the home food preserver, this hard work will pay off for months to come, and lucky family members and friends will delight in the delicious gifts that are sure to come their way.
When we think of preserved food, however, we often conjure up thoughts of sticky, sweet jams and jellies and salty pickles and sauerkraut. The treats from the kitchen of a home food preserver are tasty, but it's not exactly health food, right? Well, you might be surprised to learn that this is not necessarily the case.
The many benefits of fermentation
Typical fermented foods include yogurt, soy sauce, miso, tempeh, buttermilk, pickles and sauerkraut. Fermented foods have been used for centuries in almost every culture for long- term food storage, to flavor foods and in times of food shortages. These foods offer a wide variety of health benefits due to the process of fermentation, which actually increases nutrients such as folic acid, vitamin B12, nicotinic acid, riboflavin, and thiamine. Fermented foods also have "friendly bacteria" or probiotics, that are similar to the beneficial microorganisms found in our gut. More research is needed in this area, but some studies show promising results in treating bowel diseases and stimulating the immune system with probiotics. Additionally, the process of fermentation partially brakes down lactose, making it easier for lactose-intolerant people to consume milk-based products such as yogurt.
Cancer-fighting phytochemicals
When food is cooked, dried, frozen and reheated, there is always a loss of nutrients.
Vitamins A, C and B are often degraded through the cooking process, however, some cooked vegetables actually supply more cancer-fighting antioxidants than their raw forms.
For instance, researchers at Cornell University found that heat from cooking actually increases lycopene content and overall antioxidant activity in tomatoes. Lycopene is a naturally occurring chemical (or "phytochemical") found in tomatoes that decreases risk of cancer and heart disease. So what does this mean, exactly? Is it better to eat our veggies raw or cooked? Well, raw tomatoes are undoubtedly a great source of Vitamin C, but it's also a good idea to eat some canned or cooked tomatoes to benefit from the high levels of lycopene and antioxidant activity. This is true for many other vegetables in our diet, as well.
What about all that sugar and salt?
Sure, jams and jellies are often made with a good amount of sugar, and we need to use salt to ferment pickles and sauerkraut, but there are ways to preserve food without high amounts of salt or sugar.
We can't remove the sodium from fermented pickles or sauerkraut (unless we rinse them before eating), but sodium can be removed from fresh-pack pickles. You can find delicious, low-sodium recipes on the National Center for Home Food Preservation website (http://www.uga.edu/nchfp/how/diet_pick.html). One concern we may have about canned vegetables (whether homemade or store bought) is that they are often high in sodium. Well, the salt in canned food is only used to season the food, it is not necessary for safety. So, if you desire to keep sodium levels low, you can omit the salt when canning and use salt substitutes when you're ready to eat the food. Cooking with garlic and fresh or dried herbs is also great way to add flavor to a low-sodium canned food.
There are a variety of fruit spreads that can be made lower in sugar and calories than regular jams and jellies. There are also two types of modified pectin that can be used that require less sugar. Recipes for low-sugar fruit spreads can be found on the National Center for Home Food Preservation website (http://www.uga.edu/nchfp/how/can7_jam_jelly.html).
You can also use gelatin as a thickening agent in low-sugar recipes, but these fruit spreads must be refrigerated and used within a month or so, rather than canned for long-term storage.
Fruits can also be canned more healthfully in water or 100% fruit juices, rather than sugary syrups. These fruits must be ripe but firm and prepared as a hot pack. Refer to the USDA Complete Guide to Home Canning for more information. Splenda is the only sugar substitute that can be added to covering liquids before canning fruits. Other sugar substitutes can be added when serving.
Enjoy the fruits of your labor
The next time you enjoy a jar of home canned vegetables or fermented pickles, think cancer- fighting antioxidants and friendly bacteria for your gut. Not only are you consuming produce that was preserved at the peak of its freshness, but you are certainly doing your body some good!
Lemons are the zucchini of winter
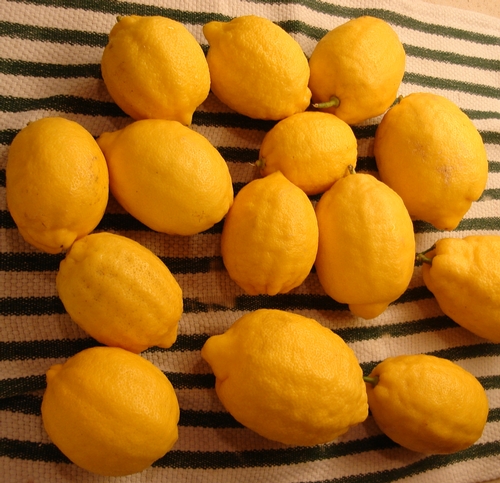
When we first moved to California our rental house came with a prolific lemon tree. New to a climate where citrus could be grown, we thought this was the greatest thing ever -- lemons right outside our door during the rainy gloom of winter. When dinner and party invitations started coming in, we started arriving with lemons as gifts. But when our hosts invariably greeted our lemony bounty with clenched smiles and "Great! Lemons!" we were perplexed. Only later did we realize that practically everyone has lemons.
I recently told this story to someone at a party and they replied - "Of course, lemons are the zucchini of winter! Everyone has more than they know what to do with."
So what do you do with an abundance of lemons?
Marmalade is an easy choice, and one that uses lots of lemons. So is freezing the juice for use in lemonade when the heat of summer arrives. But my new favorite way to use lemons is making salted preserved lemons. They're easier to make than marmalade and a tasty addition to many recipes.
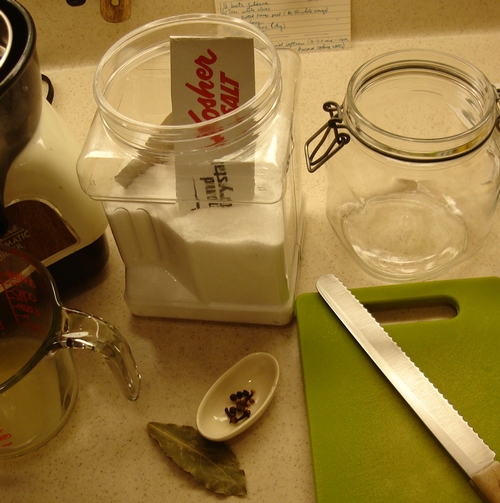
The basic ingredients are lemons and Kosher salt. But I use Paula Wolfert's recipe that also includes spices. Besides adding extra flavor, the whole cloves, cinnamon stick and bay leaf look nice in the jar.
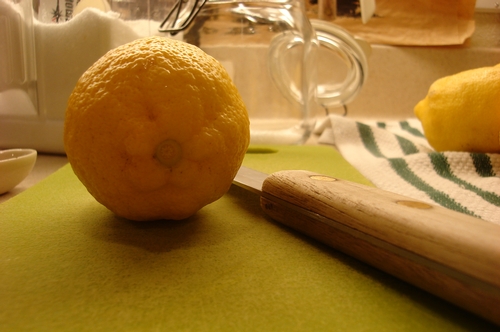
Make sure your lemons are very clean. Backyard lemons often have a rougher outer texture that may take a little extra scrubbing.
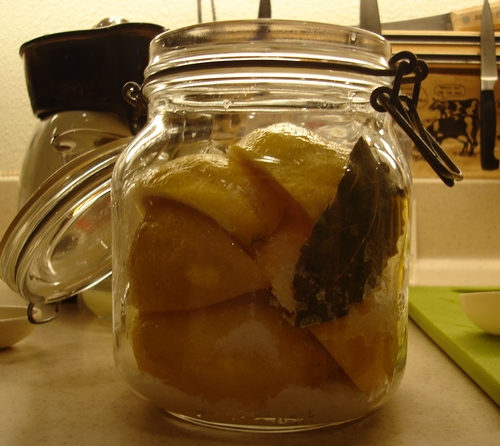
Starting with a layer of salt on the bottom, pack the lemons into a sterilized jar and layer them with salt and spices.
Press the lemons to release their juice as you pack them. Finish by adding enough freshly squeezed lemon juice to cover.
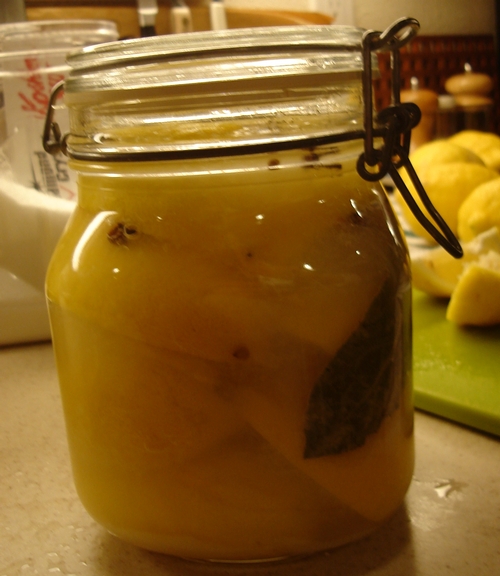
Now all that's left is time. Let the lemons ripen in a warm place for 30 days, shaking the jar every day or so to distribute the salt, spices and juice. The lemons will start to break down, so don't be alarmed if the lemons are no longer submerged in juice.
California can-do attitude
Whether to save money or to dine on fresher products, more Californians have been buying locally grown food and growing their own lately. They also have started home canning what they can’t eat right away. But be aware that if you put them up incorrectly, those garden goodies can be deadly.
I’m no domestic goddess so I learned a lot about home canning recently while watching Susan Algert, UC Cooperative Extension nutrition advisor for Santa Clara County, make a 2-minute video describing safe canning tips.
Meats, vegetables and any food containing meats and vegetables -- such as salsa or spaghetti sauce -- have to be pressure-canned to prevent botulism, a paralyzing illness that can kill the person who eats the contaminated food. Botulism is caused by a nerve toxin produced by the bacterium Clostridium botulinum. A less serious consequence of not following a scientifically tested recipe is foodborne microorganisms can survive and spoil your canned foods.
I used to wonder why people would pickle green beans or cauliflower. They seemed like odd foods to pickle. Now I understand.
If you prefer to home can low-acid vegetables such as green beans using the boiling water bath instead of a pressure canner, you must first pickle the vegetables to ensure the final acidity is too high for Clostridium botulinum to grow.
High-acid foods such as peaches naturally have a pH of 4.6 or less and contain enough acid to prevent the growth of Clostridium botulinum so they can be home canned using the boiling water bath method. However, processing times must be followed precisely to ensure that all bacteria are destroyed using a water bath canner—so, following a standard recipe is very important!
“Certain foods, such as tomatoes, pears and figs, have a pH value close to 4.6 and must have acid added to them to lower the pH enough to use the water bath method,” Algert told me. “The pH can be lowered by adding commercial lemon juice or powdered citric acid.”
She added, “You can’t use juice squeezed from a fresh lemon that you picked from your backyard tree because we don’t know exactly how acidic the juice is. Commercial lemon juice meets a standard acidity.”
Here’s a general guide to help decide which canning method to use:
Low-acid foods that must be pressure canned:
- meats
- seafood
- poultry
- dairy products
- all vegetables
- combination products using these foods
High-acid foods that can be canned in boiling water bath:
- most fruits
- properly pickled vegetables
Foods that require added lemon juice for boiling water bath canning:
- figs
- pears
- tomatoes
For more information about safely canning food, visit the University of California’s Food Safety website at http://ucfoodsafety.ucdavis.edu/Consumer_Advice and the USDA National Center for Home Food Preservation website at http://www.uga.edu/nchfp.
UC also offers publications at http://ucanr.org/foodpreservation on other methods of safely preserving and storing foods, from apples to tomatoes.
Algert's home canning overview:
Preserving summer's bounty
As we move through the summer months, backyard gardeners everywhere are faced with the questions, "What do I do with all of these [insert vegetable or fruit here]?" followed by, "What was I thinking last spring when I planted all of this?"To the rescue is a series of free, downloadable publications from the ANR Catalog. I've always noticed that these publications move to the top of our download charts each summer, so this year I decided to try one of the recipes.
This comes from the category, "What do I do with all of these peppers?" and is actually called Peppers: Safe Methods to Store, Preserve, and Enjoy. I had some dried apricots in the pantry, so I opted for the Apricot Pepper Jelly.
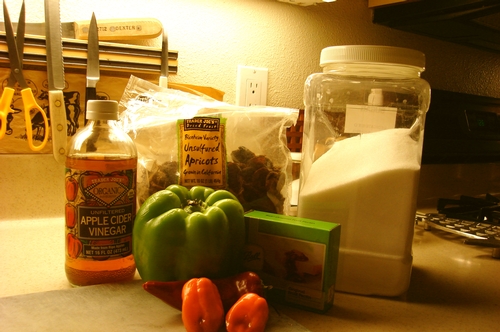
The ingredients are simple enough, dried apricots, peppers, apple cider vinegar, sugar and pectin.
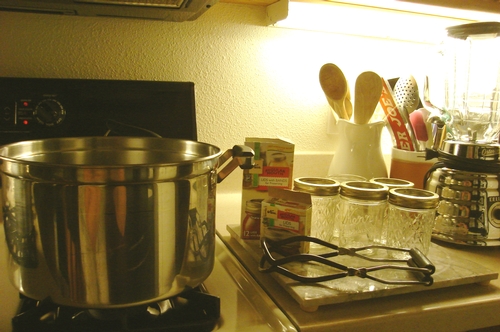
A lot of people think making jam is complicated and requires special equipment. It's actually quite easy. If you can read and follow directions, and have good attention to keeping things clean, making preserves is a snap. The only piece of special equipment I have purchased for canning is a jar lifter. And of course you need the jars, lids and bands. Note that while the jars and bands can be used over and over, you cannot safely re-use the lids.
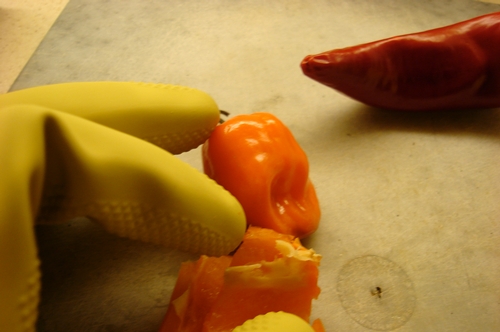
I wanted my jelly to have a little extra kick, so I substituted habanero for the jalapeño called for in the recipe.
When handling hot peppers, always wear rubber gloves!
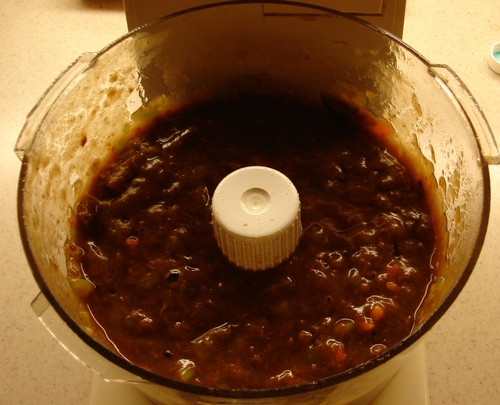
After soaking the dried apricots in hot water, they are drained, then added with the peppers and the vinegar to a food processor.
This looks like it needs a couple more pulses.
Then into the saucepan it goes, along with the sugar and pectin as directed. The recipe calls for food coloring, but since that is only for appearance, I left it out.
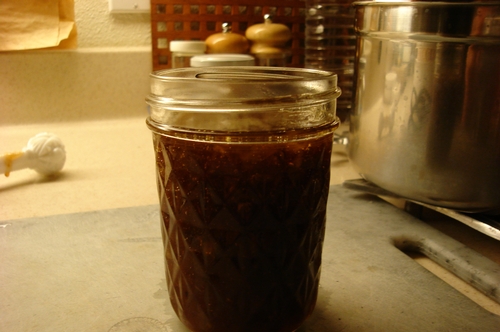
Less than 10 minutes later, the mixture is ready to ladle into sterilized jars.
Purists probably would not call this a jelly, as it contains small bits of the apricots and peppers.
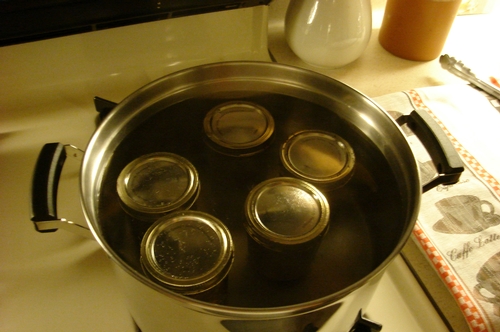
Once all the jars are filled and capped, into the waterbath they go. The recipe contains a chart of processing times based on altitude; mine is a short 10 minutes.
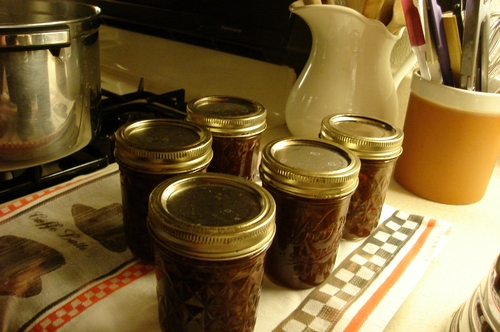
After the proper processing time, lift the jars out of the waterbath. Handle them carefully with the jar lifter, as they are very hot. After a few minutes out of the hot water, you will hear the ping! ping! ping! of success as the vacuum seal is made.
An initial taste test before processing revealed a piquant flavor, so I'm going to let the flavors settle in and mellow for a couple of weeks before use. I think it will taste great with goat cheese on crackers as an appetizer, or as a glaze on baked chicken.
Also in this series are similar publications for tomatoes, cantaloupe, strawberries, garlic, oranges and apples.

