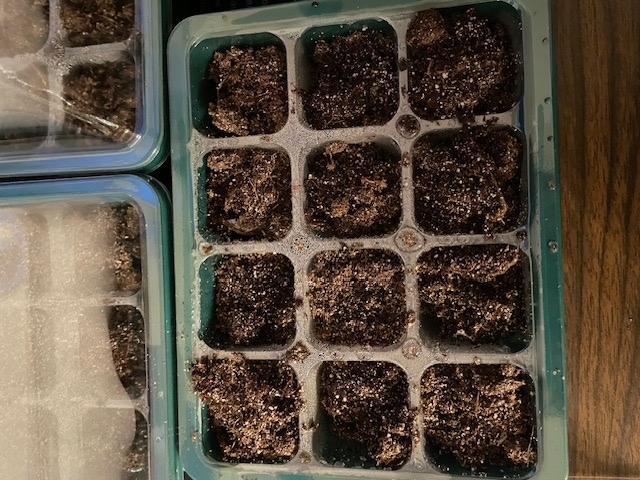
 Soil prepared for adding seeds. (Photos: Sue Bohigian) |
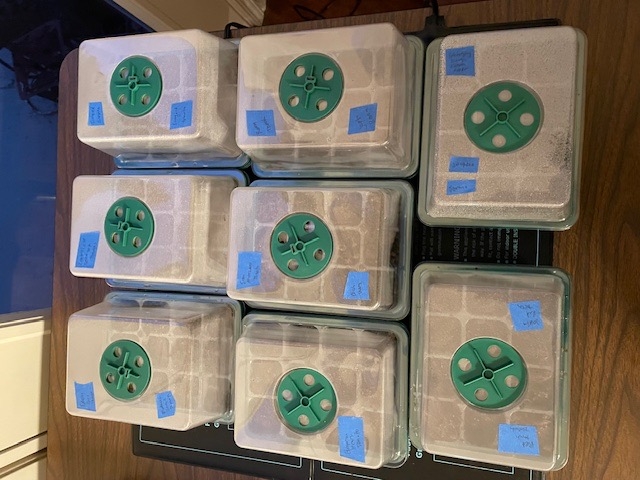
 Container covers provide humidity. |
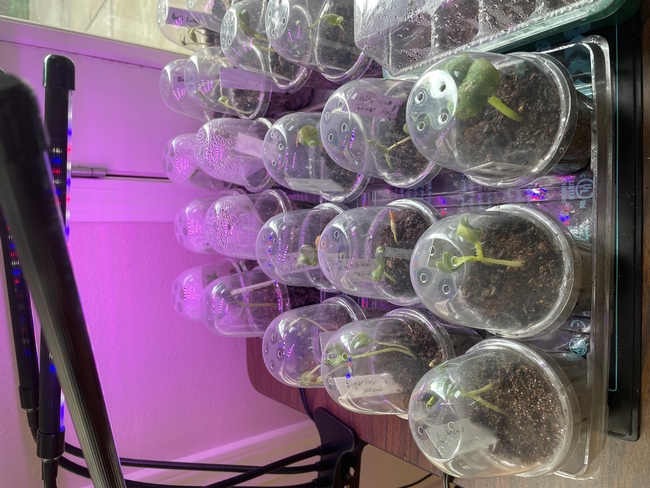
 Seedlings making progress under a grow light. |
It may be cold and gloomy outside, but I already have spring on my mind. I am getting ready for my spring and summer vegetable garden by starting seeds indoors.
The first step is planning. What do you want to grow? Make a list of veggies you would like to grow. Take into consideration what grows well in Zone 9 in the spring and summer. Have fun researching and looking at seed catalogs. I make a “seed journal” to keep track of what I plant each year and my successes and failures. This helps me decide what to plant the next year.
When should you start planting your seeds indoors? I usually start my seeds in January because I cannot wait to get started! It is recommended to start seeds 6 to 8 weeks before your expected last frost date. I generally plant my seedlings in March so January works for me.
Where are you going to grow your seeds? You need a sunny place in your house with enough room for your plants. I have a perfect spot in front of our living room windows. The Christmas tree comes down and the plant table goes up. Are your seedlings getting enough light? If a bright, south-facing window is not available, place the seedlings under fluorescent lights. Seedlings also need warmth. Using a germination heating pad specifically for plants is the best option. A temperature of 70 to 75 degrees is optimal for the soil.
Seedlings need humidity. I purchase containers with covers to create a humid environment. You can purchase these or fashion them yourself. Some people use take out containers with clear tops.
You will need to select your soil mix. There are so many choices! For my soil mix I use ready-made peat pellets because they are convenient. You can also make your own soil mix and sterilize it at home. For example, mix one-third sand, one-third vermiculite or perlite, and one-third peatmoss. To sterilize a small amount, place in a covered, heat-resistant container or pan and place in a 250-degree oven till it reaches 180 degrees for at least 30 minutes.
You can use a variety of containers, and they should also be sterilized. You can fashion your own or purchase a variety of options. To sterilize containers, remove debris and rinse in a solution of one part chlorine to 9 parts water. Make sure the containers have drain holes for good drainage. I use trays made specifically for growing seeds. You could also use biodegradable peat pots, which can be planted directly in the soil.
You are ready! Plant your seeds, lightly water and be patient. Keep the soil moist but not soaking wet. You can use a spray bottle to control the moisture.
Don't forget to label your seeds. It is easy to lose track of what you planted.
Once your seedlings grow it is time to start thinning. When the plants have 1 to 2 pairs of leaves you should take out the weakest ones to allow your stronger seeds to thrive. Take care not to disturb the roots by snipping off the weak seedlings at the soil surface with a pair of scissors.
Hardening off. When your seedlings have grown and the weather warms you are almost ready to plant outside. One more step. Place the plants in a greenhouse or on a protected porch for 5 to 7 days. This is called hardening off and it helps the plants adjust before they are planted outside.
Before you know it, you will be eating delicious vegetables that you grew yourself. Happy planting!
Sources:
California Master Gardener Handbook, Second Edition, by Dennis R. Pittenger.
Get a head start on your garden by starting your seeds indoors by Melissa Womack and Skylar Peters, UC Statewide Master Gardener blog,