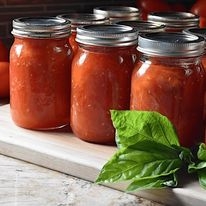
What is Flat Sour? Flat sour is a condition in canned foods characterized by a loss of flavor and the development of an unpleasant taste and odor. This phenomenon is particularly associated with canned vegetables, fruits, and acidic products like tomato-based sauces. The name "flat sour" aptly describes the dull, lifeless taste that results from this spoilage.
Causes of Flat Sour:
Microbial Activity: Flat sour is primarily caused by the activity of heat-resistant bacteria, particularly strains of thermophilic bacteria such as Bacillus coagulans and Geobacillus stearothermophilus. These bacteria survive the canning process and, under favorable conditions, proliferate, leading to the degradation of the canned product.
Inadequate Processing: Flat sour can occur when the canning process is not executed correctly. Incomplete heating or cooling processes may allow heat-resistant bacteria to survive, contributing to the development of flat sour flavors.
Low Acidity Levels: Certain canned goods, like vegetables and fruits with low acidity, are more susceptible to flat sour spoilage. The lack of acidity provides a conducive environment for the growth of heat-resistant bacteria.
Preventing Flat Sour:
Proper Canning Techniques: To prevent flat sour, it is crucial to follow proper canning techniques. This includes ensuring that the canned product is heated adequately during processing, reaching temperatures that effectively eliminate harmful bacteria.
Acidification: For low-acid foods, adding acidifying agents such as lemon juice or vinegar can help create an environment hostile to heat-resistant bacteria.
Using High-Quality Ingredients: Start with fresh, high-quality produce to minimize the risk of flat sour development. Inspect fruits and vegetables for signs of spoilage before canning.
Maintain Cleanliness: Maintain a clean and sanitized environment throughout the canning process. Sterilize jars, lids, and utensils to reduce the likelihood of introducing harmful microorganisms.
Follow Recommended Processing Times: Adhere strictly to recommended processing times for each type of food. Over-processing can lead to degradation of quality, while under-processing may allow bacteria to survive.
Flat sour is a potential pitfall in the art of canning, but with careful attention to detail and adherence to proper techniques, it can be effectively prevented. Canners should prioritize cleanliness, choose high-quality ingredients, and follow established guidelines to ensure the safety and flavor of their canned products. By understanding the causes of flat sour and implementing preventive measures, individuals can enjoy the benefits of home-canned goods with confidence in their quality and taste.

Recipe and Image Resource Ball https://www.ballmasonjars.com/blog?cid=honey-orange-slices-canning-oranges-recipes-ballr-fresh-preserving
Makes about 3 have pint jars (8 oz)
Prep: 1.5 hours Processing Time: 10 Minutes
INGREDIENTS
3 cinnamon sticks broken into pieces
1-1/2 tsp whole cloves
1-1/2 tsp whole allspice
2-1/2 lbs oranges, halved lengthwise and thinly sliced, ends and seeds discarded (about 8 medium)
1-1/4 cups granulated sugar
1-1/4 cups liquid honey
3 Tbsp. bottled lemon juice
Water
DIRECTIONS
1. Tie cinnamon stick pieces, cloves and allspice in a square of cheesecloth, creating a spice bag. Set aside.
2. Combine oranges with water to cover in a large stainless-steel saucepan. Bring to a boil over medium-high heat. Reduce heat and boil gently until peel is tender, about 15 minutes. Drain and set aside.
3. Combine sugar, honey and lemon juice in a clean large stainless-steel saucepan. Bring to a boil over medium-high heat, stirring occasionally to dissolve sugar. Add reserved spice bag and oranges. Bring to a boil. Reduce heat and boil gently until orange slices are well glazed, about 40 minutes. Discard spice bag.
4. Prepare boiling water canner. Heat jars in simmering water until ready for use. Do not boil. Wash lids in warm soapy water and set bands aside.
5. Pack hot oranges into hot jars, using a slotted spoon, leaving 1/2-inch headspace. Ladle hot syrup into hot jar to cover oranges leaving 1/2-inch headspace. Remove air bubbles. Wipe rim. Center lid on jar. Apply band until fit is fingertip tight.
6. Process jars as indicated in chart below. Turn off heat, remove lid, let jars stand 5 minutes. Remove jars and cool 12-24 hours. Check lids for seal, they should not flex when center is pressed.
Boiling Water or Atmospheric Steam Canning Chart
| Style of Pack | Jar Size | 0-1,000 Ft | 1,001 -6,000 ft | Above 6,000 ft |
| Hot | Pint | 10 min | 15 min | 20 min |
- Author: National Center for Home Food Preservation
As spring breathes new life into orchards and gardens, it's the perfect time to harness the abundance of fresh fruits for homemade jams and jellies. Have you ever wondered what sets jams and jellies apart? What is a conserve? Marma-what?!?
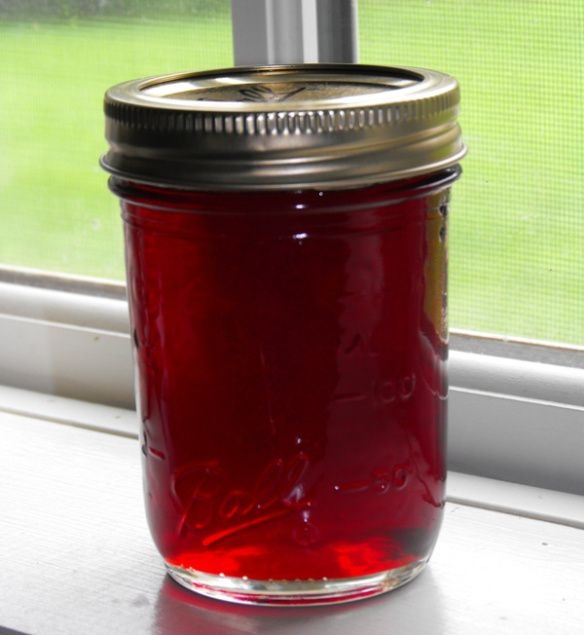
Jelly, jam, preserves, conserves and marmalades are fruit products that are jellied or thickened. Most are preserved by sugar. Their individual characteristics depend on the kind of fruit used and the way it is prepared, the proportions of different ingredients in the mixture and the method of cooking.

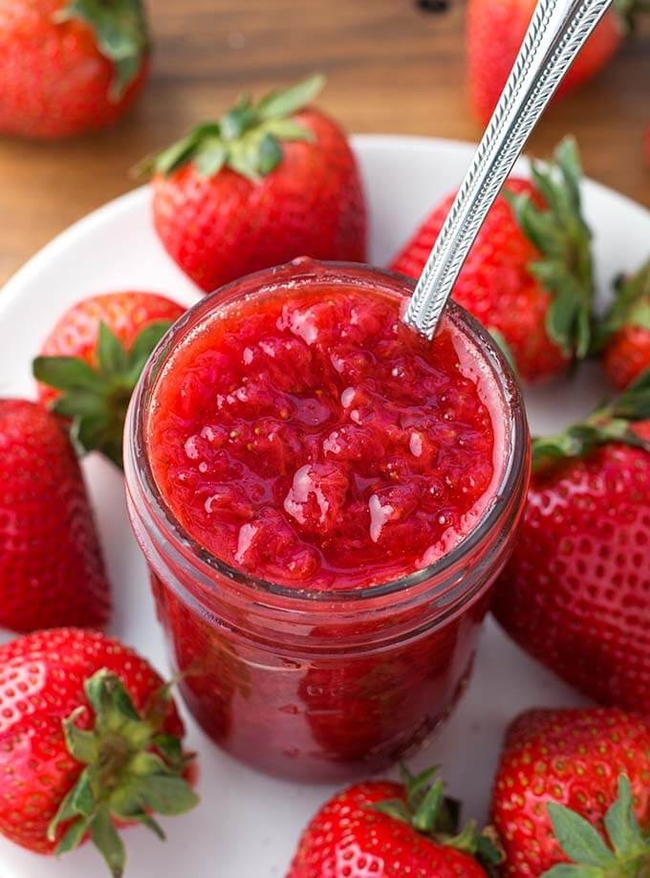
Jams are thick, sweet spreads made by cooking crushed or chopped fruits with sugar. Jams tend to hold their shape but are generally less firm than jelly. (Recipes are also available for uncooked jams.) Preserves are small, whole fruit or uniform size pieces in a clear, slightly gelled syrup. The fruit should be tender and plump.

Marmalades are soft fruit jellies containing small pieces of fruit or peel evenly suspended in the transparent jelly. They often contain citrus fruit.
Other fruit products that are preserved by sugar but not jellied include butters, honeys and syrups. Fruit butters are sweet spreads made by cooking fruit pulp with sugar to a thick consistency. Spices are often added. Honeys and syrups are made by cooking fruit juice or pulp with sugar to the consistency of honey or syrup.
For more information on making jams and jellies (including recipes) visit the National Center for Home Food Preservation.
This document was adapted from "So Easy to Preserve", 5th ed. 2006. Bulletin 989, Cooperative Extension Service, The University of Georgia, Athens. Revised by Elizabeth L. Andress. Ph.D. and Judy A. Harrison, Ph.D., Extension Foods Specialists.


