- Author: Christine Casey
Like all animals, bees need food, water, and shelter. Most insects get all the water they need from their food: think of a caterpillar that feeds on plant leaves, which are mostly water. However, the pollen and nectar that constitute a bee's diet don't contain much moisture, so bees must have a water source. As the weather warms and foraging activity picks up, honey bees will start looking for water as well as pollen and nectar.
Honey bees are good learners, and once they find a water supply they will return regularly. Water is so important that foragers will do the waggle dance to direct hive mates to water sources just as they will for flowers. So to direct bees to the water you want them to use, it's important to provide attractive sources early in the year (i.e. now!) so they will learn these rather than the places you don't want them, such as a swimming pool.
So just what is a good water source? Here are some guidelines:
Accessible to bees
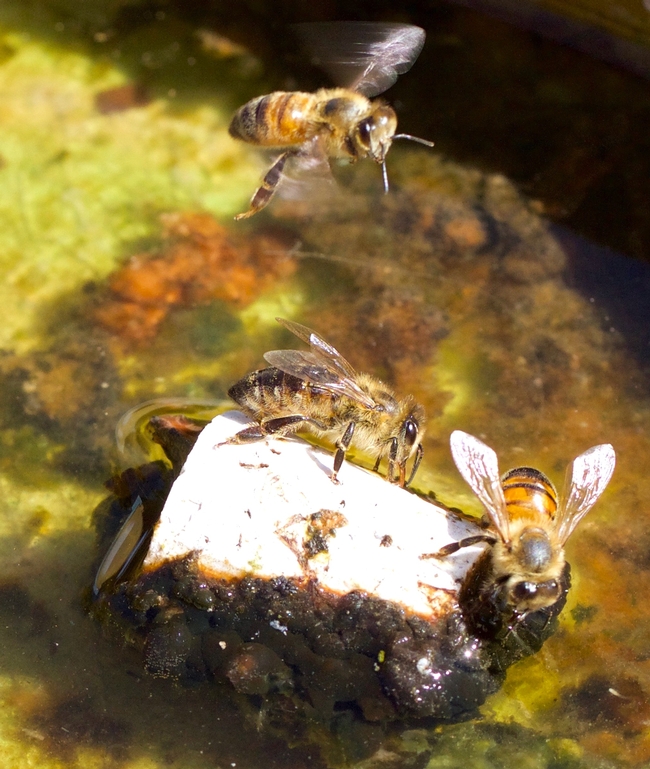
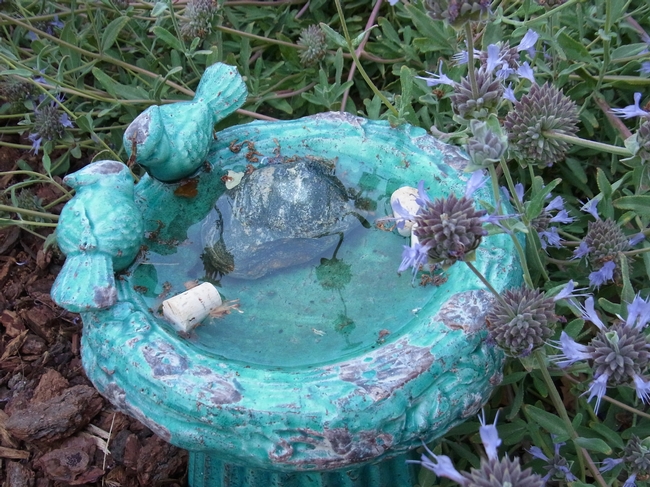
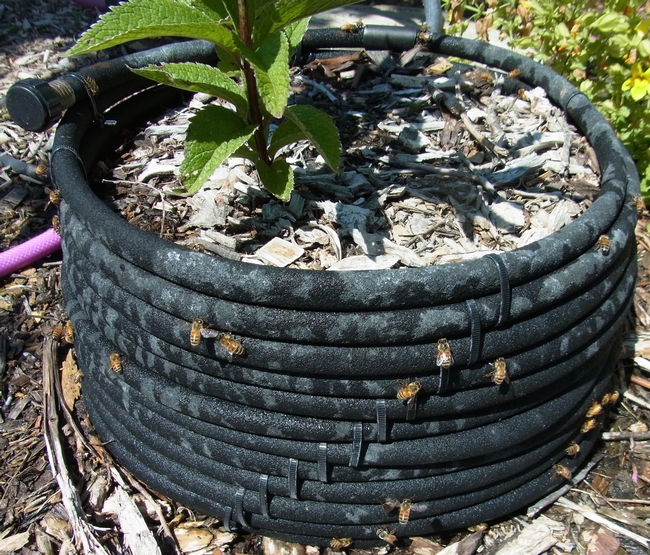
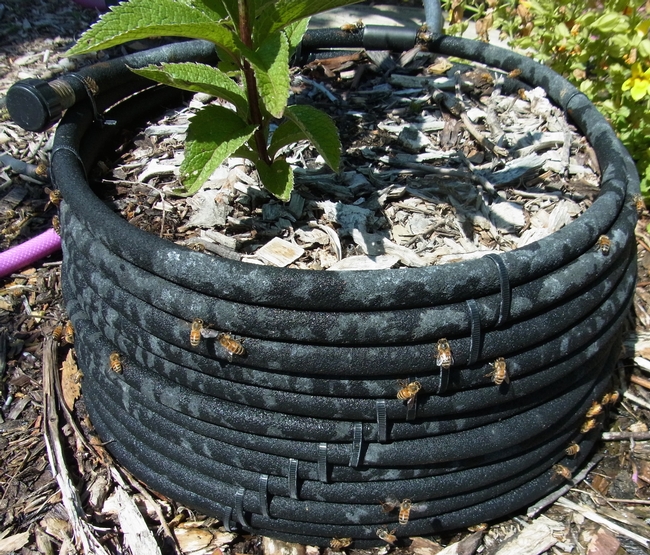
Bees can't swim! They must be able to stand where it's dry and drink. Good systems include shallow bird baths or pot bottoms filled with water and pebbles or corks. These allow the bees to stand and drink; they'll generally dry out too quickly for mosquitoes to be an issue. If your water source is a pond, Bacillus thuringiensis israelensis may be used for mosquito control as it's harmless to bees. At the Haven, we create 'pots' using coiled soaker hoses. Connected to a timer-controlled water supply, these are a great way to efficiently deliver water in bee-sized droplets. I provided construction details for this in a previous post.
Nutritious for bees
Water needs to be nutritious? Surely bees need the same fresh, clean water that you or I might want? It turns out that water is an important route for bees to obtain essential nutrients. Butler (J. Experimental Biology, 1940, (17):253-261) coined the term 'dirty water' to refer to water containing nutrients. Probably because in the agricultural areas of Great Britain where he observed bees, they frequented areas we might consider undesirable. As he stated in his paper,
"It is well known that honeybees tend to collect water from many undesirable sources, such as rain-water gutters that are choked with decaying organic matter, on the puddles that form on the top of cow dung and sewage effluent, rather than from a source of clean water provided in the apiary for their use."
He performed chemical analysis of the water at these sites and found it to be high in various nutrients that were leaching from the organic material. Water with high sodium chloride (yes, table salt) seemed to be the source preferred by bees. A previous study (Hertz, Z. Vergl. Physiol., 1935, (21):463) suggested that bees used olfactory cues to located these preferred sources. To test this, Butler washed preferred water using activated charcoal and found that bees were unable to distinguish between the washed preferred water and distilled water. This confirmed Hertz' theory that odor cues are used to locate mineral-rich water. The take home from this? Don't place your water source near highly scented plants, and let leaves and algae sit in your bee water source.
More recent work by Bonoan et al. (Ecol. Entomol., 2017, (42):195-201) looked at drinking water as a source of micronutrients for bees. Honey bees were allowed to forage freely in a meadow and were provided water sources with varying chemical components. As with Butler, during much of the year they found that bees had a strong preference for sodium-rich water, regardless of plant diet. In the fall, however, when pollen is scarce, they showed a preference for water sources containing calcium, magnesium, and potassium, all of which are found in pollen. This demonstrated that honey bees have the ability to switch water sources to compensate for dietary nutrient deficiencies.
Plants as water sources
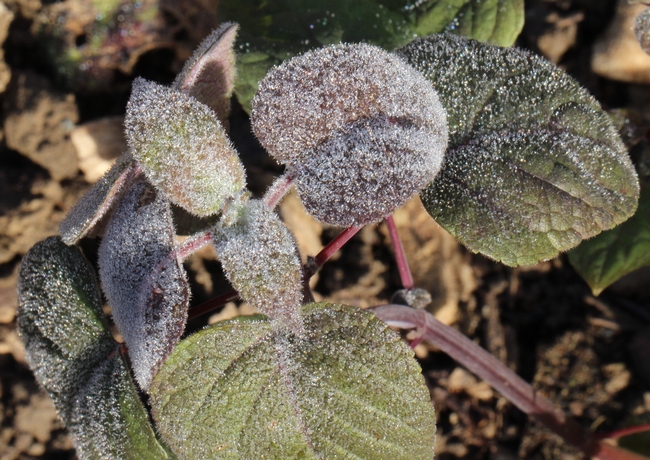
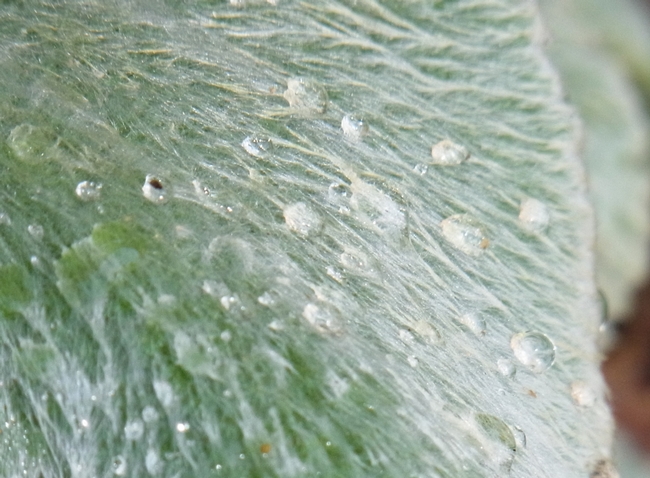
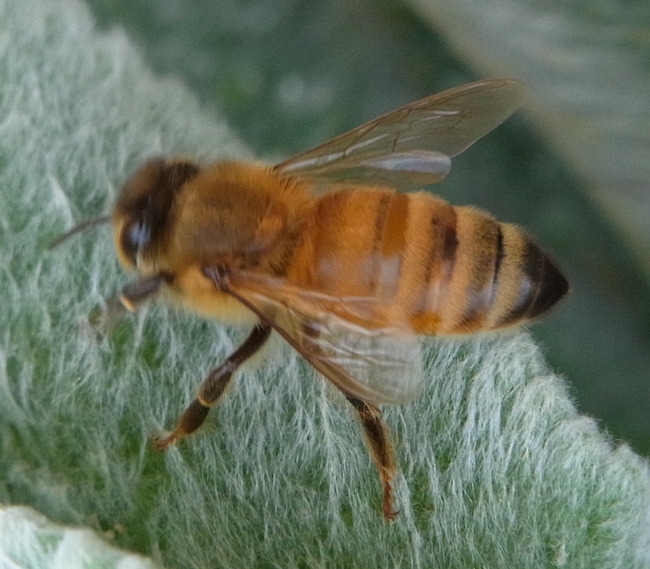
I mentioned earlier that the plant products consumed by bees -- pollen and nectar -- aren't good sources of water. Plants can be an indirect source, though. In a garden with overhead irrigation or large amounts of dew, water can sit for several hours on leaves that are covered with dense hairs. I've shown two examples from the Haven below. Since overhead watering can promote disease and waste water, try giving plants like these a quick wash from the hose so they'll do double duty as nectar and water sources.
- Author: Christine Casey
The Haven volunteers and I are busy doing winter pruning. I'm often asked about pruning by garden visitors: what to prune, when to do it, and how much to cut back. We prune most of our plants fairly hard to stimulate as much new growth as possible since new growth often produces more flowers. After all, making flowers to feed the bees is what we're all about!
We perform this task every year in late January and into early February. We delay pruning until then to provide forage and cover for the many birds that use the Haven and to ensure that any frost damage is confined to the outer part of the plant. Here's how we prune different types of plants at the Haven.
Herbaceous perennials
These plants are typically cut back to the base, although in the case of plants like milkweed that are late to re-sprout, it can be helpful to leave visible stems so you'll remember where the plant is located. Some examples from the Haven:
The first photo shows calamint, Calamintha nepetoides, just before pruning. You can clearly see last year's dead flower stalks with this year's new growth at the base. Cut the old stalk down to the top of the new growth.
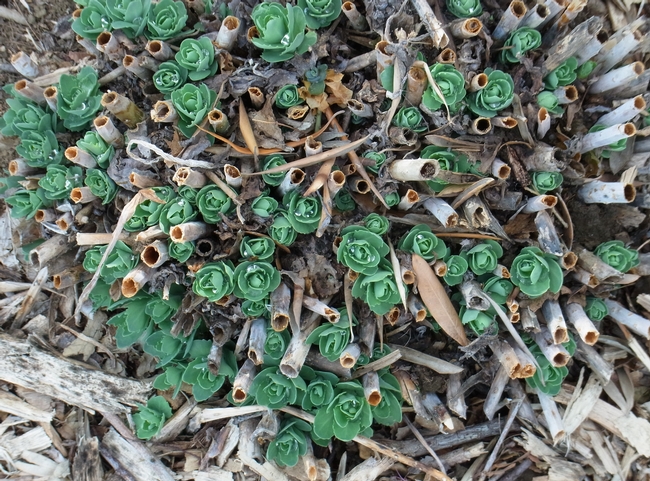
The next picture is sedum 'Autumn Joy', Hylotelephium 'Autumn Joy' just after pruning. Isn't the new growth cute? It looks like tiny heads of lettuce! I prune this plant earlier -- in late fall or early winter -- as the hollow stems make great overwintering sites for beneficial insects like ladybird beetles.
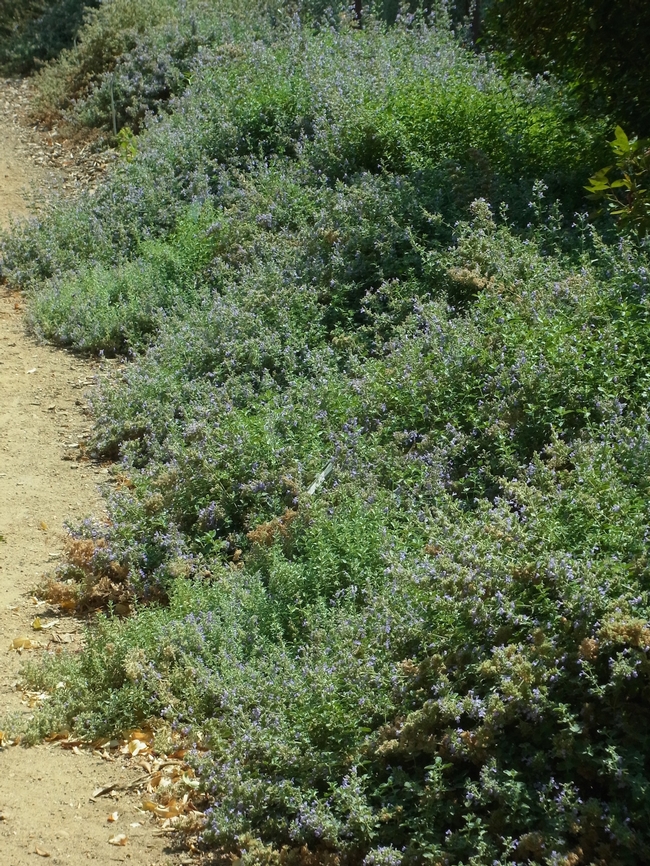
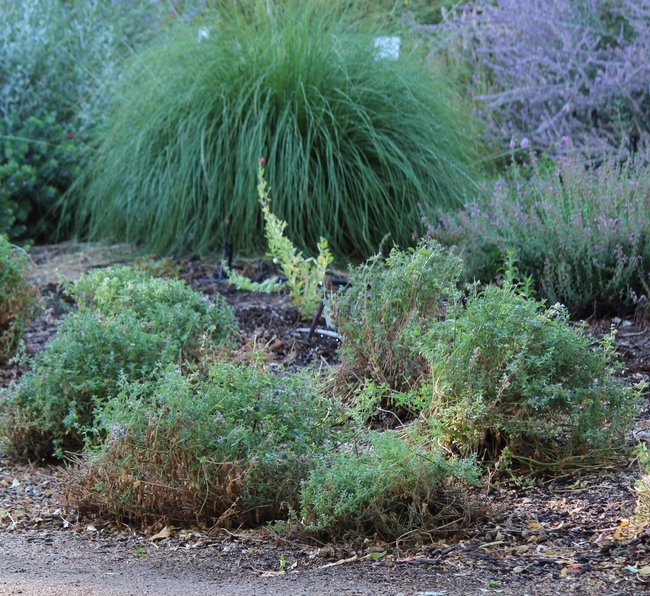
The final example is 'Walker's Low' catmint, Nepeta x faassenii 'Walker's Low'. No need to be gentle with this plant; we prune ours with electric hedge trimmers. The photos show the same patch of plants before and after pruning. 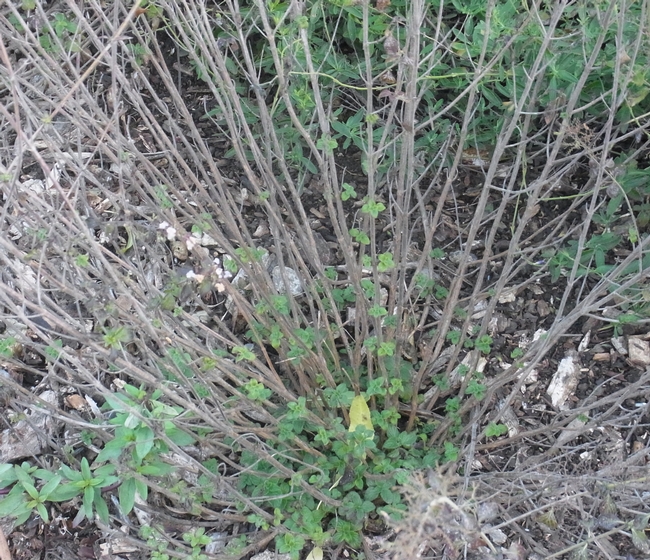
Woody perennials
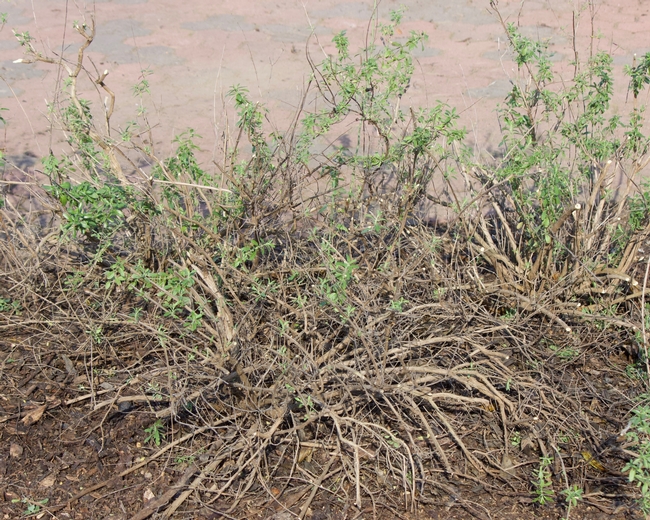
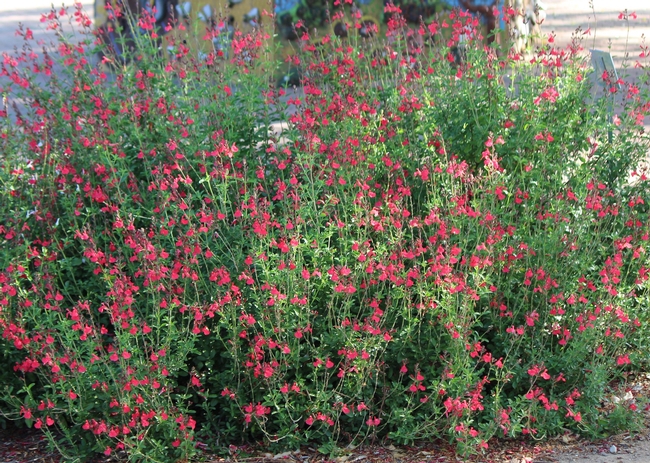
Many woody perennials can be cut back hard to increase bloom. Two that are excellent candidates for this are the sages (Salvia spp.) and California fuchsia, Epilobium canum. Trim sages back to 6 to 12 inch stems to stimulate new growth at the base that will produce copious flowers from the following spring through fall.
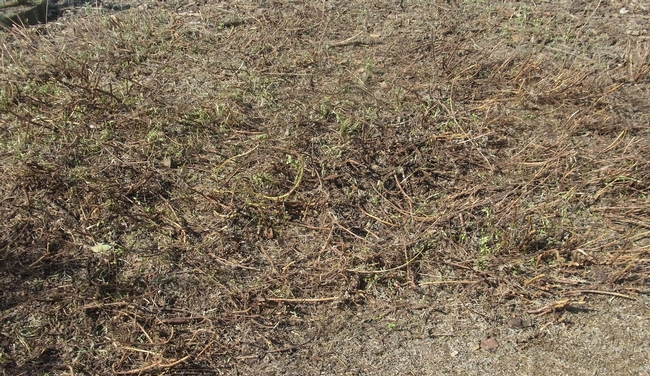
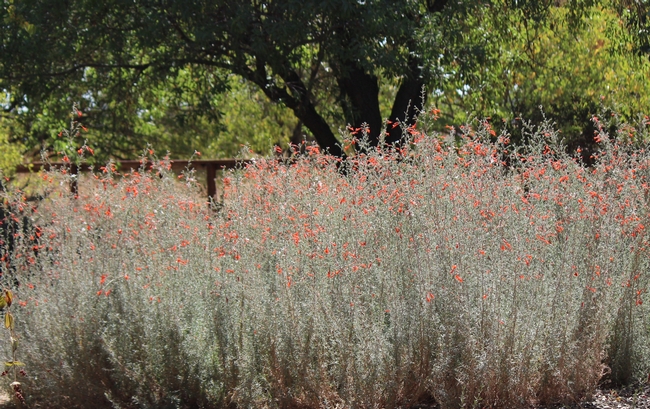
California fuchsia is a great bee garden plant that provides nectar in late summer and fall when there are often few other nectar sources. It does tend to spread, and pruning a large patch by hand can be time-consuming. Run a lawn mower over it .... it will look terrible when you're finished but the reward will be ample flowers the next year.
Woody shrubs that bloom on new growth
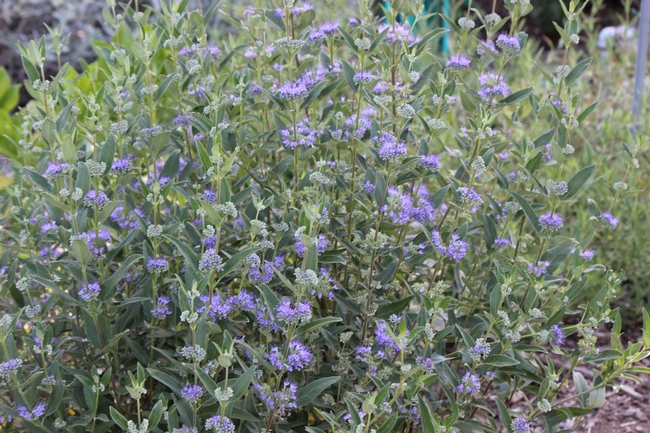
Some woody plants are pruned more like herbaceous perennials because they bloom on new growth. If they're not pruned hard there will be little in the way of flowers next year. The example here is bluebeard, Caryopteris x clandonensis; stems are trimmed to 6 to 12 inches in length just above a node where new growth is emerging. It doesn't look like much in the winter after it's pruned, but it returns beautifully once spring comes and flowers nicely all summer and fall. Another common bee garden plant that needs to be trimmed this way is Russian sage, Perovskia atriplicifolia. 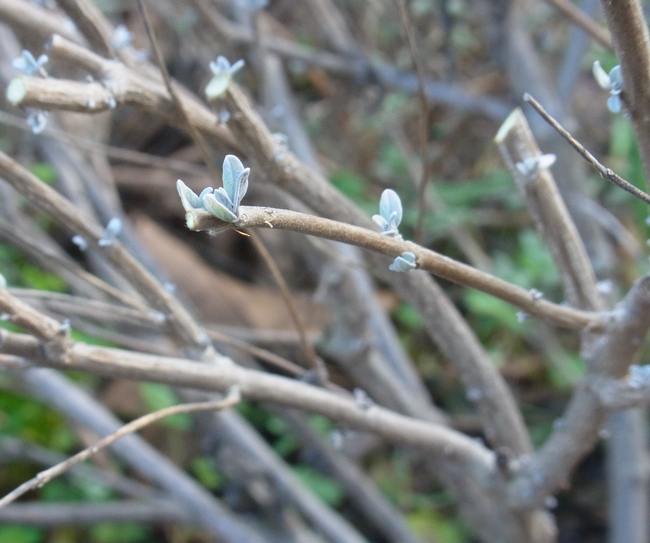
Renewal pruning
Many woody shrubs can be cut back hard for renewal. Plants that have excessive dieback or that tend to get woody and unproductive with time are great candidates for this.
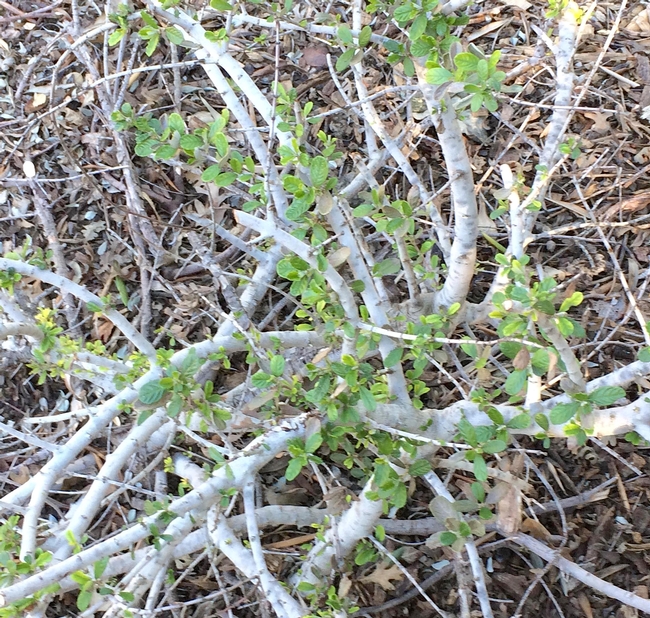
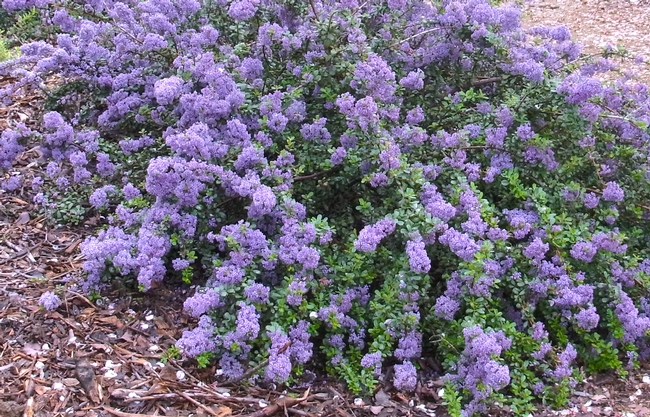
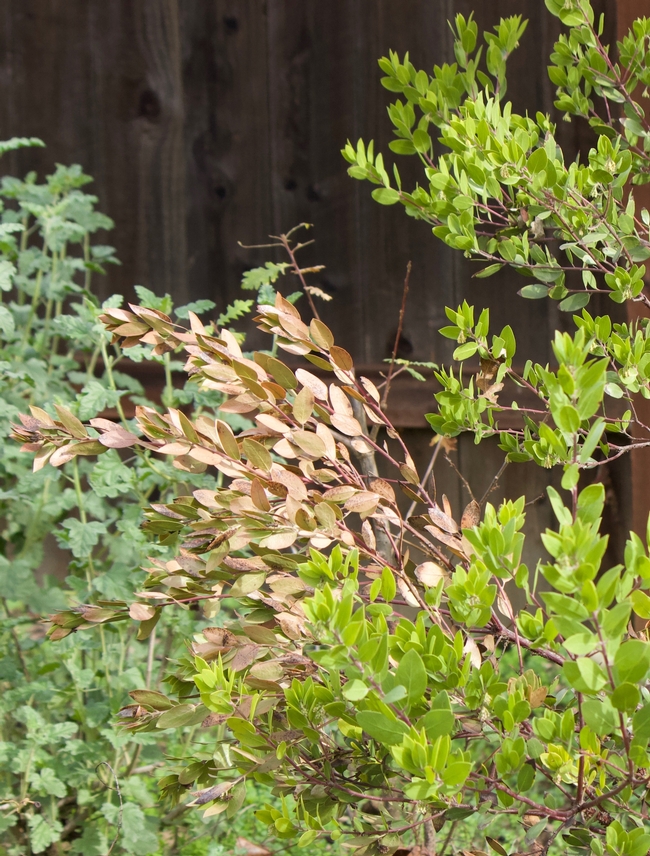
The first example is 'Valley Violet' ceanothus. This plant showed quite a bit of dieback by last fall. It was pruned hard (its size was reduced by about 2/3); the first photo shows how nicely it is growing back. We won't get much bloom this year, but by next winter it will be covered with nutritious flowers for our bees.
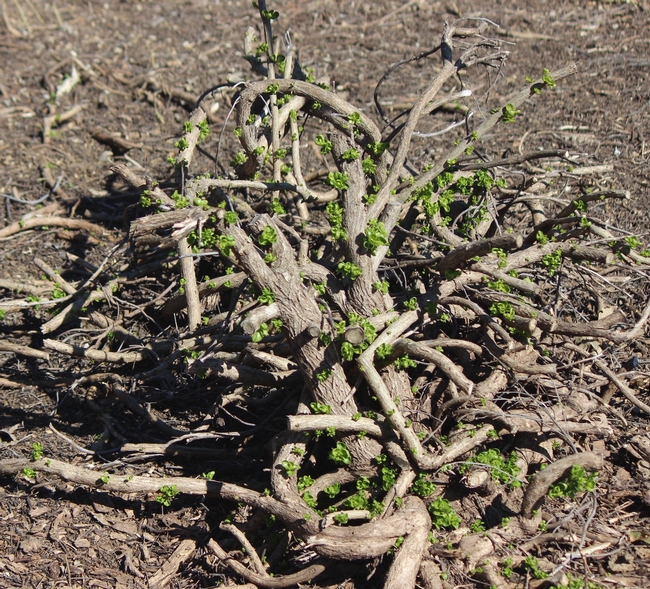
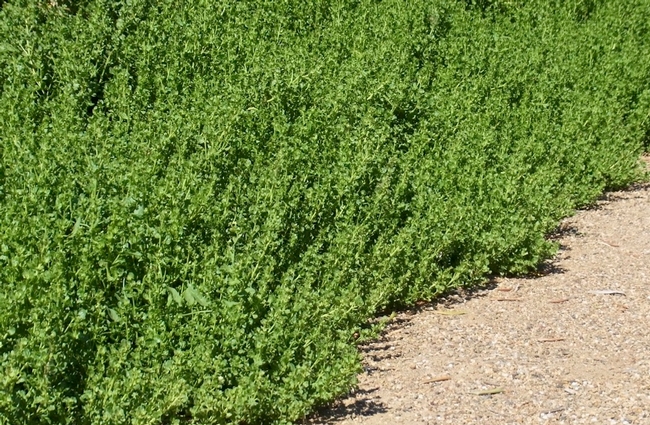
Another candidate for this treatment is coyote brush, Baccharis pilularis; ours is the cultivar 'Twin Peaks'. Over time this plant tends to accumulate a lot of woody stems that don't produce flowers. We cut this back in the fall to the pile of sticks shown in the first photo; look at how nicely it comes back by spring.
This guide from UC Cooperative Extension has more information about tree and shrub pruning.
Grasses
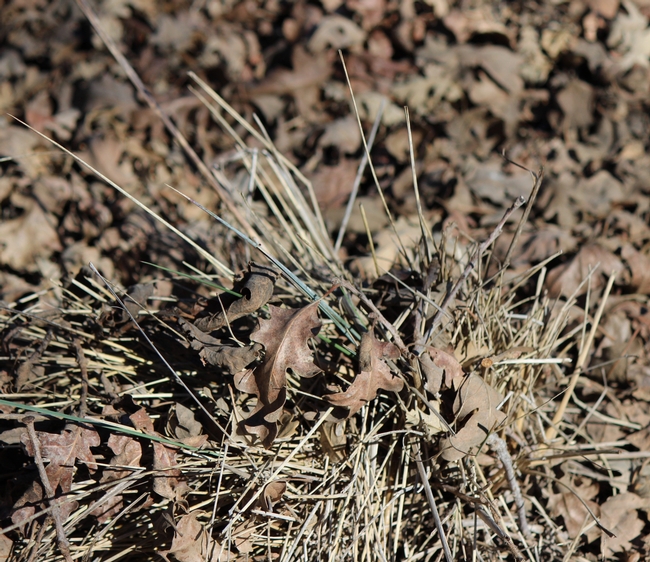
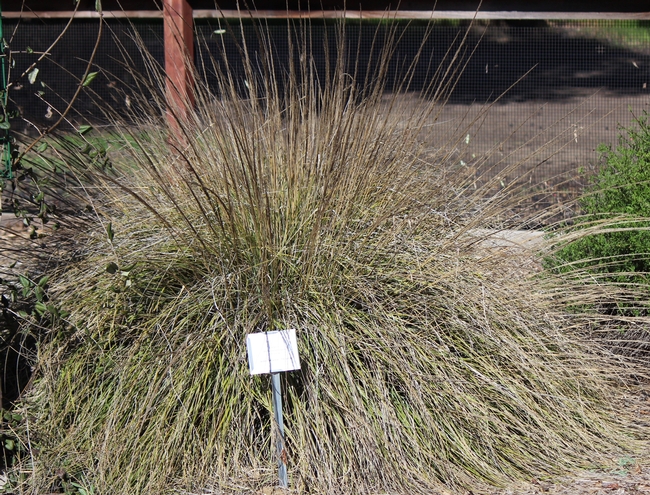
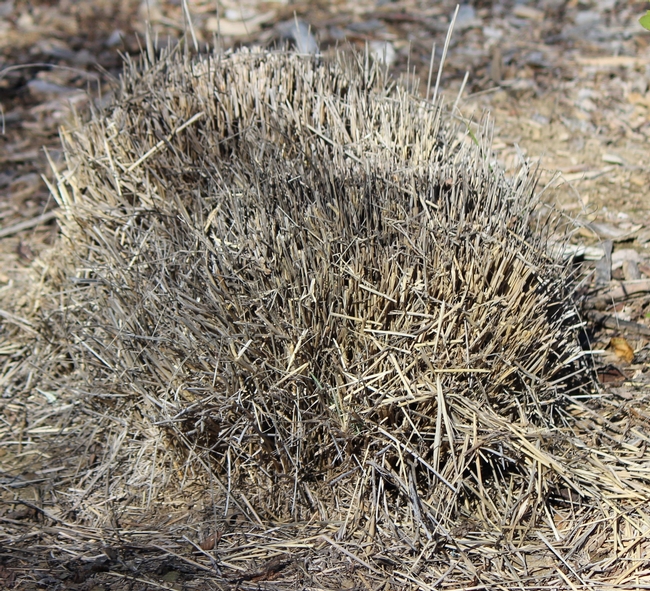
We have native bunchgrasses in the Haven, which are sometimes used by bumble bees for nesting. They can nest at the base of the plant itself or in the ground immediately around the plant. We grow California fescue 'Phil's Silver' (Festuca californica 'Phil's Silver) and deergrass (Muhlenbergia rigens) at the Haven. Neither is pruned in late winter, but for the sake of being thorough I've included them. We prune the fescue in early summer (around the time it goes dormant) to prevent excessive re-seeding. Deergrass is pruned every other year in fall, which provides sufficient time for new growth to develop by spring. As you can see from the photos, neither is particularly attractive after it's cut back.
Pruning is not essential for maintenance of these plants, but it does provide a neater appearance in the landscape. To be safe, check for the presence of nests at the base of these plants before pruning. 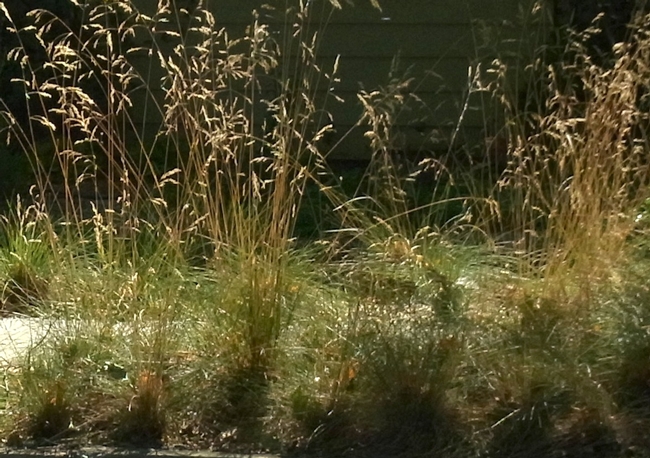
Fruit tree pruning
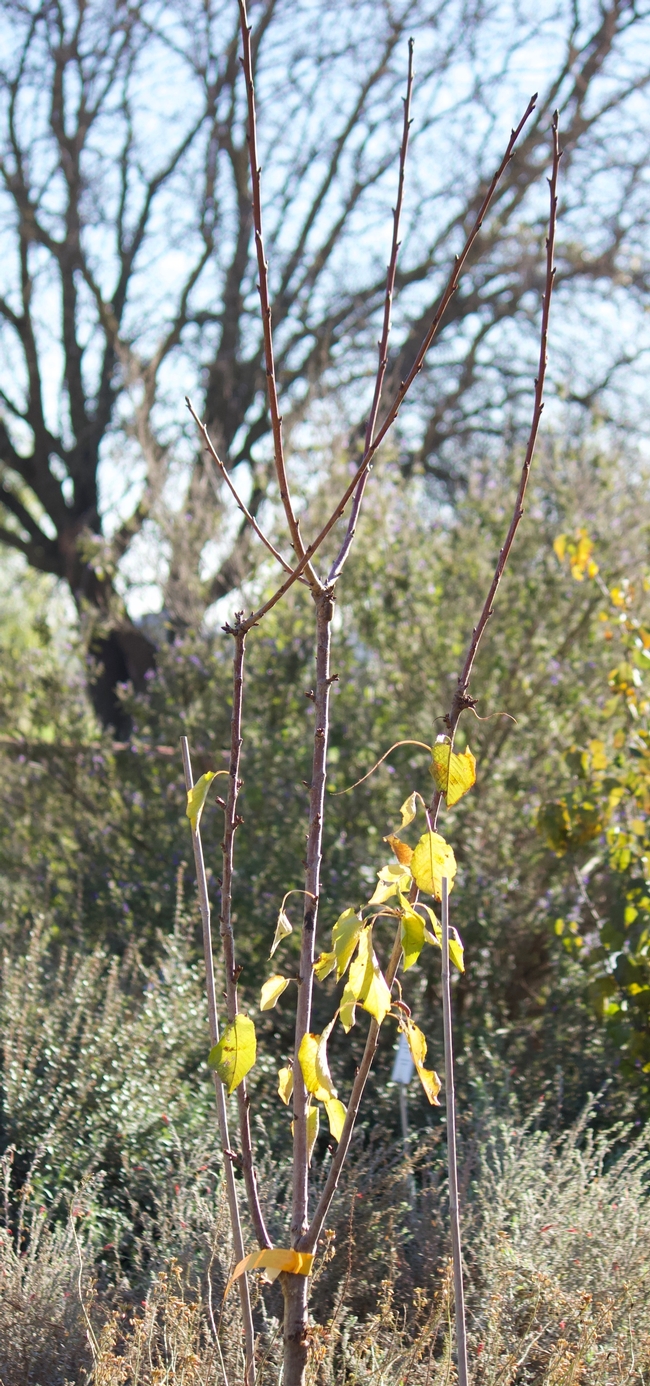
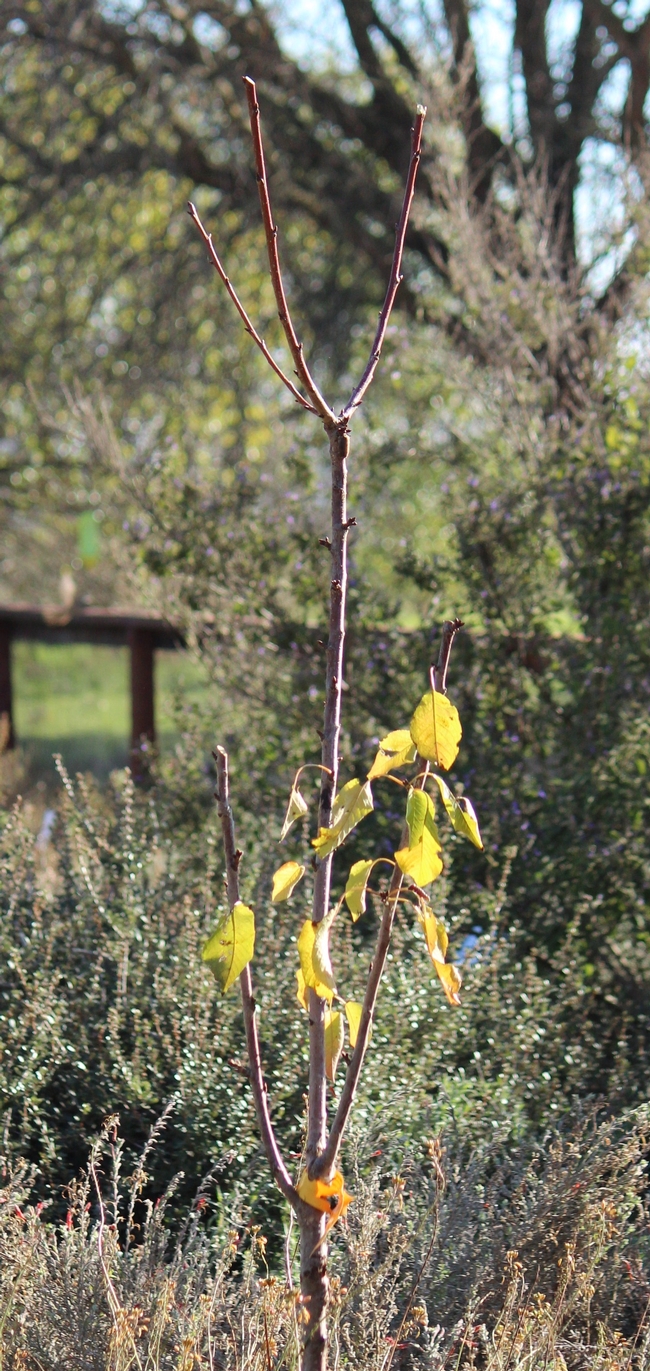
We also prune our orchard during the winter. This is especially important for us during the next few years as our young (planted in 2016-2017) trees develop their shape. As shown in the before and after pictures, the goal at this time is to develop a bowl shape with an open center. Prune off any branches that come out from the main trunk at very shallow or steep angles....ideally branches should be between 40 to 60 degrees off the main stem. Anything else tends to be weak and may snap under the weight of a load of fruit. For the same reason, aim for balance around the trunk: you can see that I've left three equally spaced branches at each node. I'll likely remove the lower set of branches during next year's pruning; for now their foliage provides valuable photosynthesis to help this young tree grow.
For more information about fruit tree pruning, check out this information from UC Cooperative Extension.
Dead branches
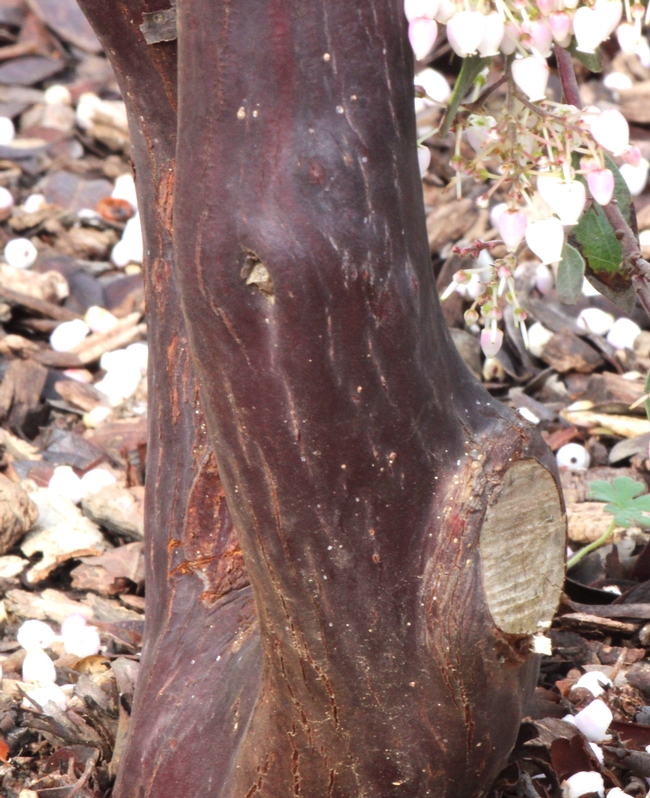
Dead branches should be pruned immediately, regardless of the time of year. There's also no need to use wound dressing, as correct pruning cuts are done so that regenerative tissue remains on the plant and it heals itself.
- Author: Christine Casey
An important part of the Haven's mission is providing learning opportunities for tomorrow's bee gardeners and bee scientists. Children's activities have always been a part of our open houses; I'm pleased to announce that we now have an area for adults and children to interact to learn more about bees and growing the plants that support them.
Here's a brief tour; I will continue to add new information and educational activities as time permits. I hope you can visit soon!
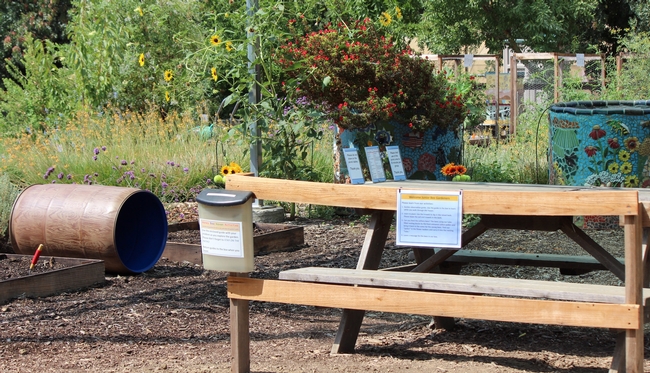
The area is next to the garden shed and is under shade cloth. There are both adult- and kid-sized tables. A box at the entrance contains an activity sheet for adults and children to use together as they walk in the garden.
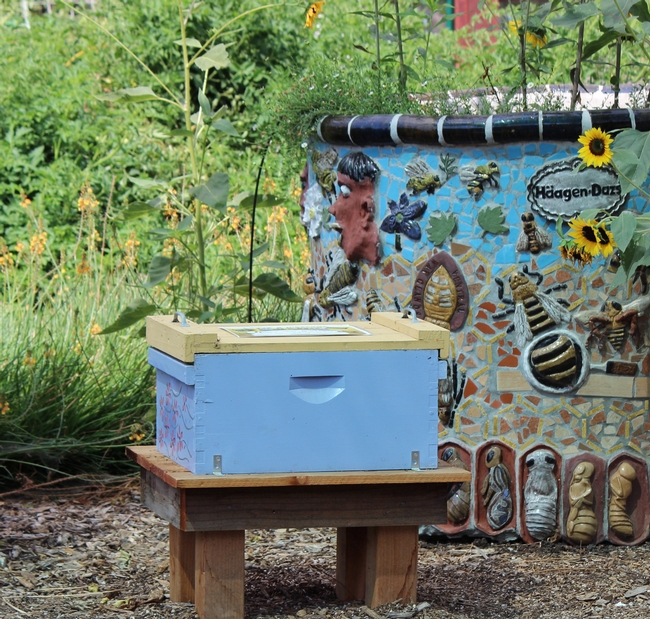
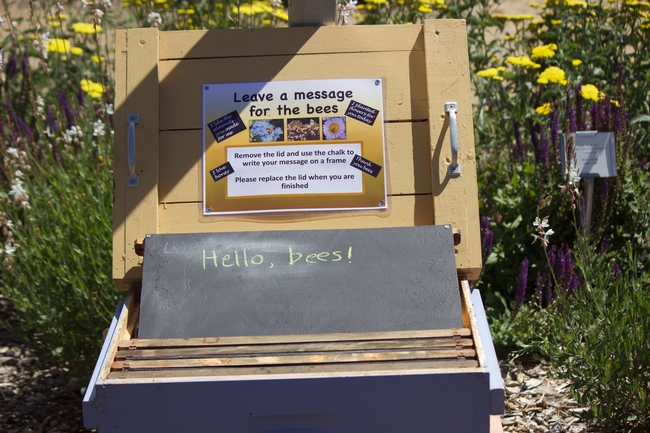
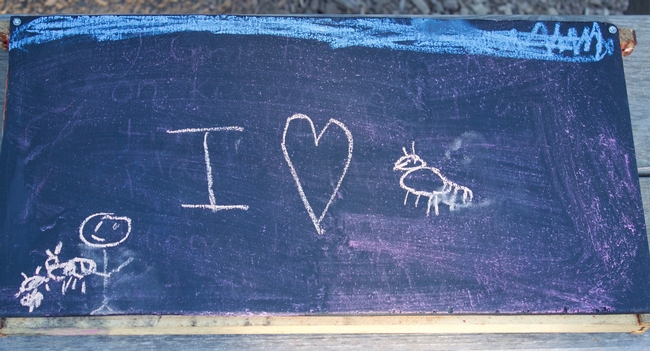
An old hive has been made into a message center:

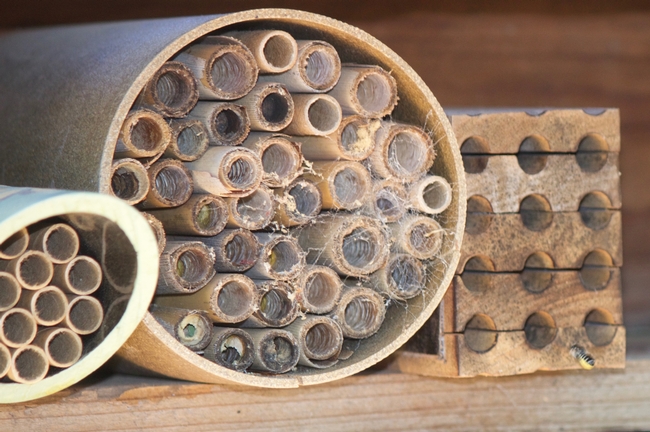
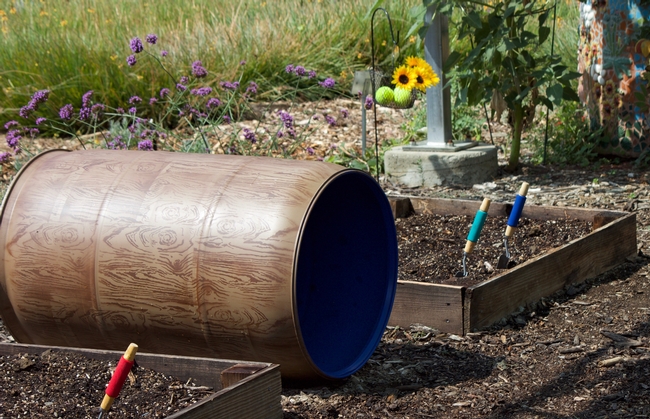
Stop and look at the activity at the solitary bee nesting blocks at the Haven entrance. Kids can then learn how these bees work by collecting "pollen" from "flowers" and depositing it in the "nest." They can also dig in the raised beds to learn how to plant for the bees.
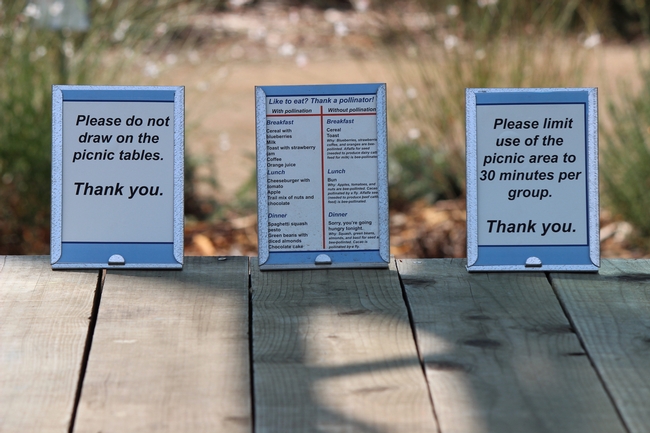
Please be mindful of our policies so that everyone can have an enjoyable visit:
Thanks to Haven volunteers Diane Kelly and Rick Williams, who did much of the construction and painting.
Update as of March 2023: the children's activities have been removed from this area as they were not being well-used by visitors.
- Author: Christine Casey
This Saturday, August 19, 2017, is National Honey Bee Day. This commemoration was created by Pennsylvania beekeepers to recognize the beekeeping industry, honey bees, and the role they play in our food supply. Let's take this opportunity to honor the hard-working honey bees (they pollinate about 85% of bee-pollinated crops in the US, which is worth billions of dollars annually).
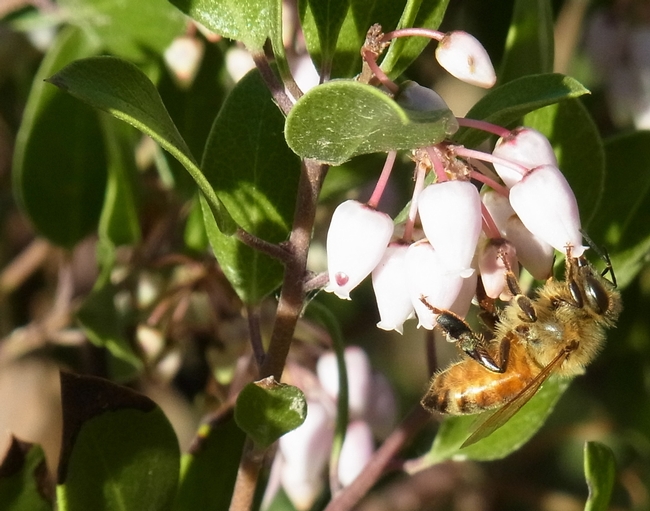
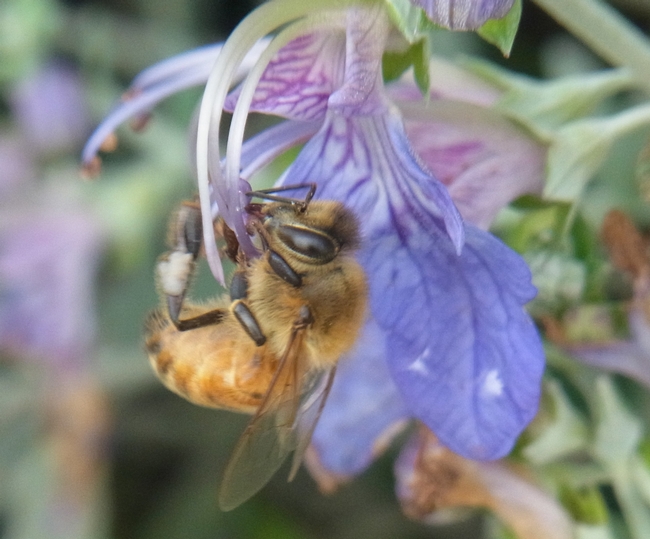
To keep honey bees healthy, access to ample, nutritious forage, i.e. flowers, is essential. It's important to provide year-round bloom and to include both pollen and nectar sources. The Haven's web page includes the information you need to develop this in your own garden; click here to go to all of our gardening resources.
Winter-blooming plants:
The winter food garden also depends on honey bee pollination:
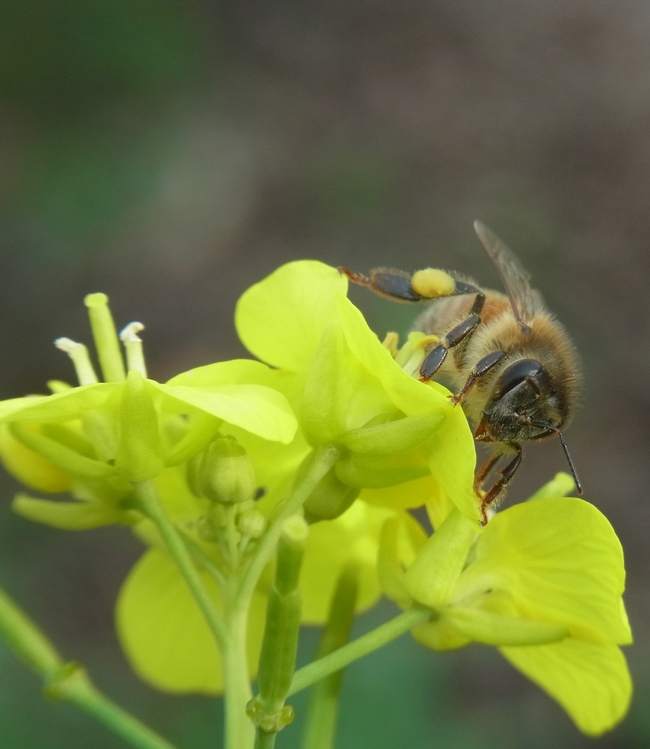
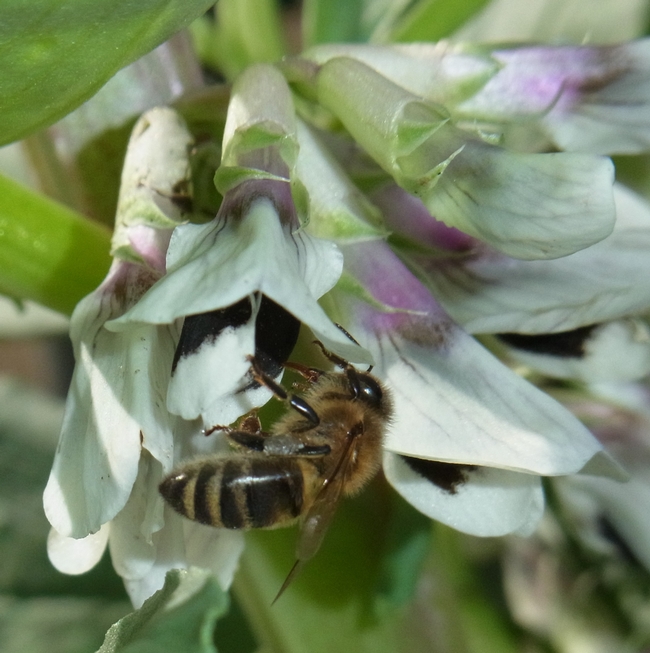
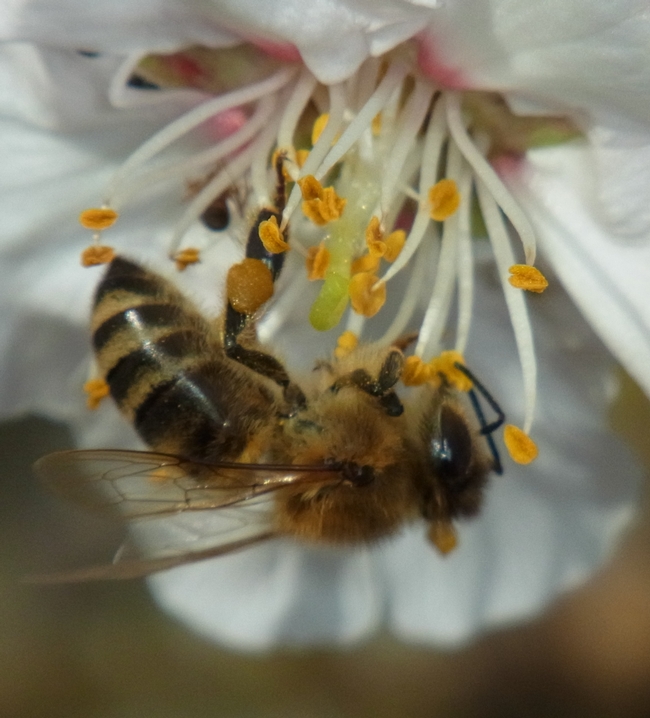
Early spring is when bees have a special need for pollen. This protein-rich plant component is fed to the young bees; an ample supply is important to building a strong colony. Early bloomers like ceanothus and California poppy are good pollen sources; March-blooming Spanish lavender provides a great nectar source that provides energy for spring foraging activity.
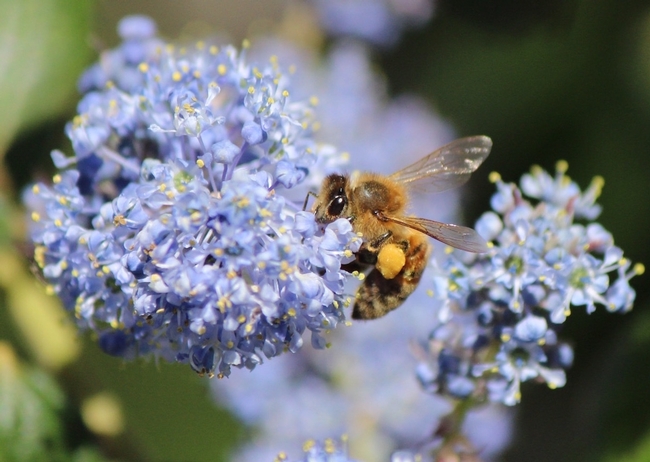
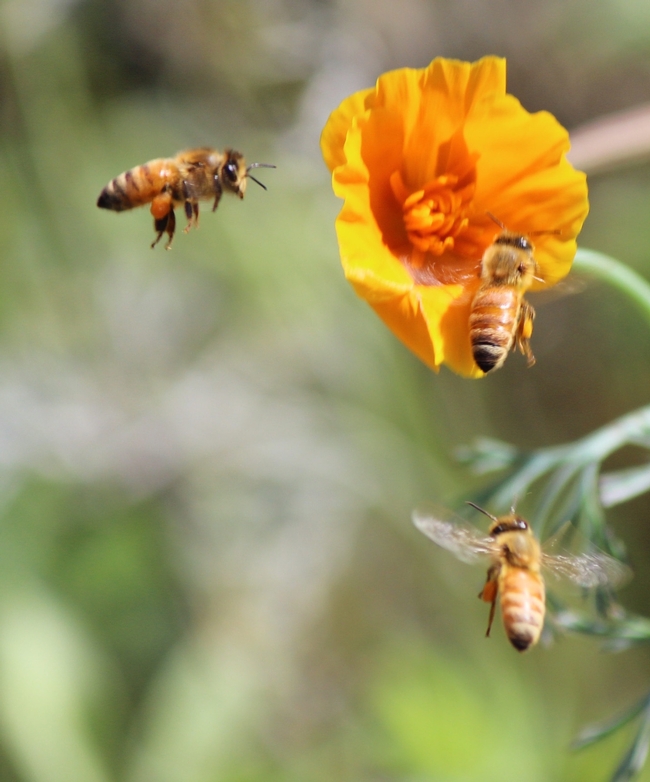
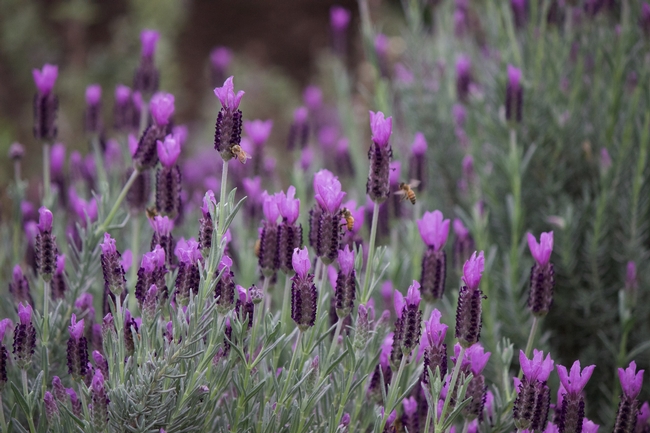
Late spring and into summer are when activity picks up in the bee garden. The hive is growing and there are bees to be fed! Here's a new bee entering the world, along with some of the pollen and nectar sources that will feed her:
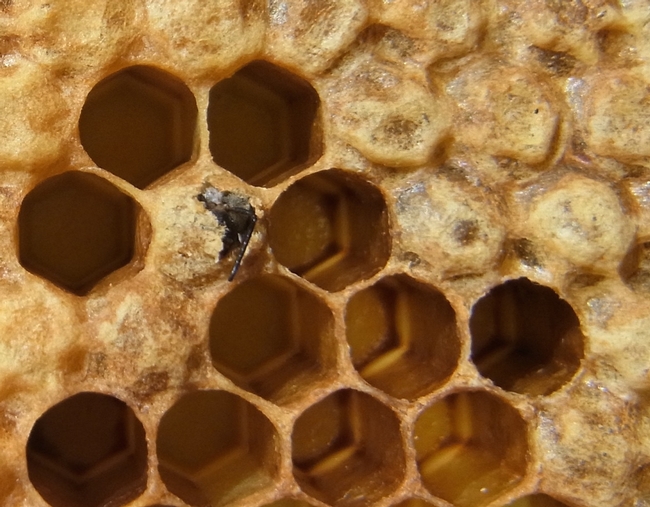
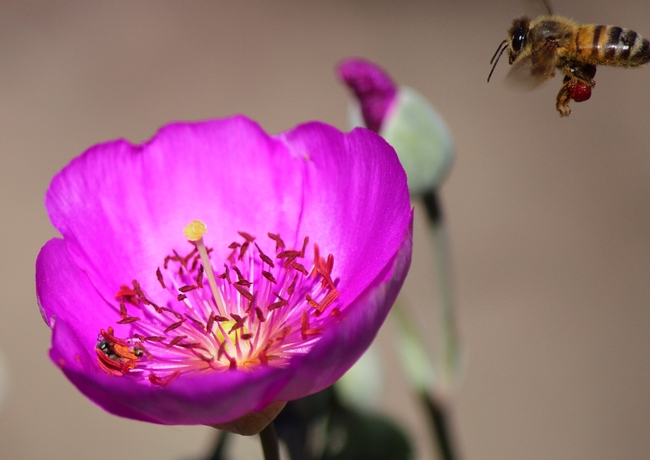
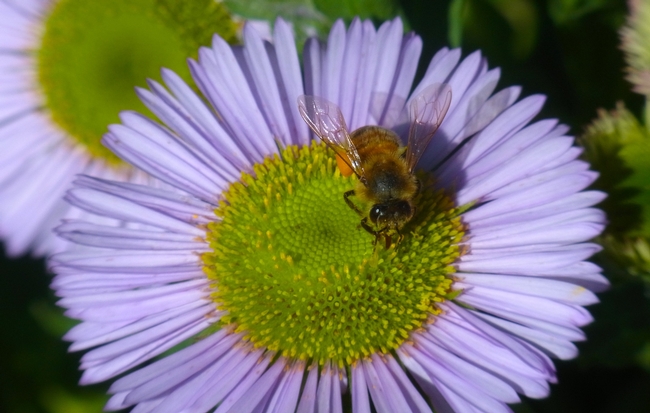
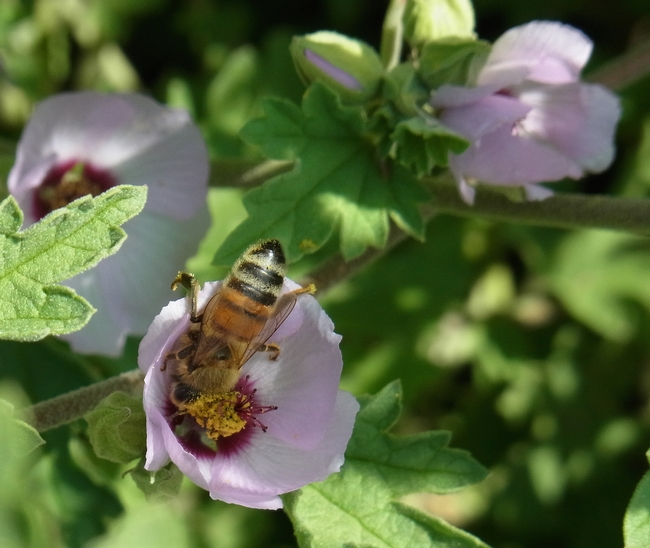
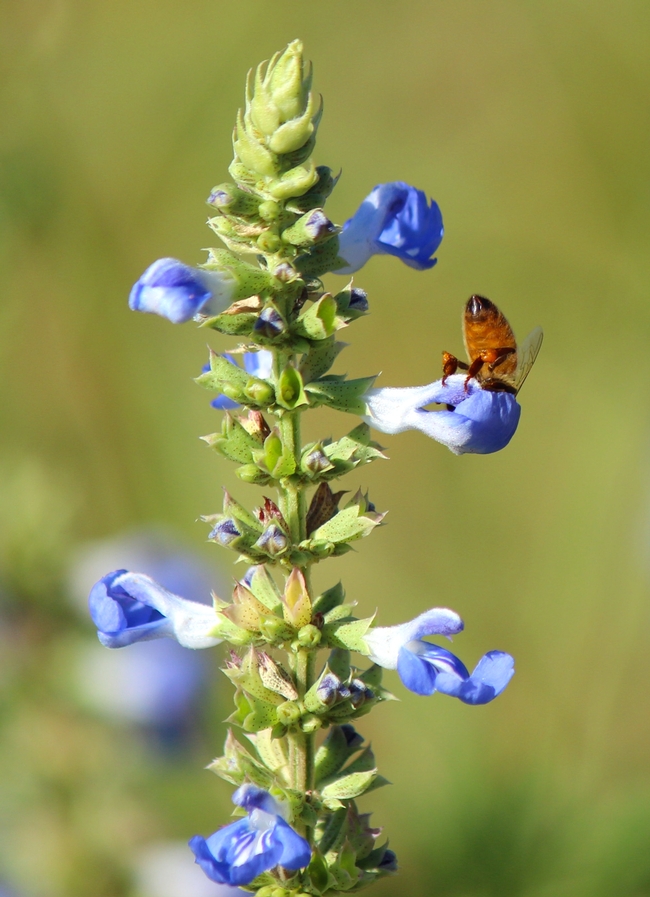
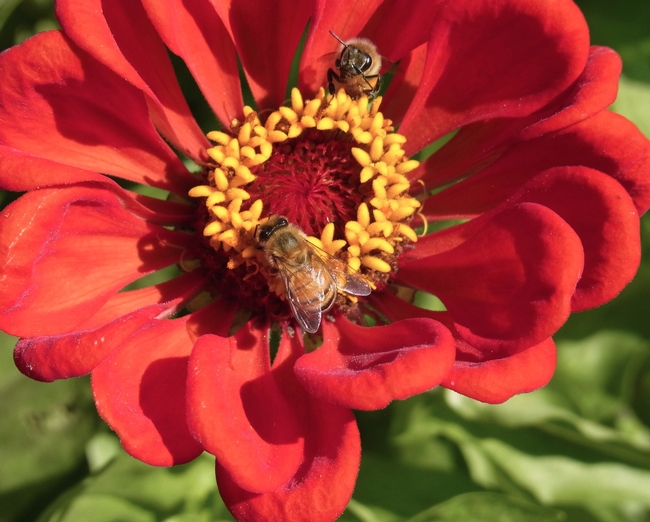
The heat of late summer often leaves gardeners heading for the air-conditioning, but not our bees...here's some plants that love the heat:
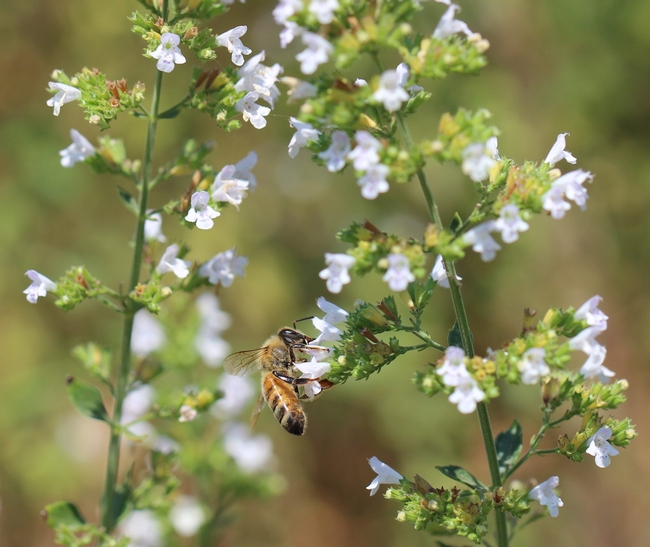
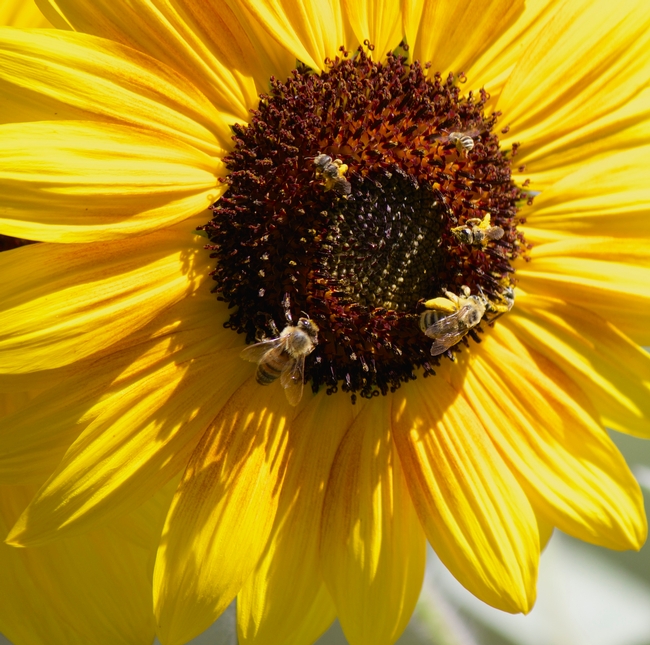
Honey bees need access to water: they don't have AC like we do, but use water to cool the hive. Here's one way to provide a water source:
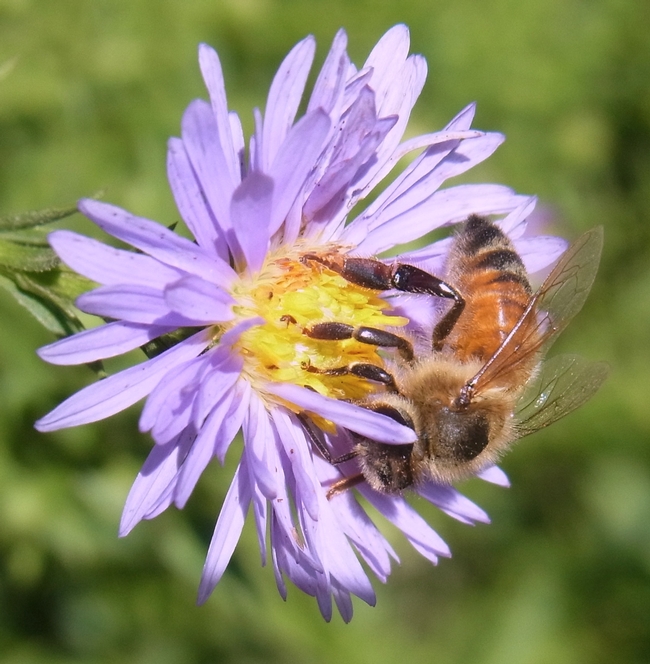
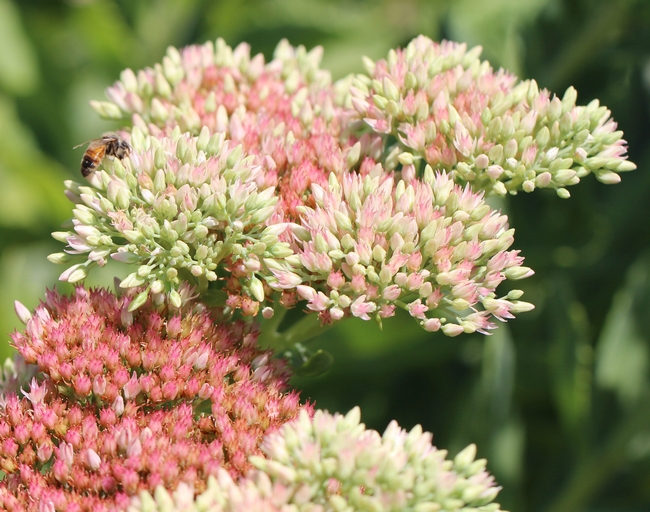
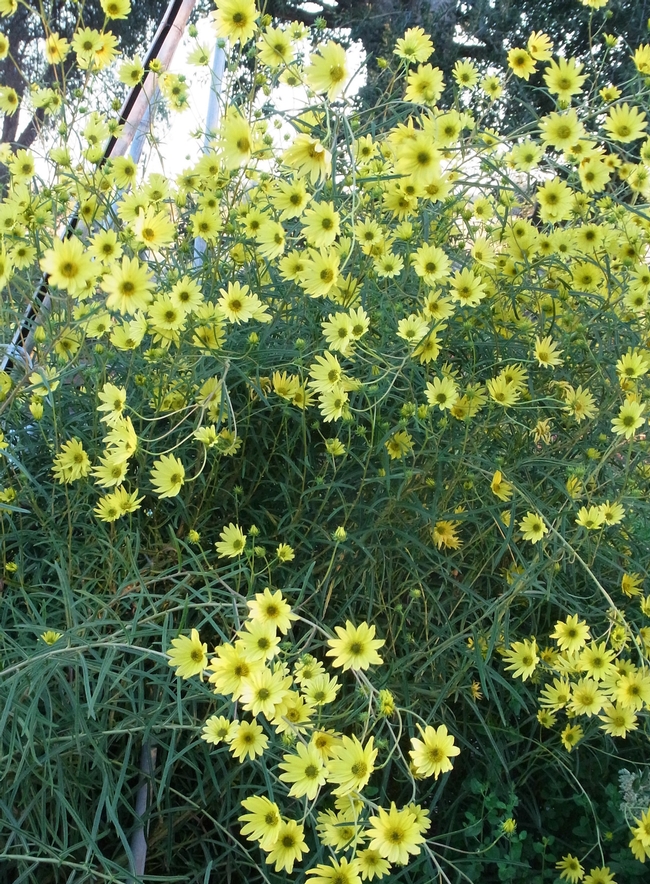
Fall bloomers are important to help honey bees put up enough honey to sustain the hive through the winter. Some good fall bloomers are shown here:
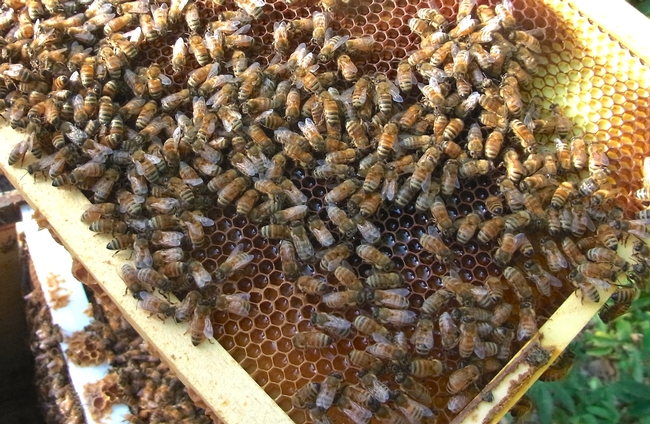
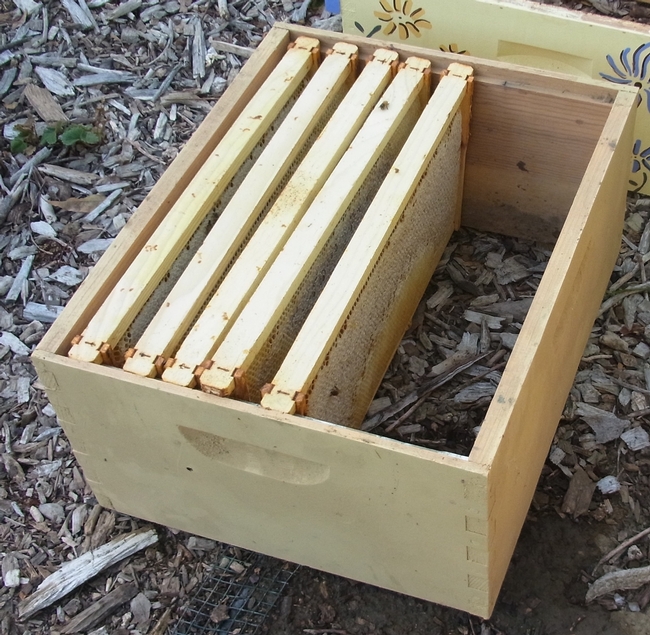
The result of all that hard work....cells being filled with honey, along with full frames of honey that have been capped by the bees for storage in the hive:
Thanks, bees, for your hard work!
- Author: Christine Casey
Would you like to grow specialty crops at home but don't have much space? Try a bucket planter!
Easy to make, this is a great solution for harvesting a lot of food from a small space. The slippery sides of the bucket also help to stop squirrels and other four-legged pests from reaching the plant. Here's how to build one:
Step 1: Cut out the bottom of two clean, unused buckets. For safety's sake, use new buckets to ensure that paint or other chemicals don't contaminate the crop. These were cut with a jigsaw, but a steak knife will work if you don't have power tools.
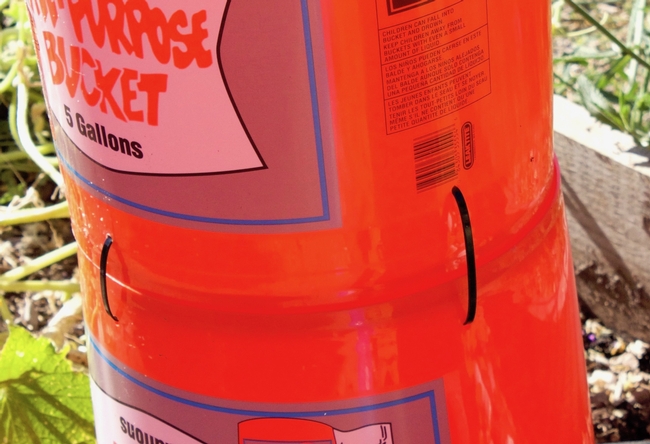
Step 2: Attach the buckets together. In this example, holes were drilled for zip ties. Scissors or a nail could also be used to punch a hole if you don't have a power drill.
Step 3: If needed, secure the planter. We've attached ours to a raised bed with a screw eye and a zip tie. This should hold it up in our windy location.
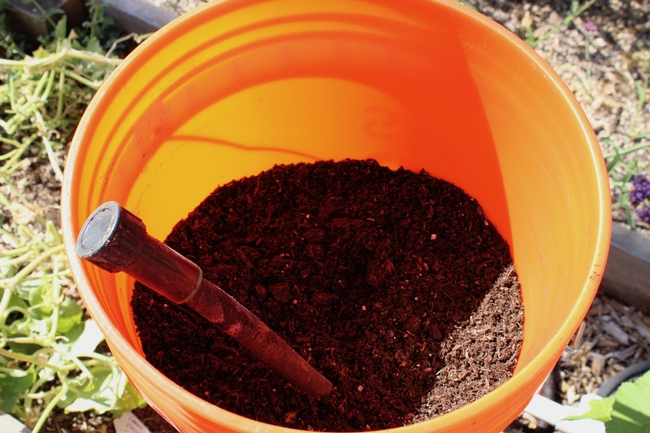
Step 4: Irrigation. Plants grow best in a tall container if there is a water source running the length of the root zone. We ran a soaker hose up the center of our planter.
Step 5: Fill with soil and wet thoroughly. We used a soilless container media; this is a peat-based product that does not absorb water well if it's dry. Soaking it completely before planting ensures that it remains evenly moist.
Step 6: Plant and enjoy! Mulch is recommended to help conserve water.
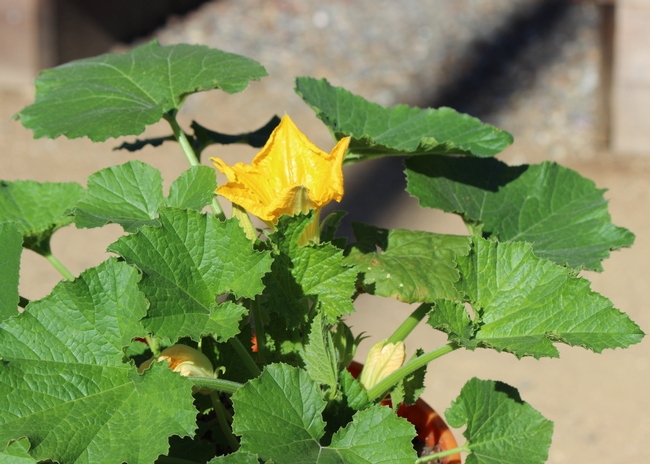
Two weeks after planting, our zucchini is blooming. Squash bees have been seen in the flowers, so a harvest can't be far behind!


