By Randy Swett, Butte County Master Gardener, March 24, 2017.
It is time to think about transplanting your tomato seedlings. Most tomato seedlings are ready to move from the seed starting trays and into a larger container when they are three to four inches tall and have three or more sets of leaves. They should be transplanted into a larger container at least four weeks before planting outdoors so the root system has a chance to develop.

For a planting medium use a commercial potting mix or make your own using two parts peat moss, one part vermiculite and one part perlite. Avoid using any medium with garden soil in it to help prevent seedling damping off. Moisten the potting mix and let it set for a few hours or overnight to make it easier to work with.
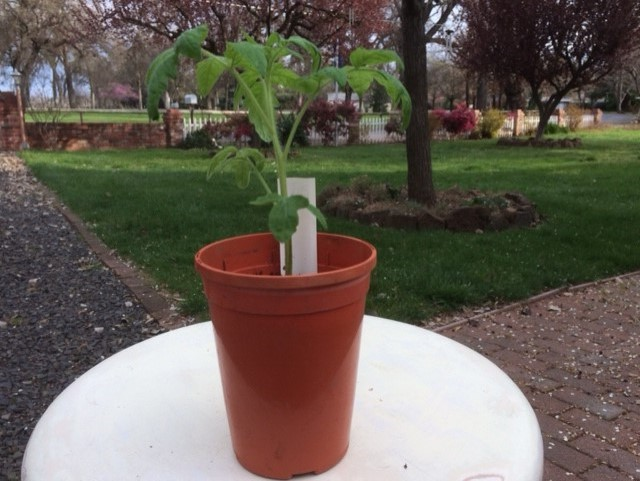
Water the seedlings a couple of hours before transplanting them to help keep the potting mix from falling away from the roots and to help keep the roots from drying out during transplanting. Place an inch or so of potting mix in the bottom of the container and lightly tamp down to remove any air pockets. Remove the seedling from its seed cell by pushing the root ball and soil from the bottom of the cell. Resist the urge to pull the seedling out by its stem, as this can crush and bruise the fine hairs which are actually air roots. Place the seedling in the new container and add potting mix in layers lightly tamping down each layer to remove air pockets which will let the roots dry out. Add enough potting mix to bury about two-thirds of the plant stem. Leave the top three sets of leaves above the mix. Remove any other leaves that would be otherwise buried. Water thoroughly with a 50% diluted liquid fertilizer. Repeat with the diluted fertilizer every 2 weeks until the plants are ready to be transplanted outdoors.
Transplanted tomatoes can be put outside for a few hours each day out of direct sunlight. Increase the amount of sunlight exposure gradually to harden-off the young plants and get them acclimated. Be aware that the more time plants spend outside the more water they will need. As the young plant grows, small sticks can be used to help support them if they start to get a little leggy. But do not shove a stick in the middle of the pot -- this may damage the roots. Instead, use two or three sticks and place them around the outer edge of the pot.
When the last chance of frost has passed the plants should be about 10 to 12 inches high and ready to transplant outdoors in the garden. The process is basically the same: dig a hole about 16 inches in diameter and about 18 inches deep. Fill the bottom of the hole with loose garden soil and a little potting mix, remove the plant from its pot gently (again, avoid pulling it out by its stem) and place it in the hole. Bury all but the top one-third of the plant and add soil until there is a slight crown around the stem of the plant. This keeps water from collecting at the base of the stem and causing rot. It is fine to lay the plant sidewise in the hole, as any part of the stem that is buried will develop more roots and add to the overall vigor of the plant.
As the plant grows it will need support or staking to keep it upright.
Water the plant a couple of times each week, gradually decreasing the watering until it only needs water about once a week. Monitor the plant for moisture requirements in the early part of the day. Wilting and drooping leaves late in the afternoon is normal and not necessarily a sign of a lack of water. If the plant still looks droopy in the early morning, though, it probably does need water.
Fertilize with a general-purpose plant food until flowers develop.


