- Author: Denise Cottrell
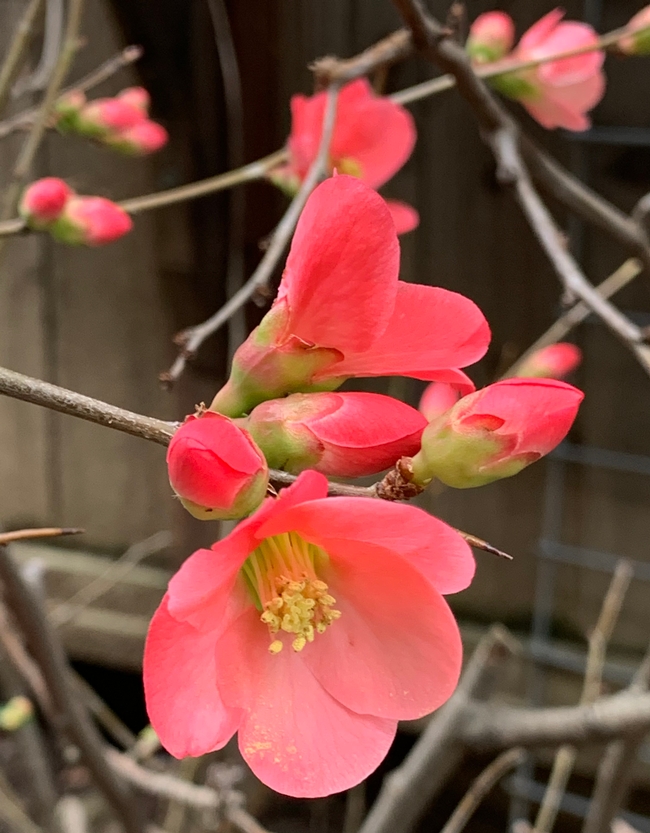
While cleaning up in my garden after the blustery wet days that have been a significant part of our weather pattern for the past week, I carry with me the huddled up inside feelings of a hard wind and water leaking into the basement. Yet a sunny day of cleaning up the debris from the Sycamore tree and the Oak tree that tower over my house, I see, in the side yard, the bare grey-brown thorny stems of a Flowering Quince, (Chaenolmes) dotted with buds, pink flowers, and a leaf or two. And so, put storms behind and remember, spring.
- Author: Christie Mesias
Though you may still need to grab that coat on your way out the door, warmer days are just around the corner and now is the perfect time to begin planning your spring and summer garden. There are many annual flowers and vegetables that can be directly sown outdoors or started inside with the help of a grow light.
While all seeds can be directly sown outdoors, starting certain annuals indoors allows you to push your seasonal boundaries and enjoy harvest earlier in the season and for a longer time. Annual vegetables such as tomatoes, eggplant, peppers, cabbage, broccoli, and cauliflower all benefit from being started in an indoor environment. Annual flowers like celosia, scabiosa, hollyhock, some salvias, and echinacea also benefit from the head start of an indoor environment.
Not all seeds need to be started indoors. There are some plants that do just fine or even prefer to be directly sown outside. Peas, chard, spinach, beets, carrots, and various lettuces are all vegetables that can be planted outside in February. Snapdragons, calendula, poppies, larkspur, and nasturtium will all thrive being directly sown outside as well. There are helpful planting schedules that can be referred to for both vegetables and flowers.
Directly sowing your vegetables and flowers outdoors is often as simple as putting a seed in a hole and giving it a good drink of water. Starting your seeds indoors, however, requires a little bit more effort, though the reward of an extended season makes it worthwhile.
When starting seeds indoors, begin with a good soil. Potting soil will work, but it may need to be sifted beforehand to remove larger chunks of wood that might be present. There are also bags of soil available that are specific to starting seeds, or you can always make your own seed starting mix with a blend good compost, coco coir or peat moss, and vermiculite.
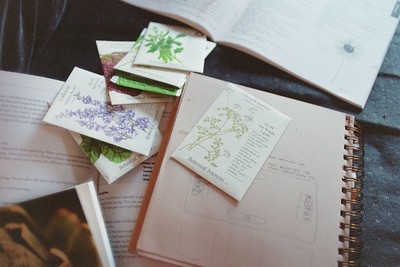
Seed packets will often have information on the back that state seed growth requirements. This will tell you about the depth at which the seed needs to be planted, spacing needs, ideal germination temperature range, and estimated time to germination.
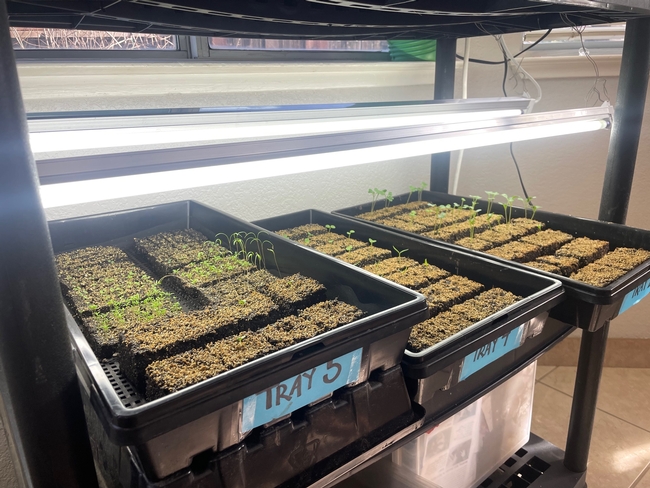
Once your seeds are planted, germination can be sped along with the help of a heat mat and humidity dome, though they are not required. A grow light, however, is essential and should be placed about 2” above your plants. It's helpful to have your grow lights set up so that the height can be adjusted as the plants grow.
Now comes the hard part- impatiently waiting for the seeds to sprout, knowing you're one step closer to warm afternoons in the garden.
- Author: Steve Radosevich
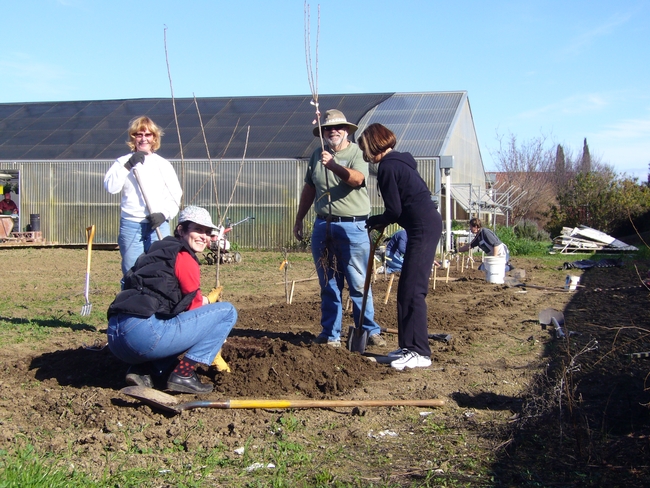
As we're approaching the end of the season for pruning dormant deciduous fruit trees, and also purchasing, planting, and training new bare root fruit trees, it's a good time to talk about some of the sources of information that will help you be a successful orchardist. For new fruit trees, selecting a suitable planting location is your first task, along with a decision on the eventual size of the tree. For existing trees, proper pruning will be directed at creating a sound branch structure and also making pruning cuts that encourage dependable fruit development.
The University of California, Division of Agriculture and Natural Resources has a number of free publications directed at helping the Home Orchardist. Fruit Trees: Training and Pruning Deciduous Trees, Publication 8057 https://homeorchard.ucanr.edu/8057.pdf discusses and illustrates training and pruning newly planted trees as well as established trees. Numerous other publications on fruit tree care for the home gardener can be found at https://homeorchard.ucanr.edu/links/#care.
If you are still considering planting some fruit trees this winter, some bare root fruit trees can still be found at local nurseries. Another source of bare root trees is the Winters Friends of the Library 2024 Fruit Tree Sale on Saturday, March 2nd . For more information on this sale go to https://wfol.org/2024/02/2024-fruit-tree-sale/. In addition to having a wide variety of fruit trees at bargain prices, UCCE Master Gardeners of Yolo County will be available to talk about planting and pruning your new trees.
Happy orcharding!
- Author: Tanya Kucak
Bermuda grass (Cynodon dactylon) is my favorite weed to eradicate. In my experience, it's one of the easiest pernicious weeds to get rid of!
I've eliminated this perennial grass at more than half a dozen organic community garden plots and paths in the past couple decades. It took less than one season in every case, plus ongoing diligence. I kept Bermuda grass out of one garden plot and its surrounding paths for over 15 years even though it was rampant in neighboring plots.
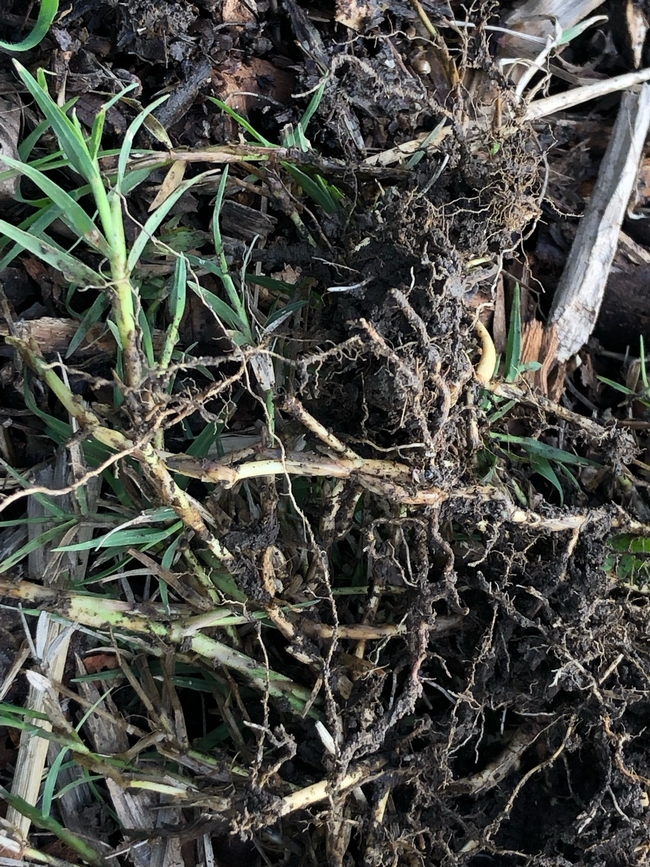
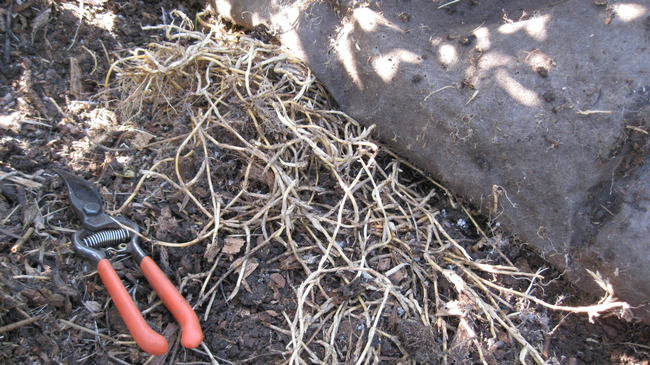
In each case, I got rid of Bermuda grass by scraping the surface to get rid of above-ground stems, or stolons, and digging up any obvious below-ground stems, or rhizomes. In paths, I added overlapping layers of newspaper or cardboard, then piled on 6-12” of mulch. If any of it struggled through, it was weakened and easy to pull, and for the worst infestations I checked at least weekly. In garden soil, I learned to recognize bright-white propagules -- any segments of stolon or rhizome -- and got rid of them as I moved soil or forked in compost.
As a lawn grass, Bermuda can be planted by chopping up rhizomes and incorporating them into the soil. So if you rototill in an area that has Bermuda grass, you are actually replanting it! Each segment becomes a new plant.
It's especially easy to pull up Bermuda grass when the soil is moistened by winter rainfall. If I find a dense patch, I dig under it with a hori hori from a couple directions, then grab the whole clump of weed and soil and shake it. The remaining white rhizomes stand out against the dark soil. Grab one end, tug slightly, and see if you can prise ever-longer rhizome pieces out of the ground. If it's growing in mulch, it's even easier to pull out stolons and rhizomes.
For more information, see https://ipm.ucanr.edu/pmg/pestnotes/pn7453.html
The worst infestations I found were under weed cloth. Bermuda grows happily through and under the weed “barrier.” In California's dry summers, the weed cloth maintains a layer of moisture under the mulch and helps it flourish.
- Author: Heloisa Kinder
Humanity is separated into those who gaze skyward and those who cast their eyes downward. I fit into the first category. This perspective allows me to uncover some of nature's hidden treasures.
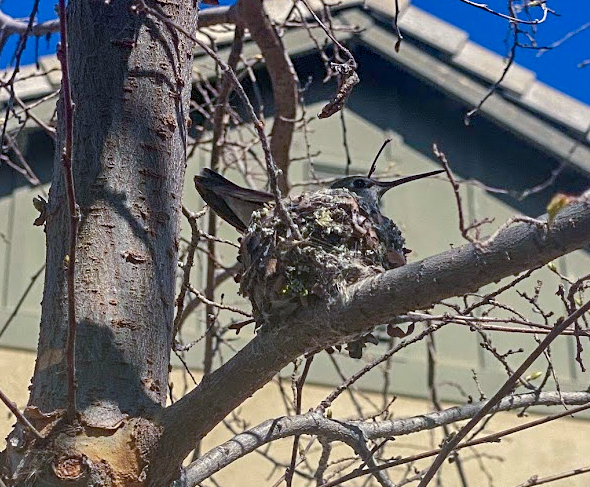
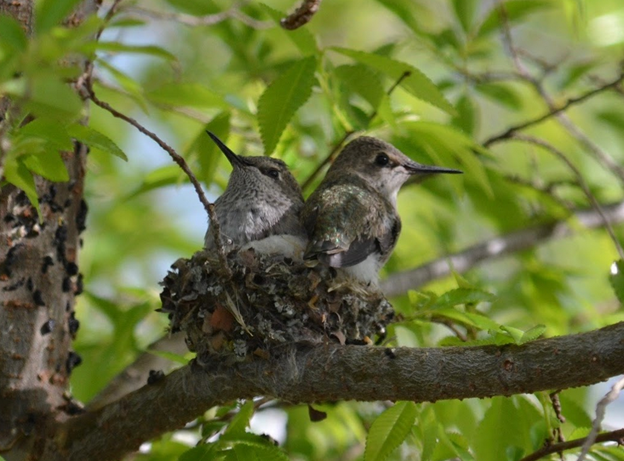
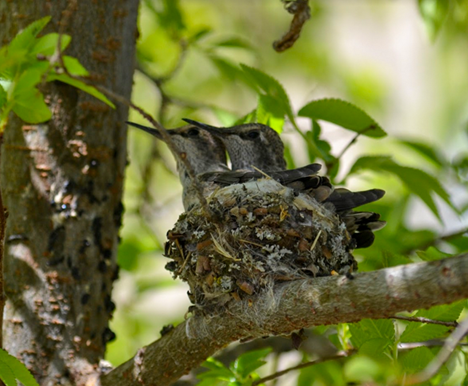
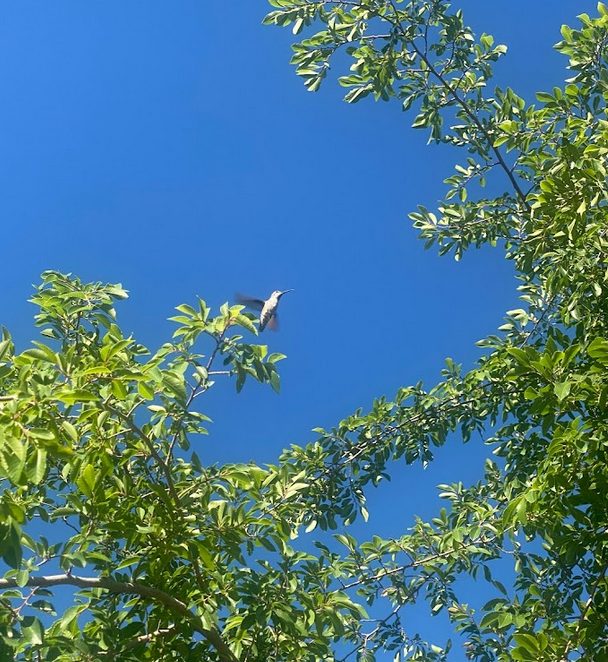
In February of 2022, as the trees were nearly bare, I noticed a walnut-size nest while strolling to the park. It was impeccably constructed, adorned with feathers, spider webs, twigs, and a layer of lichen on its exterior. To my surprise, it housed a female Anna's Hummingbird, a species renowned for perching in the nest while steadily building up the rim around themselves. They diligently toil for up to a week to fashion the structure, which reaches a mere one inch in height.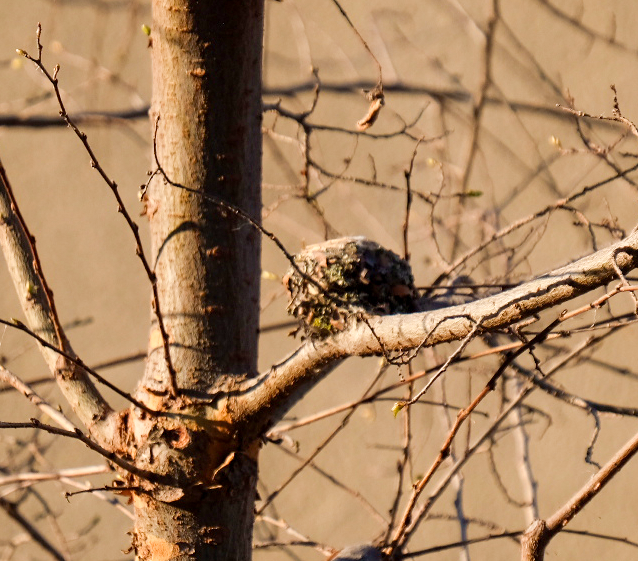
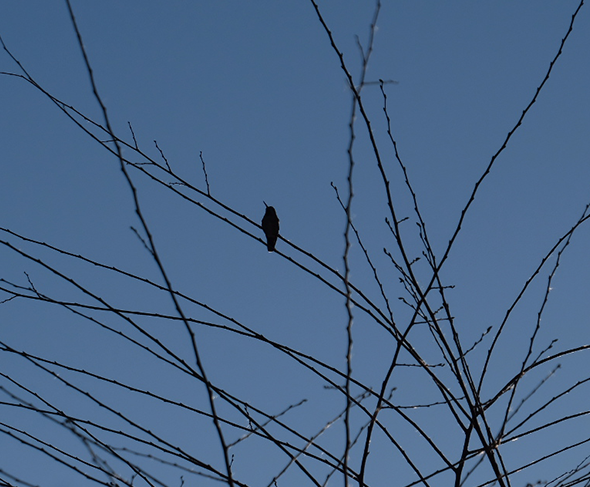
It wasn't long before the nest's owner made an appearance. The first time I caught sight of her, she was perched on a branch at the tree's summit. Shortly after, she returned to her nest.
After a hummingbird lays her eggs, typically two, oblong shaped, measuring around 1/2 inch long and 1/3 inch wide, she may spend varying durations incubating them. This period can range from less than a minute to up to three hours at a time, with breaks lasting anywhere from under a minute to half an hour, depending on the species. Incubation generally spans between 14 and 17 days, although weather conditions and species differences can impact this time frame.
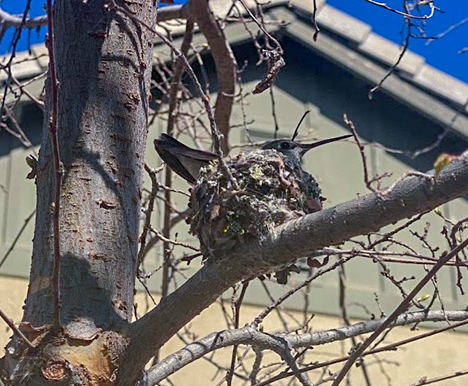
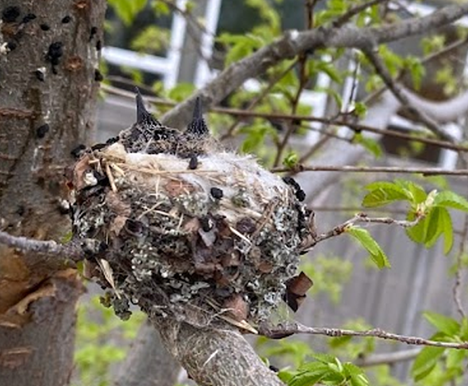
Upon hatching, the baby hummingbirds find themselves with closed eyes, devoid of feathers, and weighing approximately one-third the weight of a dime. At about an inch in length, they lack the ability to regulate their body heat, prompting the mother to nest closely with them for the initial eight to 12 days. After approximately two weeks, the nestlings develop sufficient temperature regulation to stay warm overnight in the nest.
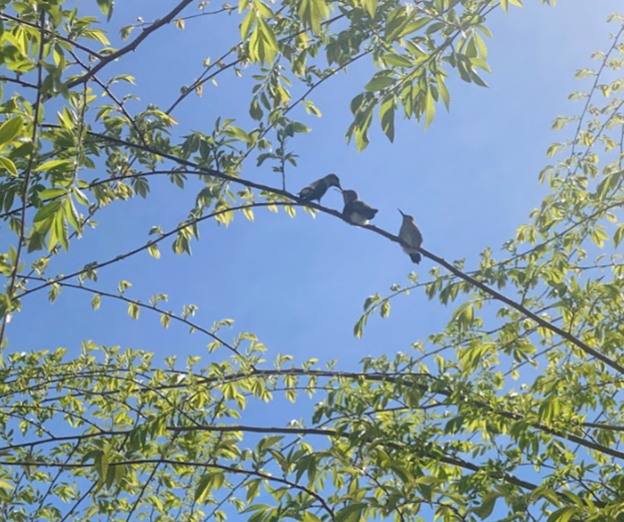
The mother remained occupied with the task of keeping her offspring fed. When back to the nest, she nourished the nestlings with regurgitated sustenance from her bill, which typically included pollen, nectar, and tiny insects. Chicks leave the nest when they're ready to, usually after about three weeks; however, harsh weather conditions can extend the nesting period.
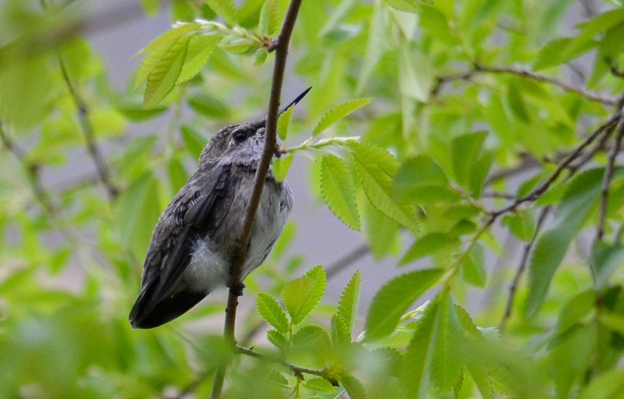
I was fortunate enough to witness the fledglings' inaugural flight from the nest. They spent approximately one week perched in the tree, which was now adorned with leaves, providing them with protection against potential predators. They practiced fluttering their wings as they navigated from one branch to another, often doing so together. The baby hummingbirds emit a distinct sound when they desire their mother's attention for feeding. Based on my observations, she promptly responded to their call and attended to their needs.
Even after the young hummingbirds are capable of leaving the nest within 18 to 23 days, they continue to rely on their mother for support, gradually becoming fully self-sufficient within two weeks. Unlike the female, the male hummingbird does not contribute to caring for the chicks.
On February 6, 2022, I began documenting this captivating story through my photographs, and the saga continued until March 13, when the birds gracefully took flight and left their perches. In 2023, the tale unfolded once more. On the same tree, a new chapter began with the discovery of a nest on a different branch.
I've come to understand that Anna's hummingbirds in California typically do not reuse nests. Instead, they engage in a practice known as "recycling," utilizing their nest materials or even appropriating those of others to construct an entirely new nest.
The prospect of witnessing the remarkable process once again filled me with excitement last year, and I am hopeful for another opportunity to observe the entire cycle this year.
