What To Do About White Grubs in Your Vegetable Beds
It's Spring, and many gardeners are turning with anticipation to their vegetable gardening beds and thinking about summertime harvesting and feasting. If you're one of them, you may find an unexpected surprise of white grubs just below the surface when you start to prepare your soil for planting.
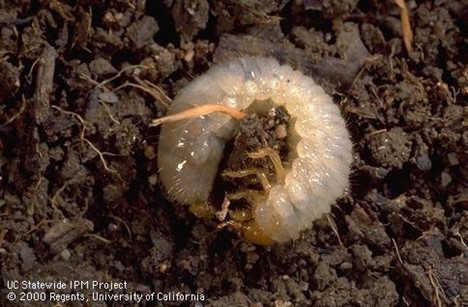
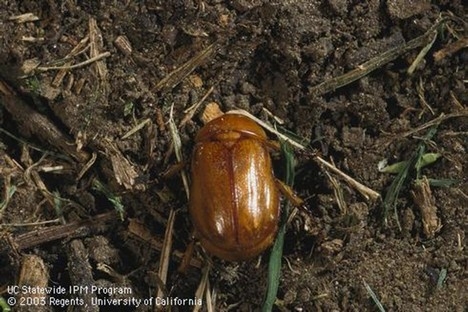
Although we typically think of grubs as being specific to lawns, where their root feeding can cause brown patches, they also show up in vegetable beds. Most of what we call grubs are the larvae of the Masked Chafer beetle. They are whitish with brown heads and legs, and when fully grown are about 3/4” long and c-shaped. This time of year they are just starting to migrate upward in the soil from about 8” deep where they have overwintered.
Unless there is a significant infestation, the best control for grubs is to handpick them from the bed as soon as you see them and leave them for the birds to find. If there are too many for hand-picking, another option is to apply beneficial nematodes (Heterorhabditis bacteriophora), which are tiny parasitic roundworms that enter the grub's body and kill it within a few days. Beneficial nematodes are often available at local nurseries.
Beneficial nematodes should be applied in the summer and early fall when the grubs are young, and are most effective when applied to soil that is over 60°F. The nematodes move through moist (not soggy) soil, so it's important to irrigate both before and after application. A second application about two weeks after the first will help with successful control. Keep in mind that beneficial nematodes are killed by light and heat, so it can be a good idea to apply them in the cooler, evening hours.
For more information on beneficial nematodes and how to apply them in your vegetable beds, please see our Pest Note at https://ipm.ucanr.edu/TOOLS/TURF/PESTS/innem.html
Help Desk of the UC Master Gardeners of Contra Costa County (RDH)

