- Author: Lynn Pastusak, UC Master Food Preserver of San Luis Obispo and Santa Barbara Counties
- Editor: Dayna Ravalin, UCCE Master Food Preserver Program Coordinator
- Editor: Katherine Soule, Youth, Families, and Communities Advisor
Fava beans, or broad beans, are one of the oldest know cultivated plants carbon dated to over 10,000 years ago according to research published in an online paper in the journal of Scientific Reports. They are a major crop in many countries, but not very popular in the United States – probably because it takes so much time to prepare them (LOL)!? But, believe me, the time and effort are worth it after you have tasted these delicate, buttery, nutty flavored beans.
The plant is like a pea plant. The pods can be harvested young and eaten whole or let them grow until they are big and bumpy, and then eat the bean inside the pod. The pod can be left on the plant until the both the pod and beans are dry.
Fava beans can be eaten raw, boiled, steamed, stewed, mashed, sautéed, fried, or roasted.
Freezing is a good way to preserve fava beans. Here is a step-by-step guide to harvesting and freezing fava beans.
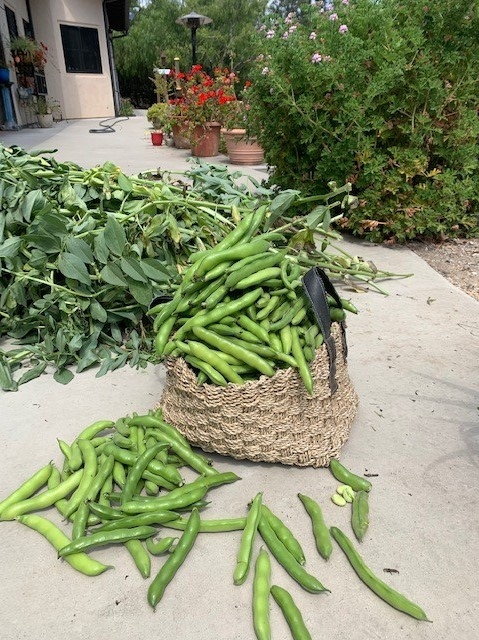
Step 1. Harvest the beans. Look for large green pods that feel like there are little balls inside.
Photo credit: Lynn Pastusak
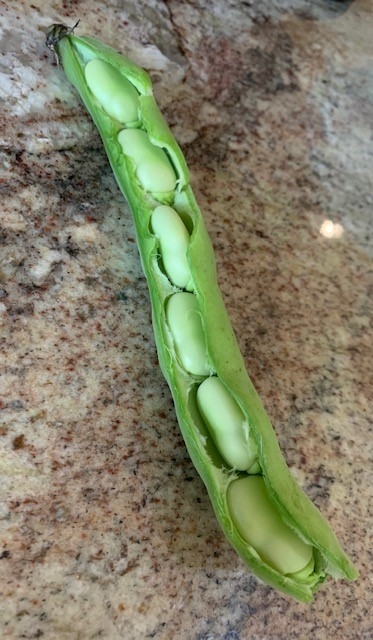
Step 2. Remove the beans from the pod.
Photo credit: Lynn Pastusak
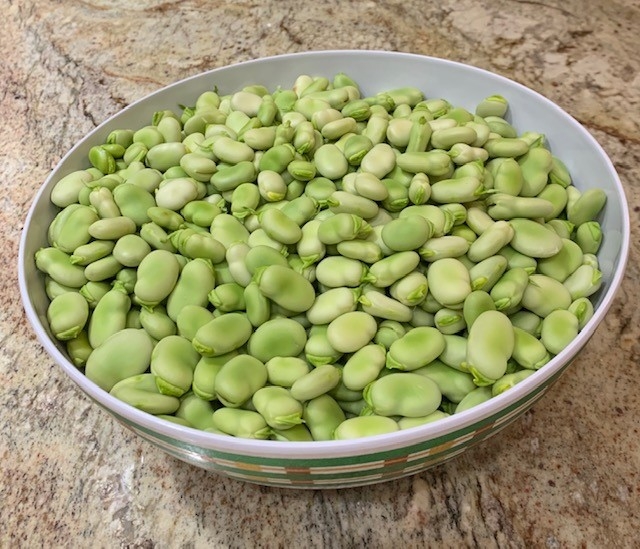
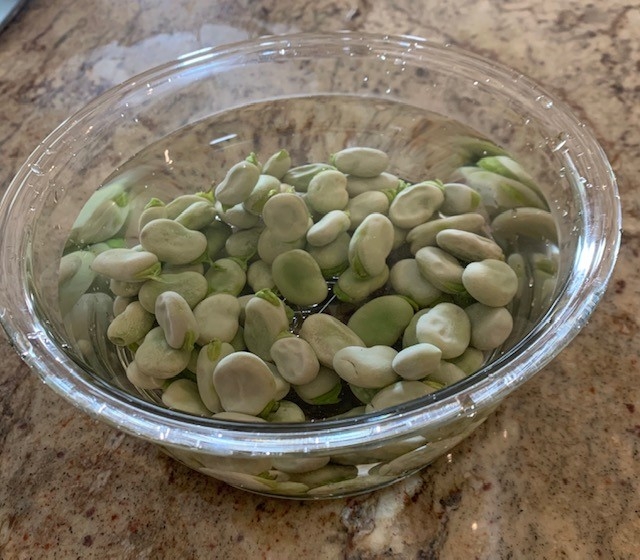
After the beans are removed from the pods, you will have a beautiful bowl of shelled beans.
Photo credit: Lynn Pastusak
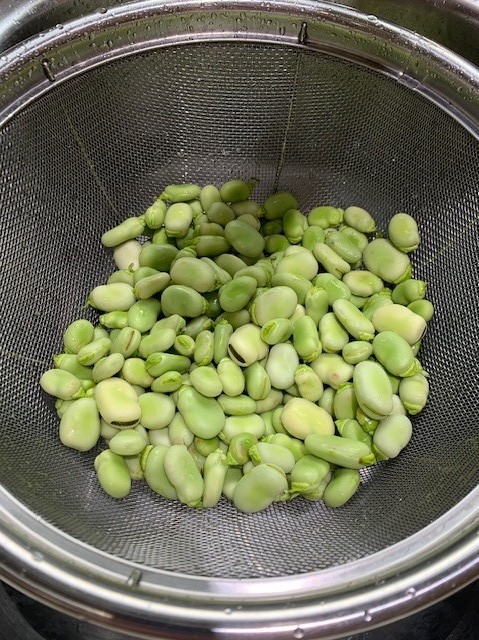
Step 3. Put the beans in a colander and rinse with cold running water.
Photo credit: Lynn Pastusak
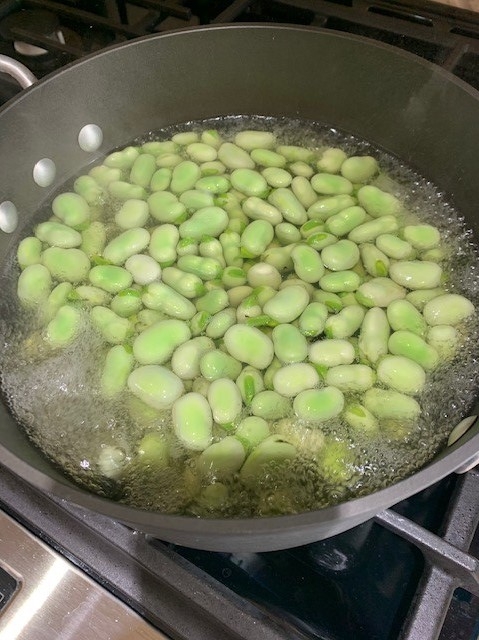
Step 4. Now it's time to cook the beans and get them ready to freeze. For best quality, it's recommended to fully cook the beans. (There is no approved method for blanching fava beans before freezing.) Bring the water to a boil. Add some beans and bring back to a boil. You want to cook the beans in small batches to prevent over cooking. Cook each batch for about 4 minutes.
Photo credit: Lynn Pastusak
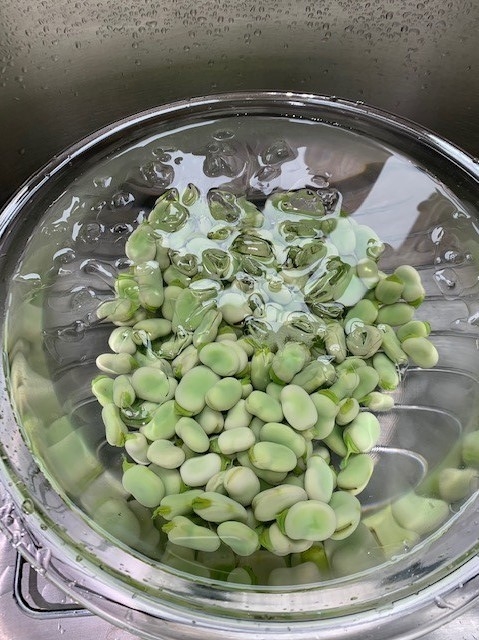
Step 5. Remove the beans from the boiling water with a slotted spoon and place in a bowl of ice water. Let the beans sit in the icy water for about 4 minutes to cool completely.
Photo credit: Lynn Pastusak
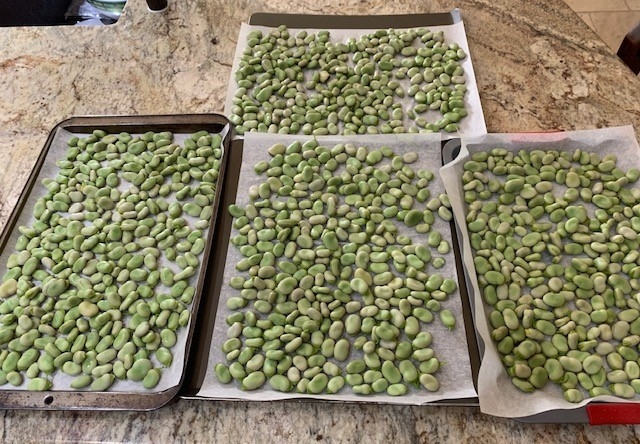
Step 6. Place the beans on a clean towel and dry. Put the dry beans in a single layer on a cookie sheet lined with parchment paper, nonstick foil, or waxed paper to prevent sticking. This method of freezing is called Individually Quick Frozen (IQF). It's a great way to freeze small sized foods and prevents them from freezing in a “clump”. Place the tray with the beans in the freezer for about 2 hours.
Speaking of “clump” – don't make the same mistake I did. I removed the outer layer of skin before layering the beans on the cookie sheet, froze them, placed them in a bag in the freezer and ended up with a wad of fava beans stuck together! Apparently, if the skin is removed, the bean remains moist and they will freeze together. I find leaving the skin on, also protects the bean from freezer burn and they have a fresher texture after thawing. Read more about when and how to remove the outer skin in Step 9.
Photo credit: Lynn Pastusak
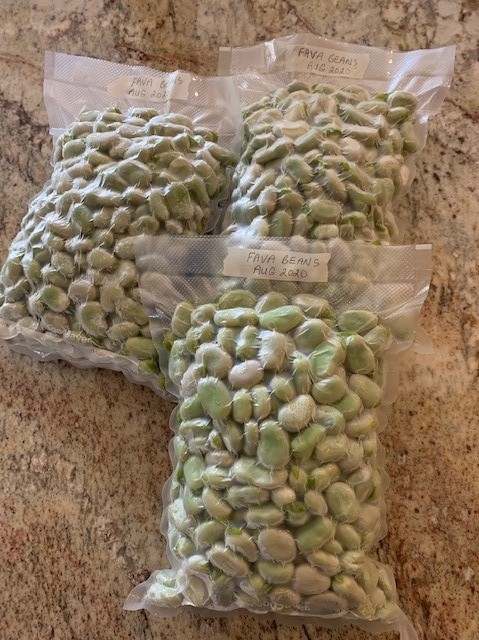
Step 7. When the beans are frozen, place them in a freezer safe bag or container. If you have a vacuum sealer, now is a good time to use it. Label the container with the name and date they were frozen.
Photo credit: Lynn Pastusak
Step 8. The beans are frozen. Now what? When you are ready to eat some, remove the amount you want from the container. Place the beans in a bowl of lukewarm water.
Photo credit: Lynn Pastusak
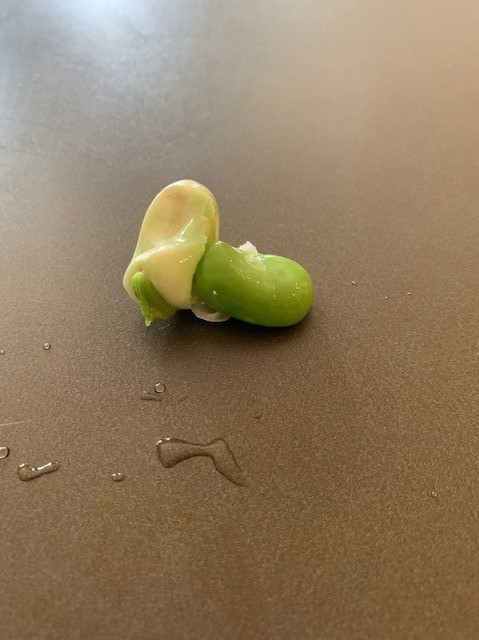
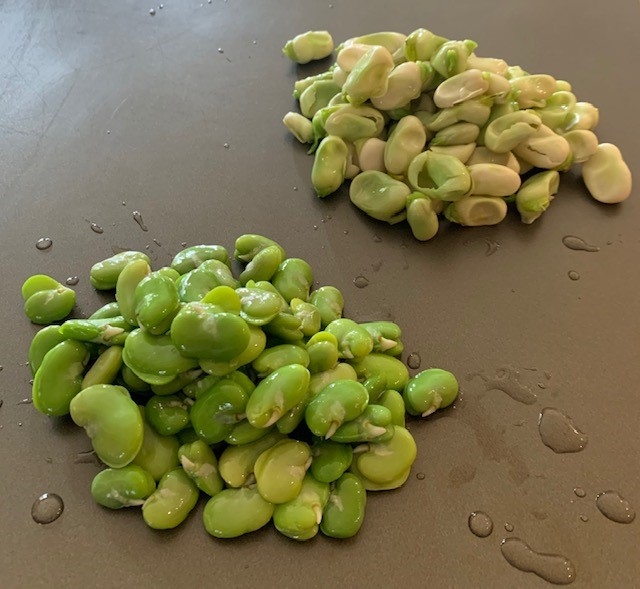
Step 9. There is a layer of skin that needs to be removed. Yes, that is correct…another layer to be removed before you get to that yummy bean! Remember, I mentioned earlier not to remove the layer of skin until now? Put a small hole in the skin with your finger and pop the bean out. It's quick and easy!
Photo credit: Lynn Pastusak
Now you have a nice bunch of fava beans that are ready to eat.
Photo credit: Lynn Pastusak
Fava beans can be eaten cold (add them to a salad or munch on them as a snack). Or, they can be heated as a side dish, added into stew, fried rice, or used in a recipe in place of peas.
Here's my favorite recipe which is quick and easy. It takes less than five (5) minutes to cook.
Sautéed Fava Beans
1 c. fava beans, thawed and shelled (skin removed)
1 tbsp. olive oil
1 clove garlic, chopped
Salt and pepper, to taste
Fresh basil leaves, coarsely chopped
Heat olive oil in a pan. Add garlic and sauté just to soften, about a minute. Add beans, salt, and pepper. Continue sautéing until mixture is almost heated through. Top with basil, stir, and continue sautéing until basil is wilted and beans are completed heated.
Photo credit: Lynn Pastusak
This is a yummy side dish with lemon rice and crab cakes.
- Author: Katherine Soule, Youth, Families, and Communities Advisor
- Editor: Dayna Ravalin, UCCE Master Food Preserver Program Coordinator
Photo credit: Katherine Soule
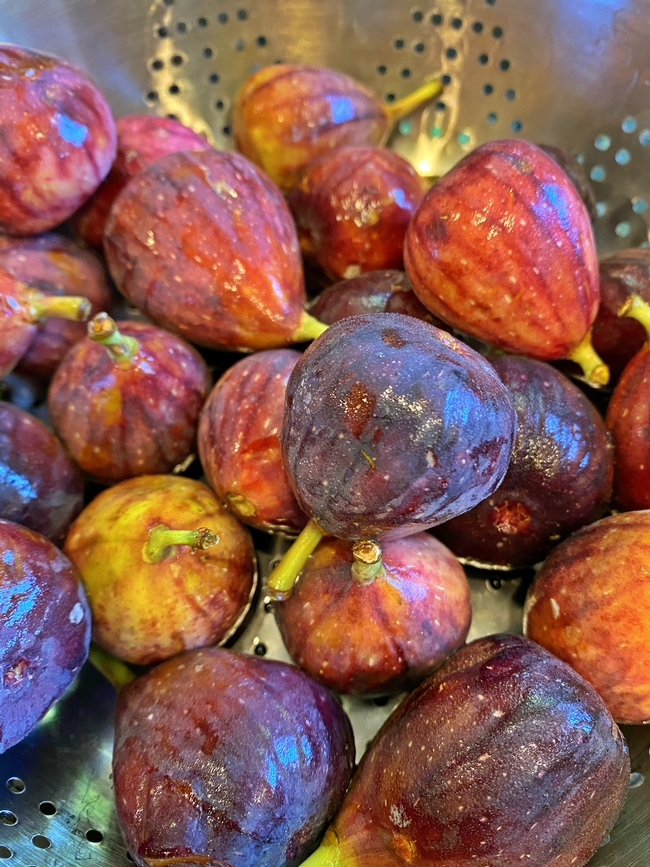
In the last few months, the UC Master Food Preserver Program in the County of San Luis Obispo has received a couple of donations to support our mission to teach research-based practices of safe home food preservation to the residents of San Luis Obispo County. In one instance, a local community organization donates several cases of wine as the COVID-19 pandemic meant they would not be able to use the wine at any events this year. Last week, we received quite a few pounds of figs that otherwise would have been treated as food waste. With these donations, we knew the perfect recipe to make: Rosemary, Fig, and Red Wine Jam a safe, home-based recipe from Ball®.
The first step was to sort and clean the figs. Figs that were spoiled were composted. The rest of the figs were washed, wiped with clean towels, and then destemmed. Fig skin is very thin, so I did not scrub them with a vegetable brush.
Since we had so many figs, I decided to make 4 batches of jam. The second step was to harvest and wash the whole rosemary leaves, after removing them from the stems. I brought two tablespoons of rosemary leaves and half a bottle of red wine to a simmer. The herbaceous and berry scents filled the kitchen with an invigorating fragrance, which I enjoyed while moving on to prepare the figs.
Photo credit: Katherine Soule
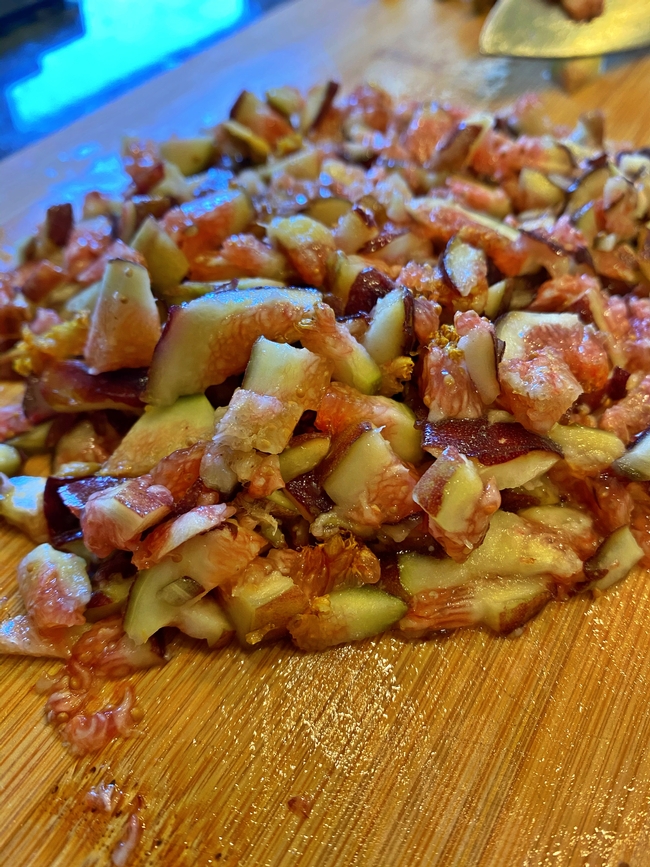
The recipe indicated that the figs needed to be finely chopped. I was surprised at how long it took to chop the figs for the first batch. Once I completed this first batch of jam, I also realized that I had chopped them larger than desired.
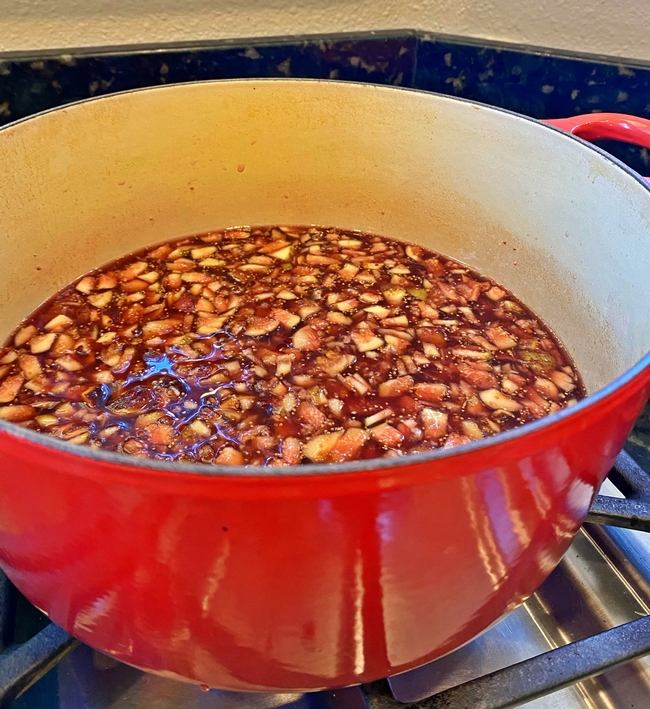
So for the next batch, I decided to use a food processor, making the chopping much faster and providing a more consistent result. After cutting the figs, I moved them into a large enameled pot on the stove, adding pectin, and bottled lemon juice, which I brought to a vigorous boil. The lemon juice is an important ingredient in this fig-based recipe to ensure that there is enough acid to make the product safe to consume after canning.
Photo credit: Katherine Soule
Then I measured the sugar. With this large volume of sugar, the jam would make a wonderful seasonal treat rather than as a daily complement to breakfast. While I brought the mixture back to a boil, I started to pull the canning jars out of the boiling water canner, so they would be hot when I added the jam.
Photo credit: Katherine Soule
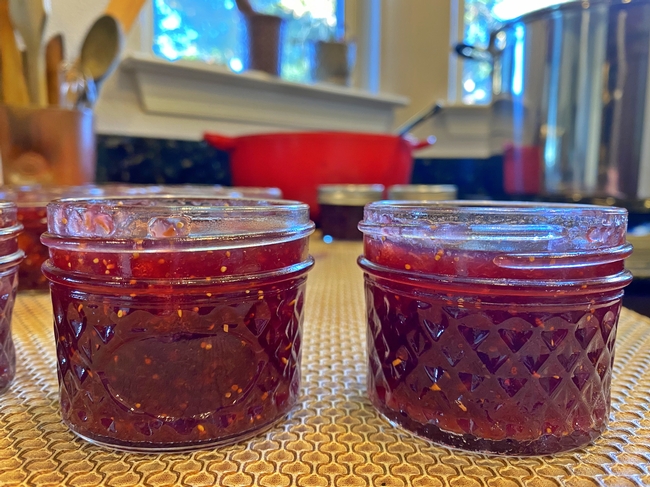
Since this jam has so much sugar, the jars were very sticky after I filled them. I cleaned all the rims and the sides of the jars with a warm wet towel. Then, I added the lids and hand tightened the rings. To save energy and time, I used an atmospheric steam canner following the processing time in the recipe.
Photo credit: Katherine Soule
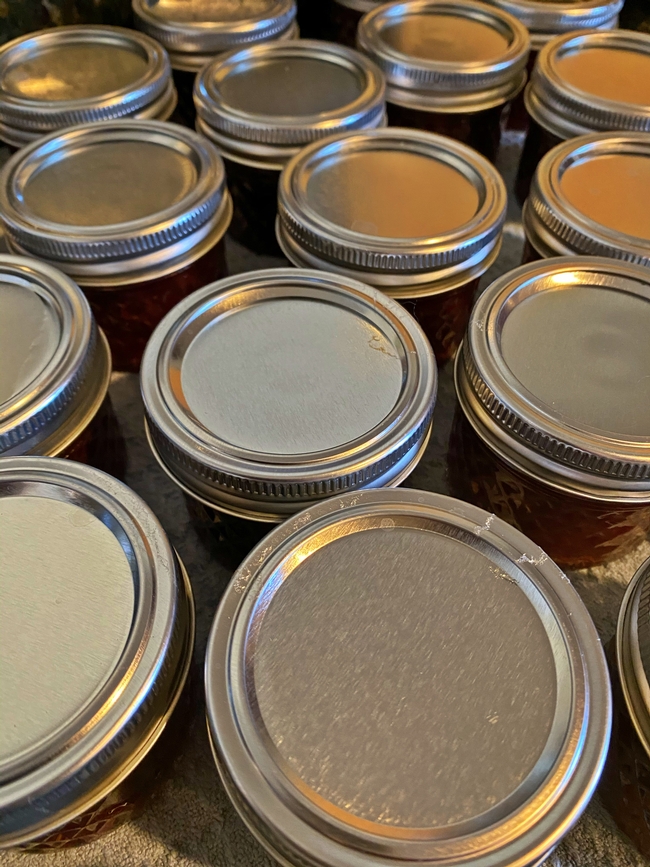
After pulling the jars out of the canner, I left them to set undisturbed for 24 hours. The next day, I took off the rings and checked the seals on all the jars. Two of the jars did not seal, so I cleaned the jar rims and replaced with new lids and rings. Then, I re-processed these two jars in the atmospheric steam canner for a second time. They still did not seal, so I stored them in the fridge.
These jams would make a lovely thank you gift or holiday present. The recipe suggests pairing the jam with blue cheese, which sounds delicious on homemade sourdough crackers. You can find this jam recipe on the Ball® website freshpreserving.com.
- Author: Debbie George, UC Master Food Preserver of San Luis Obispo and Santa Barbara Counties
- Editor: Dayna Ravalin
- Editor: Katherine Soule
Photo credit: Debbie George
What to do with all those bottles of wine? Well the obvious is to pour a glass and enjoy! The other would be to use in cooking a fabulous coq au vin or create a rich burgundy stew. But I digress...how about trying your hand at infusing together your favorite wine (or other alcoholic spirit) and salt to create a tasty finishing salt is as easy as 1, 2, 3.
Photo credit: Debbie George
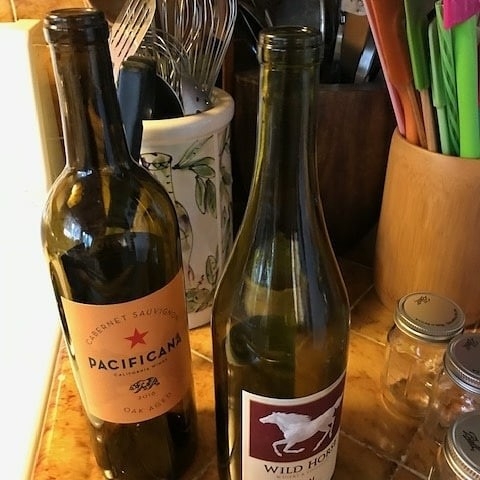
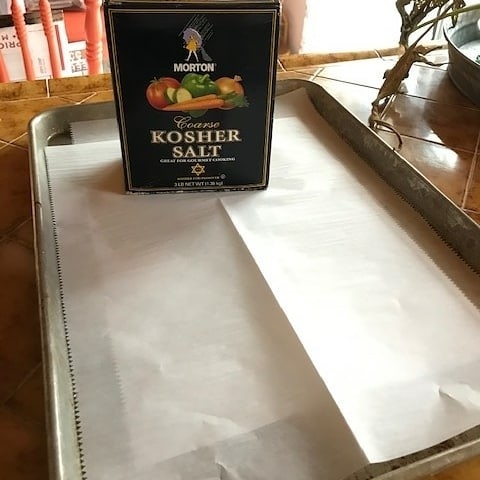
First things first...line two cookie sheets with parchment paper. Gather your supplies, wine, and salt. Kosher salt and sea salt are great choices in a medium or coarse grind. (Note: Use 1 cup of salt for every 3 cups of wine.)
And in case you didn't know, a bottle of red is 25.4 oz., so a smidge over 3 cups. Use the extra bit to make sure the wine is drinkable!
Photo credit: Debbie George
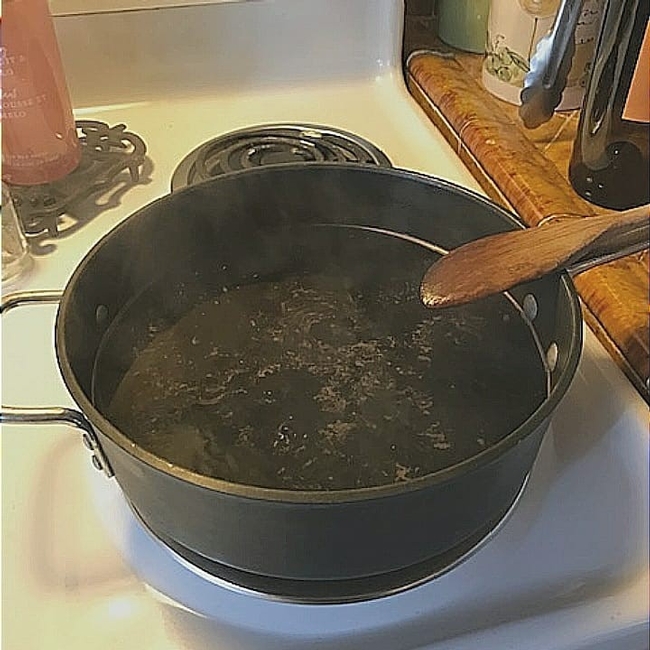
Pour 3 cups of wine into a pan and bring to a boil, lower heat to simmer. Continue stirring and adjusting the temperature until the wine has reduced to approximately 1/4 cup of a thick syrup, enough to coat a spoon. This will take anywhere from 20-40 minutes...sometimes longer depending on the size of the pot and the type of the liquid used. Watch carefully as the liquid can go from thick to burnt quickly.
I find it easier to pour the salt into a bowl and add the reduced liquid and mix thoroughly to infuse the salt. If the mixture is too wet, don't fret...add more salt and keep mixing.
Photo credit: Debbie George
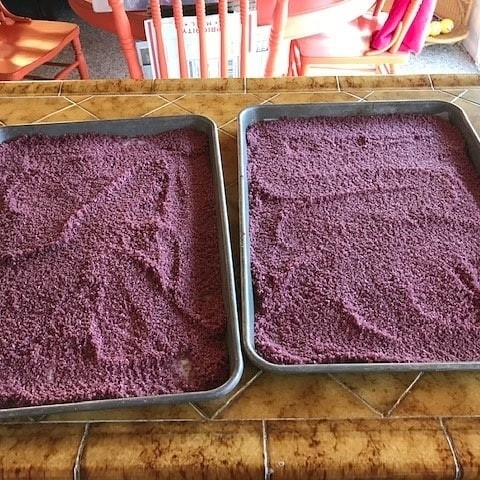
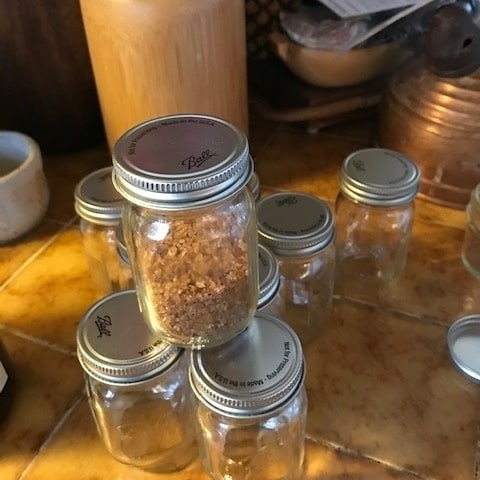
Once the salt is completely mixed, spread onto the parchment lined cookie sheets and allow to air dry for two days (or longer depending on the humidity), stirring frequently. Or to speed up the process, use the "heat dry" technique in the oven at 170°F or lower for two hours, stirring frequently about every 15-30 minutes. Once dry, store in an airtight container. (Note: oven drying will alter the color of the salts.)
Photo credit: Debbie George
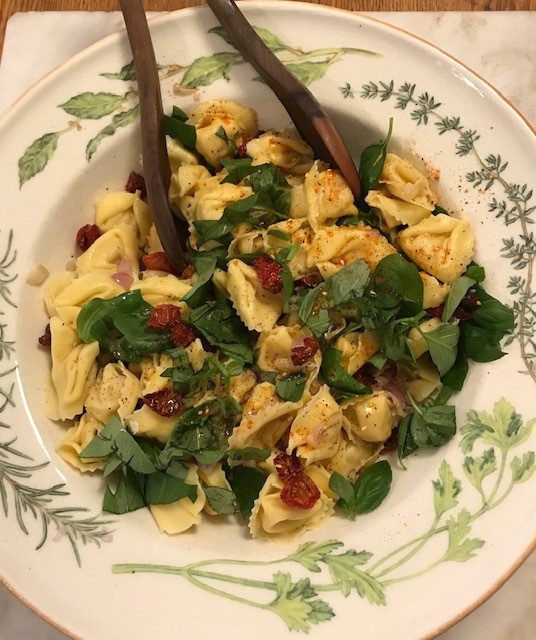
Use your finishing salt on a variety of foods. Sprinkle on salad greens. Add it to your grilled steak, prime rib, lamb, or pork tenderloin. Use a bit on a French onion or steamy bowl of cream of mushroom soup made with rosemary and garlic. Don't just think savory, try a small amount on top of dark chocolate brownies, fudge, or a chocolate chunk cookie. Finish your pasta tossed with fresh tomatoes, basil, and garlic with a few shakes of it! Be creative…and enjoy!
For more information and other flavors go to: http://steelehousekitchen.com/homemade-flavored-salts
- Author: Sharon Lovejoy, UC Master Food Preserver San Luis Obispo/Santa Barbara Counties
- Editor: Dayna Ravalin
- Editor: Katherine Soule
Years ago, I learned that what's good for the solar-powered butterflies is good for solar drying. On a hot morning last week, I looked out my window and saw a Monarch and two Swallowtails in the herb garden-the signs of a perfect day for drying outdoors in my solar oven.
For two weeks the morning fog had kept me from drying jerky and fruit, but on this day, all the conditions were right. No humidity, an outdoor temperature of 80 plus degrees by 9:30 A.M., and a slight breeze, albeit a hot one.
I've dried food naturally for decades, sometimes in my herb shed in a cupboard with removable screens, sometimes on racks, and sometimes on screens outdoors. But when I dried food outdoors, insects were always a challenge. I kept my fruit covered with lightweight nylon or cheesecloth, but somehow the bugs always managed to get in.
About ten years ago I attended a solar cooking class in San Luis Obispo. Most of the foods and preserves had been baked in cardboard and aluminum foil ovens, but I wanted something a bit sturdier as well as bug and weather tight.
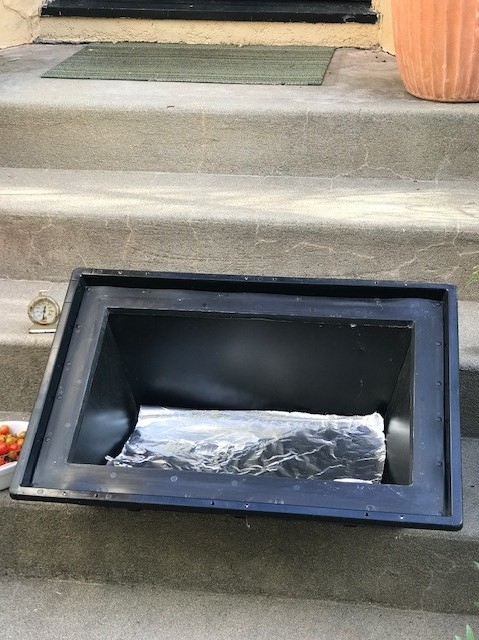
I did some online research and found a solar society that also carried a selection of ovens. I chose a simple one with a thick plexiglass lid, and angled sides, so as to capture the sunlight more easily. It also came with side aluminum panels, which have long since vanished. It's ok though, the oven does fine without them, but I do line the bottom and an inch or so up the sides with aluminum foil.
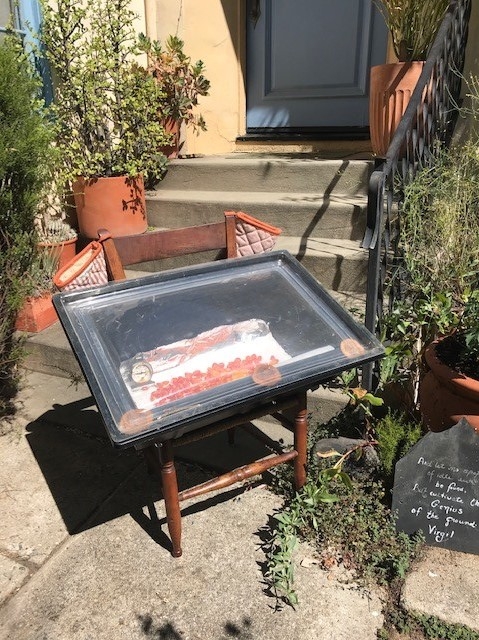
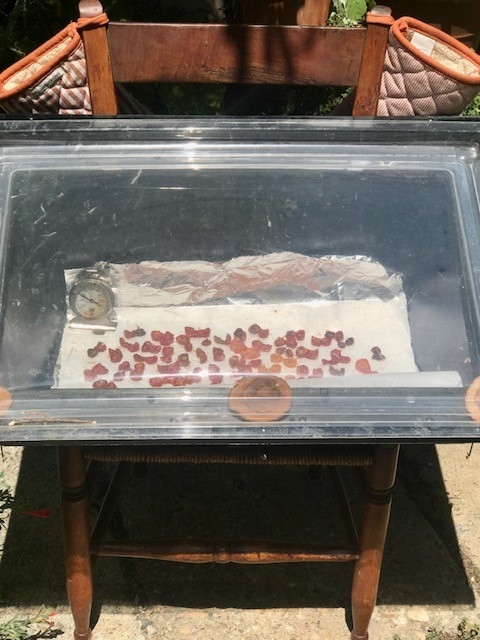
A small chair is the perfect perch for my oven. I move it outdoors into the herbal courtyard and set the oven on top facing the sun. I keep a thermometer inside and oven mitts nearby, it gets HOT in there and I've burned myself more than once.
Usually, the best time for cooking is from 10 A.M. to about 2 P.M., when the day is the hottest and the sun high. I check the tomatoes a couple of times an hour, stir it as needed, and move the oven so it always gets the full benefit of the sun.
Since the oven heats up slowly, the tomatoes can begin drying from the inside out. They never toughen on the outside first. When the oven reaches about 180°F, I slightly prop open the lid to allow excess heat to escape and keep the air moving.
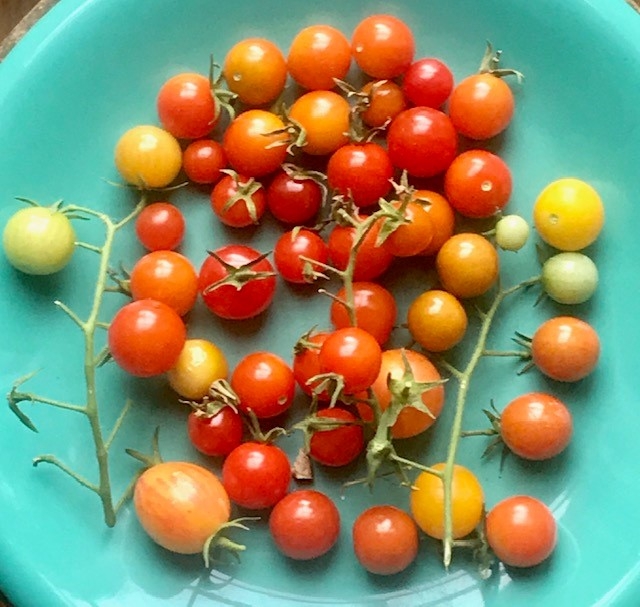
I love the deep, rich umami taste of dried tomatoes in my cooking and usually grow Romas for sun dried tomatoes. But on the perfect day for solar, I had only my small ‘Bumblebee Sunrise,' cherry, and ‘Orange Hat' tomatoes. I picked and then rinsed them in cold water. With a paper towel I patted them dry, sliced and spread them in one layer on the floor of the oven.
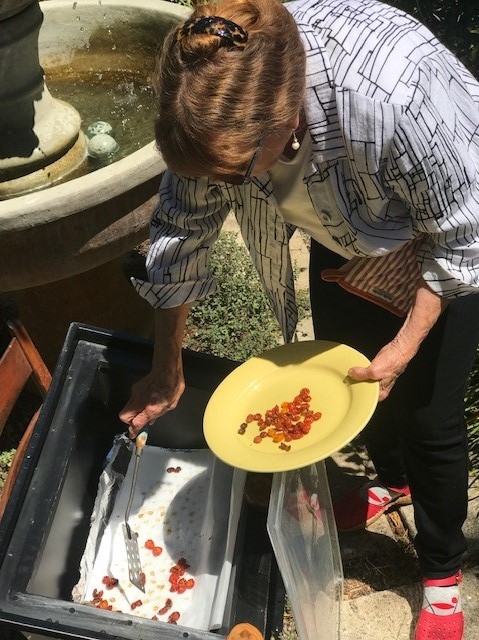
On this warm morning, the oven had reached a temperature of nearly 200°F. I opened the lid, stirred the still juicy and plump tomatoes slightly, and used some small rounds of wood as a prop to allow the excess heat to escape. By 11:30 A.M. the tomatoes looked shriveled and just before 2 P.M. they were perfect. They were like thin leather, I could bend them easily, and they tasted divine.
My training as a UC Master Food Preserver introduced me to using a dehydrator as a way to dry food. I'm planning to buy one, but I'll still turn to my solar oven for a big share of my drying.
ENJOY!!
- Author: Sharon Lovejoy, UC Master Food Preserver of San Luis Obispo County
- Editor: Dayna Ravalin
- Editor: Katherine Soule
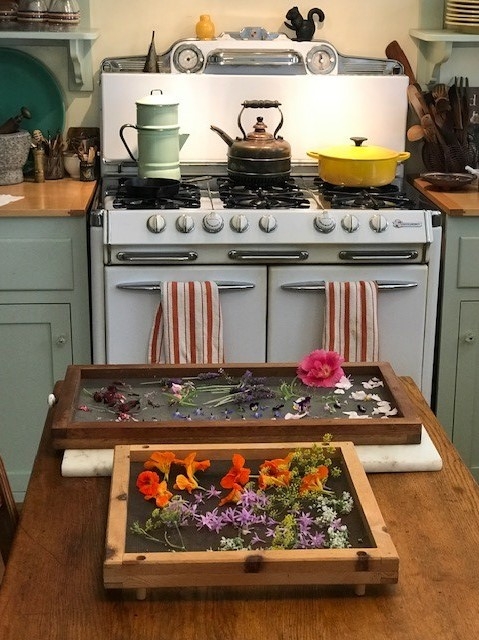
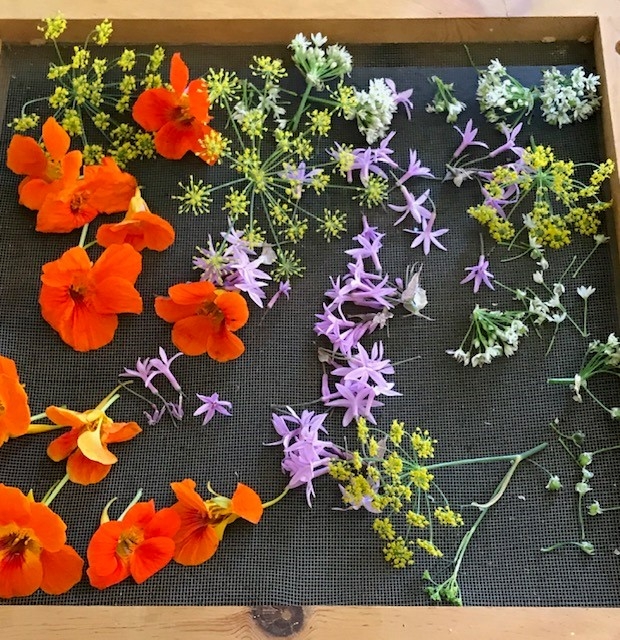
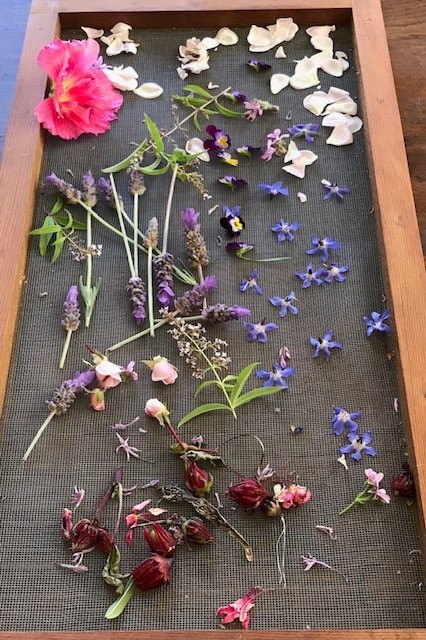
Walk into my kitchen and you'll smell the pungent scents of savory edible flowers like dill, fennel, society garlic, nasturtium, sage, rosemary, and oregano drying on a tray screen. Beside them sits an array of sweet edible flowers; violas, dianthus, roses, the brilliant blue stars of borage, lemon verbena, hollyhocks, lavender, and roselle, a hibiscus that makes glorious, red tea.
For the past few decades I have cooked and created with the edible flowers flourishing in my garden, but gardener-chefs beware, just because they're flowers doesn't mean they're all edible! Check the long list put out by North Carolina State Extension before you even take a nibble of one. I use only those that I gather in my garden. If you don't have edible flowers in your garden and would like to try them as a food ingredient, North Carolina State Extension recommends “flowers purchased from a florist, garden center or nursery should be specifically labeled as edible; otherwise, they may have been treated with ornamental pesticides that are unsafe for use on food crops.”
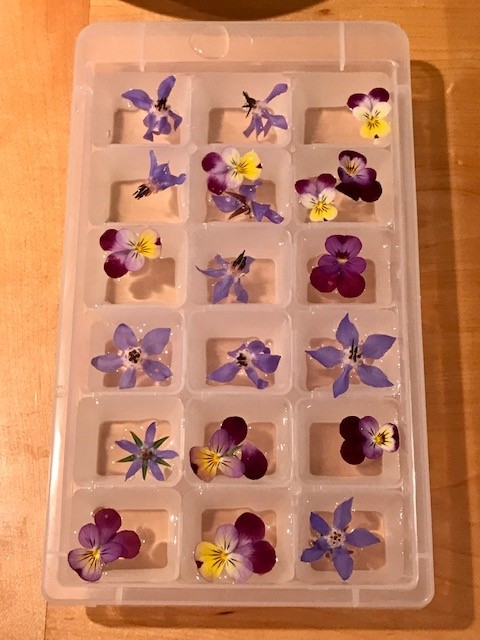
Cooking with flowers isn't anything new. Some herbal and garden books in my library are nearly 200 years old, and they include “receipts” for using flowers in everything from medicine to candy. I've included flowers in the making of homemade ice cream, custards, rice dishes, as toppings on cakes, in drinks, salads, cheeses, frozen in ice cubes, and so much more. In fact, my husband once told me he was afraid to linger in our kitchen for fear I would sprinkle him with my floral concoctions!
In the middle of a winter storm, reach into your cupboard and pull out some of your colorful, tasty, bits of summer sunshine to top a salad or a soup. You'll be glad you took the time to preserve them.
Some Helpful Hints:
Collect your flowers early in the morning, rinse with cool water, spread them out on a towel and pat them dry.
If you're using flowers the day they're picked, just let them float in a shallow saucer or ice cube tray of water. They'll stay plump and fresh till you need them.
To dry the flowers, spread them onto a parchment paper lined tray or screen out of direct sunlight. When thoroughly dry (they'll feel like tissue paper), store them in a labeled tin or a jar in a cool, dark area.

