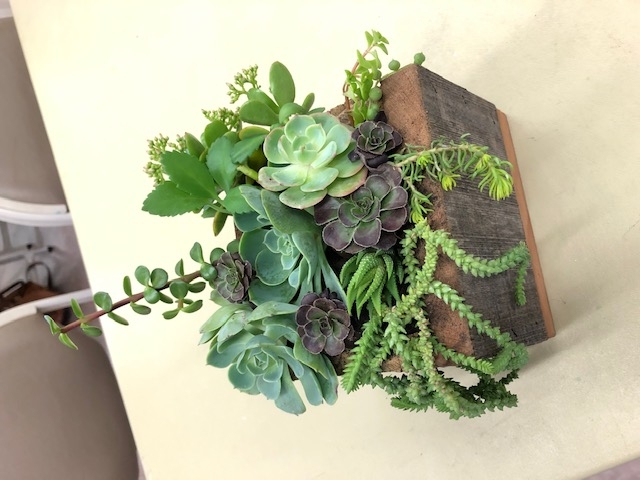
Did you know? All cacti are succulents, but not all succulents are cacti?
This class will focus on the non-spiny succulent plants that can be grown in our area, especially those that use less water - and there are a lot to choose from! During class you'll learn the names of common succulent plants, their sun and water requirements, and how to care for them. Classes last approximately 90 minutes.
Stanislaus County Libraries – Gardening with Succulents Classes
Tuesday, October 4, 2022 at 6:00 p.m. – Salida Library
Saturday, October 15, 2022 at 2:00 p.m. – Riverbank Library
Monday, October 10, 2022 at 6:00 p.m. – Ceres Library
Tuesday, October 18, 2022 at 6:00 p.m. – Oakdale Library
Monday, October 24, 2022 at 6:15 p.m. – Modesto Library
Wednesday, October 26, 2022 at 6:00 p.m. – Turlock Library
Stanislaus County Agricultural Center, Harvest Hall, Gardening with Succulents Workshop
Cost: $25
Space is limited, register now at https://ucanr.edu/succulent/workshop/2022
Turlock Community Gardens – Drip Irrigation
Saturday, October 15, 2022 from 9:00-10:30 a.m.
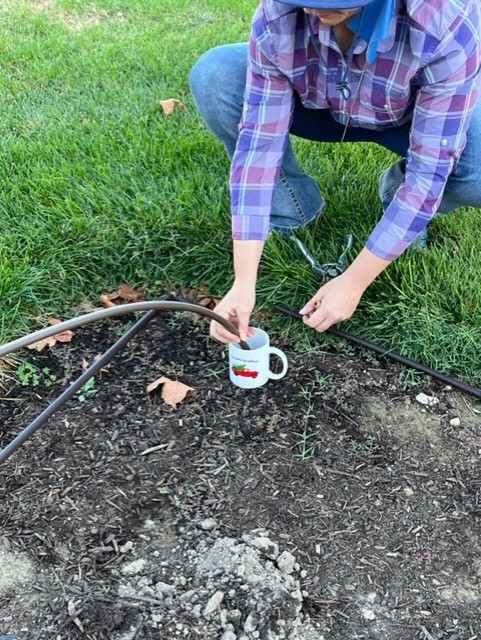
Want to know more about how drip irrigation works? Come learn from our Master Gardener who will give you an overview. Bring your questions!
Patterson Library – Composting Basics
Wednesday, October 12, 2022 at 2:30 p.m.
If you missed our composting classes held at other libraries, you still have a chance to take this one! Learn the basics of composting, including the difference between “greens” and “browns,” what you can and can't compost, and simple tricks for being successful. Plus, one lucky person will take home a free compost bin!
*no need to register for Stanislaus County Library or Turlock Community Garden Classes. Just come. We look forward to meeting you!
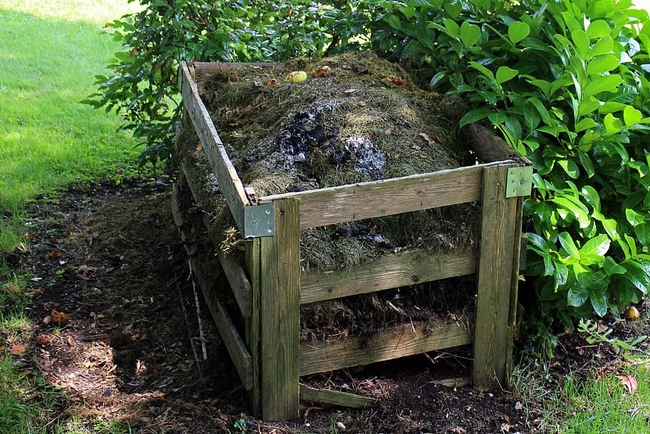
Stanislaus County Library Composting Classes
Tuesday, September 6, 2022 at 6:00 p.m. – Salida Library
Saturday, September 10, 2022 at 2:00 p.m. – Riverbank Library
Monday, September 12, 2022 at 6:00 p.m. – Ceres Library
Tuesday, September 20, 2022 at 6:00 p.m. – Oakdale Library
Monday, September 26, 2022 at 6:15 p.m. – Modesto Library
Wednesday, September 28, 2022 at 6:00 p.m. – Turlock Library
Stanislaus County Agricultural Center, Harvest Hall Composting Class
Tuesday, September 27, 2022 at 6:00 p.m. rooms D&E
Turlock Community Gardens
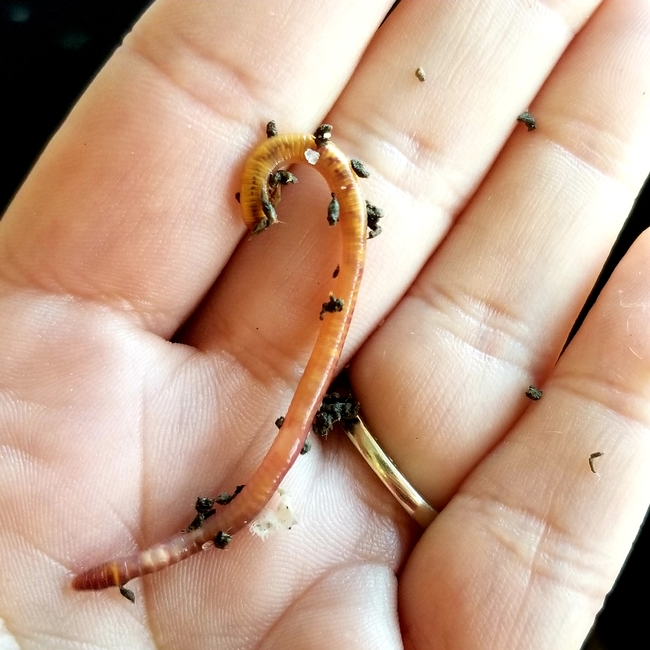
We taught composting at this location in spring, so this month we are offering vermicomposting, the fun and easy way to compost kitchen scraps using red wiggler worms. Children are welcome!
Saturday, September 17, 2022 at 9:00 a.m.
Patterson Library
We are offering a Fall Vegetable Gardening Class at the Patterson Library, in case you missed this class last month at other locations. Class is Wednesday, September 14, 2022 at 2:00 p.m. Composting will be taught at the Patterson Library on October 12 at 2:00 p.m.
Never miss a class, bookmark our online calendar: https://ucanr.edu/sites/stancountymg/Calendar/
- Author: Terry Pellegrini

Red Wigglers (Eisenia foetida) are different than the earthworms (Lumbricus terrestris) I find in my garden. Instead of processing things found in soil, such as decaying roots and leaves, or eating living organisms such as nematodes, protozoans, rotifers, bacteria, fungi, the Red Wiggler prefers our kitchen scraps. Since these little red guys (getting no larger than 5 inches in the proper environment) can eat up to three times their weight each week in such things as veggie and fruit waste, cardboard, and shredded paper, bread, and pasta (in moderation) and even coffee grounds, they are able to create compost in about 6 weeks.
How do they do it? By digesting all of the yummy (to a worm) waste and then excreting it as “castings” – more commonly known as worm poop. The process starts as the worm takes in the food by mouth, technically called their buccal cavity. It then travels through the worm's pharynx, esophagus, crop, gizzard, intestine, and lastly, their anus and out into their habitat where we humans can collect it.
These castings are full of the nutrients iron, sulfur, calcium, nitrogen, phosphorus, and potassium (NPK rating: 5.5.3). They are water-soluble, allowing your plants to easily absorb these nutrients with little chance of “burning” that can often happen with chemical fertilizers. This poop also contains good bacteria from the worm's digestive system along with fungi, enzymes, protozoa, and actinomycetes. All of this combines to create a wonderful humus that your plants will love.
But one little worm doesn't do this alone. You need an entire colony of them! Good thing Red Wigglers are prolific breeders. Did you know that worms are hermaphroditic, meaning they have both male and female organs? They join with another worm in a three-hour mating session (phew) and when complete they create a small cocoon. They can create 2 to 3 cocoons per week. These cocoons darken and harden over the next 20 days. Then the little hatchlings inside the cocoon – anywhere from 1 to 5 of them per cocoon- grow for the next three months. Once hatched these wiggly babies will mature in 9 weeks, able to reproduce again at that point. 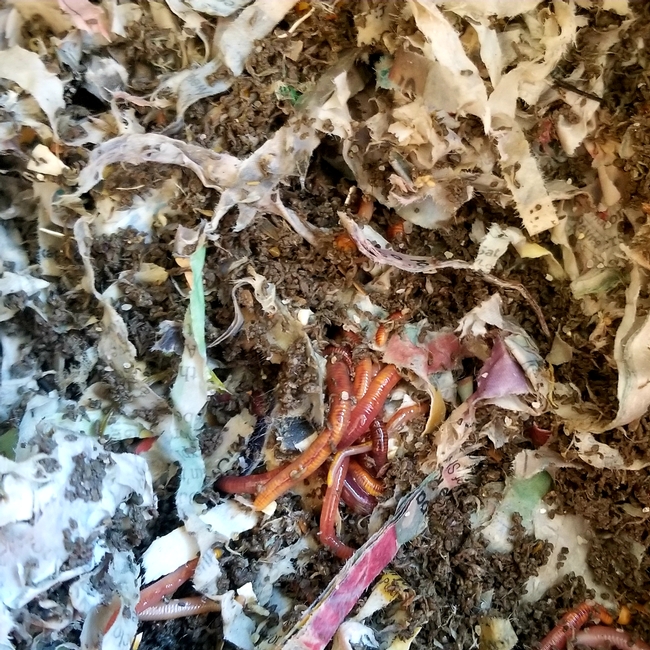
In order to have the best success at both the reproduction process and the production of worm castings, the Red Wiggler needs a cozy habitat to do its thing. A simple rubber tote will work as an ideal environment, or you can purchase specialized stacking trays from the Internet. If you create your own you will need to provide your worms with proper ventilation, a moist – but not too wet – bedding source (such as shredded newspaper) and food. Keep their habitat in a temperature regulated space, moist, and with an adequate supply of tasty scraps and an initial colony of worms will increase to perhaps double in 3 months and quadruple in 6 months.
Harvesting your castings is simple. When the bedding has darkened, looking more like soil than the newspaper or other material used, it is time to harvest. To do so, add new moist bedding material and kitchen scraps to the opposite side of the habitat and stop adding food to the side with all of the castings. The worms will migrate to the side with the food on it – usually in a few days. You can then harvest your castings. When the new area fills ups, repeat the process and you will have a steady supply of new compost for your plants.
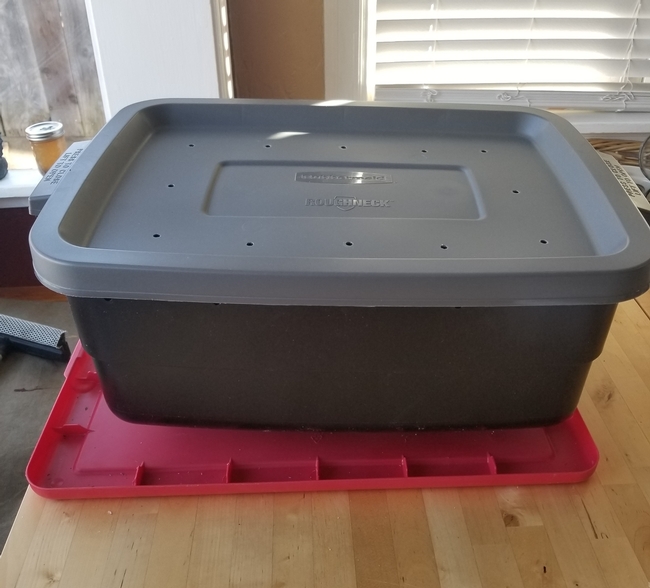
Photos by Terry Pellegrini.
Sources
About Worm Castings - https://ucanr.edu/sites/mgfresno/files/262372.pdf
Red Wiggler – http://bioweb.uwlax.edu/bio203/2010/yard_jose/
California Master Gardener Handbook, Second Edition, Page(s) 56-57
- Author: Heidi Aufdermaur
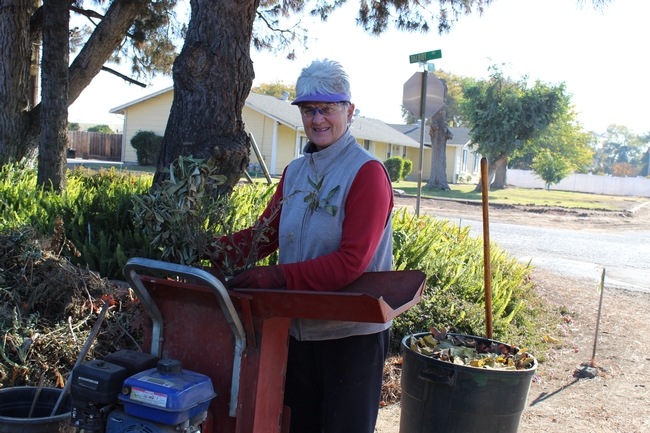
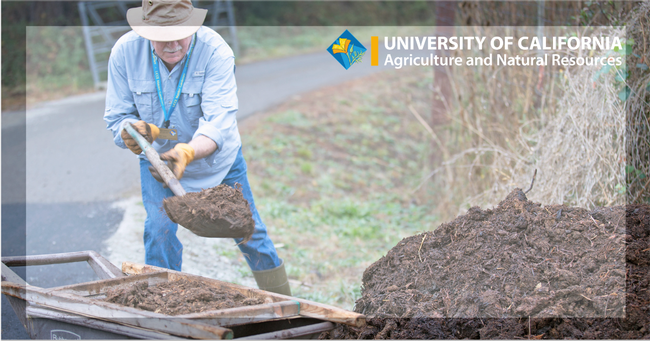
Have you ever had a hobby that turned into an obsession? One of my hobbies is gardening of course, as a Master Gardener. Not too long ago, I acquired a chipper/shredder. One of my gardener friends had two and sold one of them to me at a fair price. I have always wanted one, dreaming of all the rich mulch I could make with my own waste.
I was excited to use it for the first time, donned the earplugs and safety glasses and got busy. Of course, I had to first collect the yard waste. I started coveting all the potential material that I thought would be suitable to shred or chip. I collected from my yard first, then one morning on the daily walk with my husband and soon after Christmas, I had a new insight for all the Christmas trees that were being discarded on the streets. I commented to my husband about collecting some of them to chip. To my surprise, I came home one day from running errands and found about 6 Christmas trees piled up in our yard. My heart fluttered with excitement. I was worried that adding too many of the pines would change the pH of my soil so I consulted Ed Perry, our former Environmental Horticulture Advisor for Stanislaus County. He said I could compost and chip away, as I was adding other species to the mix and it would take a lot more pine trees to make any difference in the pH of my soil.
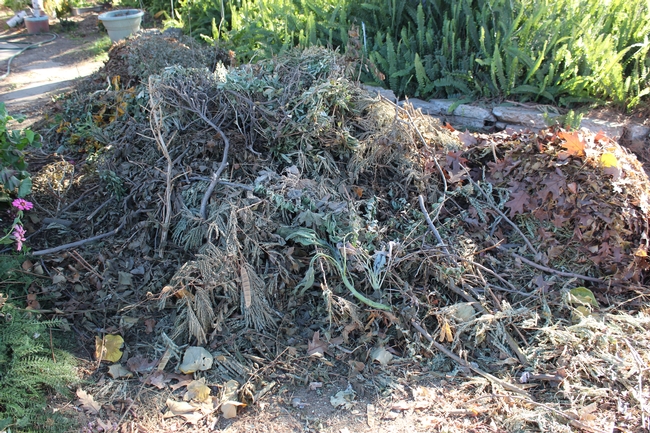
I started seeing all the shrubs and trees in our yard that needed a good trim and piled them up to dry for a while. I also added some spent flowers to the pile. What I learned about shredding flowers is to cut off the seed heads (if I didn't want them to germinate where I spread the final product). I learned that after I had shredded some old marigold plants, spread the mulch in a pathway between my vegetable rows, I soon had marigolds sprouting up all over. I transplanted a few, left a few and pulled the rest, adding them to the new pile before they flowered.
I began to explore the surrounding yards in our neighborhood. Leaves and clippings looked like gold to me. My neighbor was extremely happy to let me rake her lawn of all the beautiful leaves that had fallen. To say the least, I have become somewhat obsessed with this new habit of gardening. I am also pleased that I am not adding all this waste to the green can for a trip to the land fill.
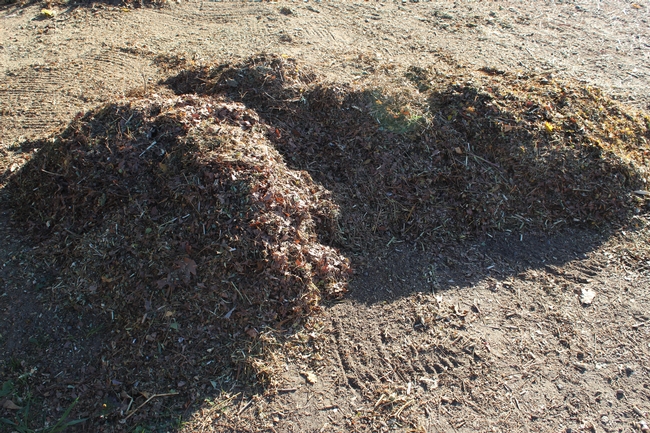
Did you know there is an assembly bill (AB341) that requires communities to divert yard waste from landfills and recycle it? With the rapidly depleting landfill capacity in California, 75% of yard waste is to be recycled. This goal was to be achieved by 2020. This bill requires every commercial business, institution, and apartment building to implement recycling programs.
Even though this bill focuses on businesses and large complexes, it's also good practice for homeowners. Keeping your yard waste on site, adding it to a compost pile or breaking it down by running over small portions with a lawn mower, one can keep this valuable commodity in one's own yard. Some benefits of mulch include reducing water loss to evaporation, moderates soil temperature, reduces weed growth thus making weeds easier to manage and reduces dust in drip-irrigated landscapes.
So, if you become obsessed like me, just think of all the good that happens when collecting your yard waste and keeping it on site. Happy Gardening.
- Author: Anne E Schellman
If you've ever felt confused by the process of composting, you are not alone! Most gardeners experience confusion at some point over the following topics:
What can I compost?
- Kitchen: fruit and vegetable scraps, tea bags, coffee grounds, and eggshells.
- Yard waste: grass clippings (except Bermudagrass), leaves, pine needles, and shredded wood chips.
- Rotted manures from non-meat-eating animals are allowed, but not necessary.
What shouldn't I compost?
- Avoid animal products (meat, bones, fish, grease, dairy).
- Ashes from the fireplace or BBQ (can cause pH imbalance in soil).
- Sawdust from treated wood.
- Dirt: this ends up making it heavy and too hard to turn.
- Avoid diseased plants.
- Most weeds.
What are “greens” and “browns” and why does it matter?
Greens are rich with nitrogen, and browns contain carbon. Don't get bogged down by reading about the ratios of how much of each to use. Bottom line? You need to add equal amounts of greens and browns. The easiest way to do this is by using two 5-gallon buckets.
Greens examples
Vegetable & fruit scraps, grass clippings, coffee grounds, and rotted manures.
Browns examples
Dry leaves, straw, sawdust, wood chips, corn stalks, cardboard, and paper.
Composting Tips
Make sure all items added to the pile are chopped or shredded to at least 1 ½” in size. Otherwise they won't break down equally. The best size for a pile is 3x3 to 3x5.
For more information including what compost system to choose, which compost method to use, how often to turn your pile, pests, troubleshooting, and a general demystification of the composting process, watch our Composting Basics presentation! You can download the handout on our Classes and Workshops page. https://ucanr.edu/sites/stancountymg/Classes/

