- Author: Terry Pellegrini

But wait! Did you know that cucumbers are actually fruits? Botanically speaking a fruit should have at least one seed and grow from the flower of the plant. Because of this definition cucumbers are classified as fruits because they contain tiny seeds in the middle and grow from the flower of the cucumber plant. While I will always consider it a veggie - as I do that other “fruit” the tomato – knowing its proper classification makes my inner Master Gardener very happy.
Growing cucumbers is relatively easy, although they do take some care. They need plenty of sunshine, loose and nutrient dense, slightly acid soil. Adding several inches of compost or aged manure into the soil, worked in to a depth of about 6 inches, is usually all it takes to make them happy. They do not like frost so plant your seeds after the threat of frost has passed – about March 20th here in the Central Valley. If you are planting a vining variety place your trellis first, before planting your seeds or transplants to avoid disturbing the roots of the plants later on. Also cucumbers HATE being watered by sprinklers (trust me, I learned this one the hard way). Water only at the base of the plant - I use a drip system that the cucumbers seem to love.
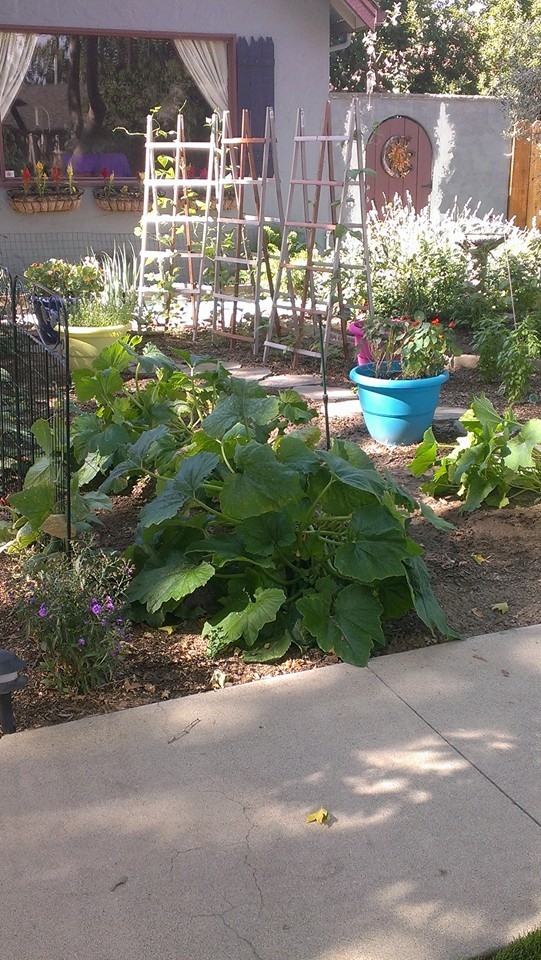
Bush varieties need a little extra care as the immature cucumbers can die or get slimy if they sit on wet soil or in water all day. A good layer of mulch around the base of the plant and then under the maturing leaves will keep your cukes out of harm's way.
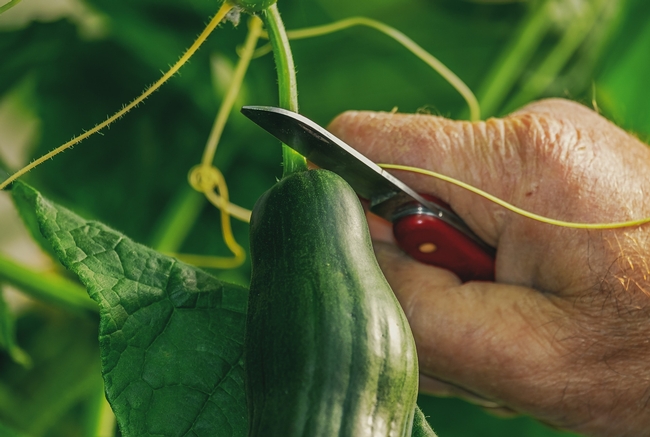
Harvesting your cucumbers will vary in timing and size depending on the variety, but on average it takes between 55 and 70 days. Your seed packets or the information that accompanies your transplants should tell you when to pick your cucumbers. But no matter the variety, always clip off your cucumbers, don't pull off or twist them. This can damage your plants and may discourage it from producing more flowers and thereby less cucumbers. With care, your plants should give you several harvests, especially if your succession plant your cucumbers – planting one to two weeks apart.
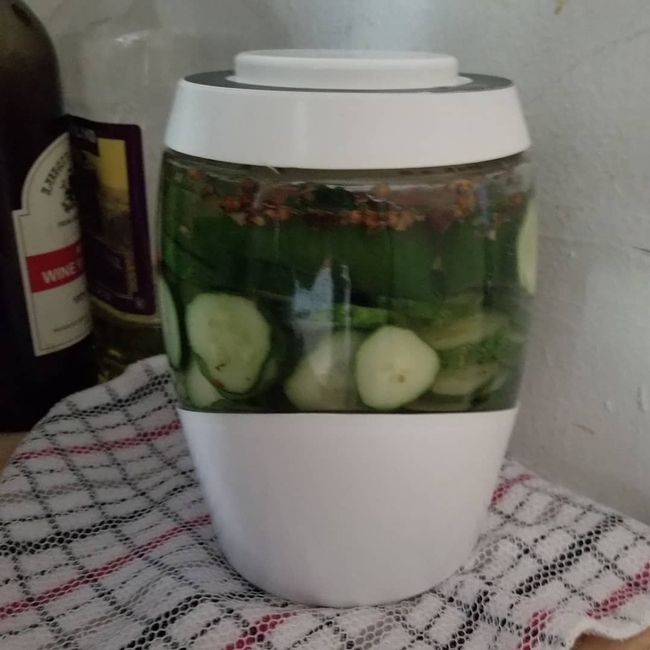
Once harvested, the fun begins. Your cucumbers can be added salads, made into sandwiches, and can be eaten straight from the vine (yes, you can eat the skin – be certain to wash it first). I love to make fresh tzatziki sauce for dipping and of, course, pickles! Fermented or refrigerated, dill or sweet, a pickle made from those from your own garden are extra special.
- Author: Terry Pellegrini

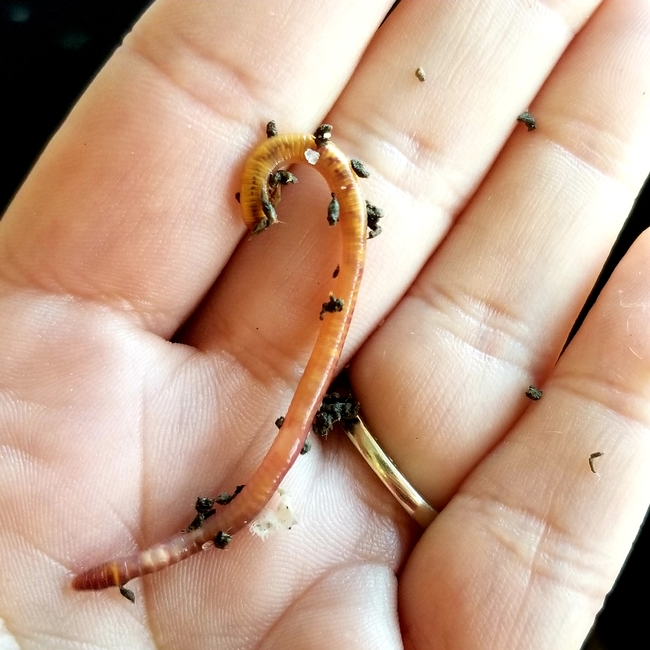
Red Wigglers (Eisenia foetida) are different than the earthworms (Lumbricus terrestris) I find in my garden. Instead of processing things found in soil, such as decaying roots and leaves, or eating living organisms such as nematodes, protozoans, rotifers, bacteria, fungi, the Red Wiggler prefers our kitchen scraps. Since these little red guys (getting no larger than 5 inches in the proper environment) can eat up to three times their weight each week in such things as veggie and fruit waste, cardboard, and shredded paper, bread, and pasta (in moderation) and even coffee grounds, they are able to create compost in about 6 weeks.
How do they do it? By digesting all of the yummy (to a worm) waste and then excreting it as “castings” – more commonly known as worm poop. The process starts as the worm takes in the food by mouth, technically called their buccal cavity. It then travels through the worm's pharynx, esophagus, crop, gizzard, intestine, and lastly, their anus and out into their habitat where we humans can collect it.
These castings are full of the nutrients iron, sulfur, calcium, nitrogen, phosphorus, and potassium (NPK rating: 5.5.3). They are water-soluble, allowing your plants to easily absorb these nutrients with little chance of “burning” that can often happen with chemical fertilizers. This poop also contains good bacteria from the worm's digestive system along with fungi, enzymes, protozoa, and actinomycetes. All of this combines to create a wonderful humus that your plants will love.
But one little worm doesn't do this alone. You need an entire colony of them! Good thing Red Wigglers are prolific breeders. Did you know that worms are hermaphroditic, meaning they have both male and female organs? They join with another worm in a three-hour mating session (phew) and when complete they create a small cocoon. They can create 2 to 3 cocoons per week. These cocoons darken and harden over the next 20 days. Then the little hatchlings inside the cocoon – anywhere from 1 to 5 of them per cocoon- grow for the next three months. Once hatched these wiggly babies will mature in 9 weeks, able to reproduce again at that point. 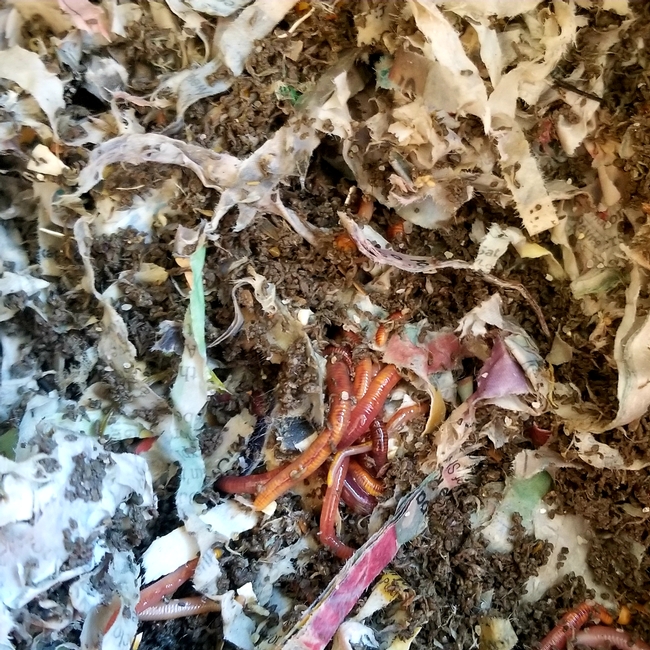
In order to have the best success at both the reproduction process and the production of worm castings, the Red Wiggler needs a cozy habitat to do its thing. A simple rubber tote will work as an ideal environment, or you can purchase specialized stacking trays from the Internet. If you create your own you will need to provide your worms with proper ventilation, a moist – but not too wet – bedding source (such as shredded newspaper) and food. Keep their habitat in a temperature regulated space, moist, and with an adequate supply of tasty scraps and an initial colony of worms will increase to perhaps double in 3 months and quadruple in 6 months.
Harvesting your castings is simple. When the bedding has darkened, looking more like soil than the newspaper or other material used, it is time to harvest. To do so, add new moist bedding material and kitchen scraps to the opposite side of the habitat and stop adding food to the side with all of the castings. The worms will migrate to the side with the food on it – usually in a few days. You can then harvest your castings. When the new area fills ups, repeat the process and you will have a steady supply of new compost for your plants.
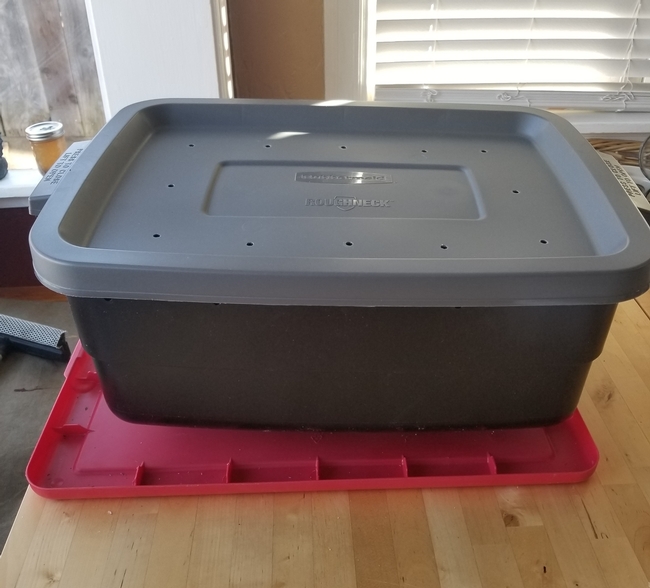
Photos by Terry Pellegrini.
Sources
About Worm Castings - https://ucanr.edu/sites/mgfresno/files/262372.pdf
Red Wiggler – http://bioweb.uwlax.edu/bio203/2010/yard_jose/
California Master Gardener Handbook, Second Edition, Page(s) 56-57
- Author: Terry Pellegrini

Planning your garden now, I feel, will save you headaches and money, come spring. By taking the time to understand how much space you have (or don't have), whether or not you wish to plant directly in ground or containers, or a combination thereof, and what types of plants grow best in your area, you'll only purchase what you need. In addition, you can decide whether or not you wish to devote the time to starting your seeds indoors or in a greenhouse, plant the seeds directly in the garden beds, or if transplants are the way you wish to go.

If you are thinking of planting spring veggies, take under consideration what you and your family will actually eat. If the kids detest string beans, then planting a huge area full of them is probably not a good use of the space, your time, or money. However, if zucchini is something you eat frequently, then two mounds may serve you better than one.
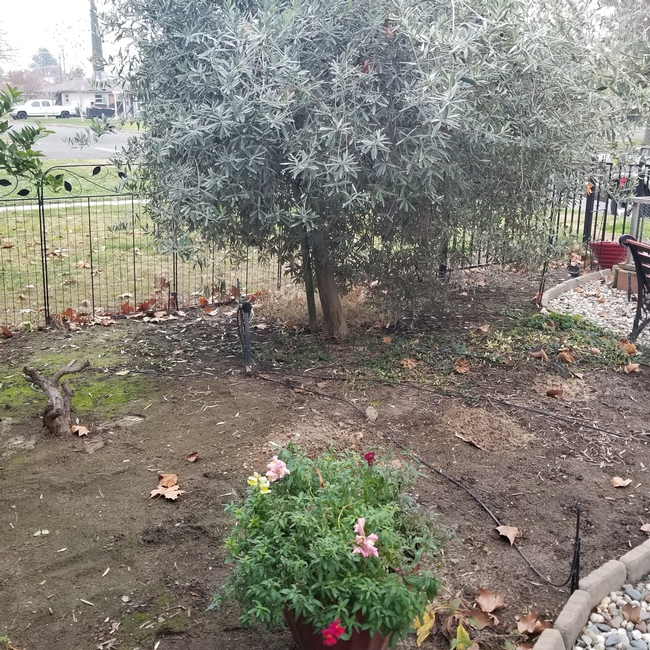
Now is also a good time to get control of any weeds in your proposed planting areas. Removing any weeds now, before the weather gets warmer and they decide to seed, means less work for you come spring and summer. I like to get down, move the soil with a trowel, and pull out any stray roots or seeds that I see. You may even find grubs and larvae of Hoplia beetles that you can remove, saving your precious roses and flowers this spring.
Many of us reuse our favorite pots and containers year after year. As such, these pots will need some TLC and prep as well. All the old soil will need to be removed and the pot cleaned with a solution of one-part bleach to nine parts water. Submerge in solution and soak for at least 10 minutes. This sterilizes them, removing any insects or diseases from the previous plant in the pot.
Planning and prepping your garden now for your spring planting will give you that head start to a successful, satisfying, and fun gardening adventure. So, get out your seed catalogs, notebook, and take a walk in your yard or garden space, and imagine all the possibilities. Happy Gardening!
- Author: Terry Pellegrini

Composting is a fabulous way to turn your garden waste into garden gold. By taking your dry waste and combining it with your green waste, you can transform it into a rich, usable material to enhance your soil. You can also use it as a mulch around plant beds to reduce weeds and fill your containers and pots without the cost of store-bought soils.
Not only is composting good for your garden, but it is also good for the environment. By composting your garden (and some kitchen) wastes you are conserving precious landfill space, reducing the need for commercial soil conditioners and fertilizers, as well as adding beneficial microbes and nutrients back into the soil. Compost, either added to the soil or used as a mulch, saves on water usage as well.
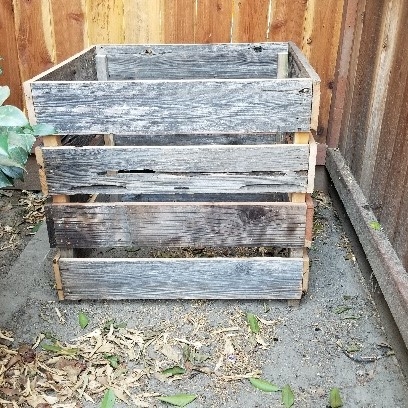
Turn your compost every day or two (for rapid composting), or once per week. Check to make sure it isn't too wet or too dry (it should feel about as moist as a wrung out sponge) and protect it from the weather (a tarp or covering to keep out intense heat or rain) and in no time you'll have rich, usable compost.
Composting is a science but still, things can go wrong. The number one complaint I've heard from friends is, “My compost always turns out stinky and I give up.” Stinky compost is a sign of an imbalance in your pile. A healthy compost pile should smell earthy and not look wet and slimy. Trust me, stinky compost is a real turn-off. I should know – it's happened to me on occasion. Checking your moisture levels, adding in additional brown materials if needed, and making sure to turn your pile will help with this issue.
Don't let composting scare you. It can be a fun and rewarding way to give back to the environment, save money and water, and enhance your landscape. With a little bit of work, a pile of waste becomes the garden gold we all desire. Still have questions about composting?
Sign up for our Composting Basics class!
When: November 24, 2020 6-7:30 p.m. PST.
Where: on Zoom.
How: http://ucanr.edu/compost/2020 sign up by Nov 24 at 4 p.m. to receive a link sent the morning of the class.
Instructors: Master Gardeners Terry Pellegrini and Heidi Aufdermaur.
And remember, all classes are recorded so you can always watch it again later.
Hope to see you there!
Planning to get your fall garden started? If you missed our live presentation of the Fall Vegetable Gardening class, you can now watch it on our YouTube Channel!
Fall Vegetable Gardening was recorded on August 25, 2020. Our speakers' included two very talented Stanislaus County Master Gardeners, Terry Pellegrini and Rho Yare. The class offered best practices for vegetable gardening in fall, and some tips from our local Stanislaus County Free Library library about the vegetable gardening books that are available.
We hope you will subscribe to our channel as well as follow us on Facebook or twitter.

