- Author: Erin Mahaney
Whenever I read about a plant that is described as a prolific self-seeder or self-sower, red flags go up. Is this code for an aggressive, invasive species that I'll regret growing in my yard? It is easy to check before making a purchase by conducting a quick search of California Invasive Plant Council's (Cal-IPC) plant database or PlantRight's priority invasive list.
Cal-IPC's mission is to protect California's environment and economy from invasive plants. (https://www.cal-ipc.org.) Cal-IPC maintains the California Invasive Plant Inventory, “a comprehensive list of invasive plants based on ecological impacts, as well as ‘Watch' plants that may become invasive in the future.” (https://www.cal-ipc.org/plants/inventory/.) Each plant is assessed using a criteria system with documented sources.
PlantRight works with California's nursery industry to limit invasive species and to promote the sale of exclusively non-invasive alternatives. (https://plantright.org.) According to PlantRight's website, it worked with “researchers at University of Washington and University of California, Davis to develop the PlantRight Plant Risk Evaluator (PRE) a method for determining a plant's potential for becoming invasive in any specific region.” PlantRight uses “this tool to determine which plants have a high risk of becoming invasive, which plants require more research, and which plants have a low risk of becoming invasive in a particular area.” (https://plantright.org/approach/.) Plants found to be high risk using PRE or are listed on Cal-IPC's Invasive Plant Inventory are placed on the priority invasive plant list.
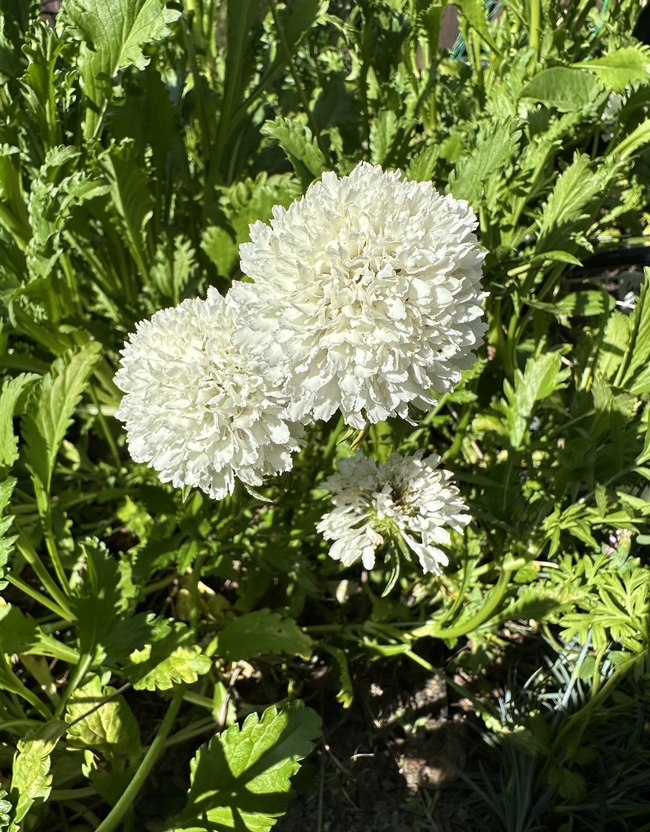
Several years ago I planted Scabiosa atropurpurea, also known as pincushion flower, sweet Scabiosa, or Mourningbride. (There are other species of Scabiosa, such as Scabiosa caucasica, but this article focuses on Scabiosa atropurpurea.) The plant readily self-sows, but it is easy to remove when it gets too exuberant and begins to take over the garden plot.
I planted Scabiosa atropurpurea to use as a cut flower. The approximately 1-1.5” flowers resemble miniature pincushions on 18” stems. The flowers range from white to purple with colors in between, such as pink and lavender. In my yard, the plant blooms constantly from spring to late summer and attracts pollinators. It is low maintenance and grows to approximately 3' tall by 2' wide. It propagates by seeds. The flowers are a nice airy addition to a bouquet.
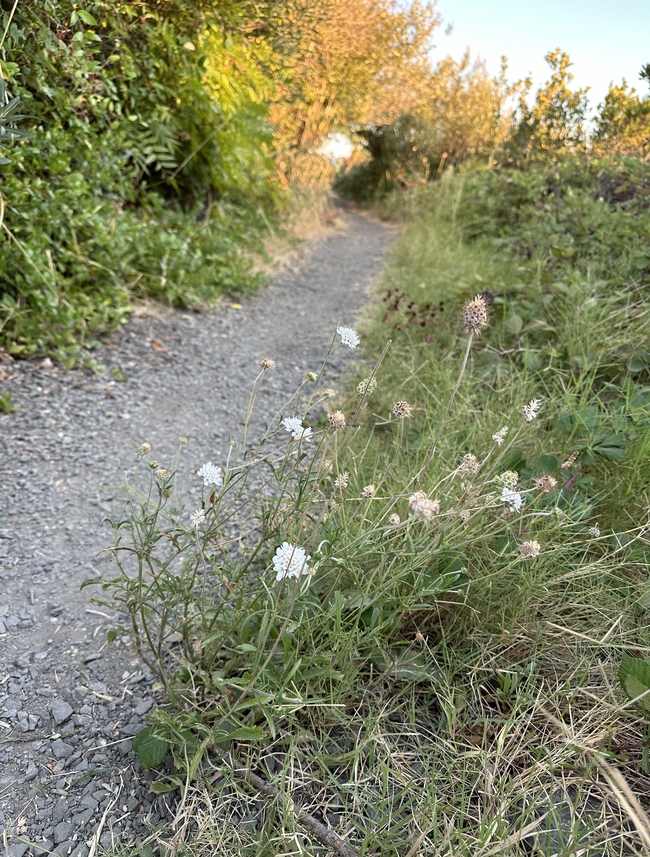
I thought I had checked the Cal-IPC rating when I purchased the plant, but regardless, I didn't think too much more about it until I recently saw several plants along a narrow dirt path in a local state recreation area. After that, I noticed them everywhere! They were often growing in disturbed areas along roads and trails.
According to Cal-IPC, Scabiosa atropurpurea is rated as “Watch.” It has a PRE rating of “high potential risk” by PlantRight and is listed as a plant to watch. (https://plantright.org/watch/scabiosa-atropurpurea/ .) PlantRight states that the plant was considered for addition to the invasive list from 2012 to 2014 but was not included at that time. Not surprisingly, it has naturalized in 18 California counties, including places in the San Francisco Bay area and central and south coast ranges of California. It has been listed as invasive in other countries and areas with a similar climate, such as Chile, New Zealand, and South Australia.
I don't plan on tearing out my Scabiosa just yet, but I will annually check Cal-IPC's and PlantRight's ratings for any change in status. I'll also attempt to minimize the invasive potential of the plant by keeping the plant contained in a specific area and deadheading spent flowers to limit seed production.
- Author: Cindy Yee
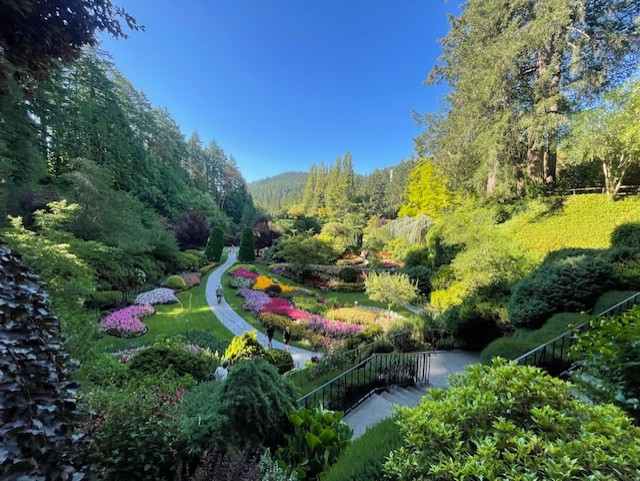
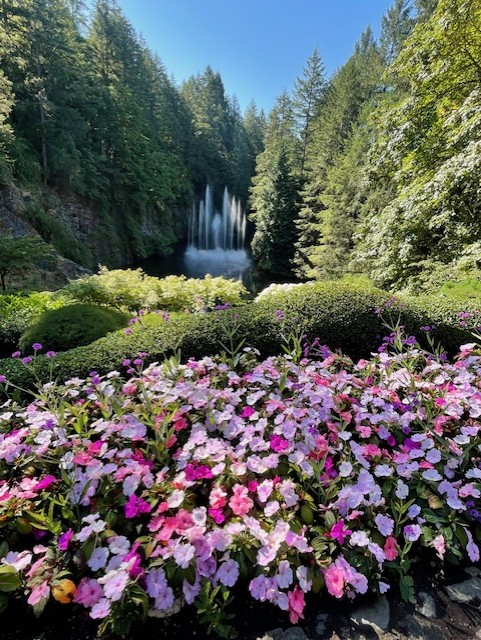
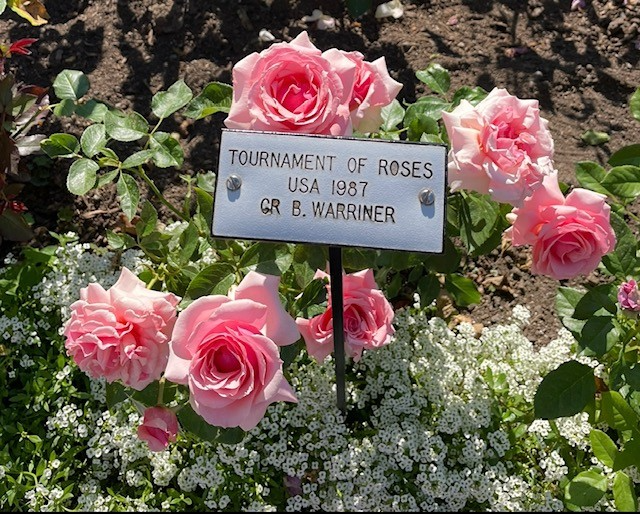
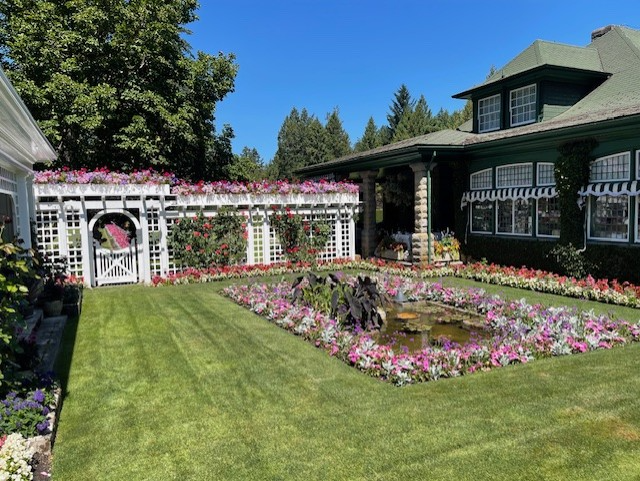
It does feel strange not to have been back until now. I am so glad, however, that we finally vacationed in Victoria recently. Butchart is everything I remember it to be and more.
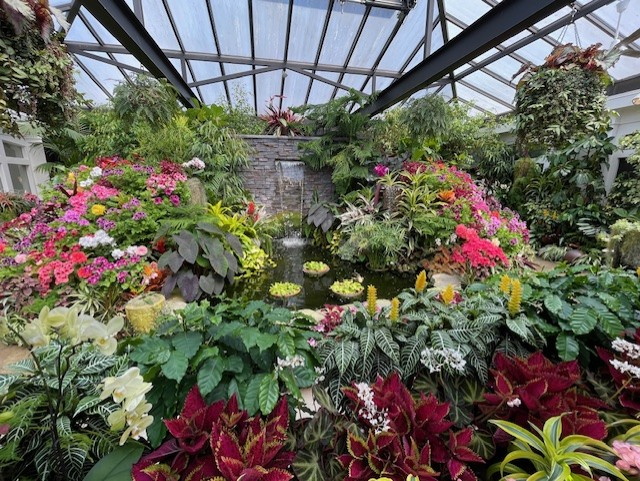
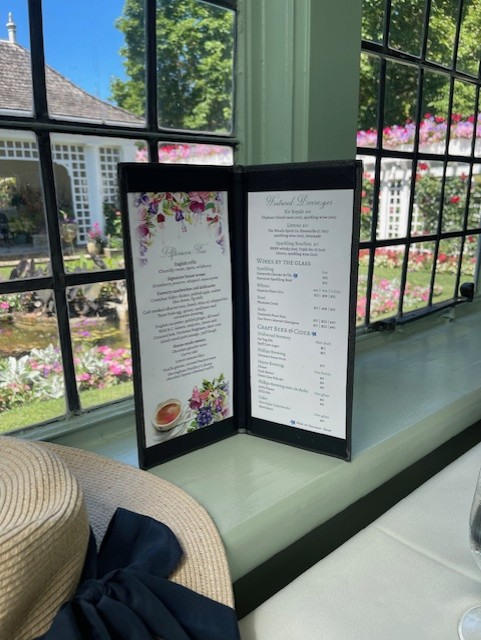
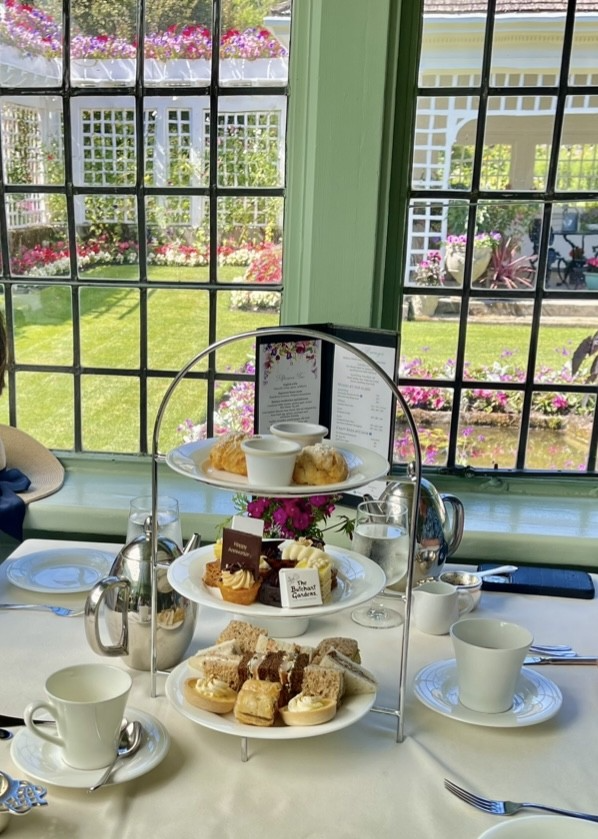
Since many say that no trip to Victoria is complete without afternoon tea, we had tea at Butchart Gardens and the Empress Hotel. They were both delightful experiences, but we agreed that Empress was “one and done”, and Butchart is the tea to repeat. The reason is founder Mrs. Jennie Butchart's lovely private garden setting and the overall wonderful day we had exploring the various gardens. Our tea was served in a Victorian atrium filled with plants and overlooking the idyllic flower-filled space.
- Author: Nanelle Jones-Sullivan
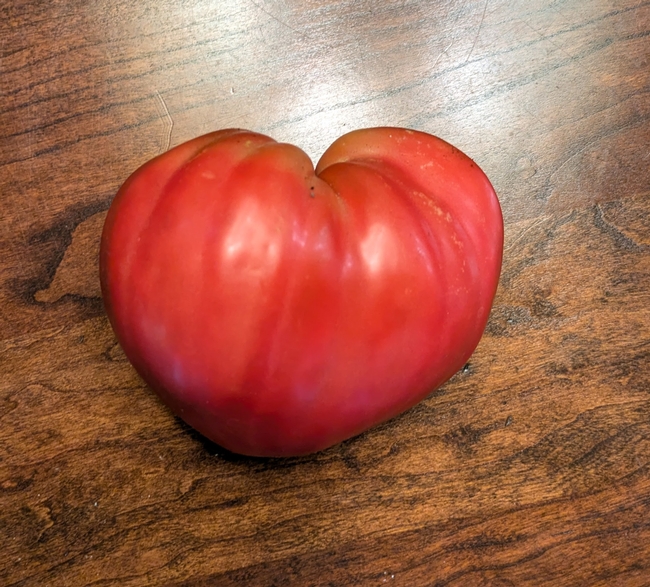
By now you have heard of purple tomatoes, and you've probably heard of heart-shaped tomatoes, but have you heard of the Dwarf Purple Heart tomato?
For those who haven't heard, The Dwarf Tomato Project “grew out of a comment made in a Tomato Forum at Gardenweb when Craig LeHoullier lamented the fact that the dwarf category in tomatoes was very restricted, and suggested it would be good to cross dwarfs with heirlooms to remedy this situation”.
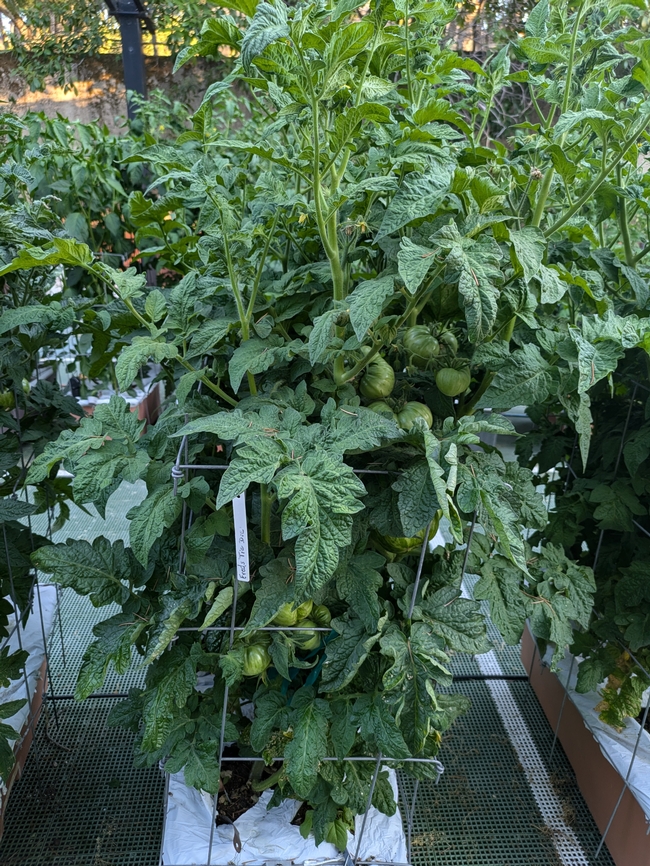
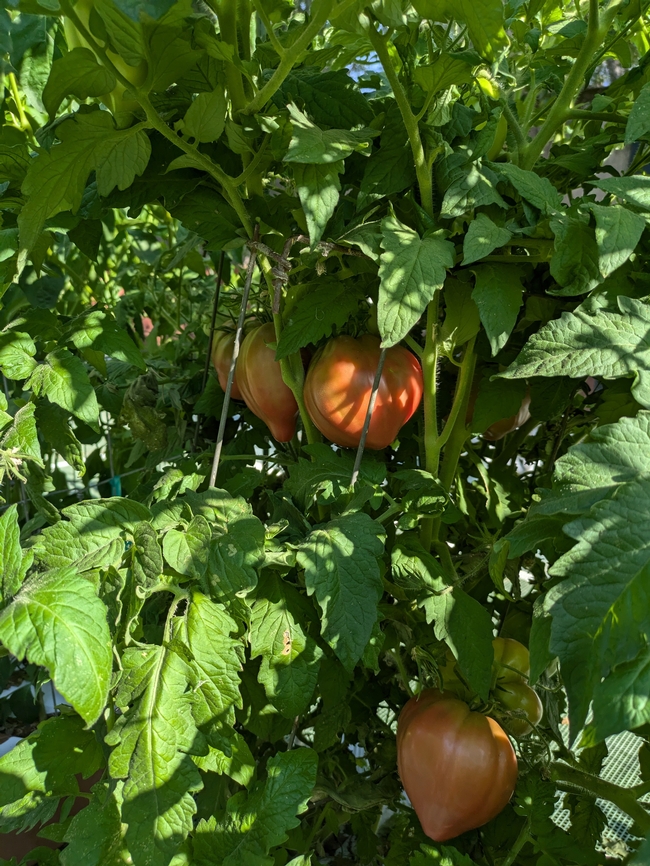
I love that both the plants, with their rugose leaves, and the tomatoes, with their variety of shapes and colors, are attractive and easy to manage in my garden.
Dwarf Purple Heart is a cross between ‘Dwarf Wild Fred' and ‘Brad's Black Heart', both known for their flavor. Heart- shaped tomatoes are known for their large size and meaty texture. This tomato variety is good in both raw and cooked preparations.
- Author: Heather Hamilton
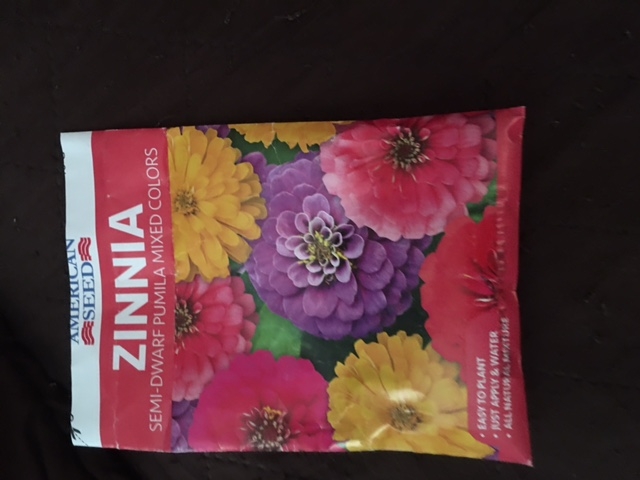
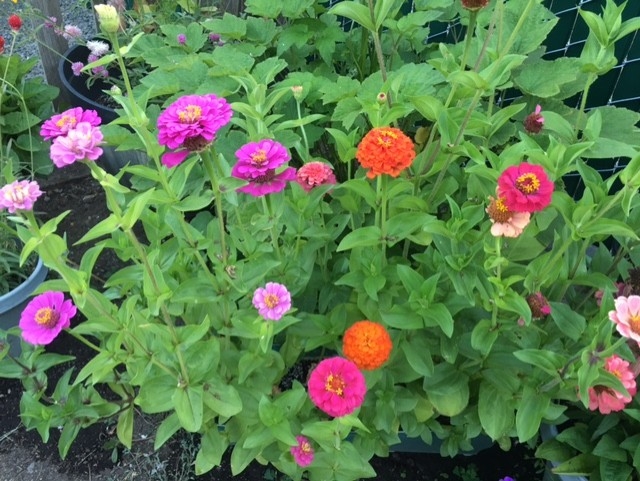
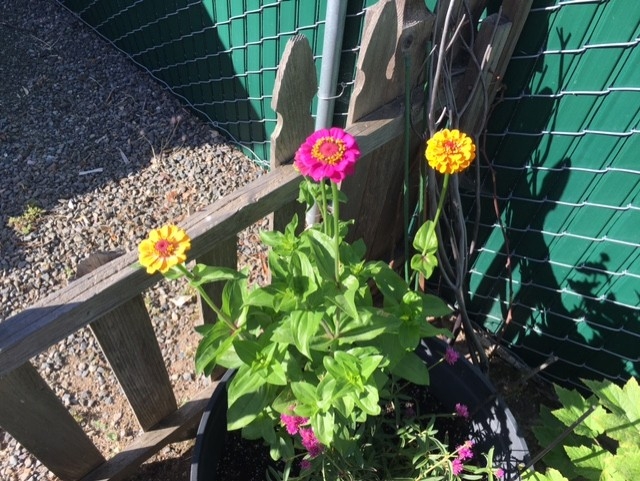
I have always loved zinnias for their vast range of colors and beauty. We once had a farm near me that you could go and pick your own flowers to bring home and enjoy, sadly they are no longer there. Since they moved on I decided I would try and plant some by seed this year. It was so easy and I want to say I got fairly quick results. Several different varieties have been grown over the years, with the first being, Z. peruvians which was introduced in the early 1700's. In the late 1700's, the Zinnia elegans or also known as the Z. violacea which is the most familiar one seen in the garden. This is the one that I am growing. Zinnias are an annual plant with flowers being composites, like daisies. They consist of florets that surround a disc, which may be single, double, or semi-double flowers. They thrive in sunny, hot conditions with lots of water if grown in pots. It is a fabulous addition to my cottage garden and makes a great display in floral arrangements. Needless to say, I will plant these every season moving forward. Next, I want to try the giant varieties. Cheers to growing another all-time favorite cut flower!
- Author: Michelle Davis
Up and coming: The UCCE Master Gardener Fall Plant Exchange, Saturday, September 28, 2024, 9 AM to 12 PM.
Fall is a great time to plant, not just for the plant's health for the gardener's as well. The soil is warm, but the air temperature is usually a little cooler. Fall planting encourages plant roots to branch out, take root and stockpile nutrients over fall and winter. Come spring, fall-planted transplants will have stronger roots, contributing to hardier plants that are more drought-tolerant and heat-resilient. Fall planting also usually doesn't require as much watering after the first month or so - air temperatures decrease and rain usually takes over the job. Mulching is still important during planting at any time to help keep the moisture in the ground and in plant roots.
Our last plant exchange was in April. Here are some of my observations and suggestions gained from that event. Some of the first plants to get picked up to get rehomed were squash starts grown by Julie S. I brought them for her and no sooner than they were placed on the table they were gone. Seeds can be started now indoors for arugula, beets, bok choy, broccoli and brassicas, collards, kale, lettuce, spinach and Swiss chard. All can be transplanted when day temperatures are around 80-90 degrees, usually perfect for October in Solano County!
California Natives were big hits. If one of these is going to go from a container into the ground, the time to do that is before the first rain for the roots to grow. Again, don't forget to apply mulch. If you are the one thinking of taking the native home, check https://calscape.org to see if it will do well in the location you're envisioning. This website of the California Native Plant Society has been recently revamped and it is excellent. With exceptional photography, it includes all the requirements your prospective plant needs and all the pollinators it will attract. If you want to propagate your native and need the steps, check this webpage for more information: https://ucanr.edu/sites/MGsSMSF/files/388232.pdf. For successful transplanting techniques, another excellent website is from the Alameda County Master Gardeners https://acmg.ucanr.edu/Over_the_Fence/Planting_California_Natives/.
Many gardeners brought succulents. Most were not potted and that's not a problem at all. Take a healthy leaf or two from a stem. Let it sit for at least two days up to a week in a warm spot out of the direct sun, checking for a scab to form where the leaf had been attached to the stem. Once the scab is formed, you can dip the end in rooting hormone (or not) and then stick the scabbed end into potting soil upright or lay it flat on the potting soil in a shady space, no direct sunlight. Mist, don't water, the leaves and then whenever the soil feels dry. In our area, that may be every day. Your baby succulent and roots will emerge in anywhere from just a few weeks to a few months depending on the plant. When the mother leaf starts to wither, transplant the baby to its own pot in the shade and cut off the withered mother leaf. Mist the baby when the soil feels dry. Gradually and slowly move the new plant to a sunnier location, decreasing watering while the succulent matures.
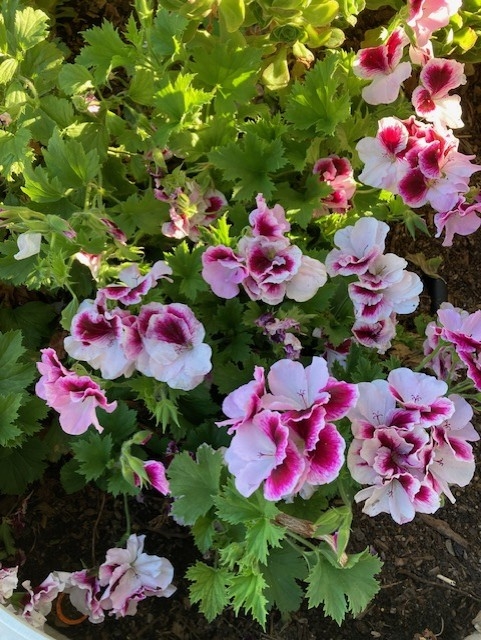
Geranium cuttings of all types were also abundant. If you are bringing a cutting, using sterile shears, cut a few inches of stem off the flowering end of the plant. If you are the taker, it will need to sit out for about 3 days to develop a scab or callus. Then put the calloused end in the ground or potting medium. Letting the stem ends callous helps prevent fungi from attacking the root system. I learned this propagation method from my dad who has many containers of geraniums in his yard. The first geranium cuttings to be snatched up at the plant exchange were the Martha Washington (AKA regal geranium).
Many more drought-tolerant plants that had been potted were snatched up, as well as seed packets and bulbs. There were gardening books and magazines and plant containers and vases that many people took. Towards the last hour of the sale, friends of a Master Gardener who had recently died brought her container plants to the exchange. They were readily picked up as she had had some rarer plants that were recognized as such. I thought that was a fitting tribute – new homes for her well-loved plants. I HOPE – Have Only Positive Expectations - for these special plants.
If you are bringing any plants to the exchange, all plants will be given a check for bugs/disease. If there are any, the plant will be discarded, not composted. All plants, seeds, bulbs, books, magazines and containers are FREE. Come one, come all!


