- Author: Donna J. Seslar
Our 2013 summer garden is pretty much a wrap, although there are still eggplants and Roma tomatoes producing fruit out there. I’m beginning to think that these plants are immortal!
In April we transplanted three Roma tomatoes from 4 inch pots. I think they were purchased from Lowes. The only info on the ‘Bonnie’ label was the name- ‘Roma’ tomato, type-‘determinate’, and matures - ‘73-80 days’. So for the past six months we have enjoyed a HUGE crop of Romas! What to do with them all?
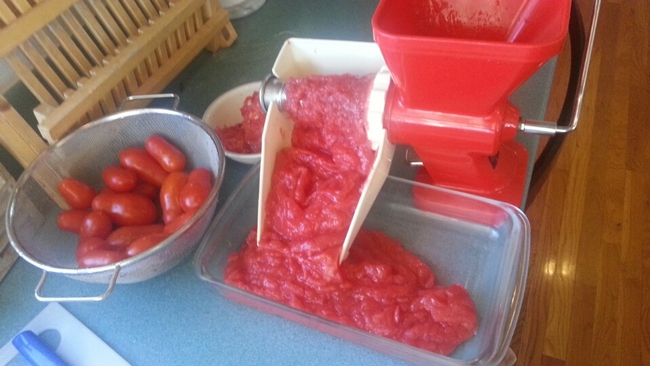
Here’s where my old Lilo Passa Pomodoro springs into action. Years ago, I inherited this wondrous piece of kitchen equipment from an Italian friend of the family. On the box it says “made in Italy” by a company called Pedrini. The company was founded in Italy in 1942, and continues to make kitchen gadgets and cookware (which are sold in the USA), but apparently they no longer make Passa Pomodoros…what a tomato-grower’s loss!
The Lilo unit is made of sturdy plastic and stainless steel parts and it is incredibly efficient and easy to use. I just halve the Romas or quarter larger tomatoes, toss them into the hopper, and grind away. The puree is collected in one container and the discarded seeds and skins in another.
My Romas yielded wonderfully thick and low-moisture puree which is perfect for making tomato sauces and paste. I spent not a few days transforming the puree into delicious pasta sauce and salsa roja (enchilada sauce), using onions, garlic, peppers and herbs from the garden. Our freezer and pantry (I also canned 12 pints of Romas) are full of goodies to last all winter.
- Author: Sharon L. Rico
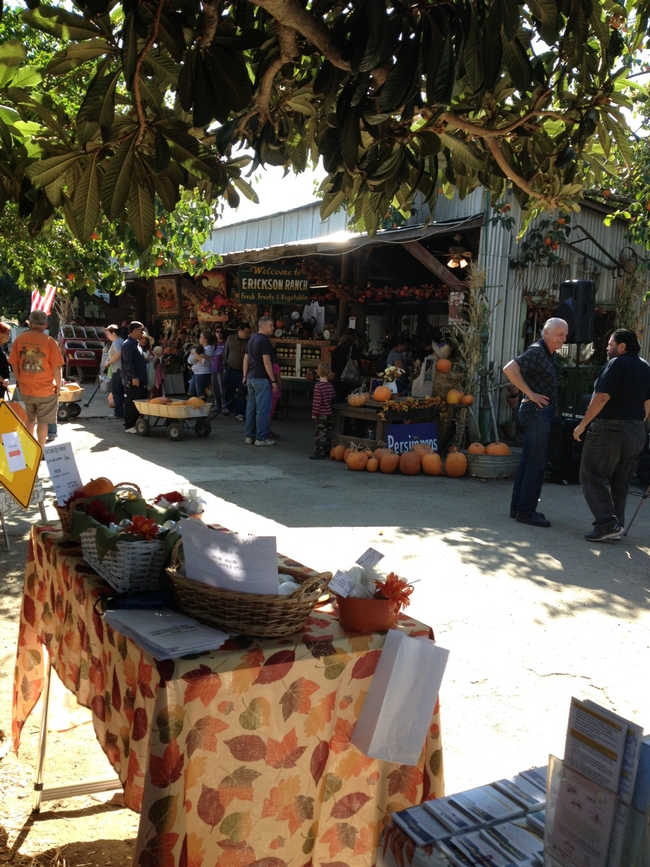
The Master Gardeners have had a presence at the Erickson Ranch and Dahlia Farm for many years. We have gone to “the Ranch” as many as 3 to 5 times each growing season. We provide a support table with pest notes, compost information, copies of ‘Seeds for Thought’, and info related to the theme of the event.
During the August event, the focus was on tomatoes, so we provided handouts about growing tomatoes, the vegetable planting guide by Dr. Robert Norris, and a page of the assorted tomato diseases and pests with photos. We had many clients with questions about their gardens and heard their stories about tomato successes and tomato failures. We answered questions and made suggestions for next year.
In September at the “all About Peppers” event, we provided the same support table but added info on planting peppers. We listened as people asked us how to get rid of white flies, tomato horn worms, and mildew on their plants.
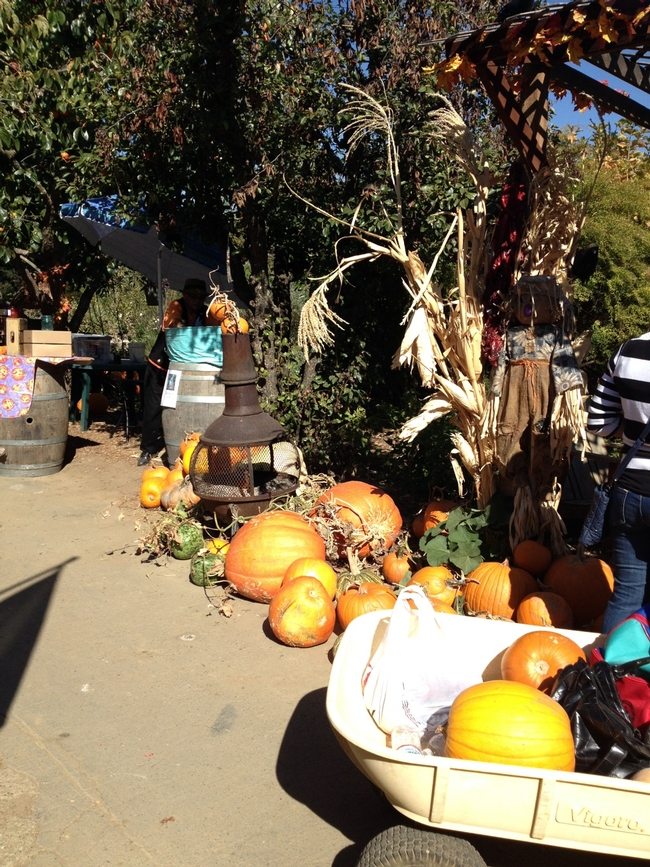
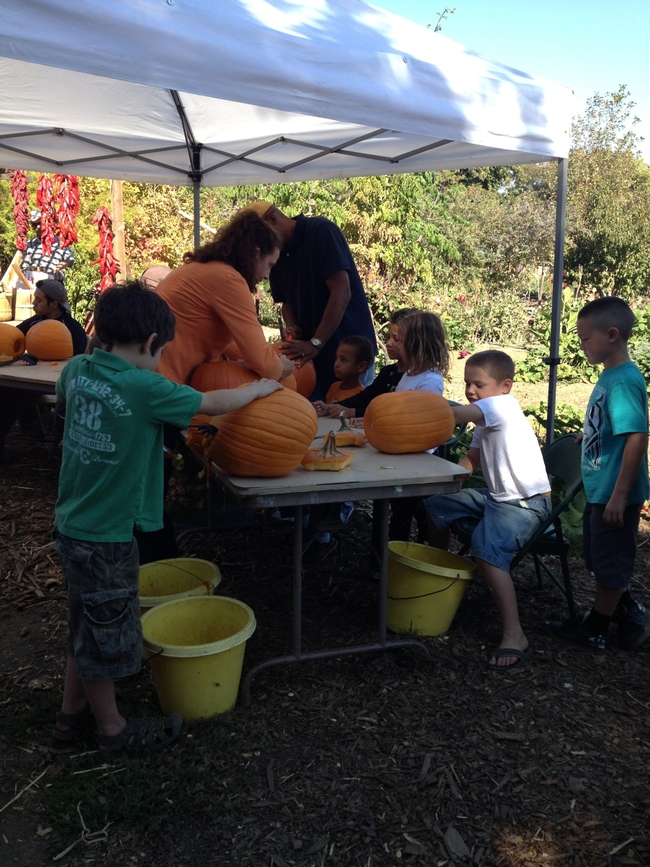
Saturday was the last event for 2013 and the focus was on pumpkins. There were pumpkins to purchase, pumpkins to carve, and wagon rides out to the pumpkin patch. The Master Gardeners had the support table full of the usual information and added Halloween masks for the kids and instructions on how to build your own scarecrow. The families came in groups including grandparents, parents with babies in strollers and young children. The Erickson’s had their produce, flowers and jams for sale. The Charlie Wade Blues Band entertained the crowds. Nick, the BBQ man was cooking across the blacktop from Angelina’s biscotti table. Lucas was selling home grown plants while Cindy was making crafts with kids (headbands with fresh flowers being a favorite). Suisun Wildlife Rescue Center had an assortment of birds and reptiles on display. Under a white tent, children were carving pumpkins letting their creative juices flow. It was an entertainment extravaganza. And the best part of all was the six MG’s who volunteered in two shifts and were able to educate the crowds and enjoy the day! A real win-win!
- Author: Bud Veliquette
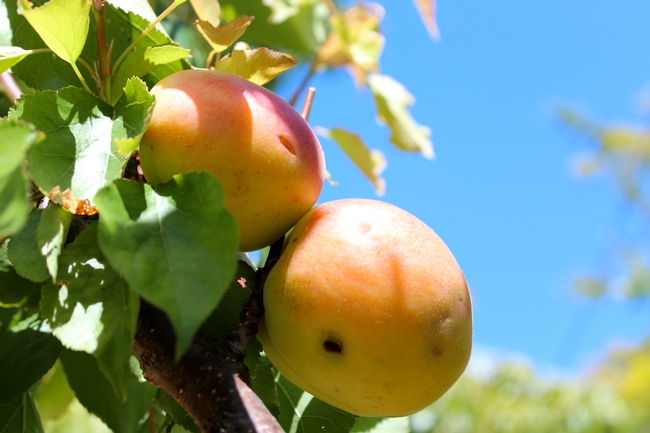
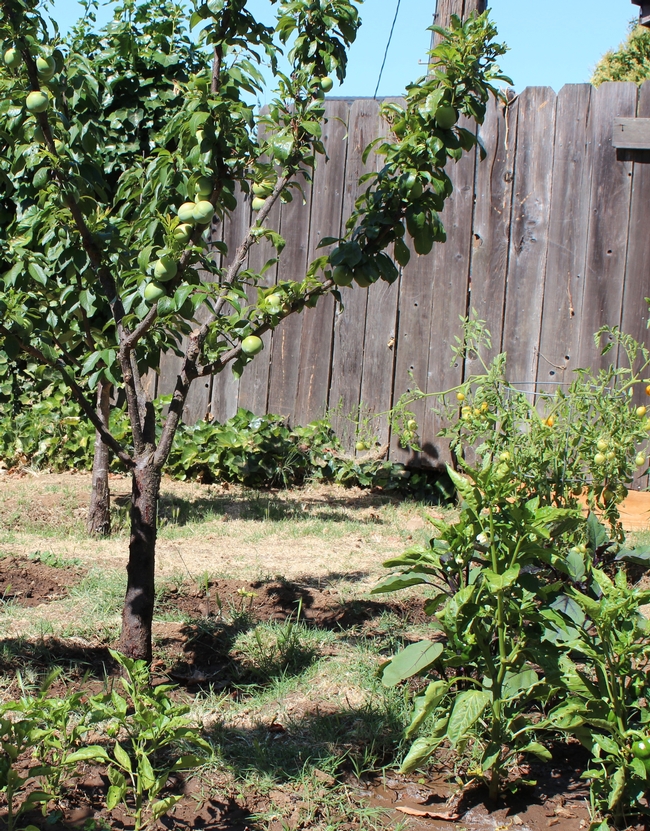
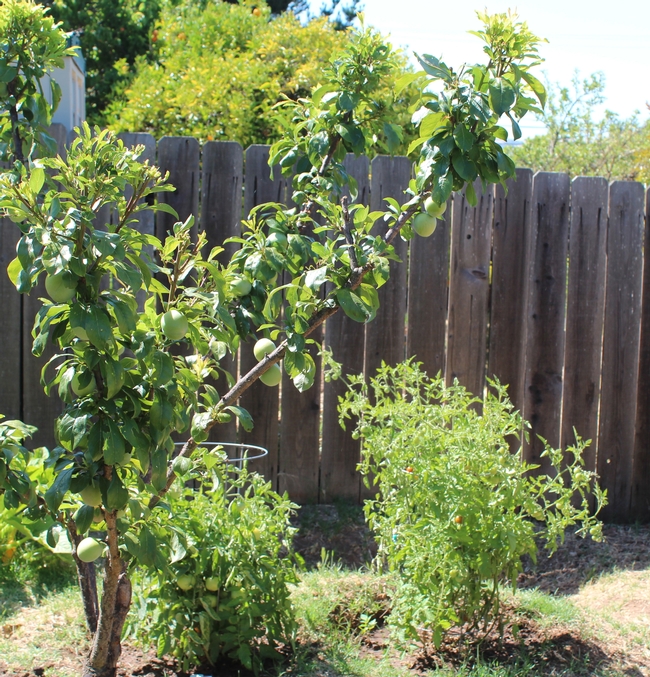
Yes, you can have it all in a relatively small back yard space: Fruit trees and veggies. Our “mini orchard” is on an oblong plot that’s about 25x15’, a sunny plot that came with the house we bought last summer. In that space there are 3 dwarf plums (Prunus spp.), 2 apricots (P. armeniaca), 3 cherry trees (P. avium), 2 peach trees (P. persica), and an apple (Malus domestica), all of unknown varieties. Our fruit trees are about 5 or 6 year old mostly dwarfs (I think), and if not, they got dwarfed anyway by my pruning saw and loppers last December, when I pruned both for shape and fruit production. My rule of thumb with fruit trees is that if it is higher than I can reach, it gets lopped off. This permits easy picking of the fruit and avoids the need for ladders. The pruning and thinning of the foliage, which I do about once per month (see photos) also allows more nutrients to get to the fruit, besides giving those veggies planted in between their 6-8 hours of sun.
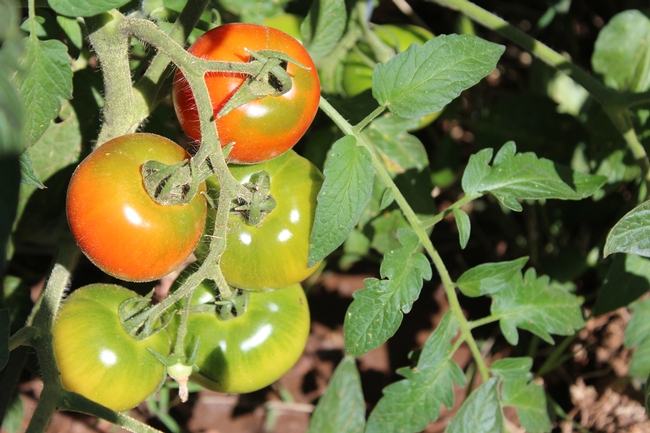
The veggies we have include 6 tomato plants (Solanum lycopersicum) in cages, 2 clumps of squashes (Curcurbita pepo), Japanese eggplant (Solanum melongena), bell peppers (Capsicum annuum), a lemon cucumber (Cucumis sativus), 3 hollyhocks (Alcea setosa), and 2 sunflowers (Helianthus annuus). The tomatoes have been so productive we have to give the surplus to neighbors and friends. The eggplant and peppers have been slower to mature but nonetheless very tasty in stir-fries, especially with added portabella mushrooms (Agaricus bisporus) and fresh chard (Beta vulgaris), the chard grown in one of our raised beds in another location of the yard.
And so, another example of when less (space) is more (more intensively gardened).
UC Davis has a publication called The California Backyard Orchard, which you may find useful for tips on pruning, both in the dormant season in during the spring and summer months. See homeorchard.ucdavis.edu.
- Author: Kathy Thomas-Rico
Back in February, I wrote a blog that was a bit of a love letter to our three hens. Today we planted our tomatoes, so the love story has, sadly, come to a screeching halt.
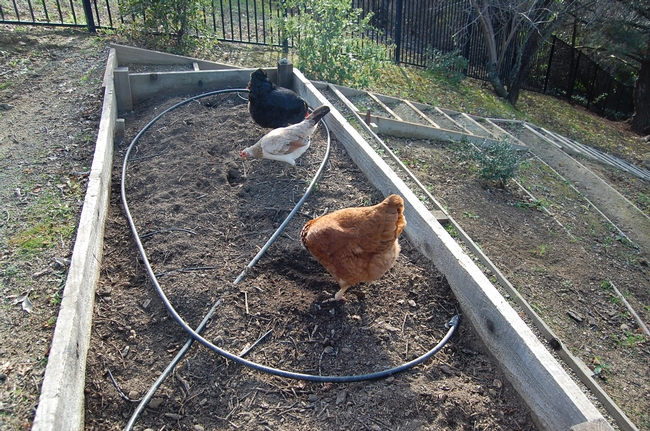
This year’s tomatoes went into one of two raised beds, which have sat fallow for two years. I have always had to create a “dome of protection” with bird netting over the raised beds, as they abut a large open space where coveys of hungry quail lurk. And now we have to worry about our hens raiding the garden boxes, too.
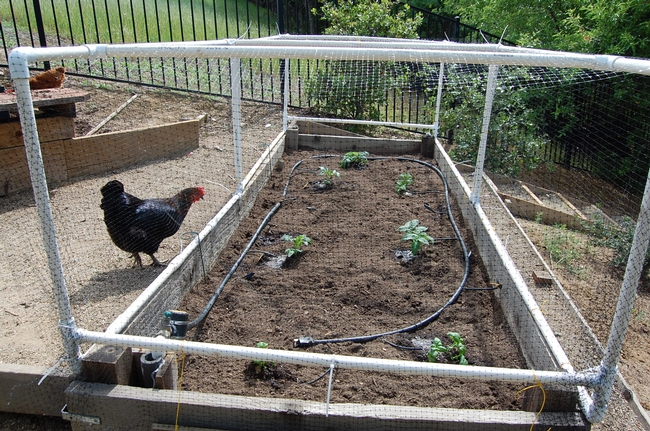
Bird netting is hateful stuff. It catches on everything — branches, leaves, earrings, eyelashes. We wanted to make our lives easier, when it comes to bird netting, by building semi-permanent frames onto which we could wrap netting. I found a thorough online description for building PVC frames, and the construction began.
Our two raised beds are 4 feet by 10 feet. We started out making one rectangular frame to fit over the top of the beds. This was unwieldy to build, and would be too heavy and wobbly to move out of the way for harvesting and such. My husband decided to construct two frames, 4 feet by 5 feet each, and they went together much more easily. The beauty of two frames is they’re light. I can raise one half of the cover to harvest, add mulch or pull weeds. Knowing how tall indeterminate tomatoes can become, we plan to make two more frames that will stand taller. For now, the 3-foot height is fine.
Our hens are a bit miffed. They saw us put in the tomato seedlings this morning, and rushed over to gobble up those sweet new leaves. After much shooing and distracting with fresh, wormy piles of compost thrown their way, my husband and I were able to cover our new plants with our new frames. I’ll keep you posted on how well they work.
- Author: Erin Mahaney
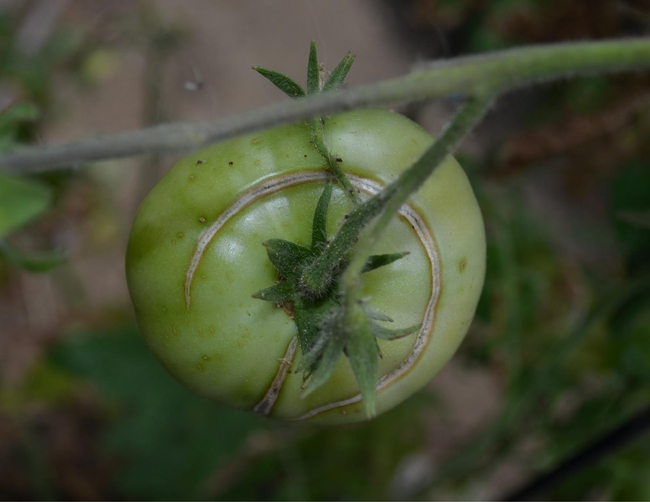
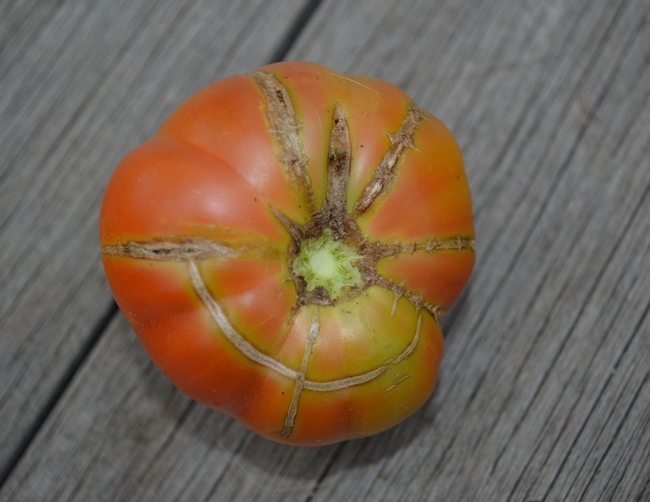
For the past several years, I’ve had problems successfully growing tomatoes bigger than cherry tomatoes. This year was no exception. Whether it was the cool weather or the increasing shade in my maturing yard, my tomatoes would grow and maybe set fruit but the fruit simply wouldn’t ripen. But finally, in September, one variety—Mr. Stripey—showed some promise by turning color. The few I tasted were delicious. Success at last! But then I noticed that each tomato, without fail, had concentric cracks around each stem. Well, this was a disappointing turn of events that I hadn’t seen before.
After a little research, I learned that these cracks, also known as “growth cracks,” are associated with the tomato’s growing conditions. Concentric cracks circle the top of the tomato around the stem while radial cracks extend in a straight line down the side of the tomato from the stem. Both types of cracks are caused when a plant receives too much water after a dry spell, either through excessive watering or after a rainy period. In essence, the plant receives too much water too fast, causing the interior of the tomato to expand too fast for its skin to stretch enough. The skin then cracks to relieve the pressure.
My plants are watered regularly by timed drip irrigation, so I was a little surprised to learn that this system could result in excessive watering (if anything, I’ve been fairly sure that they get under-watered.) But then I learned that some beefsteak-type varieties, like my Mr. Stripey, are prone to cracking. Perhaps that explains it!
Cracked tomatoes are still edible, but are prone to rot or disease setting in quickly. The cracked portion can simply be cut away. In my case, once the cracking appeared, I never was able to beat the rot before picking the tomato.
What can I do to avoid this problem next year? First, try a crack-resistant variety with more elastic skin (e.g., Early Girl, Jet star, Mountain Spring or Mountain Fresh). Second, mulch plants once they are established to help retain soil moisture. Third, pay closer attention to my plants’ irrigation needs, particularly after a hot spell. Although, given my luck with tomatoes lately, I may rethink my summer vegetable garden entirely!
