- Author: Ed Perry
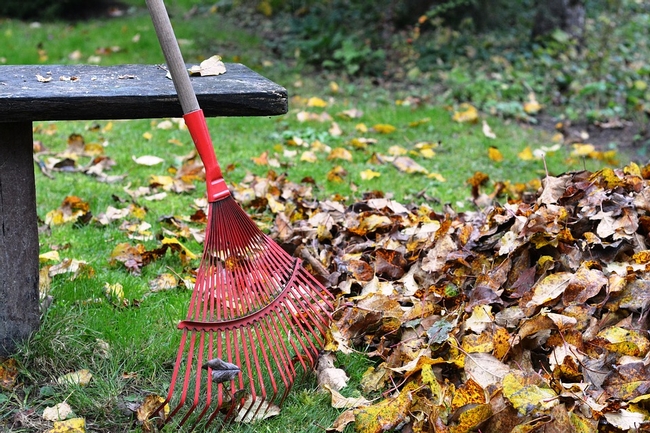
If you're interested in making your own compost, the perfect time to start is in fall. A light covering of leaves on the surface of your lawn can simply be shredded with your lawn mower and left in place. They will decompose rapidly and add valuable nitrogen and organic matter to the soil. Once the leaf layer becomes too thick, you must begin raking them up for your compost pile.
Some gardeners simply pile the leaves in one place and allow the composting process to proceed slowly. However, if you want finished compost quickly, you'll want to use the “rapid” or “hot” composting method. Rapid or hot compost is made by manipulating the decay process, which is done by balancing food, water and air in the compost pile to favor the growth of high temperature microorganisms. A byproduct of their activity is heat.
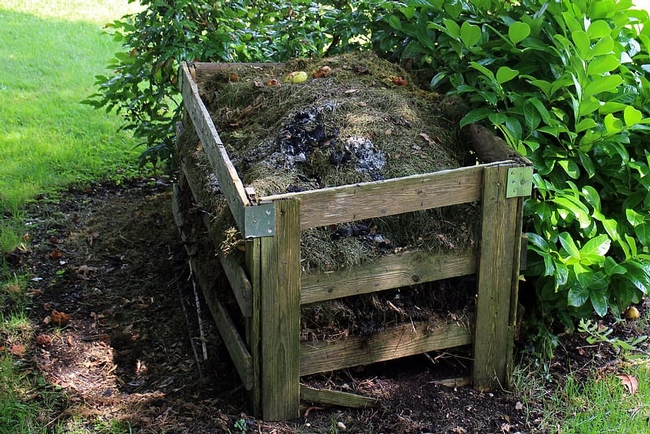
To construct a hot compost pile, you will need a combination of bulking materials and energy materials. Bulking materials, sometimes called “brown materials,” are dry, porous resources such as sawdust, wood chips or straw. They help aerate the compost pile but are too low in moisture and nutrients to decay quickly on their own.
Energy materials, sometimes called “green materials,” include grass clippings, fresh animal manures, fruit and vegetable waste and garden trimmings. These materials provide the nitrogen and carbon compounds needed for fast microbial growth. If piled without bulking materials, energy materials are too wet and dense to allow adequate air into the compost pile. Such materials may emit a rotten egg smell as they decompose.
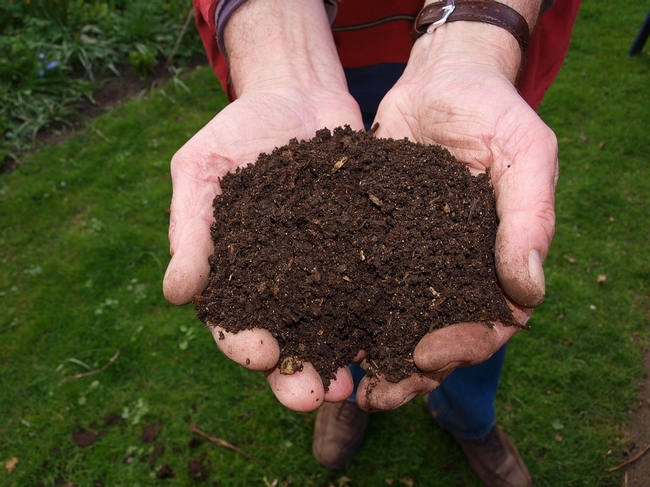
To build a rapid compost pile, combine two parts by volume bulking materials with one part energy materials. Some other hints for a rapid compost pile include:
- Chop your raw materials into small pieces. For best rapid composting, the particles should be from 1/8 to 1/2 inch in diameter.
- Mix the types of raw materials, rather than layering them.
- A large pile holds heat better than a small pile; for rapid composting, make the initial pile at least a cubic yard (36” X 36” X 36”) in volume.
- Keep the pile moist, but not wet.
- Turn the pile once a week to aerate it.
The raw materials that you use in composting have their own microorganisms. There is no need to add starters or soil. If the rapid process is working properly, you can have ready to use compost in as short a time as 3 weeks. Even if it doesn't work that fast, you will still eventually have a valuable compost that you can use to enrich your garden soil.
Still have questions about composting?
Sign up for our Composting Basics class!
When: November 24, 2020 6-7:30 p.m. PST.
Where: on Zoom.
How: http://ucanr.edu/compost/2020 sign up by Nov 24 at 4 p.m. to receive a link sent the morning of the class.
Instructors: Master Gardeners Terry Pellegrini and Heidi Aufdermaur.
And remember, all classes are recorded so you can always watch it again later.
Hope to see you there!
Ed Perry is the emeritus Environmental Horticultural Advisor for University of California Cooperative Extension (UCCE) in Stanislaus County where he worked for over 30 years.
- Author: Terry Pellegrini

Composting is a fabulous way to turn your garden waste into garden gold. By taking your dry waste and combining it with your green waste, you can transform it into a rich, usable material to enhance your soil. You can also use it as a mulch around plant beds to reduce weeds and fill your containers and pots without the cost of store-bought soils.
Not only is composting good for your garden, but it is also good for the environment. By composting your garden (and some kitchen) wastes you are conserving precious landfill space, reducing the need for commercial soil conditioners and fertilizers, as well as adding beneficial microbes and nutrients back into the soil. Compost, either added to the soil or used as a mulch, saves on water usage as well.
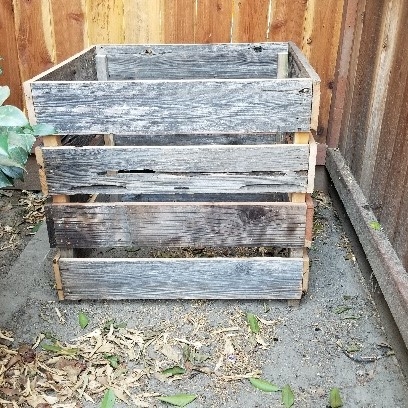
Turn your compost every day or two (for rapid composting), or once per week. Check to make sure it isn't too wet or too dry (it should feel about as moist as a wrung out sponge) and protect it from the weather (a tarp or covering to keep out intense heat or rain) and in no time you'll have rich, usable compost.
Composting is a science but still, things can go wrong. The number one complaint I've heard from friends is, “My compost always turns out stinky and I give up.” Stinky compost is a sign of an imbalance in your pile. A healthy compost pile should smell earthy and not look wet and slimy. Trust me, stinky compost is a real turn-off. I should know – it's happened to me on occasion. Checking your moisture levels, adding in additional brown materials if needed, and making sure to turn your pile will help with this issue.
Don't let composting scare you. It can be a fun and rewarding way to give back to the environment, save money and water, and enhance your landscape. With a little bit of work, a pile of waste becomes the garden gold we all desire. Still have questions about composting?
Sign up for our Composting Basics class!
When: November 24, 2020 6-7:30 p.m. PST.
Where: on Zoom.
How: http://ucanr.edu/compost/2020 sign up by Nov 24 at 4 p.m. to receive a link sent the morning of the class.
Instructors: Master Gardeners Terry Pellegrini and Heidi Aufdermaur.
And remember, all classes are recorded so you can always watch it again later.
Hope to see you there!
- Author: Anne E Schellman
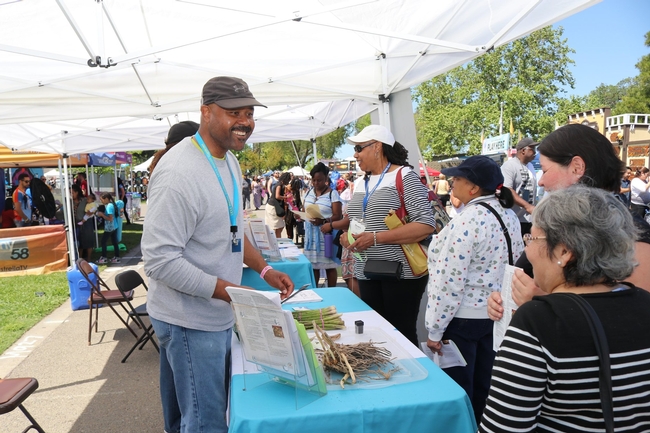
The UCCE Stanislaus County Master Gardener Demonstration Garden and Outdoor Classroom!
What would this look like? We envision an accessible garden everyone can visit and explore.
Garden Days
Each week, volunteers will be available for a few hours so you can stop and ask your gardening questions. Once a month, they will be around on the weekend.
Our demonstration garden will also be a place to hold fun events like tomato tastings, kids' gardening activities, health fairs, and Stanislaus County sponsored events.
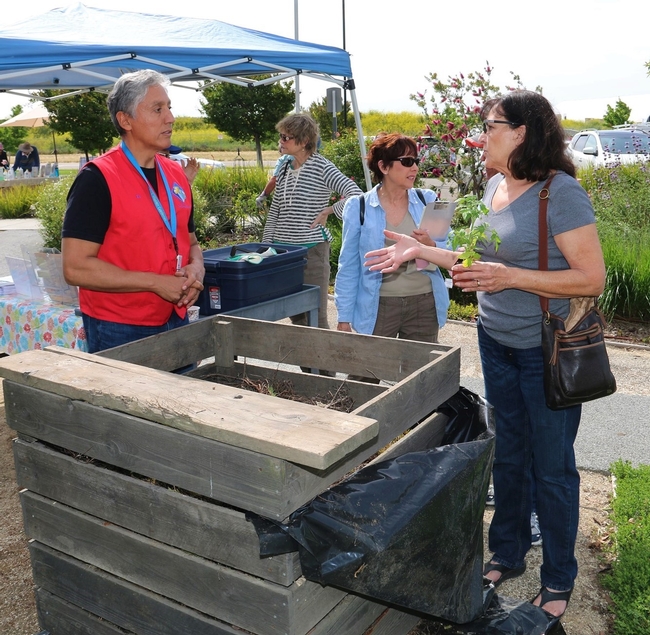
Demonstration Gardens
Imagine meandering paths through colorful and inviting gardens that showcase plants and gardening methods, including a water-wise garden, California native pollinator garden, herb and vegetable garden, fruit orchard, and children's sensory garden.
Outdoor Classroom Amphitheater
Sign up for a class and sit outside and listen to a Master Gardener led class on how to install drip irrigation, prune fruit trees, or compost. Then, “get your hands dirty,” by practicing installing drip irrigation, pruning a fruit tree, or layering a compost pile.
How Can You Help?
Some generous local sponsors have offered to help with in-kind donations of irrigation materials. We need your help in raising funds to help with lawn removal, plants, path material, mulch, and other items. If you know an Eagle Scout or Girl Scout Troupe that needs a project, we are happy to speak to them about benches and gardening art as well!
Donate Now
Please make your gift for #BigDigDay, on June 5, 2020 now to help us get our garden started! 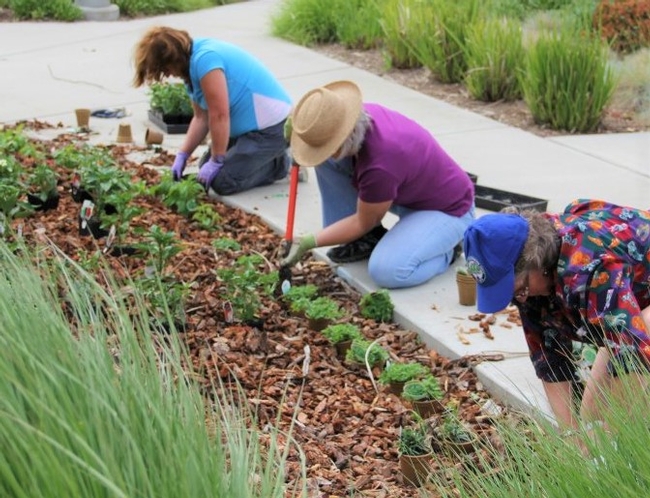
Using the drop-down menu, select “Stanislaus County.” Your donation will go directly to help us fund the garden. Stay tuned for future posts telling you when we break ground and start work!
If you know of an organization willing to donate materials, that's great too! Please contact us at ucmgstanislaus@ucanr.edu
Photos in this post to help us imagine our new garden are from our sister program, the UCCE San Joaquin Master Gardener Program, located in Stockton.
- Author: Marcy Sousa
We hope to see you at our upcoming Vermicomposting Class this Thursday, November 14, 2019 from 6:00-8:00 p.m. Sign up at http://ucanr.edu/worms2019
Meanwhile, please enjoy this post written by the UCCE San Joaquin County Master Gardeners.
---
Organic materials make up approximately two-thirds of the waste stream. While much of this is paper which can be used more efficiently or recycled, a large portion is material like food waste for which few beneficial options outside of composting exist. Fortunately, nature has provided one option that has been receiving increasing attention–vermicomposting.
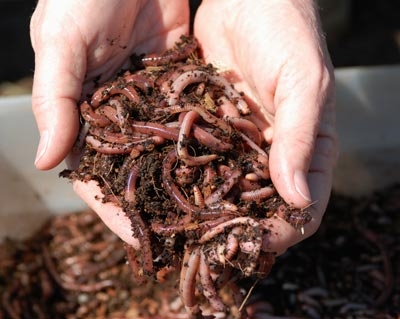
So what, you may ask, is vermicomposting and how does it work? Well, “vermi” is the Latin word for worm, and worms like to feed on slowly decomposing organic materials (e.g., vegetable scraps). Vermicompost, or castings, is worm manure. Worm castings are considered by many in horticulture to be the very best soil amendment available. The nutrient content of castings is dependent on the material fed to the worms–and worms are commonly fed materials with high nutrient content, such as food waste and manures. The biology of the worm's gut facilitates the growth of fungus and bacteria that are beneficial to plant growth. In addition, many chemical compounds are found in castings that are thought to promote plant growth.
The essential components of a home vermicomposting unit are an aerated container, some moist bedding, food scraps, and a few thousand red worms or red wigglers (Eisenia foetida).
The worms: Mary Appelhof, author of “Worms Eat My Garbage” recommends two pounds of worms — about 2,000 wigglers — for every pound per day of food waste. To figure out how much food waste your household generates, monitor it for a week and divide by seven. Note: Some vermiculture experts advise starting out with a smaller amount of worms, which isn't a bad idea if you are relatively new to all of this. Of course, you'll have to reduce the amount of food scraps you put in the bin, until the population increases. One pound of redworms will easily take care of each half-pound of garbage. To add worms to the bin, simply scatter them over the top. The skin on the worm reacts to light and they will immediately work their way down into the bedding to get away from the light.
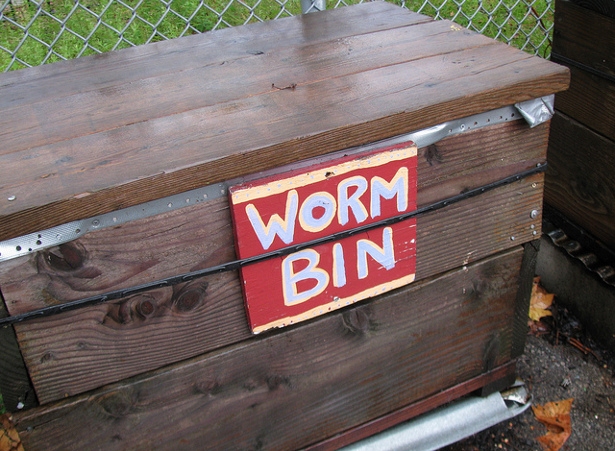
The bin: You can purchase a vermicomposting bin or make your own. Depending on how much food waste your house generates will depend on the size of the bin. The container depth should be between eight and twelve inches. Bins need to be shallow because the worms feed in the top layers of the bedding. A bin that is too deep is not as efficient and could potentially become an odor problem.
When beginning a vermicomposting bin, start by adding moist bedding — things like shredded paper, dead leaves and other materials high in carbon (it's should mimic the worms' natural habitat, in dried leaves on a forest floor) — into the bin, and add the worms to their new home. Bedding is the living medium for the worms but also a food source, so it should be moist (something like a wrung-out sponge) and loose to enable the earthworms to breathe and to facilitate aerobic decomposition. Other common bedding materials can be used including newspaper, sawdust, hay, cardboard, burlap coffee sacks and peat moss.
Most vermicomposters avoid using glossy paper from newspapers and magazines, junk mail and shredded paper from offices, because they may contain toxins, which aren't good for the system. Be wary of cardboard, as it cannot be used if it contains wax or plastic, which takes things like cereal boxes, and other boxes designed to hold food items, off the list.
Ideally a worm compost bin should be located in areas where the temperatures are between 40 to 80˚F. Red worms generally prefer temperatures in the 55 to 77 degree range. Another consideration: worms are like people in that they do not like a lot of noise or vibrations. Keep them away from high traffic areas.
What do they eat? First, and foremost, START SLOWLY. It will take time for bacteria to form and your bin can quickly become very smelly if you add too much food, too fast. Worms will eat a wide variety of organic materials such as paper, manure, fruit and vegetable waste, grains, coffee grounds, and ground yard wastes. While worms will eat meat and dairy products, it is best not to feed these materials or oily foods to worms, due to potential odor and pest problems. Since worms have no teeth, any food they eat must be small enough to swallow, or soft enough for them to bite. Some foods may not be soft enough initially for them to consume, but they quickly degrade so that the worms can consume them. Worms have a gizzard like chickens so fine grit should be added to help the worms digest food. This gritty material includes cornmeal, coffee grounds and/or finely crushed egg shells (dry the shells and then crush). If you notice odors, cut back on the amount of food or try chopping the food up into smaller pieces.
Harvesting the castings: Once your compost bin is up and running, it requires little maintenance until little or no original bedding is visible and the contents of the bin are reduced in bulk and mainly consist of worm compost, which is brown and “earthy” looking. Once your bin has reached that point, it's time to harvest the worm castings and give your worms new bedding. Castings can be harvested anywhere from two and a half months to every six months, depending on how many worms you have and how much food you're giving them.
There are several harvesting methods. For those with the time and patience or little kids, you dump the bin's contents onto a large plastic sheet and then manually separate the worms from the compost. Children usually love helping out with harvesting worm compost. Remember that your helpers as well as yourself should wear gloves. Once all the worm castings are removed, keep aside some of the compost to mix in with the new bedding and then the cycle starts all over again.
A more common way to harvest is to move everything – worms, castings, bedding, food – to one side of the bin. Pick out partially decomposed materials and push to the other side. Place some food on top of the partially decomposed materials. Replace the lid and leave it alone for a couple weeks. During that time, the worms should migrate over to the new food. Once they've gone to the other side, put on a pair of gloves and harvest the castings. Make sure you don't remove any worms in the process. Then give the worms new bedding mixed in with some residual compost.
Vermicomposting can be easy, fun and rewarding once you get started. Here are some fun worm facts:
- Baby worms hatch from cocoons smaller than a grain of rice.
- Lacking lungs or other specialized respiratory organs, earthworms breathe through their skin.
- Earthworms have 5 hearts
- Worms have a gizzard to help digest their food
- Worms do not have eyes, but light sensitive cells in their skin
- Author: Anne E Schellman
Question: Can you name a fun way to compost some of your kitchen scraps?
Answer: Vermicomposting, using worms to eat your "garbage!"
Vermicomposting is the process of keeping red wriggler worms in a “hotel” where they eat food scraps and other organic materials like paper and cardboard. Hotels can be simple or fancy, and the materials needed are easy to put together. This odorless hotel can be kept anywhere inside your house, or outdoors if you prefer.
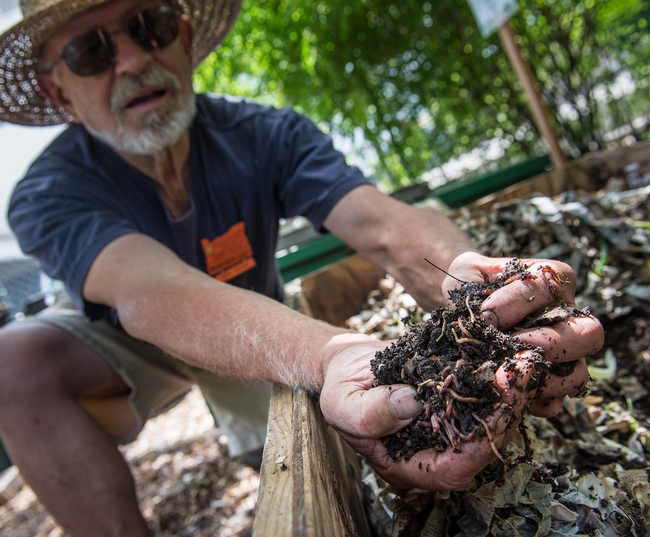
Our local UCCE Stanislaus County Master Gardeners will tell you which foods worms prefer and demonstrate how to create a hotel and feed your worms. You'll go home with information on how to start your own bin.
This class may appeal to the kids in your family, so be sure to bring them along. We hope you will join us for this fun class to learn about this sustainable way of turning waste into compost!
Please sign up for our Thursday, November 14, 2019 class from 6:00-8:00 p.m. at: https://ucanr.edu/sites/stancountymg/Classes/

