- Author: Denise Godbout-Avant
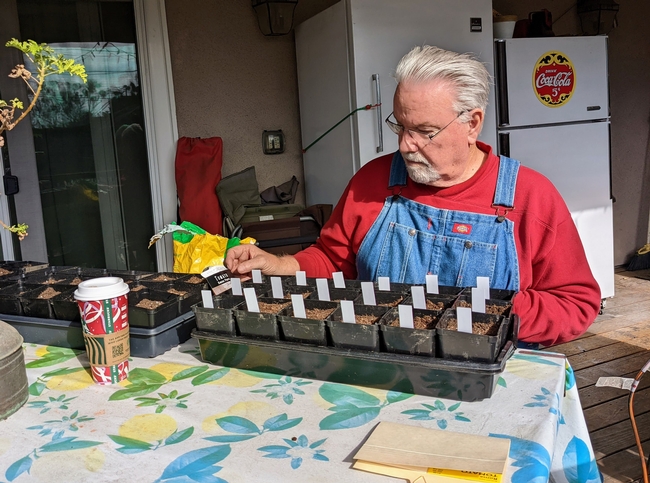
Pepper seedlings take anywhere from one to six weeks to germinate, depending on the variety. When the weather and soil are warm enough, if you want to have pepper plants ready plant in your garden, now is the time to start the seeds.
This is part one of a two-part series. This article focuses on growing and caring for your pepper seeds. The second article will cover potting the seedlings, “hardening-off,” and transplanting them into your garden.
What Is Needed
- 6-pack seedling tray(s) with a clear lid (humidity dome)
- Good quality seed-starting soil
- Seeds
- Water
- Heat mat (optional, but very helpful)
- Grow lights and timer
- Liquid plant starter fertilizer
- Oscillating fan (helpful, but not required)
- Latex gloves (if planting hot peppers, but not needed with dry seeds)
Beginning Steps: Planting the Seeds
- Fill clean seed trays with damp seed starting soil.
- If using new seeds, plant one/cell; if older or have low viability rate, plant 2-3 seeds/cell. Follow instructions on the seed packet, but the rule of thumb is planting depth is twice as deep as the seed is wide. For pepper seeds, this would be about ¼ inch deep. Cover the seeds with soil.
- If the soil is not already wet, add water. It is best to always water from the bottom so not to disturb the seed. Add enough water into tray until it is about ¼ inch. Do not overwater! Dump out any excess water that has not been absorbed in 15 minutes. Peppers dislike soggy roots, so let the soil dry out a bit between watering.
- Cover the tray with the clear dome lid to help keep the soil warm and moist.
- Place the tray in a warm spot. It is recommended to put it on top of a heat mat, which provides a consistent heat source and helps speed up germination. The ideal temperature is 80-90°F. If it is too cold the seeds may not grow.
- Once the seedlings sprout, remove the dome cover and turn off heat mat.
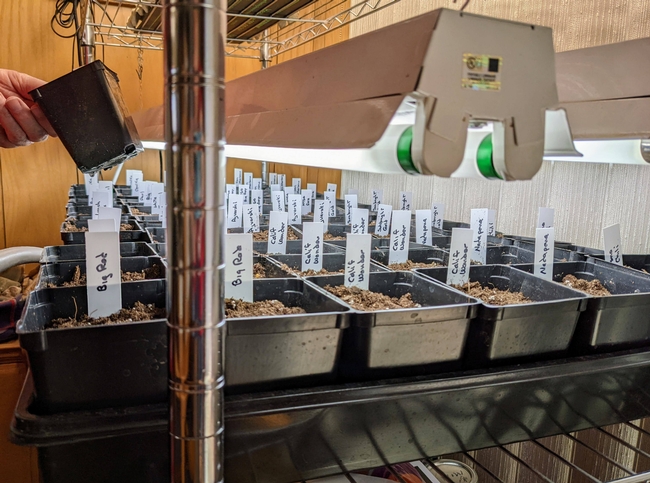
Pepper Seedlings Care: Light, Fertilizer and Air Circulation
- The seedlings need to be watered consistently, but do not like wet soil. Always water from the bottom. Allow the soil to dry out a bit between waterings, but keep it moist, never letting it dry out completely.
- Provide light as soon as they germinate! If pepper seedlings do not get enough light, they will get “leggy” because they are reaching for a light source. To keep them thick and compact, it is best to use a grow light, which is hung up a few inches above the tray and keep it on for 14-16 hours per day. The light should be close to the plants, but not touching. As they grow, move the light higher.
- Once the true leaves begin to form, it is time to start fertilizing using a liquid plant starter fertilizer. Following label directions, start with a weak dose at first, gradually increasing as the seedlings get larger.
- Once most or all the seeds in a flat have germinated, they need to have some airflow, so remove the plastic lids and run an oscillating fan over them on the lowest setting for a few hours each day (you can plug it into the same timer being used for the grow light). An alternative to the fan is to gently brush your hands over the top of the seedlings a few times each day. This will strengthen them and prevent mold in the trays.
Some pepper varieties grow faster than others, but in one to six weeks, your pepper plants will have started to outgrow the trays. Now will be the time for the next steps of transplanting to pots, “hardening” them (a vital step!), and finally, planting into your garden. This will be covered in the second part of this article, which will be posted towards the end of February.
With thanks to Tim Long, UC Master Gardener, for his expertise on growing peppers from seedlings.
Author: Denise Godbout-Avant, UC Master Gardener since 2020
- Author: Anne Schellman
- Editor: Roger A Duncan
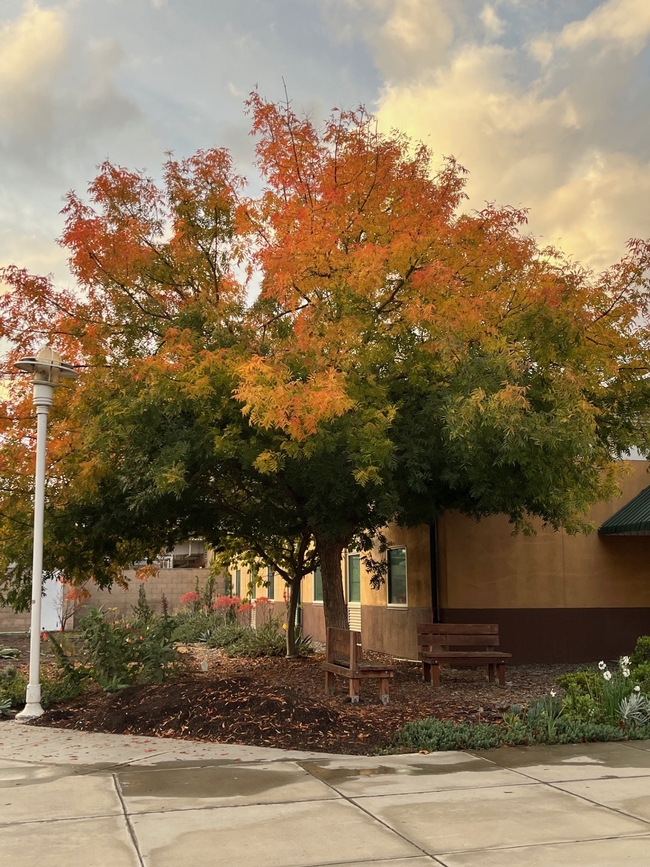
Want fall color in your landscape next year?
Read about the trees you've noticed around town that are currently “popping” with color. And, if you plant a tree now (or in early spring), you can have fall color in your landscape next year! Here are some excellent tree species to choose from that thrive in our area (USDA Zone 9b):
Chinese Pistache – Pistachia chinensis
The Chinese pistache is Ed Perry's favorite tree. Ed was the Environmental Horticulture Advisor for over 35 years at UC Cooperative Extension in Stanislaus County. He chose this tree not only for its fall color, but because it produces good shade and has “well-behaved” roots. Opt for the male cultivar ‘Keith Davey.' Female cultivars have colorful berries which although pretty, are considered messy and not suitable for over a patio.
Height: 30-50'
Light needs: Plant in full sun.
Water needs: Moderate. Does well in lawns.
Note: You can't go wrong with this tree! Also, it is not closely related to the nut bearing pistachio tree.
Maple Trees – Acer rubrum
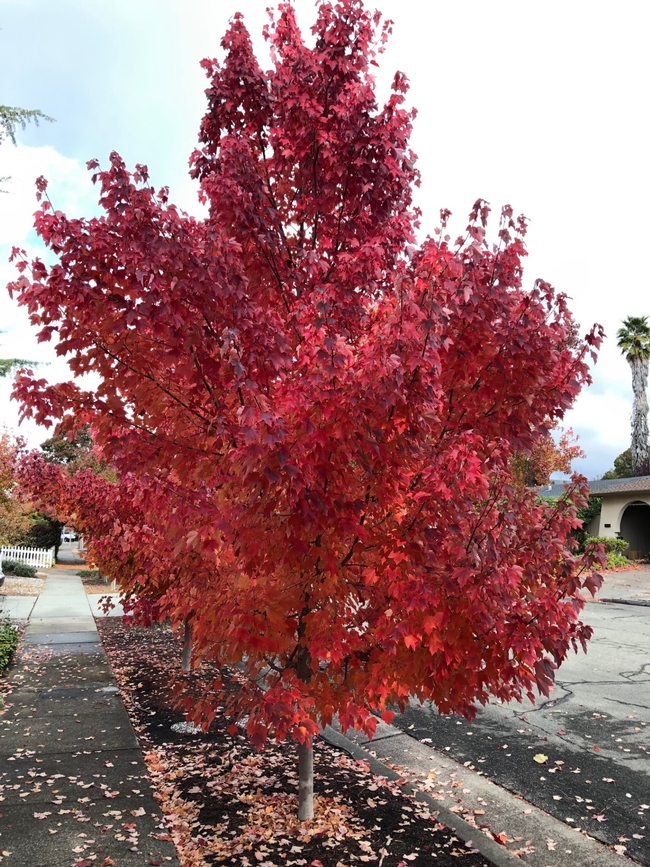
Light needs: Plant in full sun or partial shade.
Height: 40-50'
Water needs: Regular water. Does well in lawns, but water separately from the lawn.
Note: Sprinkler water will not be enough for this tree.
Bradford Flowering Pear – Prunus calleryana ‘Bradford'
This flowering pear has cheerful white blooms in spring and produce fall color during cool winters. Their roots are well-behaved so they can be planted near sidewalk. Please note, many cultivars of flowering pear have problems such as mistletoe and fireblight. Make sure you choose a Bradford pear. After bloom, this tree does drop small fruits that are messy.
Height: 40-50'
Light needs: Plant in full sun.
Water needs: Moderate. Does well in lawns.
Note: although bred to be fruitless, the Bradford pear cross pollinates with other pears which is why it produces inedible “fruit.”
Japanese Maple Trees – Acer palmatum
Light needs: Plant in partial shade, some species (‘Emperor One') are adapted to full sun.
Height: 6-20', varies. Do some research before choosing your tree.
Water needs: Regular water.
Note: This tree can give year-round interest!
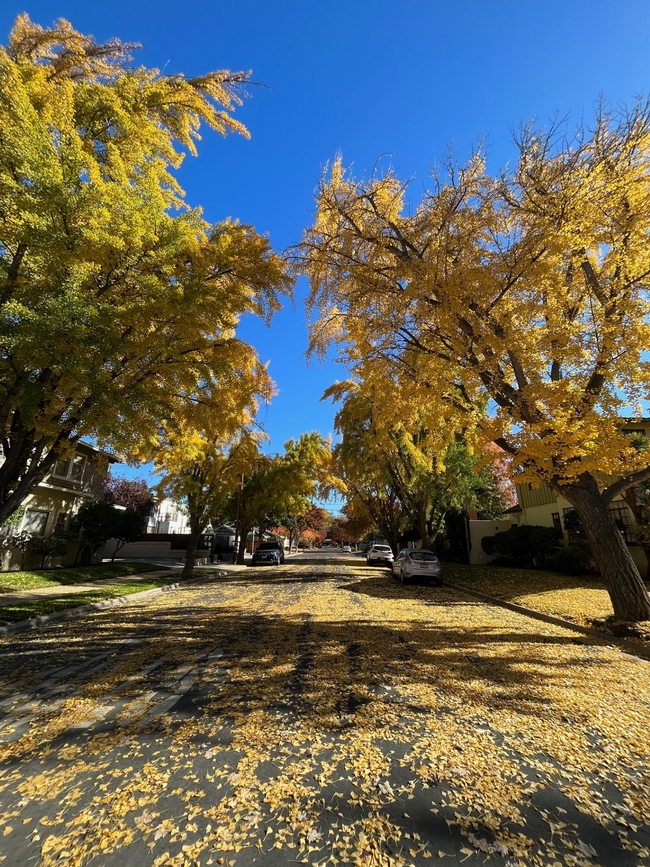
Ginkgo – Ginkgo biloba
This ancient tree existed long before dinosaurs roamed the earth. In fact, fossils of gingko leaves have been discovered from the Jurassic period! Ginkgo trees leaves turn a beautiful golden color in fall. Choose a male cultivar such as ‘Saratoga' or ‘Autumn Gold.' Female cultivars produce fruit that some people consider unpleasant.
Light needs: Plant in full sun.
Height: 30-50.'
Water needs: Moderate water; can tolerate drought but won't look healthy.
Note: Excellent street or patio tree, also does well in a lawn.
Liquidambar – Liquidambar styraciflua
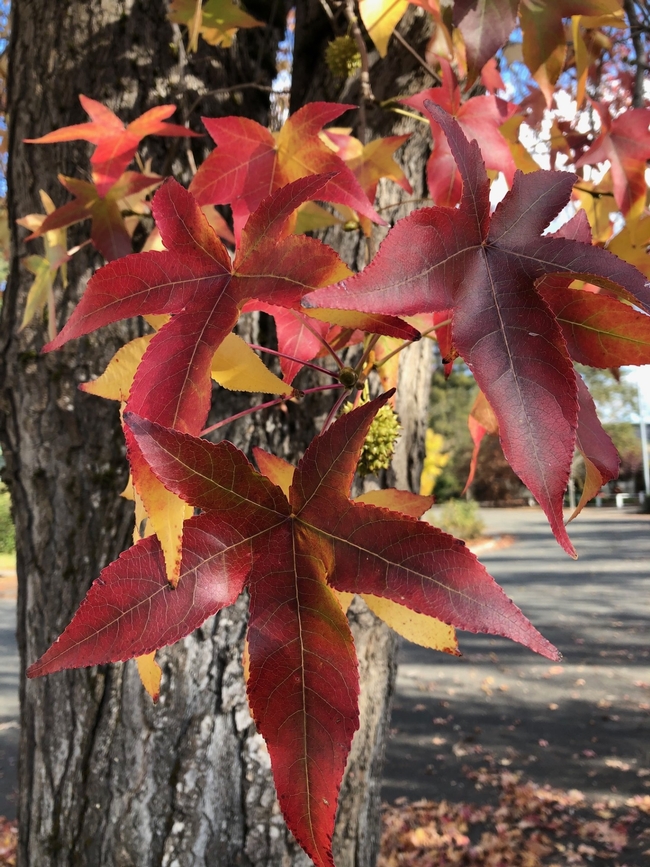
Light needs: Plant in full sun.
Height: 50-60.'
Water needs: Regular water.
Note: Surface roots can crack sidewalks and come up in lawns.
Tree Notes – Choosing a Tree
When choosing a tree, look for one with leaves growing along the entire stem. Avoid trees that resemble a mature tree (with a long stem and a heavy top). The leaves are necessary to help the tree develop a strong trunk.
Tree Notes – Planting
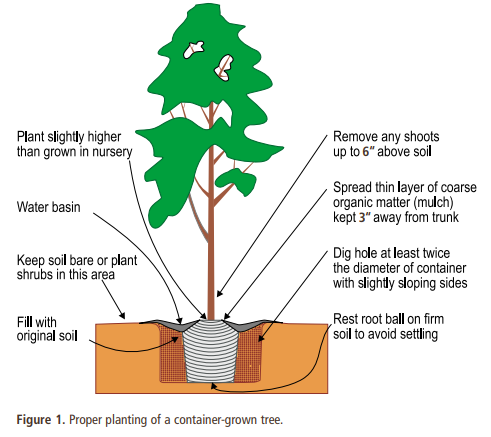
Planting a tree correctly is essential to having a healthy tree. Follow these steps:
Step 1: Remove the tree stake.
Step 2: Dig a hole twice as wide but the same depth as the container.
Step 3: After removing the “root ball” (area of soil and roots) from the container, set it in the hole.
Step 4: Make sure the top of the root ball is lined up with the surrounding soil or a little higher.
Step 5: Fill in around the root ball with removed soil, do not cover over the root ball with soil. Make sure the root ball is still showing and is level with the ground.
Step 6: Create a basin around the base of the tree and water well.
Tree Notes – Staking
If you remove the stake from your new tree and it falls over, return the tree. Healthy trees should not fall over and do not need to be staked. In fact, a tree that can't stand upright that grows into a mature tree is likely to become a landscape hazard** in the future.
Allowing your new tree to sway with the wind helps it develop a strong trunk and root system. The only time it is recommended to stake trees is in areas with heavy wind. In this case, two stakes should be used, and then removed after one year. Learn more about tree staking in the Planting Landscape Trees publication below.
Tree Notes – Water
All newly planted trees need regular water for the first 2-5 years after planting. Regular water means keeping the soil moist but not too wet or allowing it to dry out. Once their roots are established, trees need deep water once or twice per month during the dry season (May-October), depending on temperature, tree species, soil type, and other factors.
Resources
Stanislaus County Tree Guide
Looking for more tree recommendations? Visit our publications page and scroll to the bottom of the page to click on our “Trees in Your Home Garden” publication at https://cestanislaus.ucanr.edu/Gardening_Publications/
Planting Landscape Trees
https://anrcatalog.ucanr.edu/pdf/8046.pdf
*University research has shown that adding amendments such as compost and fertilizer to planting holes does not help trees; in fact, it can cause problem. Read more at https://ucanr.edu/blogs/blogcore/postdetail.cfm?postnum=46215
**worried you may have a hazardous tree in your landscape? Download this free guide for tips on how to inspect it. https://anrcatalog.ucanr.edu/pdf/8365.pdf
- Author: Anne Schellman
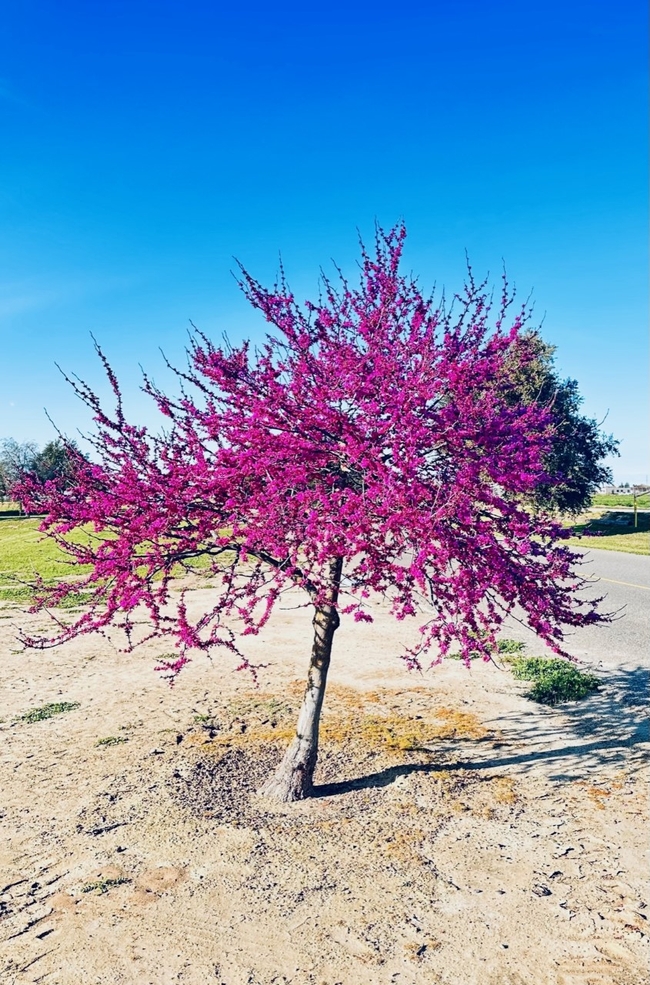
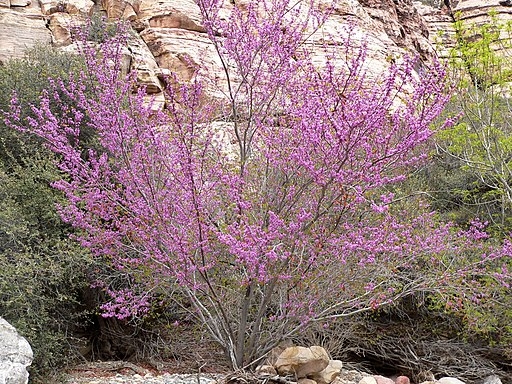
The trees around the Ag Center are Oklahoma Redbud trees (Cercis canadensis ‘Oklahoma'). This tree has a “cousin” that is a CA native, called the Western redbud, (Cercis occidentalis) which you may have noticed is blooming in the foothills.
Redbud trees may be single stemmed or multi-trunked trees. Both grow quickly and have heart-shaped leaves that turn golden in fall. They make an excellent street or patio tree since their roots do not disturb the sidewalk.
Both trees need regular water for the first few years until they are established. Once established, the Oklahoma redbud tree needs moderate to regular water, while the Western redbud tree needs less.
Thinking about planting a redbud tree? Spring is a great time! For tips on how to plant a tree, see our post, Planting and Pruning Ornamental Trees at https://ucanr.edu/blogs/blogcore/postdetail.cfm?postnum=30091
- Author: Ed Perry
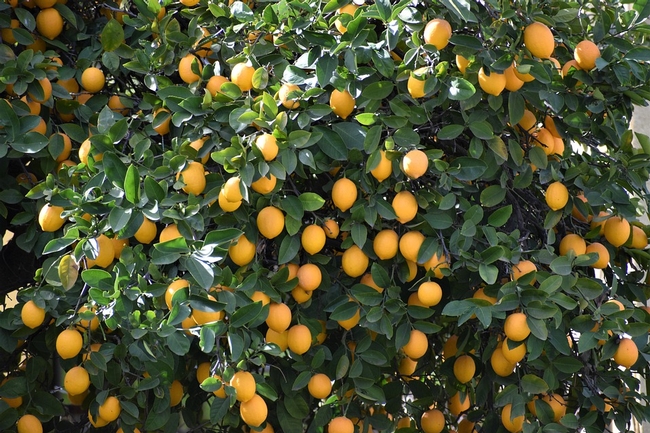
Citrus trees grow best in loam or sandy loam soil, but you can grow them in most soils that have good drainage. If your soil drains poorly, you might try planting in a raised bed or on a mound. Plant your trees in an area that receives full sun, and allow enough room for the tree's mature size. I don't recommend planting in a lawn area because it's difficult to irrigate both the citrus and the lawn correctly. Also, the grass tends to absorb many of the nutrients needed by the tree.
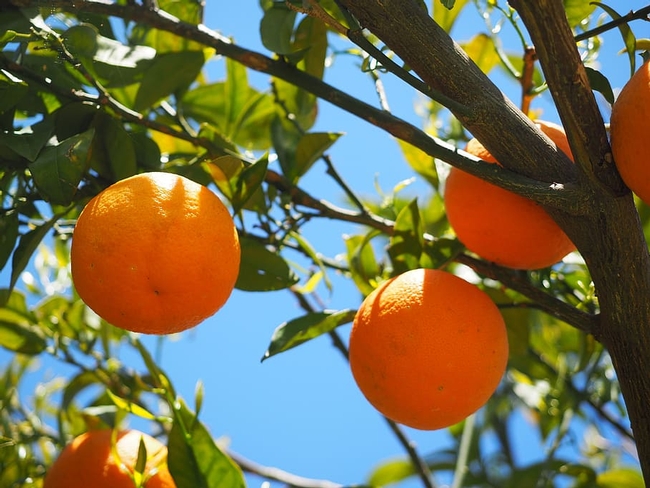
Dig the planting hole just deep enough to plant the tree at the same level that it was in the nursery. The diameter of the hole should be about 6 inches larger than the root ball. If the hole is too deep, the tree will settle too much after planting. Trees that settle too deep are likely to be killed by crown rot, a fungus disease that frequently develops where the soil covers the bark of the tree.
You can place balled and burlap-wrapped trees in the planting holes without removing the cloth sacking that covers the roots. Plant them a little higher than they were in the nursery, allowing about 3 inches for settling. Try to have the uppermost roots branch out at about ground level after the trees have settled.
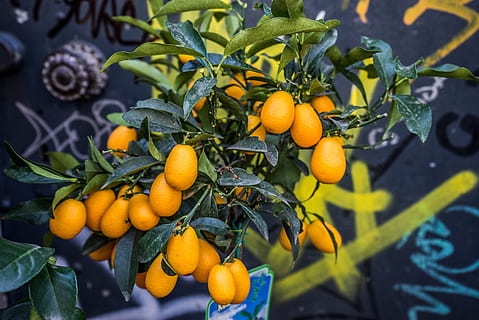
Do not put any fertilizer in the hole when planting your tree because it may damage the roots. It's safer to apply fertilizer to the surface of the soil after you've planted. If you use manure, use it lightly because roots may be damaged by salts which manures contain.
Citrus trees do very poorly in dry soil, so be sure to pay close attention to irrigation, especially during the first summer.
Ed Perry is the emeritus Environmental Horticultural Advisor for University of California Cooperative Extension (UCCE) in Stanislaus County where he worked for over 30 years.
- Author: Terry Pellegrini

Planning your garden now, I feel, will save you headaches and money, come spring. By taking the time to understand how much space you have (or don't have), whether or not you wish to plant directly in ground or containers, or a combination thereof, and what types of plants grow best in your area, you'll only purchase what you need. In addition, you can decide whether or not you wish to devote the time to starting your seeds indoors or in a greenhouse, plant the seeds directly in the garden beds, or if transplants are the way you wish to go.

If you are thinking of planting spring veggies, take under consideration what you and your family will actually eat. If the kids detest string beans, then planting a huge area full of them is probably not a good use of the space, your time, or money. However, if zucchini is something you eat frequently, then two mounds may serve you better than one.
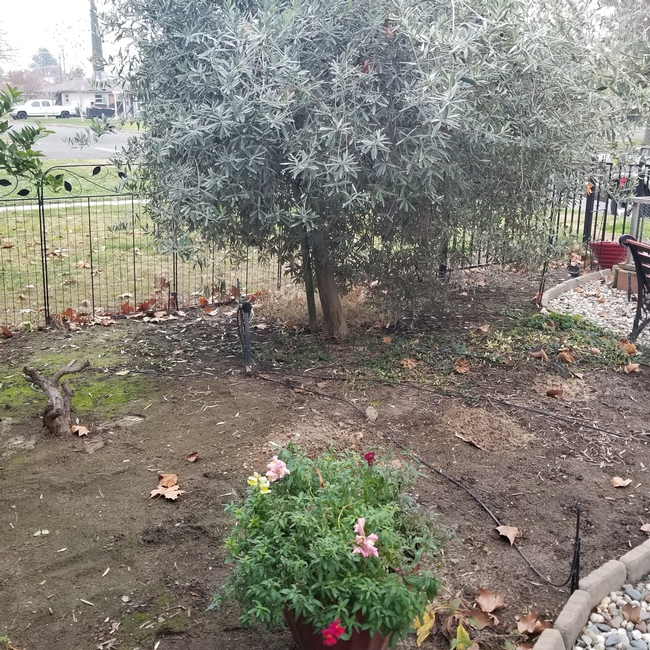
Now is also a good time to get control of any weeds in your proposed planting areas. Removing any weeds now, before the weather gets warmer and they decide to seed, means less work for you come spring and summer. I like to get down, move the soil with a trowel, and pull out any stray roots or seeds that I see. You may even find grubs and larvae of Hoplia beetles that you can remove, saving your precious roses and flowers this spring.
Many of us reuse our favorite pots and containers year after year. As such, these pots will need some TLC and prep as well. All the old soil will need to be removed and the pot cleaned with a solution of one-part bleach to nine parts water. Submerge in solution and soak for at least 10 minutes. This sterilizes them, removing any insects or diseases from the previous plant in the pot.
Planning and prepping your garden now for your spring planting will give you that head start to a successful, satisfying, and fun gardening adventure. So, get out your seed catalogs, notebook, and take a walk in your yard or garden space, and imagine all the possibilities. Happy Gardening!

