- Author: Karen Metz
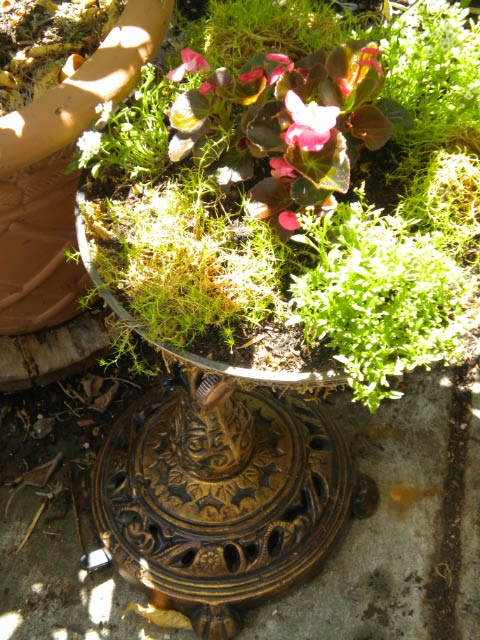
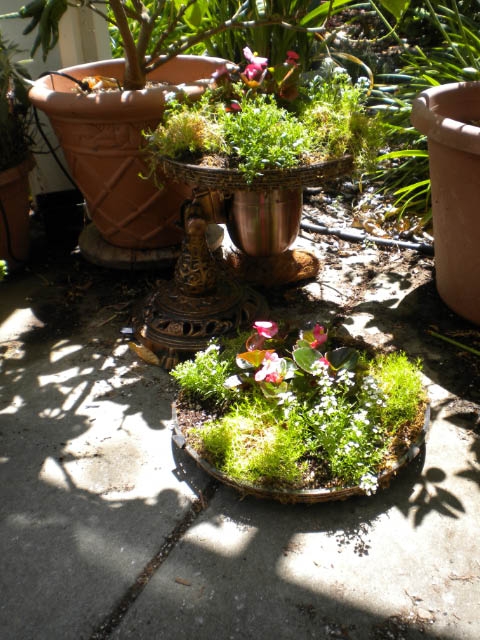
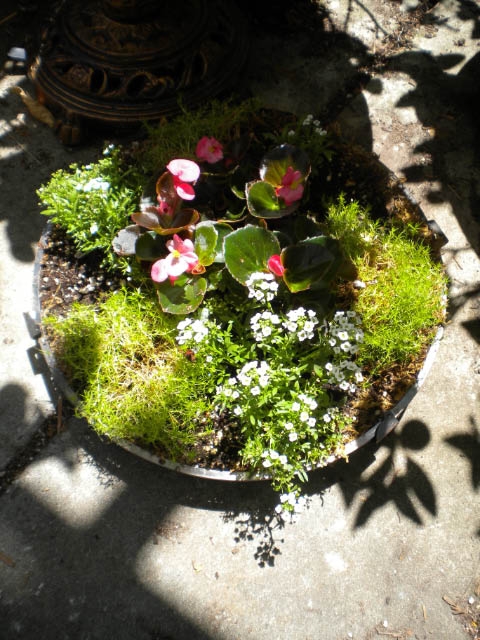
I have been inspired by all the clever containers I have seen other Master Gardeners use to plant in. So when our decorative table fan bit the dust, I was loathe to toss it. I liked the color and the faux carving on the base. My husband kindly snapped it so the fan portion would lie flat. He removed the heavy motor and snipped the electrical cord.I took the fan cage apart and removed the fan blades. I layered moss in both sides of the fan cage then put in the soil and started planting. The planting space was quite shallow so I tried to choose small plants. I found some small begonias for the center then surrounded them with alyssum and scotch moss, Sagina subulata. They are doing well so far on my back patio which is protected with shade cloth.
- Author: Jennifer Baumbach
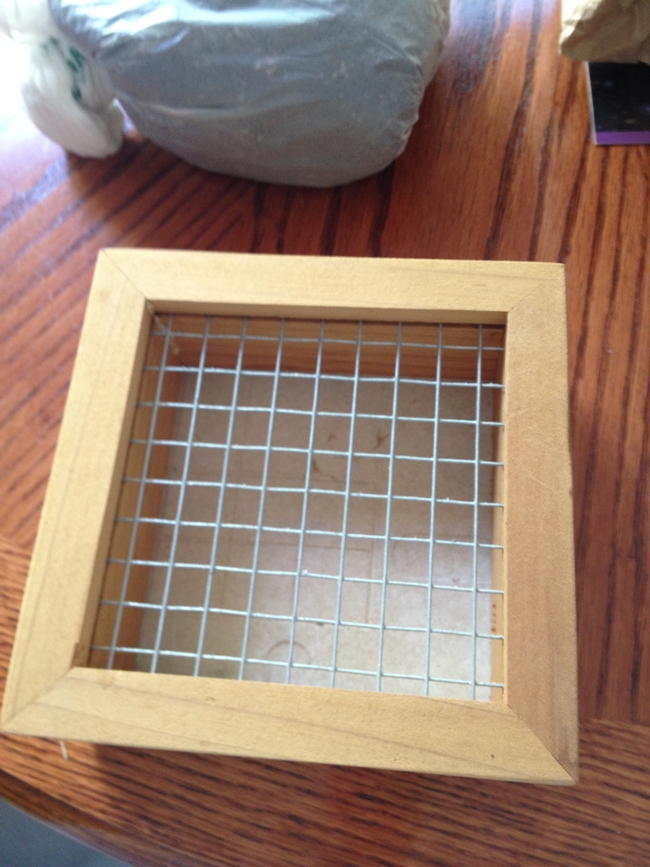
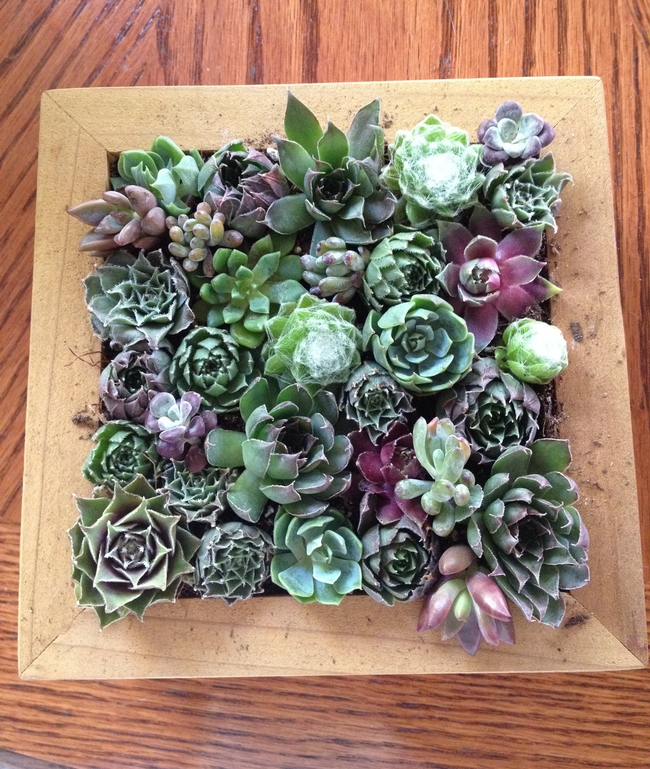
Gardeners are always finding new ways to spice up the garden. After visiting the San Francisco Garden Show, held in San Mateo, I saw a lot of new ideas about how to reuse materials in the garden. Succulents seemed to play a big part of the reuse. At the Sunset venue, I saw this great table made from a recycled wooden pallet. It had this trough in the middle of the table that was planted with succulents. Très chic! Of course there is the ever-popular Succulent Gardens booth with their colorful varieties of succulents. If you visit this booth, you have to sharpen your elbows and dive in. Many of the people are fanatics about getting just the right succulent for their home. Among the other booths, I saw the use of succulents in grapevine wreaths, but what caught my eye was this cute 6”x6” redwood frame of succulents. I am sure many of you have seen the walls of succulents, and if you haven’t, they are something to behold. But this small frame really appealed to me, so I thought I would purchase the kit and try it making it at home. I purchased mine from Succulent Gardens http://sgplants.com/ . They have several sizes of frames to choose from. The kit came in the mail with the frame, consisting of recycled old growth redwood, a landscape fabric mesh, and a concrete board backing. Other items in the kit were the cactus/succulent mix, and of course, the succulents. On their website, they have a video of how to plant the frame with the soil and succulents. It’s worth a look.
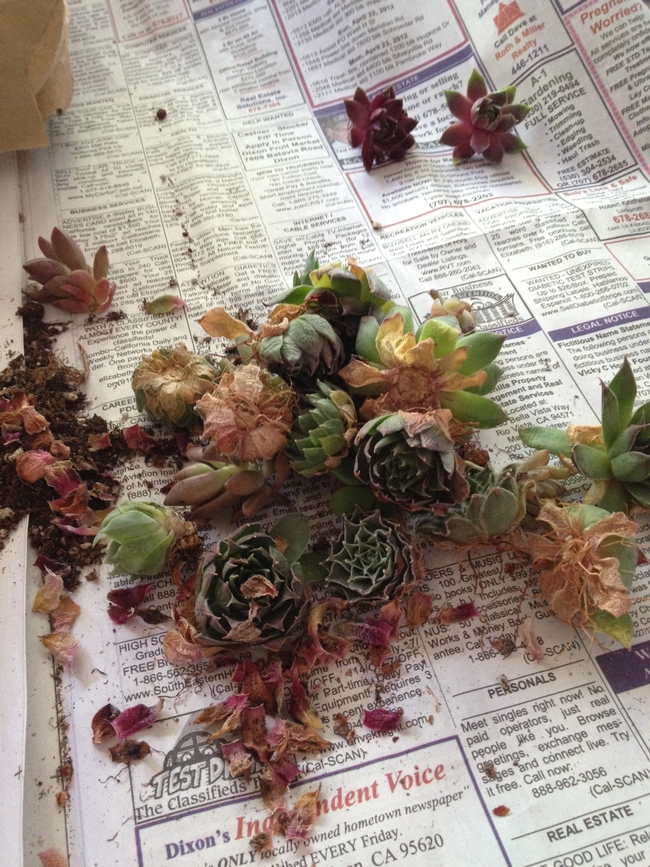
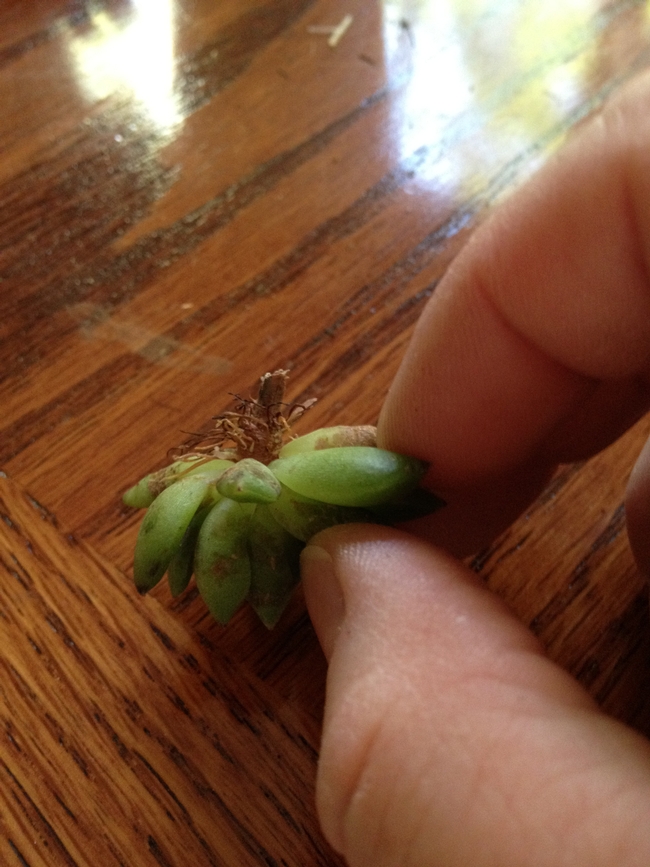
I worked on my frame yesterday afternoon. I sat at the kitchen table and separated out the succulents by type. I then cleaned off the old leaves from each of the succulents. I then put the soil into the frame and packed it in. Once that was finished, I carefully placed the succulents onto the face of the frame. I also incorporated a few succulents I had at home just to make it more interesting. Since none of the succulents have roots at this point, I could arrange and rearrange the plants to my liking. What is going to be hard is the long wait until the succulents’ root-that will take about 6-12 weeks. After that, I can water the frame and hang it up. I will keep you posted on the frames progress.
- Author: Esther E Blanco
Gardening can provide exercise and reduce stress. Gardens make your surroundings more beautiful and serene, and vegetable and fruit gardens can provide healthy food for you and your family. The downside to gardening is that it can be expensive and toxic to you and the environment. However, with a little awareness and better choices, you can reduce the use of toxic chemicals, have a greener garden, and even reduce costs by recycling every day items. Here are a few tips for going green:
- Reduce use of harsh or toxic chemicals. Look for natural or less toxic methods to enrich the soils and controls garden predators. Healthy plants are naturally more resistant to diseases.
- Consider your gardening spaces with conservation in mind. Choose an overall design that conserves water and works well with the existing landscape and weather zone.
- Figure out the microclimates in your yard by season. Where does the sun hit during the summer/winter? Where are the shady spots? Which way does the winds blow and when? What other exiting factors may affect your garden such as, a pool, pond, or shade from large trees or buildings. These factors can make a huge difference on the survival of certain plants.
- Water-wise Gardening. Select native and drought tolerant and pest resistant plants whenever possible. Check out www.solanosaveswater.org for a list of local plants as well as turf replacement rebates.
- Compost yard waste. Contact your local Master Gardener’s for home composting information. If you can’t create compost pile your yard, then put all your green waste in your green cart. Most cities require that green waste be turned into compost and diverted from landfill. Several local landfills also provide free mulch to residents. Check with your local garbage company or landfill to see if they are providing this service.
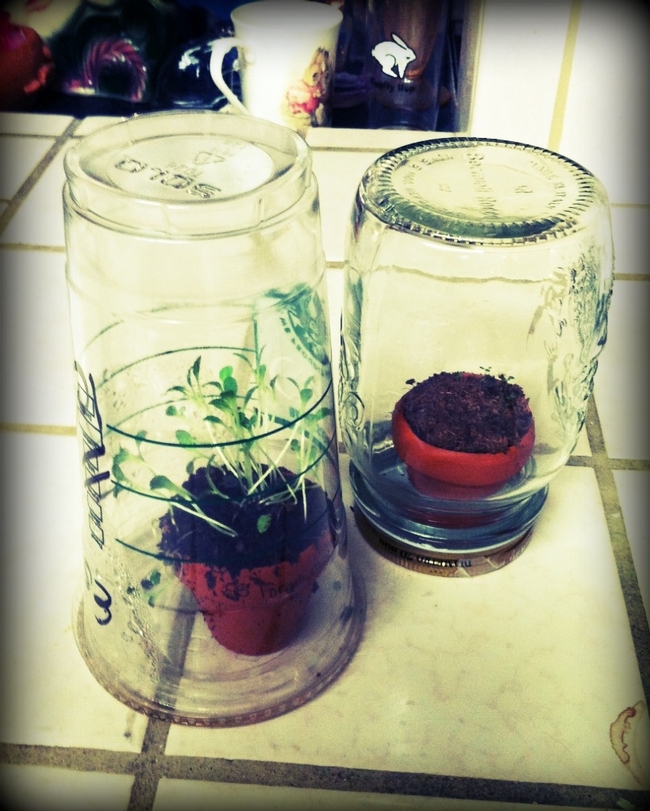
- Reuse or Recycle. So many items can be reused for the gardening. Try using egg cartons to start seedlings or 2 liter bottles, with the bottoms cut off, to cover seedlings – miniature green houses, complete with ventilation. You just remove the screw cap if it starts to get too warm. Reuse plastic “to go” cups or jars for mini- window green houses.
- Be creative! Need a planter or a few bricks for your backyard? Try yard sales, second hand stores, look on FreeCycle.com, the “free” section of the local paper, or Craig’s List for items that might be turned into a planter or maybe used as stepping stones.
- Become informed! Do research online, join garden chat group, a local gardening group, or contact the Solano County Master Gardener’s to learn more about Green Gardening Tips!
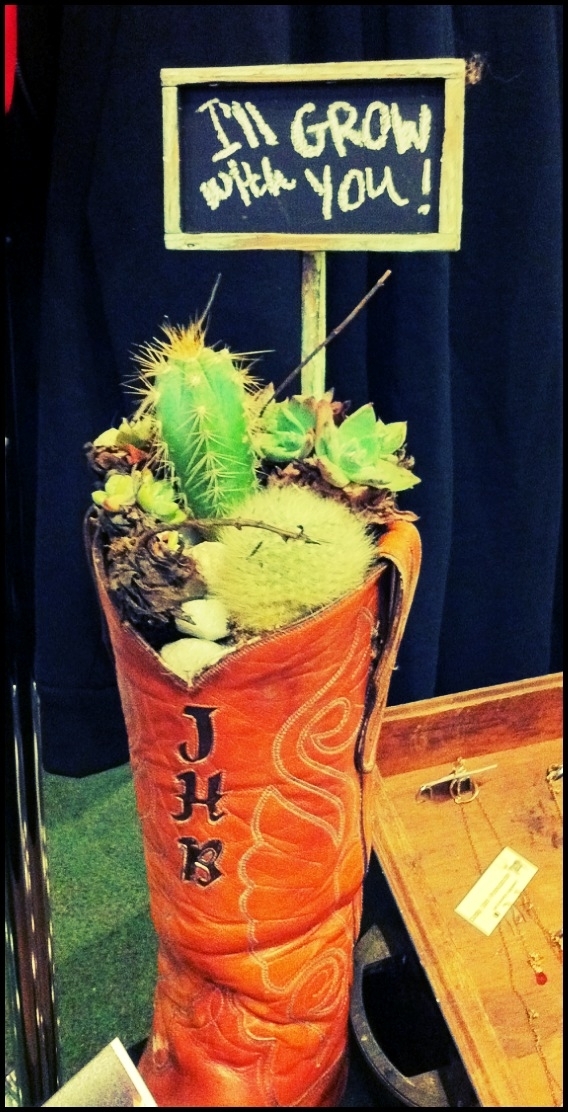
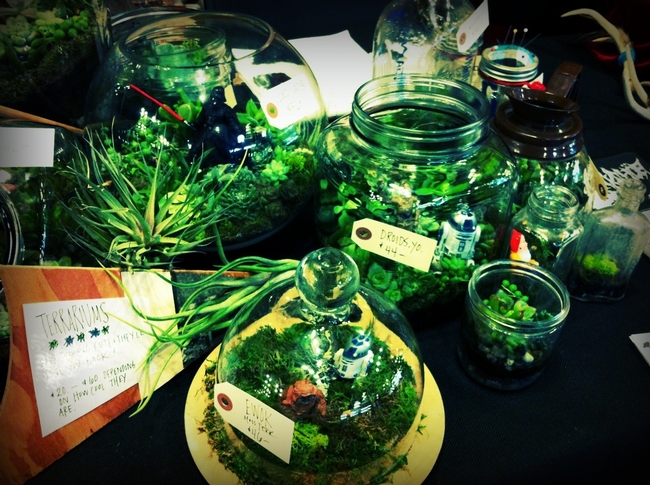
Look around, there are lots of examples of creative recycling. I recently saw at the San Francisco Renegade Craft fair, beautiful terrariums made out of recycled glass containers with little “toys” such as Star Wars characters inside as well as a “boot” planter!
What have you done to be creative – have you recycled or given new life to in your garden? Tell me about it.
