- Author: Jennifer Codron, UC Master Food Preserver
- Editor: Jennifer Hopkins
Lately, I've been experimenting with making jam the “old fashioned way,” which means a long cooking time and no added pectin. I'm finding that the fruit's flavor is much more concentrated and the jam has an extra layer of richness that I don't taste from jams made with added pectin. These jams require quite a bit of sugar, so you may prefer to use a low or no sugar pectin to reduce the sweetness.
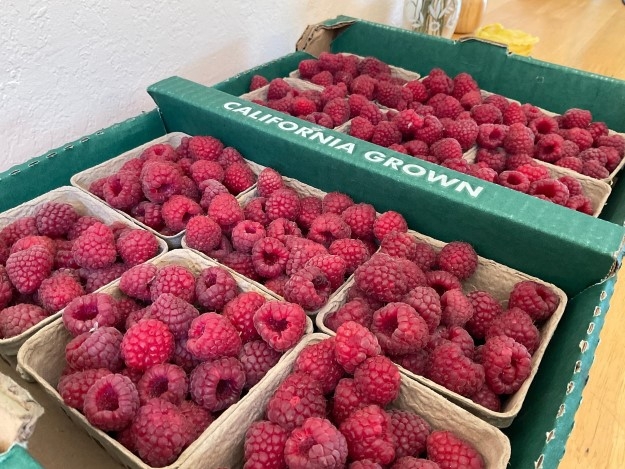
Today I made raspberry jam using the Ball Complete Book of Home Preserving (2016) recipe, Berry Jam, pg. 23. After purchasing the raspberries at my local farmer's market, cleaning and sanitizing the kitchen and gathering my canning supplies I set out to create some delicious jam during the height of raspberry season.
First, prepare your canner and jars.
Wash the raspberries and pick through making sure not to use any moldy or badly blemished berries. Ideally, you want a mix of ripe fruit and some of the berries a little underripe. These contain more natural pectin which helps the jam set.
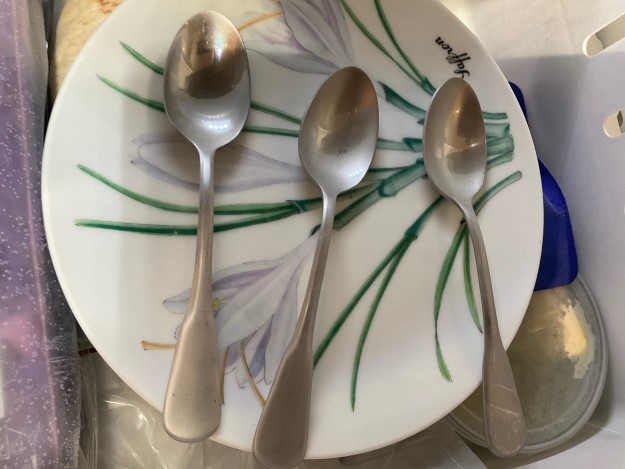
When making a full sugar no pectin jam you will need to cook the jam longer and use the spoon gel test to make sure it will properly set after canning. To do this, take 3-5 teaspoons and set them on a plate and place in the freezer as you are cooking the berries.
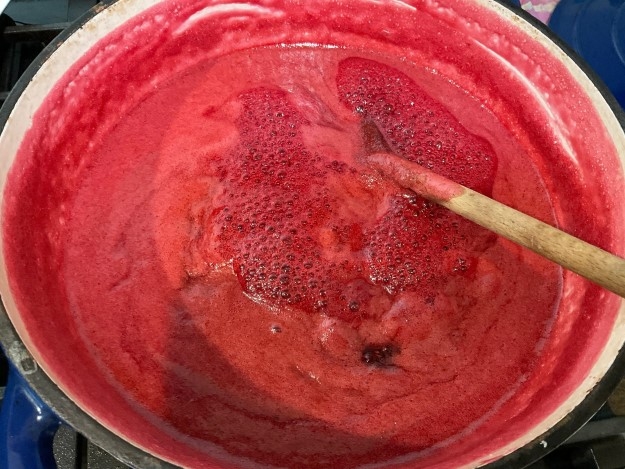
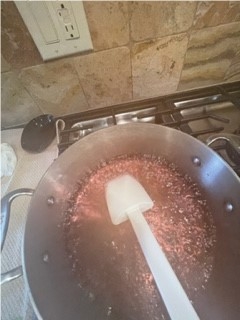
Combine berries, sugar, and lemon juice in a large heavy bottom pot and bring to a boil over medium heat.
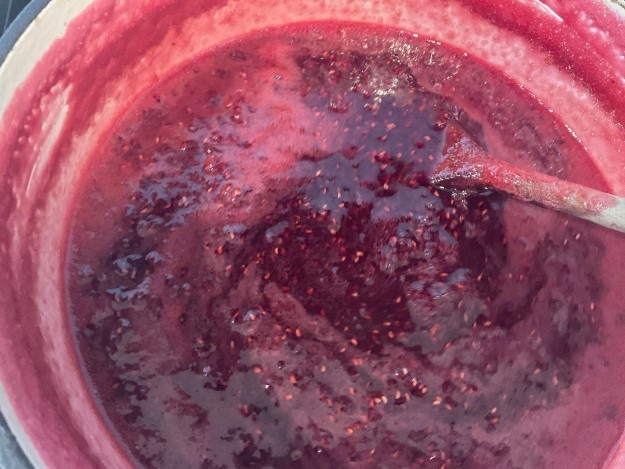
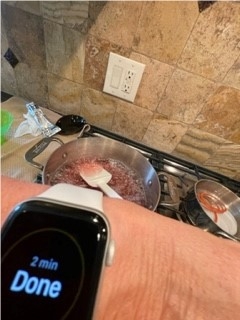
Bring this mixture to a boil and let boil for about 10 to 15 minutes until the foam recedes and the mixture starts to become glossy.
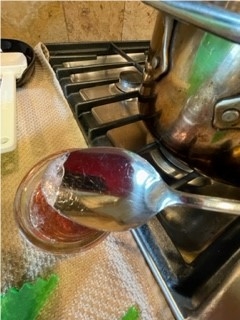
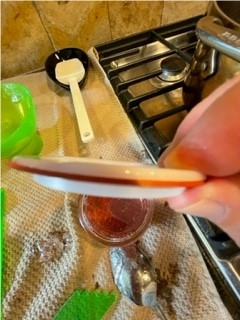
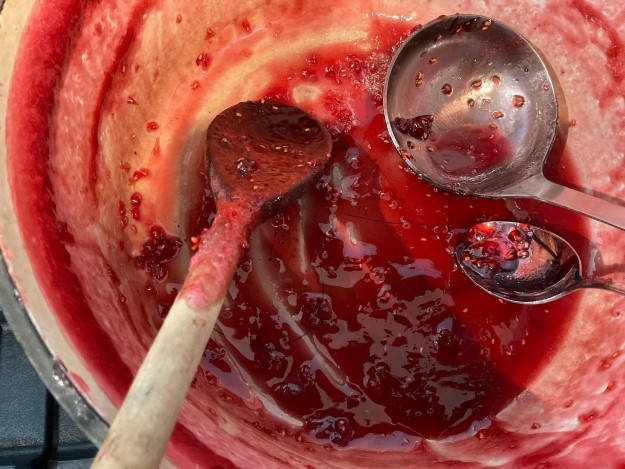
You can now take one teaspoon from the freezer and dip it into the mixture and return the spoon about half full to the freezer for about 3-4 mins. After that time, take the spoon out, make sure the bottom feels cool, not warm, and tilt it to the side. The drops should run together and form a sheet as viewed in the last spoon photo. If the jam runs quickly, keep stirring and cooking the mixture. Repeat the test after another 5 minutes.

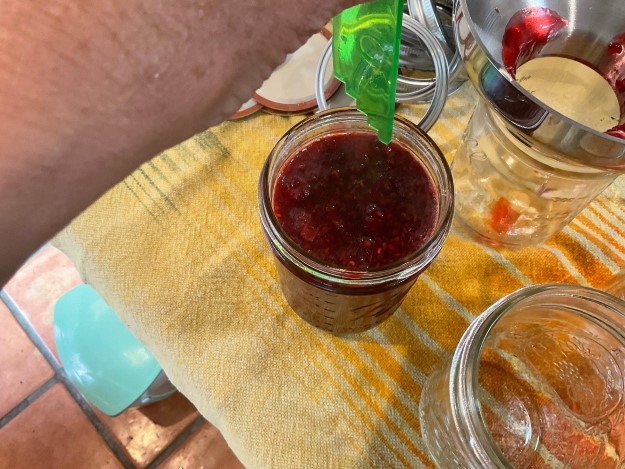
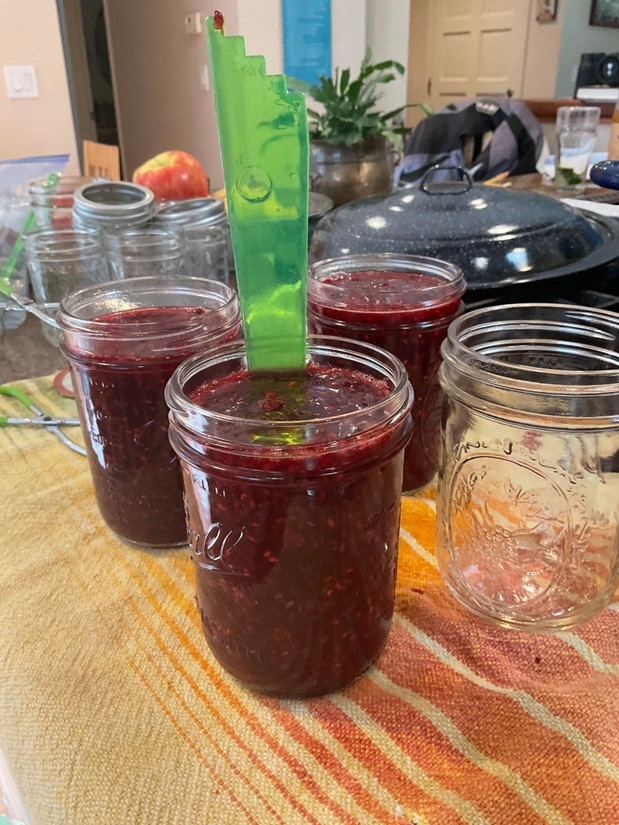
When the jam is done, remove from heat and ladle into the warm jars, leaving ¼ inch headspace. You can measure with the ruler tool and scrape down the sides of each jar to remove any bubbles that may have formed. Now take a damp paper towel and wipe the rims to remove any drips that may have occurred. After ensuring a clean rim on the jar, place the lids on and screw on the bands until fingertip tight. You don't want the bands too tight. You want to allow the air to move out under the band to help seal the lid during the canning process.
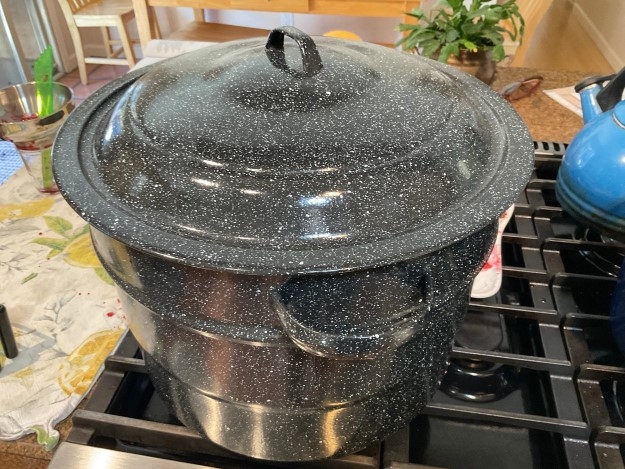
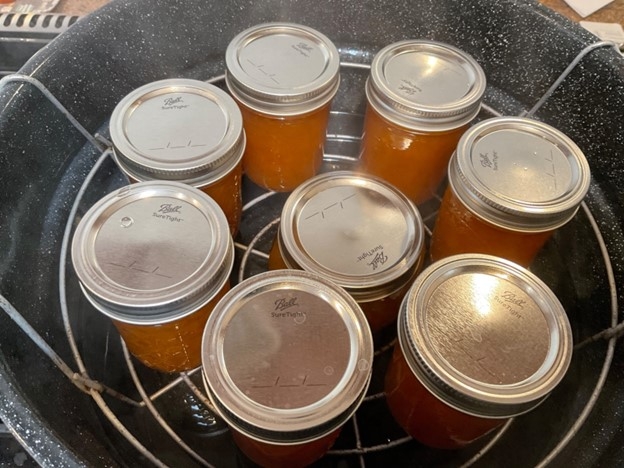
Process the jars in a boiling water canner at a full roiling boil for 10 minutes. Steam will escape through the side of the lid during this process. If the water ever drops below the boiling point, start your timer over for the full processing time as directed by the recipe. After 10 minutes, turn off the heat, remove the lid and let the jars stand for 5 minutes.
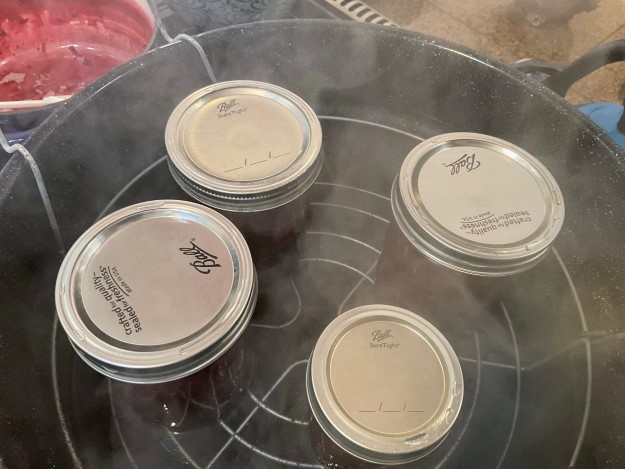
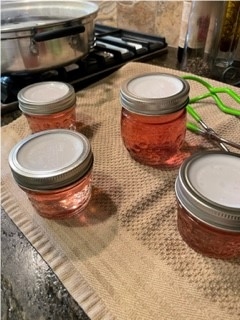
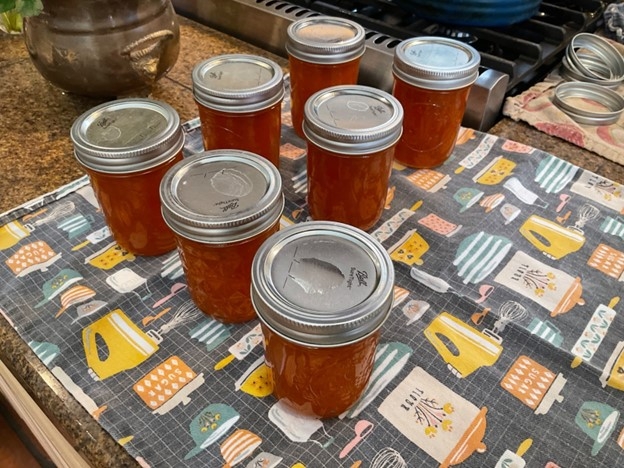
After this time, use a jar lifter and carefully remove each jar to a towel on your counter. You can use a tray lined with a towel if you want to move the jars to a different location before letting them set for 12-24 hours.
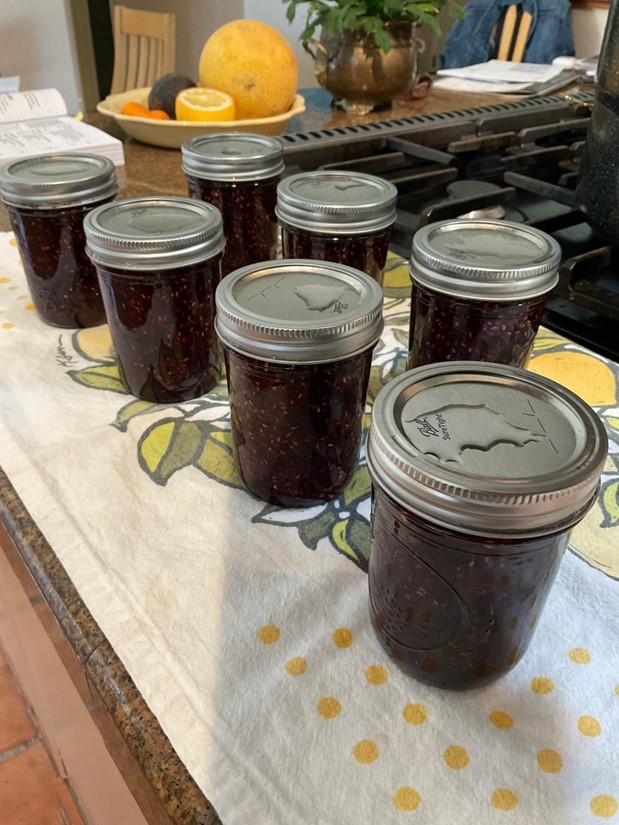
Don't worry about the water that pools on top of the lids. Just leave it be. Do not tilt the jars to remove it. Once the jars have sealed you can remove this with a paper towel and a little vinegar to remove any white sediment.
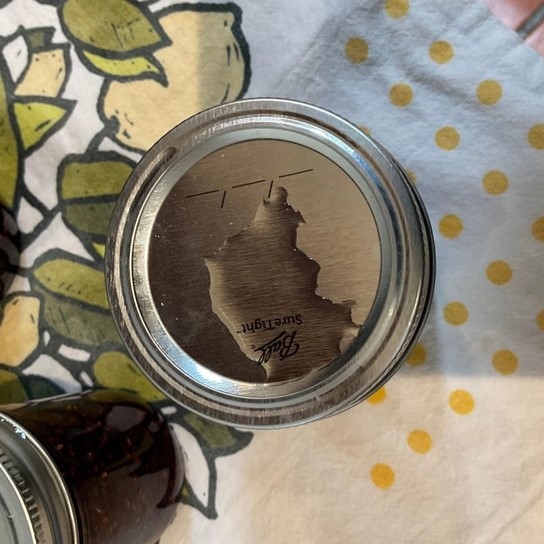
After 12 hours make sure the lids have sealed properly, the lids should be concave. Label the jars and store without the bands in a cool, dark location. If a jar or two has not sealed properly simply place them in the refrigerator and use them within a month. Once opened, store jam in the refrigerator. Use unopened jars within a year for best flavor.
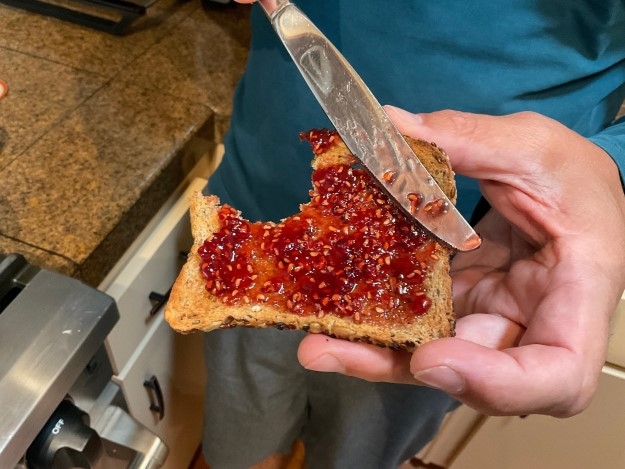
I love this jam spread on toast but also plan on filling thumbprint cookies with it. The long cooking time creates a thicker jam with a richer color than what you usually get with a pectin added jam. The process is more labor intensive but well worth it!
- Author: Jennifer Codron, UC Master Food Preserver
- Editor: Jennifer Hopkins
Curious about Chutney
Author: Jennifer Codron, UC Master Food Preserver Program Volunteer
Fall is here and so are the many delicious varieties of apples on the Central Coast! Apples are versatile and can be used in a variety of ways, like chutney. Chutneys are a delicious spread packed full of fruit pieces, added spices, vinegar, and sugar that can zest up sandwiches, eggs, charcuterie boards and can even be used as a topping for meats such as pork and chicken.
Some people, including myself, have never eaten Chutneys outside of Indian cuisine, but these condiments are also popular in Middle Eastern cuisine and have also been adapted by the British. I was curious to see what ingredients go into a chutney as well as the process of making one.
Once you have decided to try your hand at preserving chutney, begin by selecting a research-based, approved recipe for canning. I used this revised recipe from the National Center for Home Food Preservation Publication, So Easy to Preserve. This revision is intended to increase the apple flavor. I used a mixture of both tart and sweet apples to increase the depth of flavor. You could also substitute some pears for the apples as long as you maintain the total amount of fruit needed in the recipe.
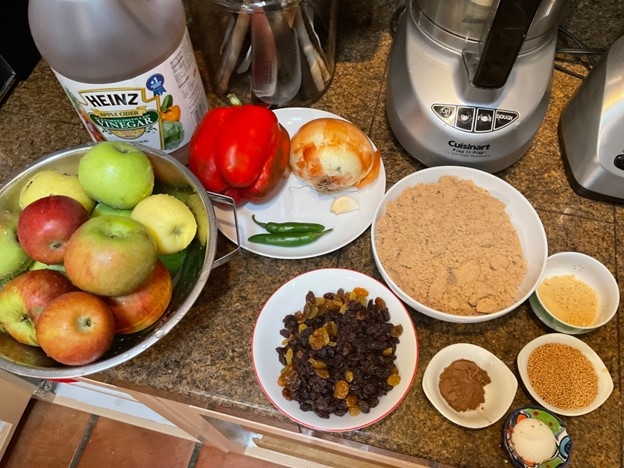
When you are ready to begin, start by washing your hands and thoroughly cleaning and sanitizing your workspace. Next, gather the ingredients you will need for the recipe.
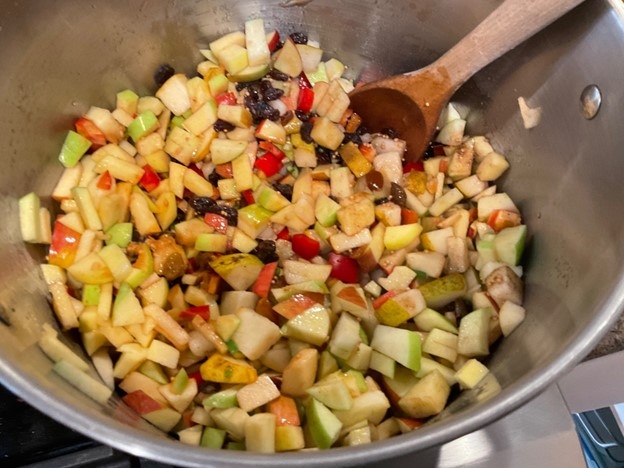
Then, place all ingredients in a large pot on the stove and bring to a boil. Simmer this mixture until it begins to thicken. The recipe states about 45 minutes but this took me closer to an hour and 15 minutes. Be sure to stir often near the end of cooking time when the mixture starts to thicken. To test for doneness, dip a wooden spoon into the top layer of chutney. If liquid runs onto the spoon, you know that you'll need to cook it a bit longer. The color will darken into a beautiful caramel color.
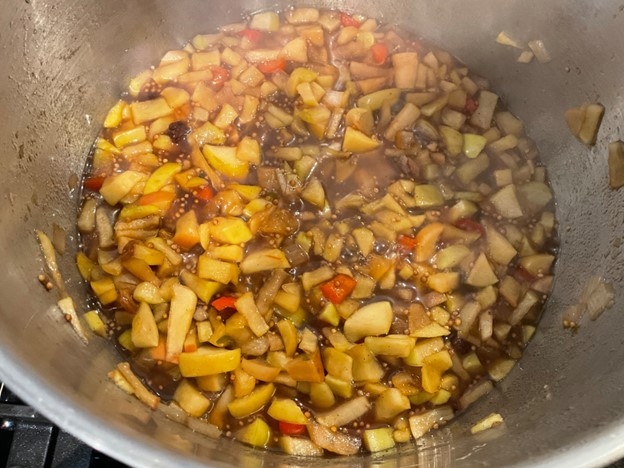
The apples and peppers and onions begin to break down and release their juices.
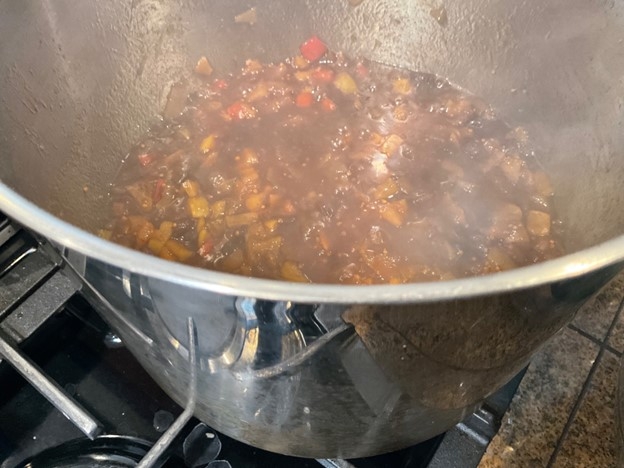
The mixture darkens and turns into a rich caramel color.
While you are cooking the sauce, make sure your washed jars are heated before filling. Cover them with water in a boiling water canner and simmer them at 180 degrees F until they are ready to be filled. Carefully remove them to a clean towel on a tray right before you are ready to fill the jars.
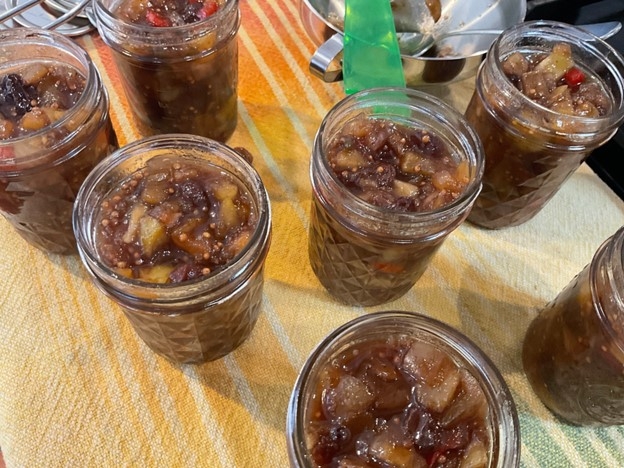
Once the mixture is thick, turn off the heat. Ladle out the mixture into the jars. This is a chunky mixture so it is easy to over fill the jars. If you do, just use a clean spoon to scoop some out and distribute to another jar. Use your debubbler to scrape down the sides of the jars to remove any air bubbles. Next check to make sure you have a ½ in. headspace before wiping the rims with a damp paper towel. Next place lids on jars and screw on bands until fingertip tight.
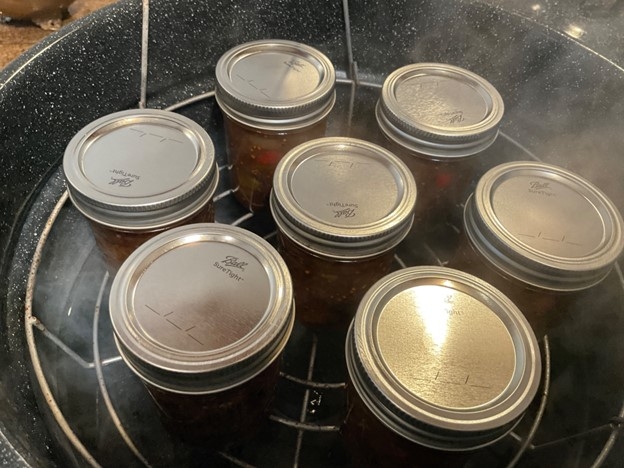
Place the jars spaced evenly on the rack in the canner, drop the basket down to the bottom and make sure there is an inch or two of water covering the tops of the jars.
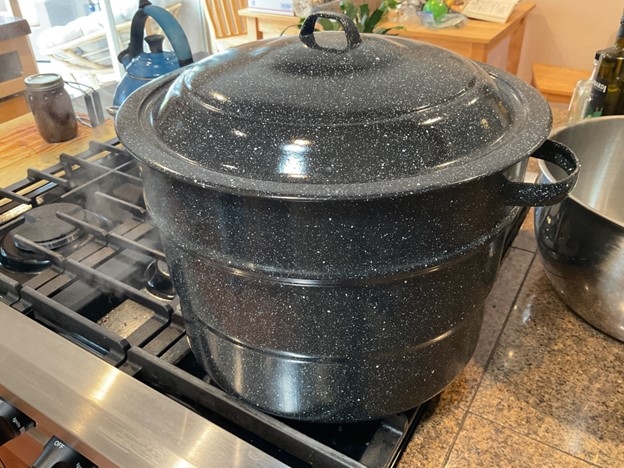
Next,place the lid on and bring the water to a rolling boil. Once it has started boiling, start your timer for 10 minutes and make sure the pot continues to boil the entire time. Steam will be coming out the sides. If it drops below the rolling boil, turn up heat and bring to a boil and restart processing time.
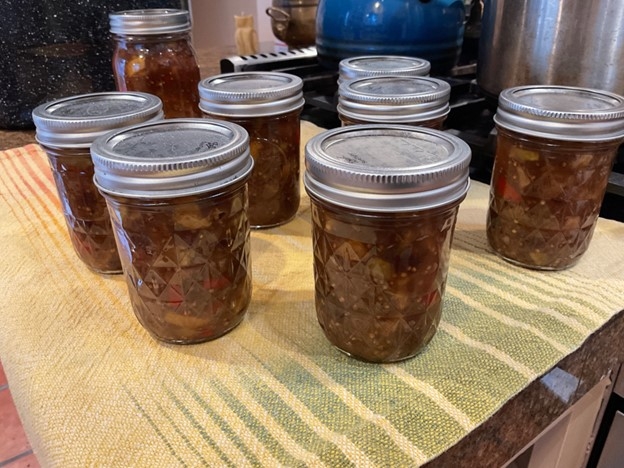
After 10 minutes, turn off the heat,and leave the jars to settle for another 5 minutes before removing to the tray with a clean towel. The puddle of water on the lid is ok and should not be wiped away. Leave your jars for 24 hours.
After twenty-four hours, check to make sure the lids have sealed. They will not press in if sealed correctly. Take a little vinegar on a paper towel and wipe any hard water deposits that have formed. Remove the rings and write the type of food and date on the jar lid before storing.
For the best flavor, wait a couple of weeks before eating. Enjoy this apple condiment year-round and it also makes a nice gift. Enjoy!
Have home preservation questions?
Visit our website for more food preservation tips and safety resources or email our help line at slomfp@ucanr.edu !
- Author: Dayna Ravalin, UC Master Food Preserver
- Editor: Jennifer Hopkins
Have you ever wondered what to do with leftover wine or perhaps a bottle that didn't quite suit your taste? I know I have been in this predicament a few times. It's a shame to pour it out, so what do you do with it? How about make some wine jelly? The procedure is simple, and it will yield a flavorful product that can accompany a variety of cheeses, meats, and charcuterie boards. Or, if you're like me, enjoy it on a cream scone or slice of sourdough toast with a cup of tea. YUM!
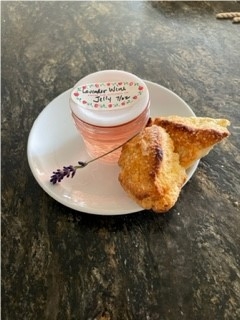
Photo: Dayna RavalinRecently, I opened a bottle of champagne and didn't like the taste so I decided to use it to make wine jelly. I chose the Herbes de Provence Wine Jelly recipe from the Ball® Complete Book of Home Preserving 2012 edition. Since I used champagne instead of still white wine (my champagne was flat) and dried lavender for the Herbes de Provence, the variation I made is called Lavender Wine Jelly.
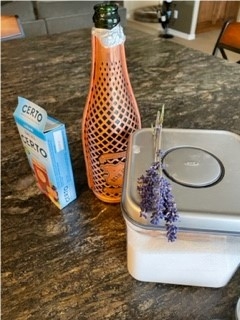
First, before starting any preservation project, make sure your workspace is very clean, including all equipment. Wash your hands with soap and water for at least 20 seconds before you begin. Next, gather your supplies.
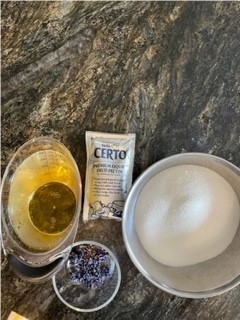
Then, measure your ingredients using appropriate utensils for the job. Use dry measuring tools for non-liquid ingredients and liquid measuring tools for liquids, of course!
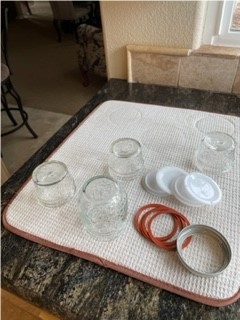
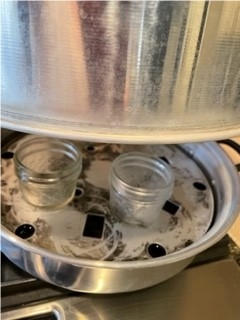
Next, wash all your jars, lids, and rings and prepare them according to the manufacturer's recommendations. As you can see from the photo, I use reusable lids for my canning projects. Single use lids work very well too.
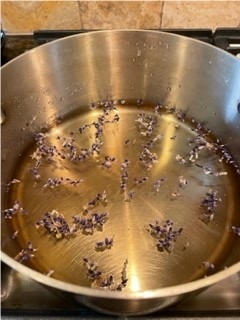
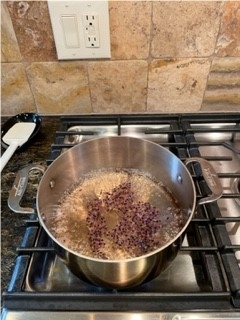
Pour your measured wine into a stainless-steel pot and add the dried culinary lavender.
Note: Make sure the variety of lavender you are using is meant to be used in cooking. Not all lavender is created equally.
Photo: Dayna Ravalin
Bring the lavender and wine to a boil, cover, and remove from the heat and allow to steep for 20 minutes.
After steeping, I transferred the liquid using a strainer lined with several layers of cheesecloth set over a deep bowl and let it drip for several minutes. You can also use a dampened jelly bag for this step. You will need 1 ¾ cups of infused wine. You may need to squeeze the cheesecloth or jelly bag to get enough liquid.
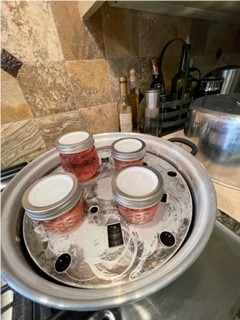
Meanwhile, heat your jars in your atmospheric steam canner or boiling water canner. I use a steam canner, when possible, to minimize the amount of needed water for processing and ease of use. The processing time is the same as for a boiling water canner. Recipes must require less than 45 minutes of processing time and be considered a high acid food in order to be safely canned in an atmospheric steam canner.
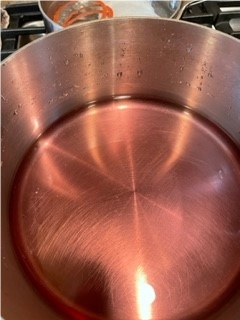
Transfer the steeped wine into a large stainless-steel pot. As you can see, my wine turned a beautiful rose color thanks to the newly dried lavender pigment.
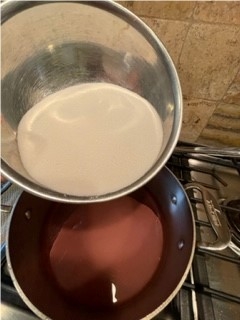
Stir in the sugar all at once.
Bring to a full rolling boil that cannot be stirred down and stir in the pectin.
Boil hard for 2 minutes, stirring constantly.
Remove from heat and quickly skim off the foam.
Quickly pour the hot jelly into the hot jars removing air bubbles and adjusting headspace to ¼ inch. Wipe jar rim and lid your jar.
Apply the jar ring and load into the canner.
Process these jars in a boiling water canner or atmospheric steam canner for 10 minutes. Remove jars from the canner after the recommended wait time and allow to cool for 24 hours.
After 24 hours, check seals, remove rings, and store in a dark cool place. Make sure to place any unsealed jars in the refrigerator to enjoy right away.
This recipe is such fun and doesn't require the longer preparation time that other jelly recipes do. Enjoy this during the upcoming holidays or enjoy now during the warmer months as part of a charcuterie board, or just pair it with a wedge of brie cheese and your favorite cracker. Either way, you'll always want to have some in the pantry! It also makes a great gift!
Recipe:
Lavender Wine Jelly
Ingredients
2 cups dry white wine
1 Tbsp. dried culinary lavender
2 cups granulated sugar
1 pouch (3oz.) liquid pectin
Directions:
- In a large stainless-steel saucepan combine wine and lavender. Bring to a boil over high heat. Remove from heat, cover and let steep for 20 minutes.
- Transfer to a dampened jelly bag or a strainer lined with several layers of dampened cheesecloth set over a deep bowl. Let drip undisturbed, for 20 minutes. Measure 1 ¾ cups infused wine. If you do not have the required amount, squeeze the bag.
- Meanwhile, prepare canner, jars, and lids according to manufacturer recommendations.
- Transfer infused wine to a clean, large, deep stainless-steel saucepan. Stir in sugar.
- Stirring constantly over high heat, bring mixture to a full rolling boil that cannot be stirred down. Stir in pectin. Boil hard, stirring constantly for 2 minutes. Remove from heat and quickly skim off foam.
- Quickly pour hot jelly into hot jars, leaving ¼ inch headspace. Wipe rim. Center lid on jar. Screw band down until resistance is met then increase to fingertip tight, or according to manufacturer directions for reusable lids.
- Place jars in canner and process for 10 minutes. Once process is complete, remove jars according to canner type after recommended wait time (5 minutes for boiling water canner), and cool for 24 hours. Label jars with contents and date of preparation and store in a cool, dark place.
UC Master Food Preservers do not endorse or promote any brand of products.
- Author: Saoimanu Sope
UC Master Food Preservers give live canning demonstrations at Orange County Fair
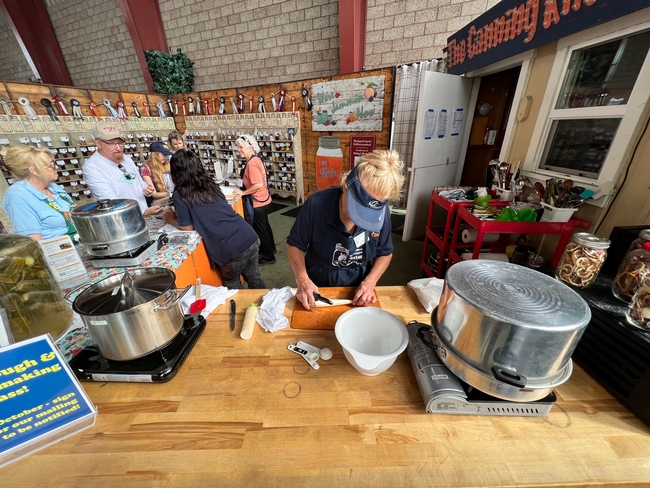
If you visited the Orange County Fair in Costa Mesa during the past month, you might have seen the Master Food Preservers of Orange County in their rustic farmhouse-themed kitchen located in the OC Promenade exhibit hall.
If the decor did not catch your eye, the colorful rows of glass jars lined along the walls certainly would have. For an entire month, three volunteers conducted live canning demonstrations from 11 a.m. to 8 p.m. five days a week. They are with the UC Master Food Preserver Program, a public service and outreach program under UC Agriculture and Natural Resources.
The OC Fair is UC Master Food Preserver's largest event in Orange County. Last year, the UC Master Food Preservers engaged 7,000 people at their booth.
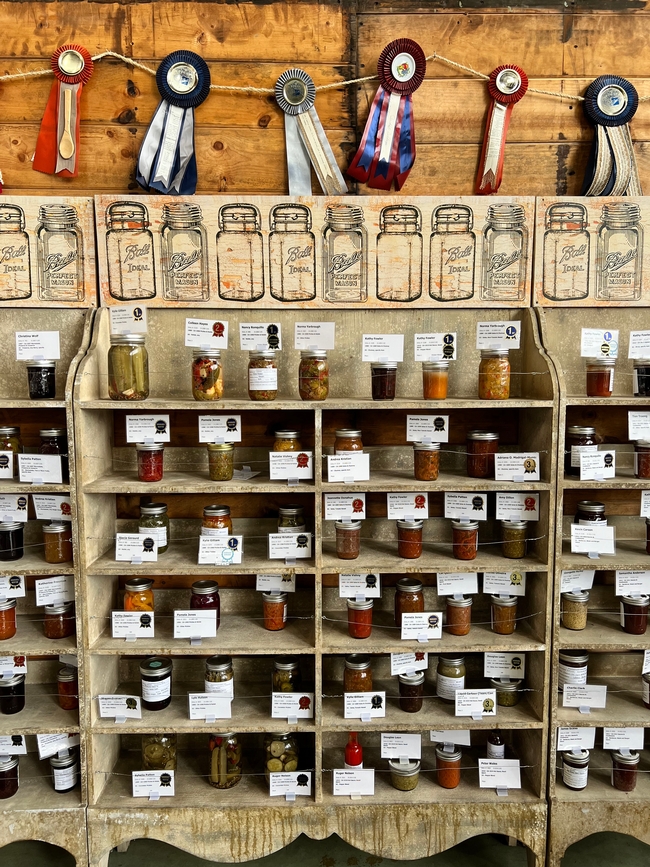
Food preservation has a deep history rooted in human survival. Whether freezing, drying, fermenting or pickling, preservation is a practice that has prolonged the life of food and humans. Other benefits include reducing food waste and increasing food security.
The latest form of preservation, called canning, was introduced in the early 1800s according to a Smithsonian article. By placing food in a glass jar and heating it to a certain temperature for a prescribed period of time, oxygen is removed and a vacuum is created. This process prevents the growth of undesirable bacteria, yeasts and molds, thus keeping the food from spoiling.
This is what you would have found the UC Master Food Preservers demonstrating at the OC Fair.
During her shift, Flo Vallejo, UC Master Food Preserver since 2018, carefully chopped carrots and daikon into thin slices and placed them inside small mason jars with spices inspired by Vietnamese cuisine.
Between the produce donated by Melissa's Produce and the diverse spices donated by Tampico Spice, the possibilities of what you will see the UC Master Food Preservers canning are endless.
“This is something my great-grandmother, grandmother and mother did. I never understood it because they didn't let the little kids in the kitchen,” said first-year UC Master Food Preserver Alice Houseworth.
Many of the UC Master Food Preservers have some experience with canning, whether it be a practice passed down from generation to generation, or, in Houseworth's case, something they watched their elders do as a child.
Some might view canning as a hobby, but according to the UC Master Food Preservers, food preservation is an opportunity to prepare for economic and climatic change. 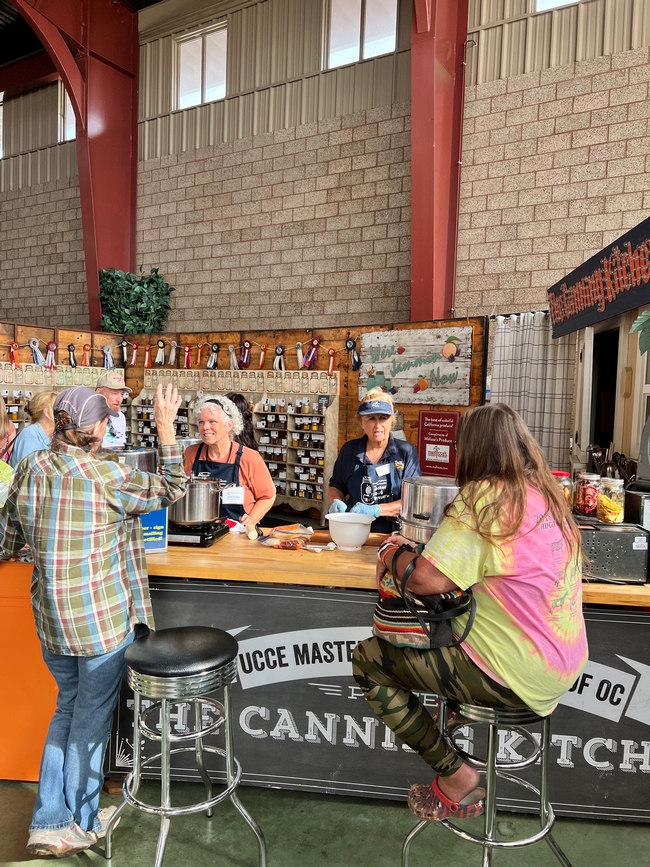
Esa Kiefer, another UC Master Food Preserver since 2018, expressed her concern for the rising prices of food and decline in arable land. “I feel like now is the time to prepare for these changing times,” she said. “Who knows what the future will look like for food?”
Perhaps the future of food will come from glass jars.
“You can even can chicken,” Houseworth said. “When it's cheap at the grocery store, you can buy it and use the pressure canner and then eat it when chicken prices go up.”
Vallejo recalls when pickling and canning were trending on social media during the stay-at-home phase of the COVID-19 pandemic, making it difficult to find mason jars.
“Preservation has been done for a long time. When I saw a lot of people doing it during the pandemic, I thought it was just because people had time on their hands. But I realized that many became concerned about the food supply and accessibility,” she explained.
The resurgence in food preservation interest makes the work of the UC Master Food Preserver program much more essential. Whether you are feeding a large family, living in a food desert or managing a tight budget, food preservation ensures you are fed today, tomorrow and beyond.
To learn more about the Master Food Preserver Program or to locate the nearest program in your area, visit: https://mfp.ucanr.edu/.
- Author: Jennifer Codron, UC Master Food Preserver
- Editor: Shannon A Klisch, Academic Coordinator II
- Editor: Maria E Murietta, Master Food Preserver Program Coordinator
It's that time of year again! The dominant variety of apricots, Blenheim, that have a short season here on the Central Coast, have arrived. I used to have a Royal apricot tree in my yard and made delicious jam every year. Unfortunately, it contracted a fungal disease and slowly lost its limbs one by one which ended my annual tradition of making jam.
Last year, I wanted to bring this jam making tradition back so now I purchase my Blenheim apricots from my local farmer's market. The farmers there have been growing apricots for years and they have some of the tastiest ones around.
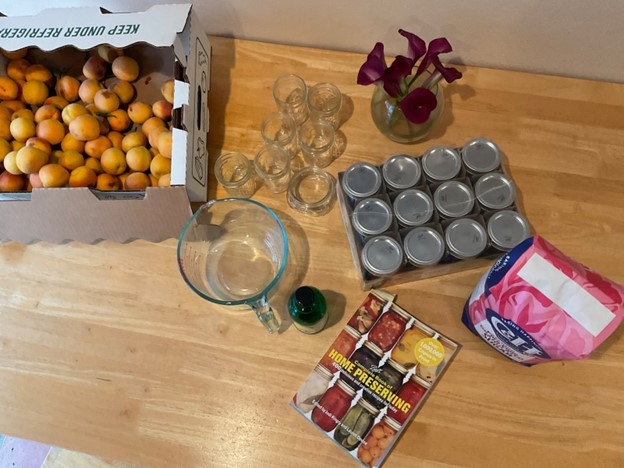
First, gather your ingredients and canning supplies. This recipe makes about nine 8-ounce jars and you will need 8 cups chopped and pitted apricots, 4 tablespoons of lemon juice, and 6 cups granulated sugar. Make sure your cooking space is clean and wash your hands.
I decided on a simple no-pectin recipe from the Ball Complete Book of Home Preserving (2006) so the pure delicious flavor of the apricots could shine through.
I like to listen to music while I jam, mostly bluegrass, but any music will enhance your experience and help pass the long minutes of stirring the pot when you choose the long boil, no pectin method.
I washed and dried and chopped the apricots, removing any blemishes and getting rid of any damaged pieces. You want a mix of about ¾ ripe to ¼ under-ripe apricots since the latter contain more natural pectin to help the jam set. Prepare fruit in small batches, just enough for one recipe for best results. For my second batch, I chopped the apricots in smaller pieces and ended up with more fruit in my recipe.
In a large saucepan, combine the sugar, lemon juice and the apricots. I let this mixture sit for about a half hour as the fruit begins to release its juices and starts to form a syrup. This helps prevent sticking as you heat the mixture over medium heat.
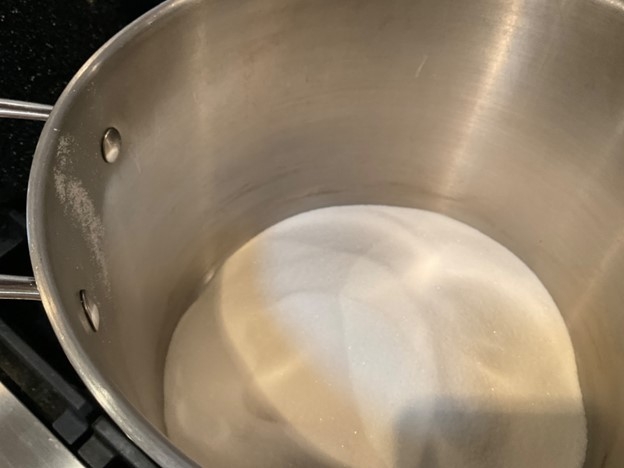
Add 6 cups of granulated sugar.
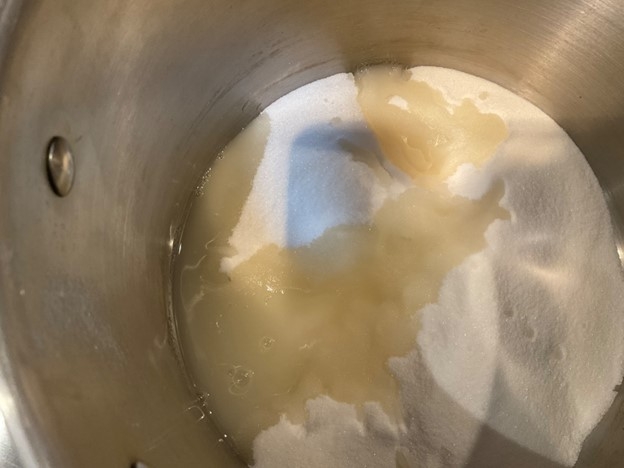
Add 4 Tablespoons of lemon juice. The juice needs to be from a bottle purchased at the store. This is a guarantee that the juice will have the right pH, at least 4.5 percent acidity whereas freshly picked lemons can vary in their pH.
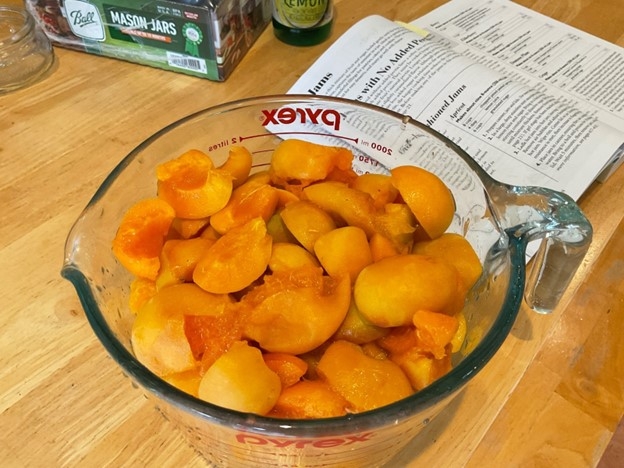
Add the 8 cups of chopped apricots. Although the recipe calls for peeling the apricots, I leave the skins on and end up with a smooth jam.
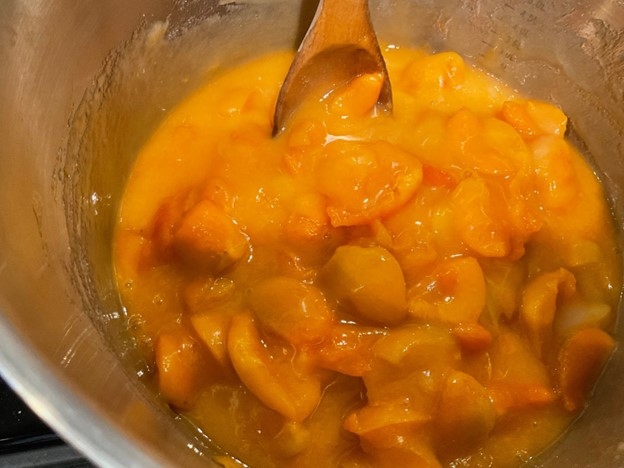
Stir the pot occasionally to help the sugar dissolve and keep the mixture from sticking. Once the mixture has broken down and begins to thicken you need to stir constantly as it boils. This is where your favorite music or a good podcast comes into play.
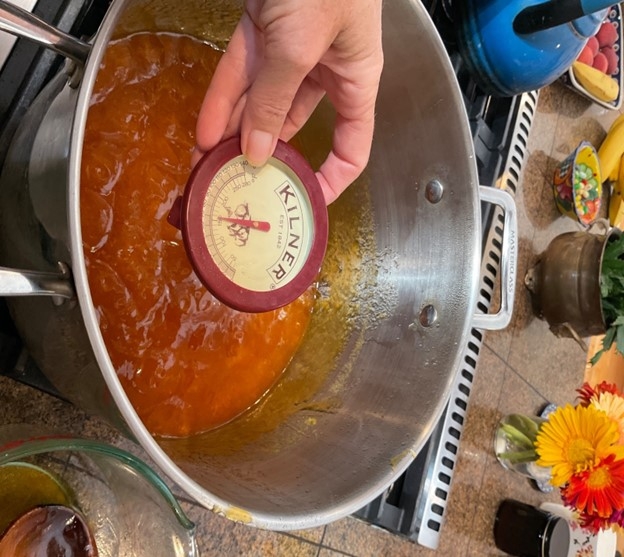
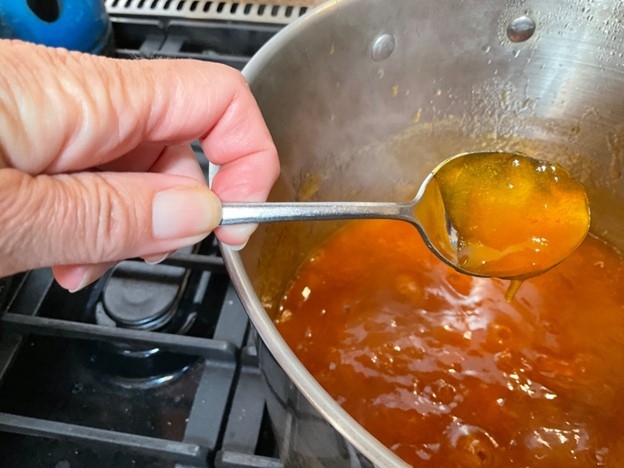
I decided to use the temperature test since it is the most accurate way to see if the gel stage of the jam has been reached (Ball Book, 2006, pg. 21). After cooking for an hour, the jam reached only 210 degrees, so I decided to try the sheet test with a spoon that had been in the freezer for several minutes. The jam came off the spoon in sheets, so I decided to ladle into the hot jars. The second batch of jam did reach 220 degrees after only about 45 minutes as I boiled this one a little harder. Interestingly, the first batch which was cooked longer turned a darker shade of orange while the second batch was brighter.
Spoon or sheet test: Dip a cool metal spoon into the boiling jam. Lift the spoon up and out of the steam so it starts to fall off the spoon. If the jam forms light and syrupy drips, keep boiling. If the jam comes off in one sheet, the jam is ready to place into hot jars.
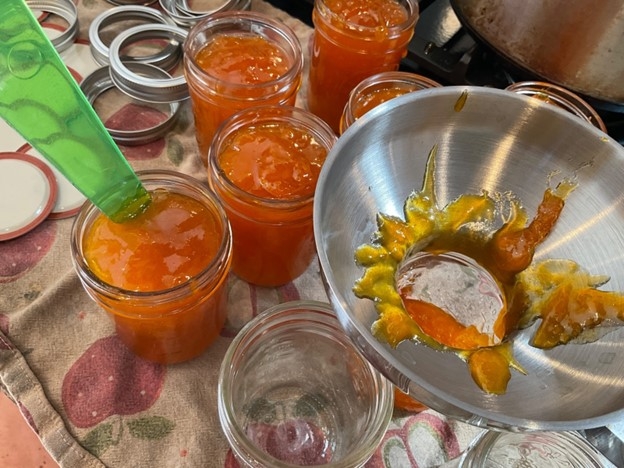
Ladle the hot jam into half-pint jars leaving a ¼ inch headspace. Use a debubbler or chopstick to release any air bubbles that may have formed.
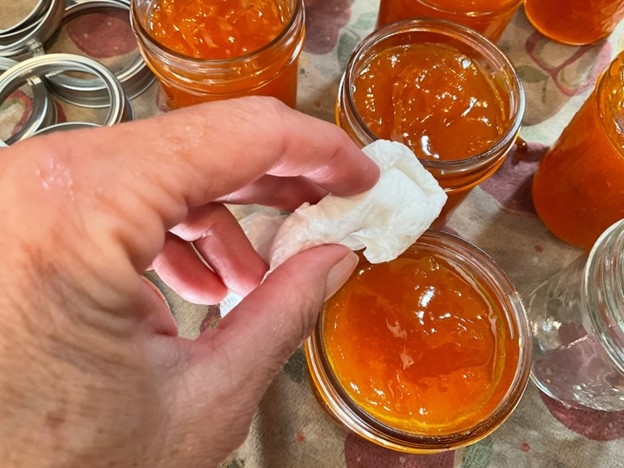
This jam is very sticky so make sure the rim is wiped clean with a damp paper towel before placing the lid on the jar.
Place the lids on the rims and screw on the bands just until fingertip tight.
Set filled jars onto a canning rack and submerge into a water bath canner with 2-3 inches of water covering the tops of the jars. Bring to a full rolling boil and process for 10 minutes. After 10 minutes, turn off heat, remove the lid and let the jars stand in the canner for 5 minutes before removing the jars to a clean towel on your counter. Be sure not to tip the jars as you are removing them as the mixture could bubble under the lid and cause the lids not to seal properly.
Let the jars stand 24 hours before checking that they are sealed properly. Place any unsealed jars into the refrigerator immediately. Store jars in a cool dark location after removing the bands. By removing the bands, you will be able to notice if at any time during storage the lids become unsealed and thus not edible.
To remove water stains on lids before marking the type and date of jam, take a cloth dipped in vinegar and wipe the lid.
In the second batch I made, I placed one cinnamon stick to add a little flavor. You can also add a vanilla bean or the apricot kernels in a stainless-steel tea strainer to compliment the flavor of the apricots. You can safely add up to 1 teaspoon of flavoring or herb to a jam or jelly recipe.
Because the Blenheim apricot season is so short, making jam is a great way to savor this flavor year-round and your friends will be happy when you bring over a jar of this delicious fruit. Enjoy!
Apricot Jam Recipe from the Ball Complete Book of Home Preserving copyright 2006, page 22.

