- Author: Melissa G. Womack
Here are seven tips on how to protect your plants from freezing temperatures in California:
- Water your plants. Make sure your plants (not succulents) are hydrated before a freeze. Water the soil around the base of the plant, this will help to insulate the plant and keep it from freezing.
- Cover your plants. Use blankets, fitted bed sheets, or frost cloths to cover your vulnerable plants. Make sure the cover reaches all the way to the ground and is securely fastened to prevent cold air from seeping in. Do not use plastic covers, as they can trap moisture and damage the plant. Make sure to remove the covering when the temperature rises.
- Add warmth for your plants. Use incandescent miniature lights (not the LED type) to provide warmth and raise the temperature around your plants. Position a 100–150 watt light in the center of the tree and cover the plant with a sheet.
- Bring potted plants indoors. If you have potted plants, move them to a sheltered area (ie. Porch, indoors, under an awning), when temperatures are expected to drop. If possible, cluster potted plants close together in a sheltered spot close to the house. If plants are brought indoors, place them near a window that gets sunlight.
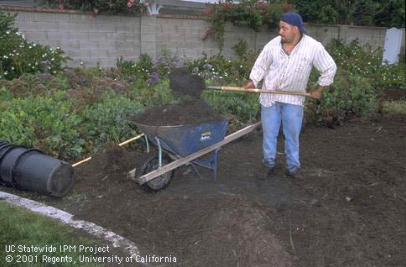
- Mulch your plants. Apply a layer of mulch around the base of your plants. This will help to insulate the roots and keep the soil warm.
- Prune your plants. Prune any dead or damaged branches from your plants before a freeze. This will help to prevent further damage from occurring.
- Monitor the weather. Stay up-to-date on the latest weather forecasts and take action if freezing temperatures are expected. If possible, move your plants to a warmer location or cover them before the freeze sets in.
It's important to note that different plants have different levels of cold tolerance. Some plants are more susceptible to freezing temperatures than others. If you're unsure about how to protect a particular plant, consult with your local UC Master Gardener Program for advice, mg.ucanr.edu/FindUs.
By taking these steps to protect your plants from freezing temperatures, you can help ensure that they stay healthy and vibrant year-round. With a little extra care, you can keep your garden looking beautiful no matter what the weather brings. Stay warm this week!
Additional Resources:
Frost Protection for Citrus and other Subtropicals (UC ANR publication 8100)
https://anrcatalog.ucanr.edu/pdf/8100.pdf
UC Master Gardener Program of Marin County, Problems, Extreme Conditions – Frost
https://marinmg.ucanr.edu/PROBLEMS/EXTREME_CONDITIONS/Frost_853/


Mulching Perennials
Trees and Shrubs
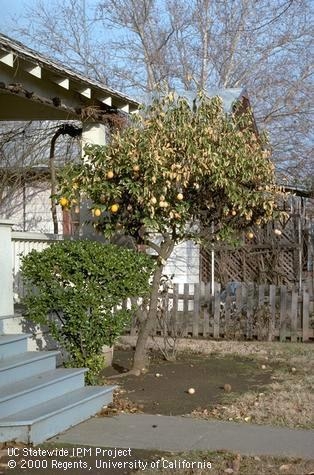
Trees and shrubs usually have an easier time getting through the winter if they are in good shape. However, if a freeze is forecasted, one of the most important things to do is to ensure they have been watered 2-3 days prior, especially if autumn has been dry. As with perennials, mulching with fallen leaves or other mulch will help protect the roots, but do not have mulch up against the tree trunk or plant stem, which could cause rot to occur.
Wrapping trunks of young trees with blankets, towels or piping insulation will provide added protection.
Bulbs
Wait until after the first frost, then gently dig up the bulbs or tubers. Cut away any leaves and brush off as much soil as possible. Let them dry out in a cool spot for about a week. Label them so you'll remember what they are! Pack them in a breathable box, such as a cardboard box, storing the bulbs so they don't touch each other, and cover them in sawdust or shredded newspapers. Keep them in a cool, dark location that is below 45°F, but doesn't freeze.
Citrus
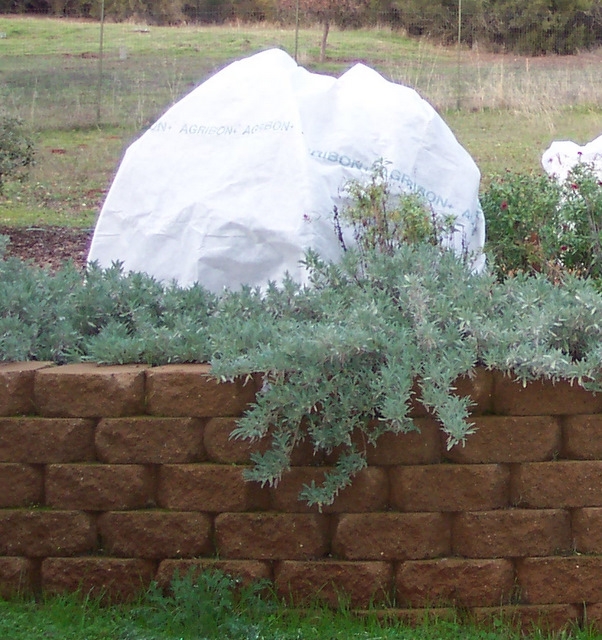
Citrus plants can be protected by frost cloths which allow some light and air to penetrate and can stay on plants for a few days at a time. They can also lay directly on plant foliage. If you use other type of cloth such as burlap or cotton sheets, use stakes to hold the cloth away from the plant greenery. Remove it during daytime when temperatures are above freezing and sunny, and replace it each night prior to sunset. Whatever cloth you use, make sure the cloth goes all the way to the ground to capture radiant heat from the ground. If there is mulch around the plant, rake away during the day, if above freezing and sunny, to allow the soil to warm up.
Roses
Some roses are more sensitive to cold than others. As a group, hybrid tea roses are the most vulnerable. Make sure they are watered prior to predicted freezing temperatures, protect the root zone with mulch on the soil mound. You may also wish to cover your sensitive roses with frost cloths.
Container Plants
What do do if frost damages your plants? Wait!
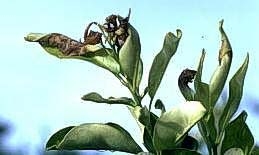
Frost damage occurs when the water inside the cells of a plant freeze, causing damage to the cellular walls, which harms the overall health of the plant. Frost damaged vegetation will wilt, turning brown or black, as if they have been scorched. The bark may crack, or split. In severe or prolonged periods of frost the plant can die.
If you see what appears to be frost damage, wait until late spring until all chance of frost has passed. Plants are resilient and can often recover on its own, producing new growth. Pruning what seems to be damaged branches too soon can cause significantly more trauma, even death, to a vulnerable plant that might otherwise have recovered in the spring.
Resources
- https://ucanr.edu/blogs/blogcore/postdetail.cfm?postnum=22929
- https://sacmg.ucanr.edu/Frost_Protection/
- https://ucanr.edu/blogs/blogcore/postdetail.cfm?postnum=45517
- http://ipm.ucanr.edu/PMG/GARDEN/ENVIRON/frostdamage.html
Denise Godbout-Avant has been a UC Cooperative Extension Master Gardener in Stanislaus County since 2020.
- Author: Jennifer Codron, UC Master Food Preserver
- Editor: Shannon A Klisch, Academic Coordinator II
- Editor: Maria E Murietta, Master Food Preserver Program Coordinator
- Editor: Jennifer Hopkins
With the weather warming up, I am beginning to think of summer potlucks and picnics with friends and family. Even in summer life is busy, so when I saw the social media post from the UCCE Master Food Preservers of El Dorado County on making coleslaw ahead of time and freezing it, I thought I would give it a try. Freezing cabbage isn't something we typically recommend, so I was curious to see how it would taste out of the freezer.
I was able to get some fresh heads of cabbage from my local farmers market as well as some beautiful orange carrots.
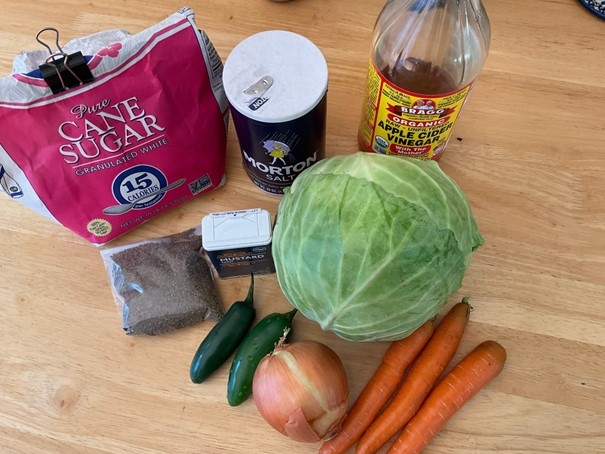
First, wash your hands thoroughly with soap and warm water for 20 seconds and make sure your cooking area is clean. Then gather all the ingredients for the recipe.
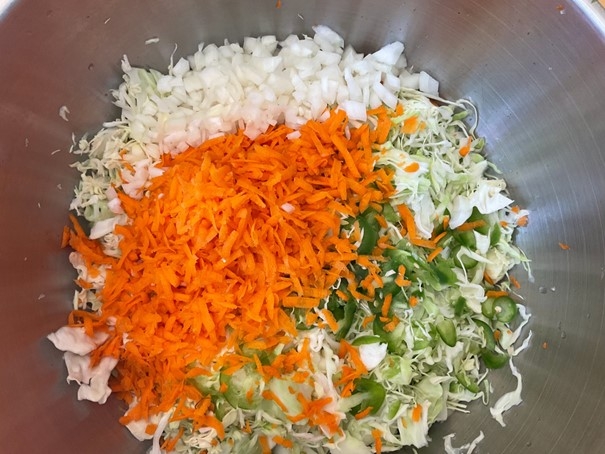
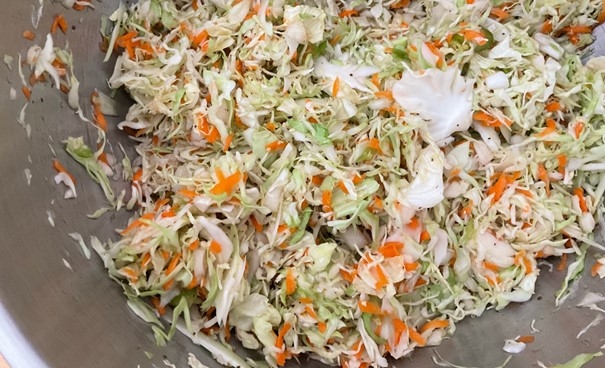
Remove the outer leaves of the cabbage and rinse all vegetables (except for the onion) under cool, running water. Next, start shredding! I find that my mandolin comes in handy for this type of recipe and I use the largest shredding setting. I did not have a green bell pepper so I added some mild jalapeños for flavor and a bit of a kick.
Sprinkle on the salt, stir well to combine, and let stand for an hour.
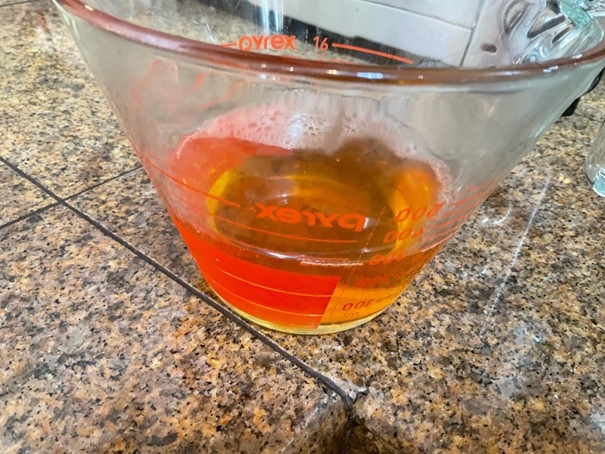
Tip: I waited until the cabbage mixture sat for an hour before I started the syrup, but next time I will start making the liquid right away as it needs to cool before adding it to the shredded mixture.
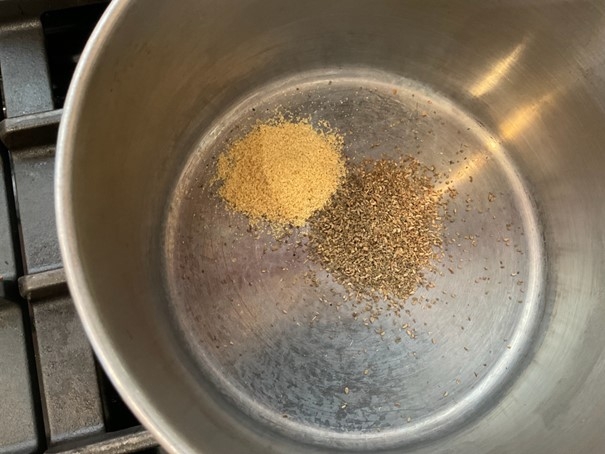
The recipe calls for dry mustard, which I did not have. Instead, I ground mustard seed which gave me the dry mustard! I use a coffee grinder dedicated to only spices for this purpose.
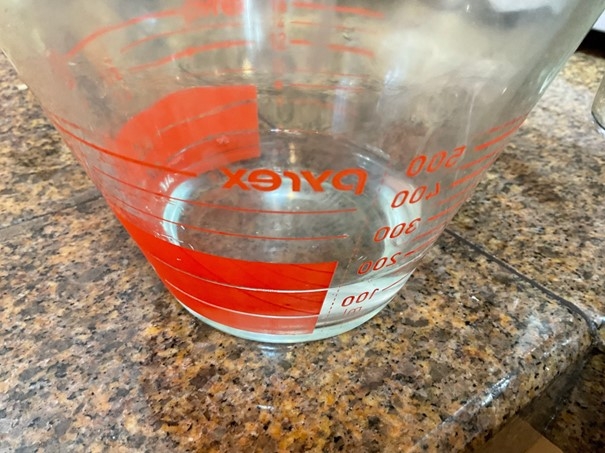
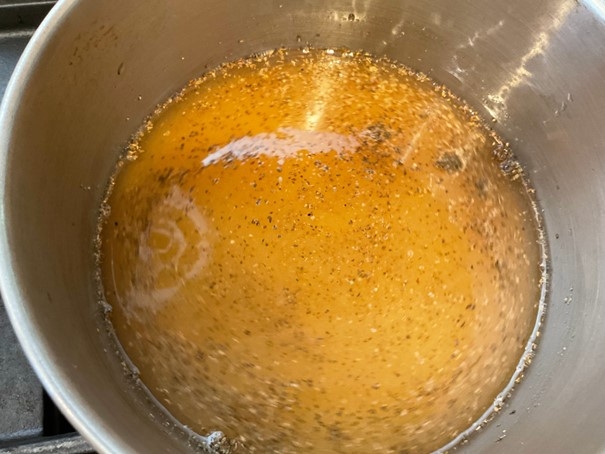
To make the syrup, heat the vinegar, water, dill, dry mustard and sugar in a heavy pan on the stove and bring to a boil. Boil for three minutes and stir to incorporate sugar and to make sure it is dissolved. Remove from heat and let cool.
After letting the cabbage mixture sit for one hour, the recipe says to drain off the liquid. I found that I did not have any liquid at the bottom of the bowl, so I proceeded with ladling the syrup over the cabbage mixture and stirring until thoroughly incorporated.
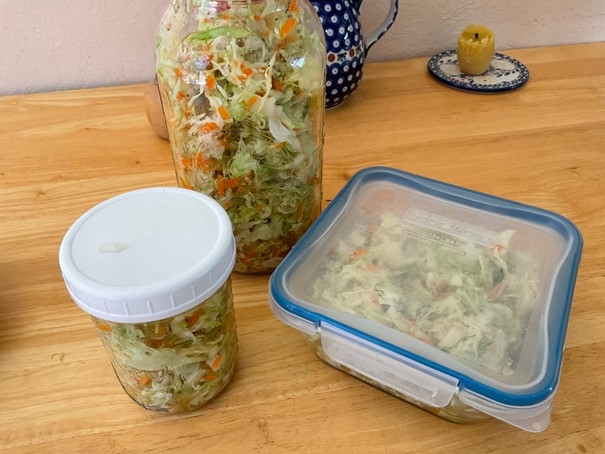
Scoop the coleslaw into freezer safe jars or containers. I used a variety of sizes of glass canning jars safe for the freezer so I would be prepared for a dinner for two or a side dish for a picnic. You could also use freezer bags or other food and freezer safe containers that are moisture-vapor resistant. Be sure to label your containers with the recipe name and date. Some foods are difficult to recognize once frozen.
When freezing foods, it's important to remove as much air from the packaging as possible while allowing enough room for the food to expand. This recipe calls for ½ inch headspace, which means there should be ½ inch of space between the top of the jar and the top of the food. You can use a clean ruler to measure headspace.
So my burning question was how does it taste once out of the freezer? After freezing it overnight, I thawed it in the refrigerator and sampled it for dinner.
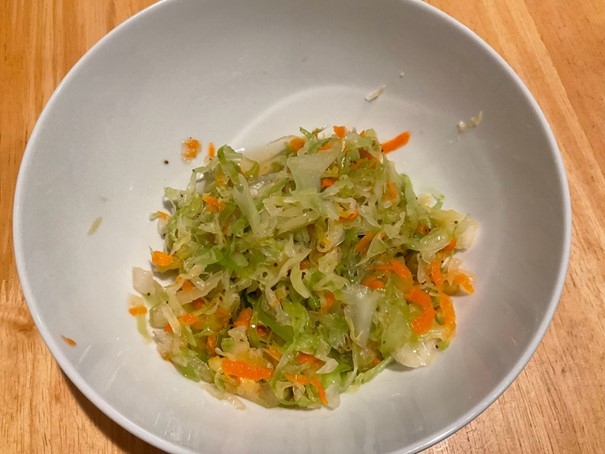
The results? It was surprisingly crunchy after being in the freezer! The coleslaw is quite sweet. I added a little hot sauce to make it sweet and spicy, which would make it a perfect accompaniment on a hot dog,bratwurst, polish sausage or even in a burrito or on tacos. The texture is similar to sauerkraut after 1 day in the freezer. Foods will start to lose quality after prolonged periods in the freezer so it is recommended to eat frozen foods within one year for best quality. This coleslaw will be a great little topping to keep on hand this summer!
Here's a link to the recipe: https://ucanr.edu/sites/mfp_of_cs/files/367352.pdf
- Author: Lynn Pastusak, UC Master Food Preserver of San Luis Obispo and Santa Barbara Counties
- Editor: Dayna Ravalin, UCCE Master Food Preserver Program Coordinator
- Editor: Katherine Soule, Youth, Families, and Communities Advisor
Fava beans, or broad beans, are one of the oldest know cultivated plants carbon dated to over 10,000 years ago according to research published in an online paper in the journal of Scientific Reports. They are a major crop in many countries, but not very popular in the United States – probably because it takes so much time to prepare them (LOL)!? But, believe me, the time and effort are worth it after you have tasted these delicate, buttery, nutty flavored beans.
The plant is like a pea plant. The pods can be harvested young and eaten whole or let them grow until they are big and bumpy, and then eat the bean inside the pod. The pod can be left on the plant until the both the pod and beans are dry.
Fava beans can be eaten raw, boiled, steamed, stewed, mashed, sautéed, fried, or roasted.
Freezing is a good way to preserve fava beans. Here is a step-by-step guide to harvesting and freezing fava beans.
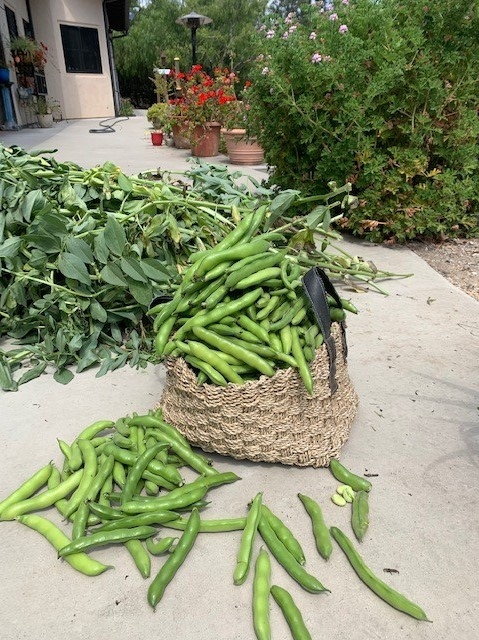
Step 1. Harvest the beans. Look for large green pods that feel like there are little balls inside.
Photo credit: Lynn Pastusak
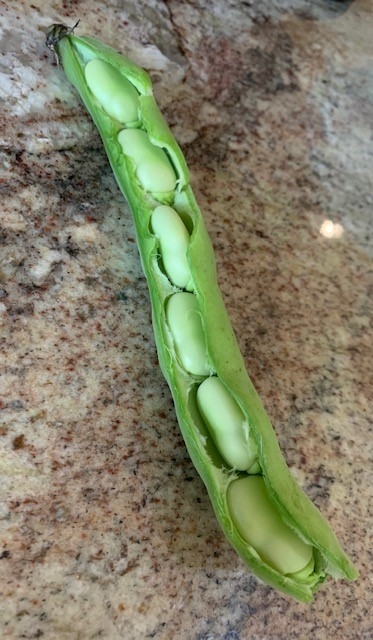
Step 2. Remove the beans from the pod.
Photo credit: Lynn Pastusak
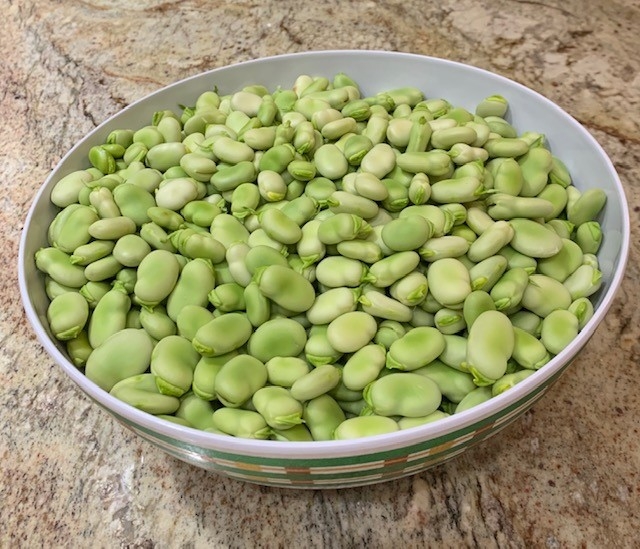
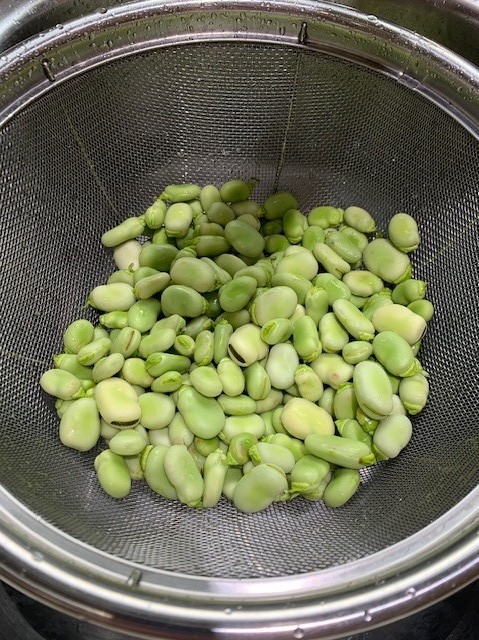
After the beans are removed from the pods, you will have a beautiful bowl of shelled beans.
Photo credit: Lynn Pastusak
Step 3. Put the beans in a colander and rinse with cold running water.
Photo credit: Lynn Pastusak
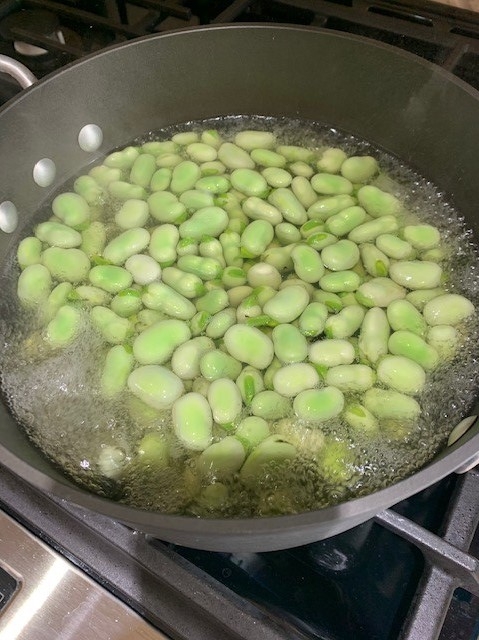
Step 4. Now it's time to cook the beans and get them ready to freeze. For best quality, it's recommended to fully cook the beans. (There is no approved method for blanching fava beans before freezing.) Bring the water to a boil. Add some beans and bring back to a boil. You want to cook the beans in small batches to prevent over cooking. Cook each batch for about 4 minutes.
Photo credit: Lynn Pastusak
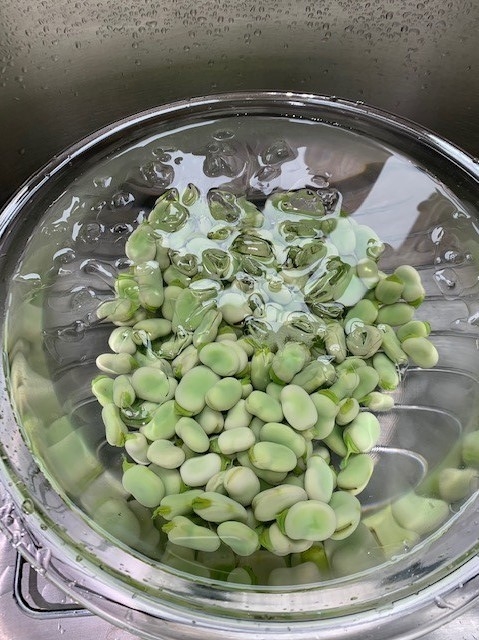
Step 5. Remove the beans from the boiling water with a slotted spoon and place in a bowl of ice water. Let the beans sit in the icy water for about 4 minutes to cool completely.
Photo credit: Lynn Pastusak
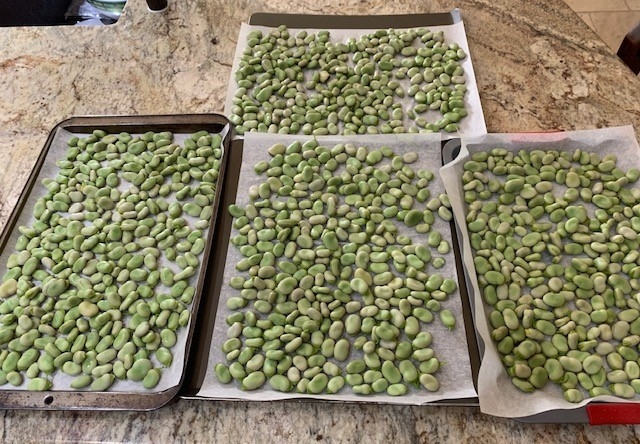
Step 6. Place the beans on a clean towel and dry. Put the dry beans in a single layer on a cookie sheet lined with parchment paper, nonstick foil, or waxed paper to prevent sticking. This method of freezing is called Individually Quick Frozen (IQF). It's a great way to freeze small sized foods and prevents them from freezing in a “clump”. Place the tray with the beans in the freezer for about 2 hours.
Speaking of “clump” – don't make the same mistake I did. I removed the outer layer of skin before layering the beans on the cookie sheet, froze them, placed them in a bag in the freezer and ended up with a wad of fava beans stuck together! Apparently, if the skin is removed, the bean remains moist and they will freeze together. I find leaving the skin on, also protects the bean from freezer burn and they have a fresher texture after thawing. Read more about when and how to remove the outer skin in Step 9.
Photo credit: Lynn Pastusak
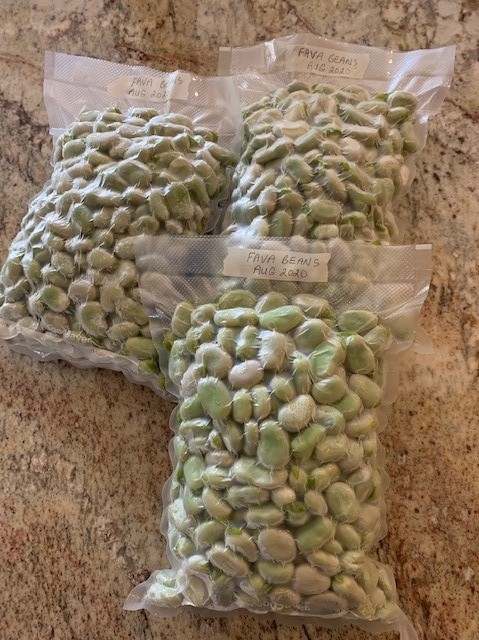
Step 7. When the beans are frozen, place them in a freezer safe bag or container. If you have a vacuum sealer, now is a good time to use it. Label the container with the name and date they were frozen.
Photo credit: Lynn Pastusak
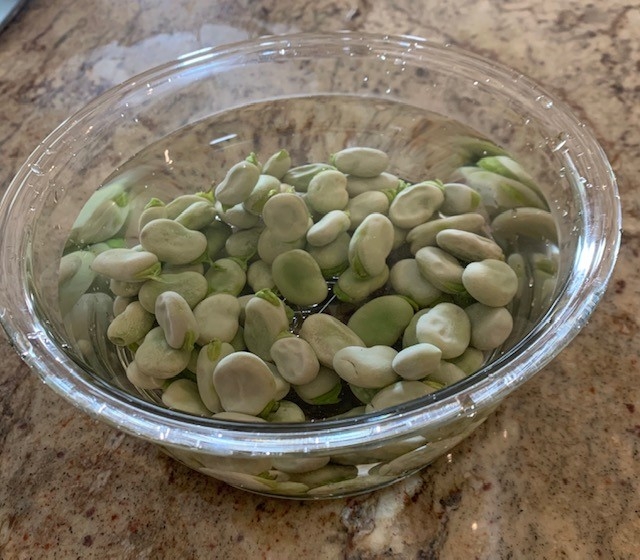
Step 8. The beans are frozen. Now what? When you are ready to eat some, remove the amount you want from the container. Place the beans in a bowl of lukewarm water.
Photo credit: Lynn Pastusak
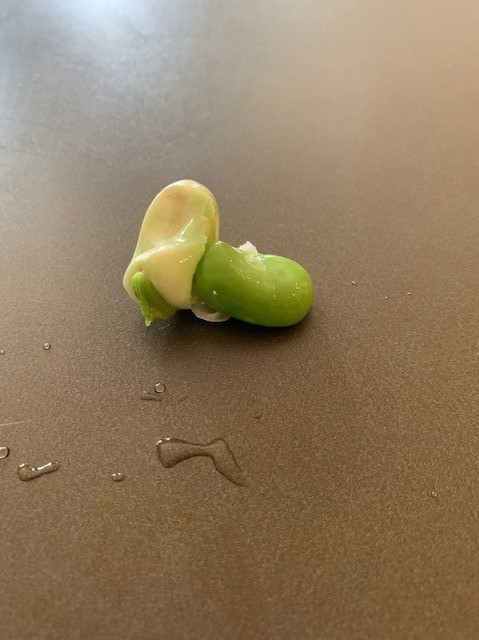
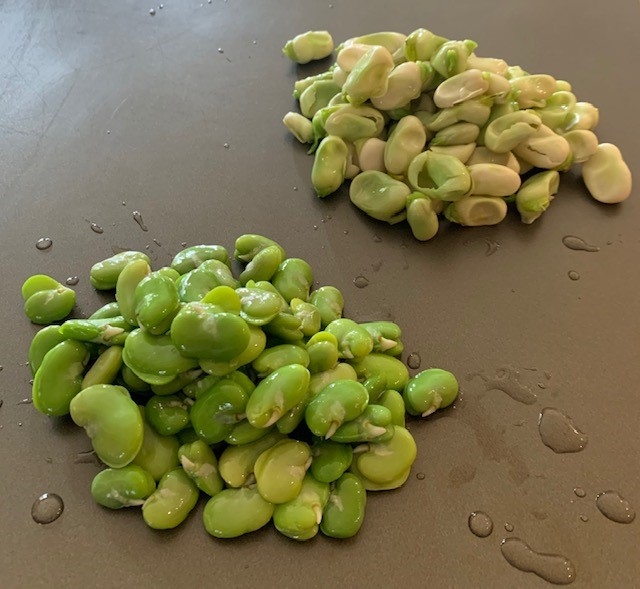
Step 9. There is a layer of skin that needs to be removed. Yes, that is correct…another layer to be removed before you get to that yummy bean! Remember, I mentioned earlier not to remove the layer of skin until now? Put a small hole in the skin with your finger and pop the bean out. It's quick and easy!
Photo credit: Lynn Pastusak
Now you have a nice bunch of fava beans that are ready to eat.
Photo credit: Lynn Pastusak
Fava beans can be eaten cold (add them to a salad or munch on them as a snack). Or, they can be heated as a side dish, added into stew, fried rice, or used in a recipe in place of peas.
Here's my favorite recipe which is quick and easy. It takes less than five (5) minutes to cook.
Sautéed Fava Beans
1 c. fava beans, thawed and shelled (skin removed)
1 tbsp. olive oil
1 clove garlic, chopped
Salt and pepper, to taste
Fresh basil leaves, coarsely chopped
Heat olive oil in a pan. Add garlic and sauté just to soften, about a minute. Add beans, salt, and pepper. Continue sautéing until mixture is almost heated through. Top with basil, stir, and continue sautéing until basil is wilted and beans are completed heated.
Photo credit: Lynn Pastusak
This is a yummy side dish with lemon rice and crab cakes.
- Author: Lauria Watts

If you are really rambunctious try this for your future enjoyable easy eats: freeze small batches of lasagne, leftover pork ribs (these re-heat in the oven most excellently), turkey and fixin's (remember Thanksgiving?) and casseroles--or leftovers in general. Freezing leftover red sauce for pasta is a gift from heaven when tired or sick. You can cook extra chicken when grilling so that it can be defrosted in the refrigerator and you'll have a ready source of sandwich makings or salad add-ins (or casseroles for that matter). There is also the satisfaction of having something at hand to put in the oven on a night when you don't feel like preparing stuff for dinner!
To keep your frozen food safe you must follow good freezing practices. Excellent general advice on such is to be found here: freezing at the NCHFP
If you want to freeze prepared foods, like the lasagne I mentioned above or casseroles try the NCHFP's Freezing Casseroles, Soups and Stews. This is the ultimate in convenience food: your good cooking in your freezer!
For a good booklet (you might want to print up) about freezing all sorts of prepared foods try Preserving Food: Freezing Prepared Foods. You will need a .pdf reader. The foods it covers range from biscuits to whipped cream, and it has a good list of foods that do not freeze well. This is a good and valuable reference to have around the house.
Preserving by freezing requires some organization, just like preserving by canning, but if you can jar fruits and veggies to process, you may certainly freeze other, un-jar-able items as well. As mentioned above, they can be the most convenient foods--sometimes it is nice to be able to throw something in the oven for dinner and not even need to crack open some jars to do so.


