- Author: Ryan Daugherty
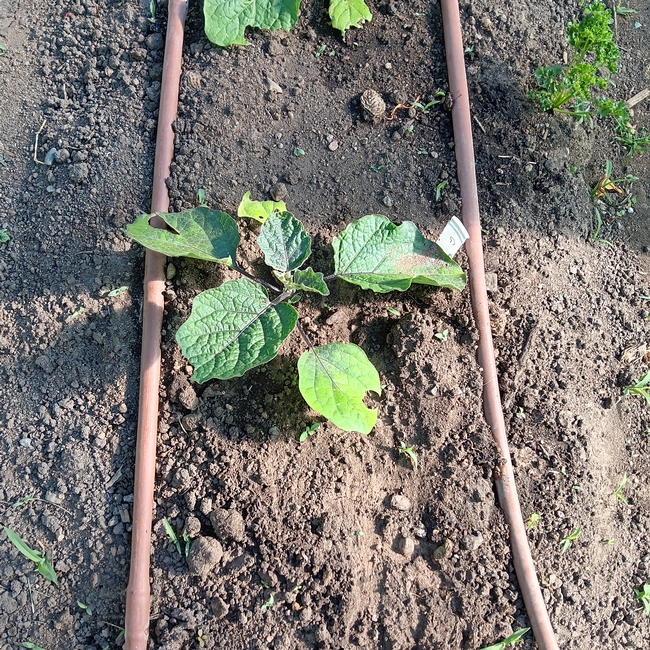
I recently helped one of our local student gardens install a drip irrigation system in some raised beds. During the installation, I had to explain why we were using ½” tubing for most of our system instead of ¼”. Some believed that using the smaller tubing would give us better pressure, like putting your thumb over the mouth of a garden hose. I explained why this would actually result in less pressure and worse water distribution throughout our system. This misconception is common, so I thought I'd discuss it here.
If you think there's no way I'm about to talk physics in a garden blog, prepare to be amazed!
First, a review. Friction is the force that opposes the sliding or rolling of one solid object over another. There are a few different types of friction, but the one most relevant to our irrigation lines is kinetic friction.
Kinetic friction is the force that opposes the movement of two objects in contact while in motion. Think of it like using the brakes on a bicycle: when you pull on the brake lever, the brake pads contact the wheel, and the kinetic friction between the pads and the wheel opposes the wheel's forward motion, eventually stopping the bike. As water moves through our irrigation lines, it is in contact with the inside of the tubing. The kinetic friction between the water and the tubing surface opposes the water's forward motion, resulting in a loss of pressure. In irrigation lingo, we call this "pressure loss from friction" or just "friction loss."
If you could see a cross-section of your tubing while water was running through it, you wouldn't see a solid cylinder of water. Instead, it's more turbulent, with empty space, bubbles, and vortices. If the amount of water moving through the line remains constant and we decrease our tubing diameter, that empty space shrinks, and more water comes into contact with the sides of the tubing. More surface area of the water in contact with more surface area of the tubing generates more friction, resulting in more pressure loss.
Like tapping the brakes on a bicycle, there isn't much friction generated when it's just your thumb at the end of a garden hose. The real pressure loss comes from consistent friction over distance, like holding the brakes down until the bike stops. Multiply even a small amount of friction over any real distance, and you're looking at significant pressure loss.
In response to this, drip irrigation experts developed “rules” or guidelines for drip irrigation. For ¼” tubing, we call it the 30/30 rule: no more than 30 feet in any given run of ¼” line, drawing no more than 30 gallons per hour (GPH). More than 30 feet generates too much friction loss, and hydraulically only so much water can move through any given volume of tubing, hence 30 GPH. For ½” tubing, it's the 200/200 rule, for ¾” it's 480/480, and so on. As our system grows in length and demand, our tubing diameter has to increase accordingly.
If we don't match our system to the length and demand, we risk poor distribution uniformity. We might have to overwater or underwater one part of our garden to properly water another, leading to water waste and poor plant health. For most home landscapes, 1/2" tubing works well since we seldom run more than 200 feet on a single line.
These principles are simple but powerful, and by understanding them, you can make more thoughtful decisions in the design of your drip systems to get the most out of them.
- Author: Alison Collin
The topsoil that had been delivered for our makeover project was not the rich loam that I had imagined it would be, but was the local desert sand. I amended it by digging in three cubic feet of commercial compost to each plot in order to add a modicum of organic matter. This action was also beneficial since it exposed the large roots from my neighbor's mulberry tree that had grown right across our front yard almost to the front door, some 50' from the trunk!
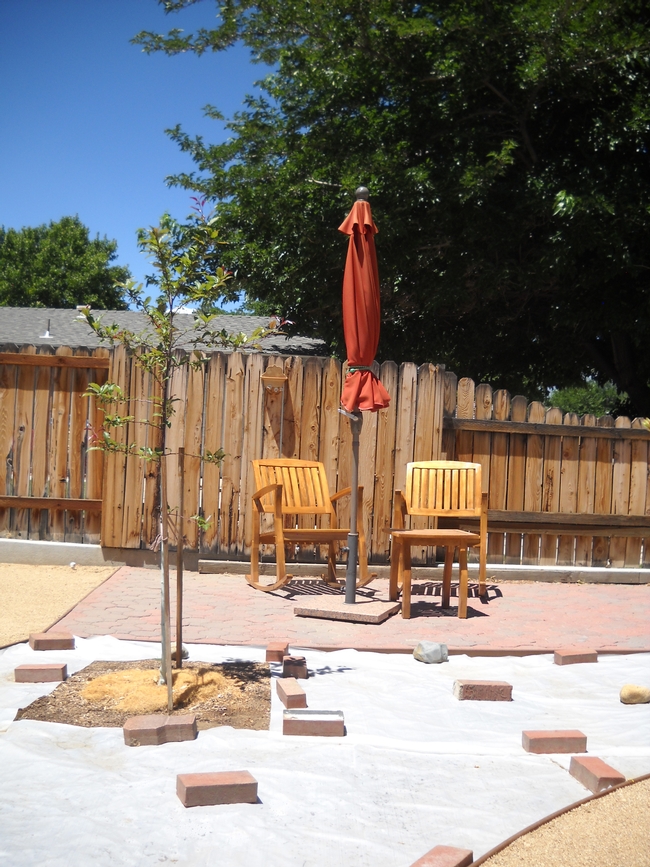
I decided to solarize the two plots on the south side since that area had been particularly weedy and infested with Bermudagrass. These plots were watered thoroughly, and a clear plastic sheet, well anchored with rocks all around, was laid over them. The sheet would be left until the following spring.
Luckily we were able to key into the old lawn irrigation system and put a riser in each plot and also one beside the hard standing which we were planning to use as a patio.
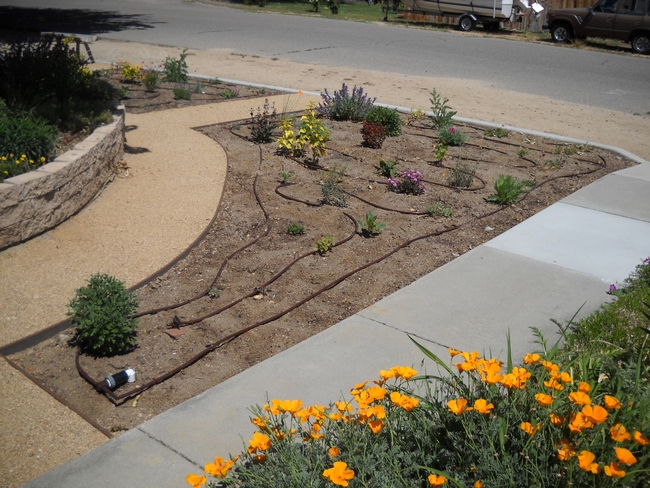
I had thought long and hard about irrigation and wanted something as trouble-free as possible. I decided to use only drip irrigation but considered the usual 17mm tubing too rigid so that I would have to use a lot of joints in order to get satisfactory coverage, on the other hand I did not want the surface to be covered with a spaghetti of ¼ inch black drip lines since in my experience they look messy, often split, and can get kicked out of place unless pegged down in numerous places.
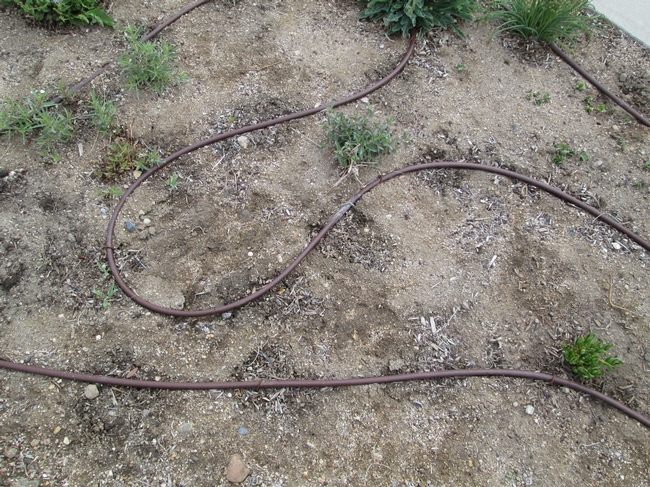
Even low water use plants vary considerably in the amount of water that they need, so those few with the highest requirements are planted where two tubes are in close approximation, while those with xeriscape preferences are planted where the tubing is much further apart.
Netafim Irrigation Info: https://www.netafimusa.com/landscape/products/product-offering/driplines/techline-ez/
(No UC endorsement implied; only relating information about the material used in this project.)
Part 3 will cover plant choices and planting.
- Author: Dustin Blakey
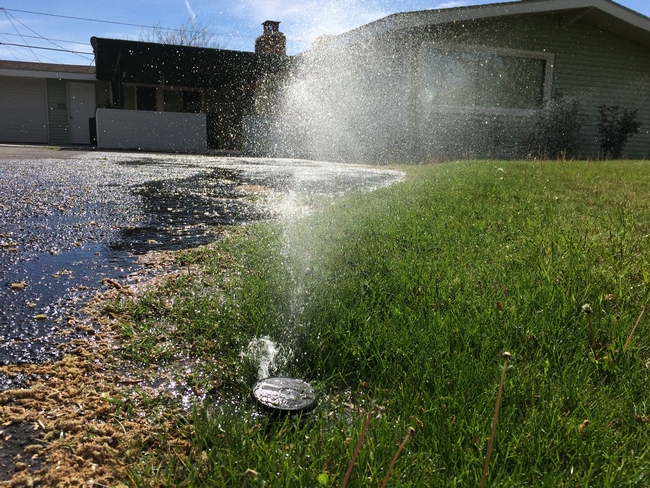
As I was driving my kids to school recently, I noticed that a landscape on the way was irrigating its dormant turf. It had rained the night before. That seemed really unnecessary. Later that day I saw another landscape (with green grass) had a head spraying out into the street. I see irrigation problems almost every day but for some reason that memory stuck.
As a community, we tend to irrigate our landscapes poorly, but we can do better. Ideally we should apply just what our plants need plus maybe a little extra to make up for variability in our sprinkler system. It's not uncommon for a landscape in Bishop to use 2 or 3 times the water it needs. Assuming that water makes it on to the lawn. Last summer there was a small creek along the curb in my neighborhood every morning from someone's broken irrigation up the street. And to be fair, I have a head that often gets flipped backward and then waters the driveway.
Maybe in a future post we can cover how much water our lawns need and how often to run the system, but today I think a good place to start is how to make sure your system is working correctly. Rain Bird has a nice spring checklist, but the process should involve a bit more.
A good practice is to begin the season with an irrigation audit. This is a process where we check to make sure everything is working as it should, and we check the output of our sprinklers to make sure they are uniform. Uniform application saves water since we don't have to over apply water to get the dry places wet enough.
All irrigation audits start by running the system and making sure sprinkler heads are working and pointing over grass. This is usually simple to address. You may need a small screwdriver to make some adjustments but that's about it.
From there you can choose how complicated you want to be. Commercial turf managers will audit their systems using at least 20 special catch cans to measure the system's output and variability. That's probably over-kill at home.
Oklahoma State Cooperative Extension has a very simple version of this test that will tell you each sprinkler zone's output in inches per hour using tuna or cat food cans. This will allow you to set your sprinkler system to water just the amount the lawn needs rather than "15 minutes every day" type scheduling. They even include a short video. SIMPLE AUDIT LINK.
If you use this system I'd recommend looking at each can to see if they are about the same level. If they vary a lot, you may need to consider some maintenance on the system. As a rule, most sprinklers are designed to have head-to-head coverage in their pattern. If your system does something else--that's common around Bishop--expect a lot more variability.
At the very least, run your system and watch it for a few minutes. Put a catch can or 2 of any type with straight sides on for one cycle to confirm how much water you're applying. Sticking a ruler in is a good way to measure. You may be applying more or less than you think!
If you are interested in figuring out out to properly schedule up your irrigation, the Master Gardeners can help with that, but we will need to know each zone's output in inches per hour. You can contact us at immg@ucanr.edu.
- Author: Lori Plakos
Conducted by Master Gardener Volunteer, Lori Plakos.
I planted a 10'x10' test garden using different mulches to compare their effect on the production of bell peppers.
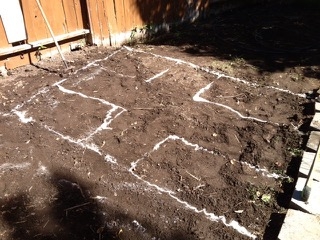
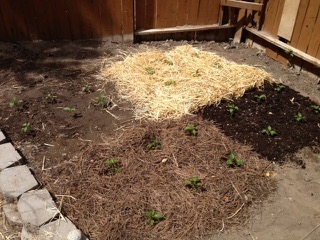
The test crop was bell peppers. Each plot was planted with three specimens each of red and yellow varieties which were purchased from a local nursery. These were planted on April 25, 2013. Unfortunately, the plants were subjected to a heat wave the following week, while I was out of town, and the housesitter had a difficult time keeping the plants moist, with the result that the control plot and the straw plot each lost a plant, and two died in the pine needle section, while those in the vermicompost all survived.
Variables to consider:
- Automatic sprinkler irrigation may have been inconsistent through the bed.
- Proximity to a fence may have influenced sun exposure. The straw and pine needle plants were furthest from the sun protection of the fence.
- Difficulty determining when to harvest. Waiting until peppers changed color appeared to be too late - they often rotted on the plant. I wasn't sure if I should consider all fruit, particularly toward end of season when fruit wasn't completely ripe. I included fruit of a particular size from all plants, even though I personally try to eat only colored peppers that are fully ripe. I know a lot of people eat green peppers.
Observations:
The non-mulched section (5 plants) grew weeds. The largest grasses were removed to prevent spread.
The straw mulch plants (5 plants) had problems with pests, mainly slugs. These were controlled using Sluggo 11. All of the plants had their share of pests, but the straw mulch was the worst. I've read that is a problem possibly due to the less dense nature of the straw harboring the pests. I have used a lot of straw mulch due to the fact it's readily available in my area and economical. I plan on running it through a shredder to make it more compactable and not using it where pests are a concern.
Those mulched with worm compost (6 plants) produced the strongest plants. The nutrients in the vermicompost helped the health of the plants. My preference would be to use that, but it is expensive to be able to use it over large areas. I do a lot of regular composting (mostly grass clippings and leaves), but I worry that working compost that isn't fully composted into the soil will compete with the plants. However, using it as a mulch will allow it to work in the soil over time when it is fully composted and giving the plants nutrients along the way.
The pine needle plants (4 plants) produced the largest crop per plant and overall in spite of the early plant losses and being furthest away from the fence's sun protection.
Results by Total Crop Weight rounding off to the nearest oz.
- Non-mulch: 52 oz.
- Straw mulch: 35 oz.
- Worm compost: 129 oz.
- Pine needles: 161 oz.
Conclusion:
The biggest thing I learned with this test is to MULCH. The most effective thing I learned about mulching during a drought is the resultant reduction in weeding and watering, which is very significant. The less attention you have to give to a particular plant, the more attention you can give to other parts of your garden.
The vermiculture mulch was the most expensive but those plants were the healthiest looking and best grown although they did not produce the heaviest crop. Those under pine needle mulch produced the best yield, far surpassing those grown either under straw or with no mulch at all.
- Author: Alison Collin
- Remember to winterize irrigation systems before the heavy freezes start. If you have a “frost free” faucet attached to the wall of your house, make sure to disconnect any hoses from it, especially those with a pressure nozzle attached. The mechanism is inside the house wall, and the stretch between the mechanism and the actual faucet is prone to bursting in cold weather if water cannot drain from it. The same applies to “splitters” or Y connectors – either remove completely or make sure that the nozzles are in the open position.
- If you banded trees with Tanglefoot for insect control, remove the bands for the winter.
- Check any plant ties to make sure that they have not become too tight over the summer and loosen or reapply as necessary.
- If you did not harvest bush or climbing beans when fresh, leave them to dry on the vines and then harvest them as dry beans for use in soups. Put them in the freezer for a couple of days after shelling them to kill off any bugs.
- If you are planning to use straw mulch over the winter, make sure that you buy straw and not hay. Hay contains seeds of grasses, oats or alfalfa and although these are nutritious for stock they will rapidly grow in the garden – and who needs all that weeding?


