- Author: Vivian Patterson
I have a small growing area at the side of my house in Bishop that gets lots of heat and very little sun. I started planting onions in this area about 10 years ago but found that the bulbs never got more than 1-2” in diameter. Now I intentionally plant onions there every January that I freeze whole.
Here is my process.
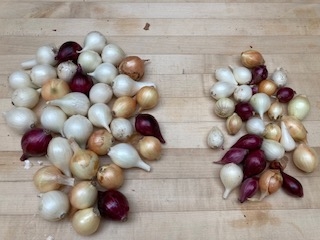
After the onions have been picked, dried, & cleaned up, separate into groups according to size.
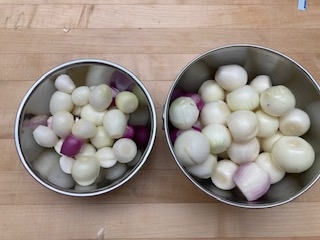
Peel onions keeping sizes separated.
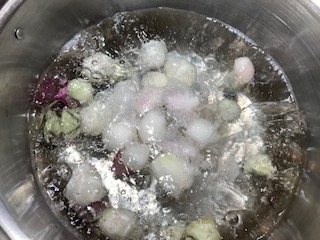
Blanch Onions for 3 minutes. (Here is how to do this.)
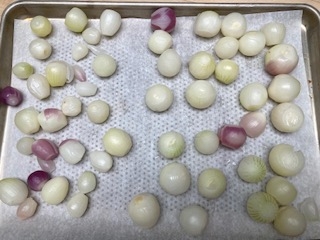
Drain and Prepare to Individually Freeze, Freeze until frozen solid. Overnight is good.
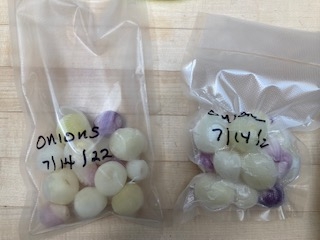
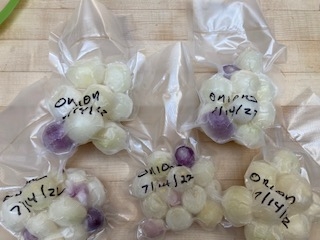
When frozen, remove from freezer. Label Bags. Put desired portions into bags.
Seal all bags. Remove air before sealing.
Notes about Frozen Onions:
- Frozen Onions should only be used for cooking. They are no longer used raw.
- Very small frozen onions may be used in recipes calling for frozen pearl onions.
Uses for Frozen Onions:
- Stews*
- Roast Meats*
- Boeuf Bourguignon*
- Coq au Vin*
- Braised as a side dish (https://www.food.com/recipe/braised-onions-a-la-julia-child-148656)
- Sauteed as a side dish
- Soups
*Braise your onions first. See braised Onion recipe link. Always thaw your onions before braising.
Editor's Note: The Master Food Preservers have a demonstration plot at the Bishop Community Garden. They use the produce from that garden to share safe food preservation practices. As many readers of this blog may have onions ready in your garden, this may be of interest to you. If you have questions about home food preservation, please send your questions to the helpline: immg@ucanr.edu. To learn more about raising onions in the Eastern Sierra this this fact sheet: https://ucanr.edu/sites/
- Author: Alison Collin
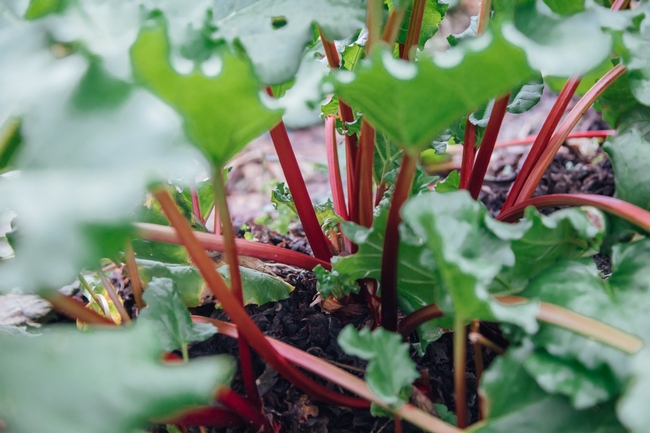
The herbal qualities of rhubarb (Rheum rhaponticum) have been treasured in China for thousands of years, its export to the outside world often being forbidden. The type which we now eat originated in Russia, and reached America by way of Europe in the 1770s. It is grown primarily for its succulent stems which can be made into various desserts and preserves. (What we usually call stems on rhubarb are actually petioles – a “leaf's stem”). The leaves, however, contain high quantities of oxalic acid and are very toxic. Stems can be harvested as early as April in the Owens Valley, long before any fruits are ready, and in many countries plants are “forced” to obtain an even earlier crop. Large terracotta forcing pots were part of my childhood scene in England, although one seldom sees them now. I have not found anyone who has tried forcing in our area.
As with so many plants from temperate climates, rhubarb is on the edge of its range in the high desert but with afternoon shade and sufficient water it can do well. Responses from Master Gardeners in the area show that either they cannot get it going or else they cannot get rid of it! Unfortunately the names of the varieties that various people have tried have been lost in the mists of time, but the three Master Gardeners who failed were trying to grow red stemmed varieties which are considered less heat tolerant.
I grow a very robust green, slightly red-tinged variety, which I believe to be 'Victoria', given to me (and many others) by a gardener in Bishop. The mother plant has been producing and spreading for many years, and mine has shown no signs of weakening after three years, although plants on a south-facing wall under dappled shade grow flatter and are much less productive than one planted against an east-facing fence. Another recipient of the same stock planted hers on a shaded west-facing fence about 8 feet away from a stream with no additional irrigation and has an enormous plant. One person has it planted on the north side of her house and finds that it grows well there.
Master Gardener Bobbie Stryeffeler has a prolific red-stemmed variety the leaves of which have red veins. Red varieties commonly found in nurseries include 'MacDonald' and 'Crimson Cherry' which is grown in other areas of California, and is one of the best since the red coloring goes right through the stem and does not cook out. Although there is supposedly no difference in sweetness between the red and green stemmed varieties, the red stemmed ones definitely make more attractive-looking jams and pies.
The large, bold plants can be quite handsome and many gardeners consider them ideal for incorporating into an edible landscape. Allow about one square yard per plant. Rhubarb takes a couple of years to become established, but then needs dividing only every 5 – 10 years, so it is necessary to prepare the soil very well - digging deeply, removing all perennial weeds, and adding a generous amount of rotted manure or compost. Plenty of moisture – preferably by drip irrigation - and protection from the sun during the hottest part of the day are requirements, and although quite hardy they benefit from a covering of mulch during the winter. They have a long, thick, woody rootstock at the top of which are “eyes” or buds which give rise to many petioles, each topped with a large leaf blade. Plant in early spring placing the eyes so that they are covered with about 2'' of soil. A winter chill below 40°F is required to induce rapid growth in the spring and early summer which continues until the temperatures reach above 75°F at which point the plants become dormant until cut down by the first severe frost. Plants should be mulched annually with well-rotted compost or manure, or else fertilized with a 10-10-10 formula.
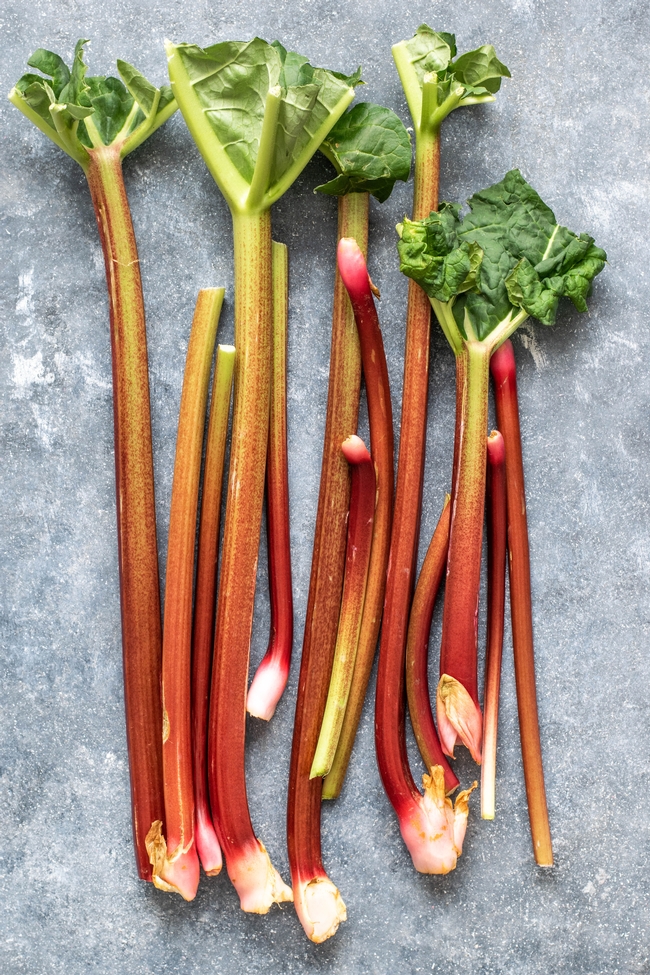
Do not harvest any stems the first year, and in the second year harvest only lightly. After that full harvesting can begin, but never pull more that 30%-50% of the stems to ensure you leave enough leaves to feed the plant. The younger stems are most flavorful and tender. Pull the stems from the base of the plant with a slight sideways motion – do not cut them as this leaves a stub that may rot. Many experts recommend removing the leaves immediately. The harvested petioles can be used fresh, or frozen, or preserved for future use.
The leaves may be safely composted. Flower spikes appear as a large sheath-covered bud at the base of the plant and should be removed as soon as they become apparent since they deplete the plant's reserves, although in some countries the flowers are said to be dipped in batter and fried. The green-stemmed varieties tend to bolt more than those with red-stems.
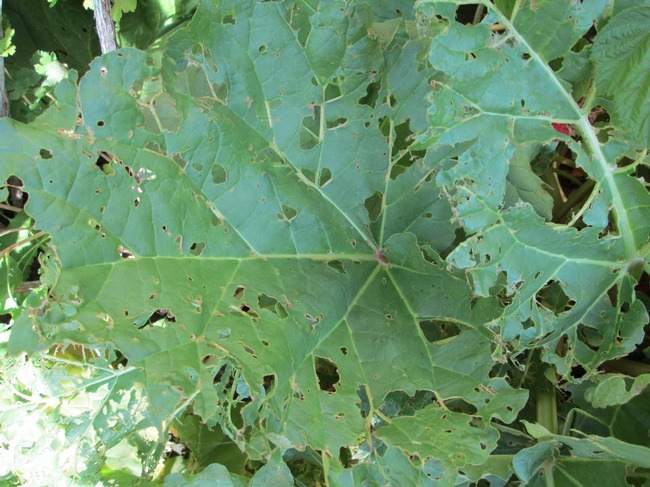
A word of warning: The leaves contain very high, toxic levels of oxalates and anthraquinone glycosides. However, the stems also contain lesser amounts and excess oxalic acid is excreted by the kidneys. It can combine with calcium to form calcium oxalate. Excess crystals of this compound lead to the formation of bladder or kidney stones, so people suffering from these conditions, as well as those with kidney disease or gout should avoid eating rhubarb.
Just thinking of rhubarb takes me back to my childhood. Candy was rationed, so a special treat was to be given a little cone of paper containing sugar, and a tender rhubarb stem for dipping. There are whole cook-books devoted entirely to rhubarb recipes so if you are successful in growing this plant it should be easy to find something to do with it!
- Author: Ariel Bohr
This year especially, many people have been eager to get an early start on their vegetable gardens. I felt the urge to get a head start on my garden as well, but unfortunately there are many variables outside of my control that determine when I can safely put plants in the ground without fear of them being killed by a spring frost. What to do when I'm ready to begin — my starts are an appropriate size, but I'm not “in the clear” with the weather?
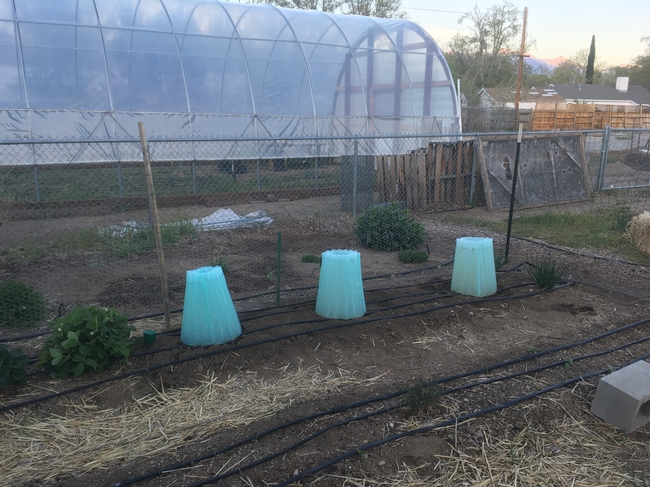
This year I decided to try using Wall-O-Waters, which at first glance resemble oversize freezer packs. In truth they are relatively simple structures about 18" tall and 17" in diameter which are designed to protect plants from the elements by forming a barrier to the wind and cold and extend the growing season by creating a warmer environment. While there are many materials that can be used to create a barrier between plants and the elements, the thing that makes Wall-O-Waters so special is the water.
Water is poured into vertical cells to give the Wall-o-Water its shape as well as its efficacy. Throughout the course of the day, sunlight heats up the water in the cells and warms the plants. Water retains heat very effectively and this warmth protects plants from frost damage. Counterintuitively, as water freezes it releases heat, which further protects the tender plants inside. Wall-O-Waters are most commonly used in conjunction with tomato plants because of their sensitivity to cold. This is the crop I will be using them on as well.
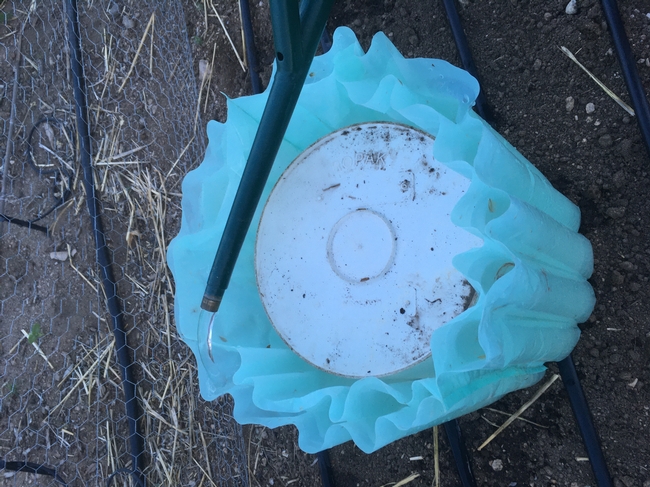
I found that the easiest way to set up Wall-o-Waters was with a 5-gallon bucket and a partner. The Wall-o-Water website recommends setting them up 6-8 weeks prior to the last frost date in order to warm up the soil to create an optimal environment for root growth. Unfortunately I did not see this advice until perusing their website while writing this post! Rather than setting up the Wall-O-Waters in advance, I set them up just after planting my tomato starts. To do so, I put the bucket face down so that it was protecting the plant. I then slid the empty Wall-o-Water onto and around the bucket, making sure that the “open” sides of the cells were facing up. As my partner held open each individual cell, I used a watering can with a narrow spout to fill each pocket. If you're setting up without a bucket, it's a good idea to remember to create counter balance during this process so that the whole thing does not tip over. Once I was done, I carefully removed the bucket. If the Wall-o-Waters act as advertised, they should protect my plant in temperatures as low as 12℉ and give the plants an extra dose of warmth on chilly nights.
Considering the recent heat wave, this whole exercise may have been unnecessary, but extra precautions are never a bad idea in the fickle Eastern Sierra.
Here's hoping this yields some early tomatoes! Updates to follow.
Sources: https://www.wall-o-water.com/
- Author: Trina Tobey
Every parent has been there. You spend an hour chopping and stir frying veggies and cooking up that perfect sauce just to hear, “This is gross!” or “I'm not hungry!” as your children make disgusted faces and unenthusiastically poke at the food on their plates. You're goal: to feed your children healthy delicious meals. Their goal: to eat dessert or unhealthy snacks instead. We've all given the lecture, “You should be grateful you have healthy food to eat because a lot of children go hungry.” I've even sermonized to my three kids about all of the people and work it took to put that meal on their plates.
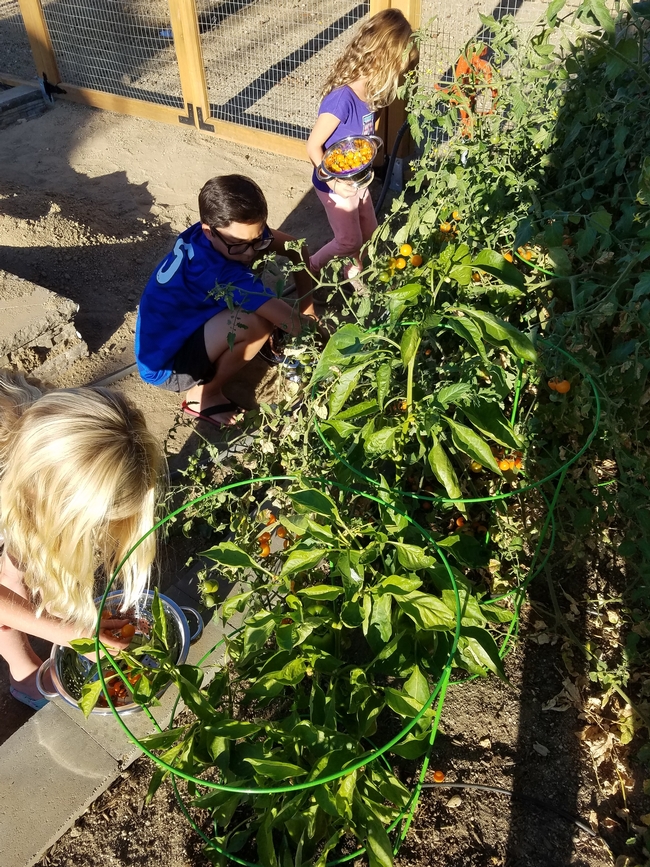
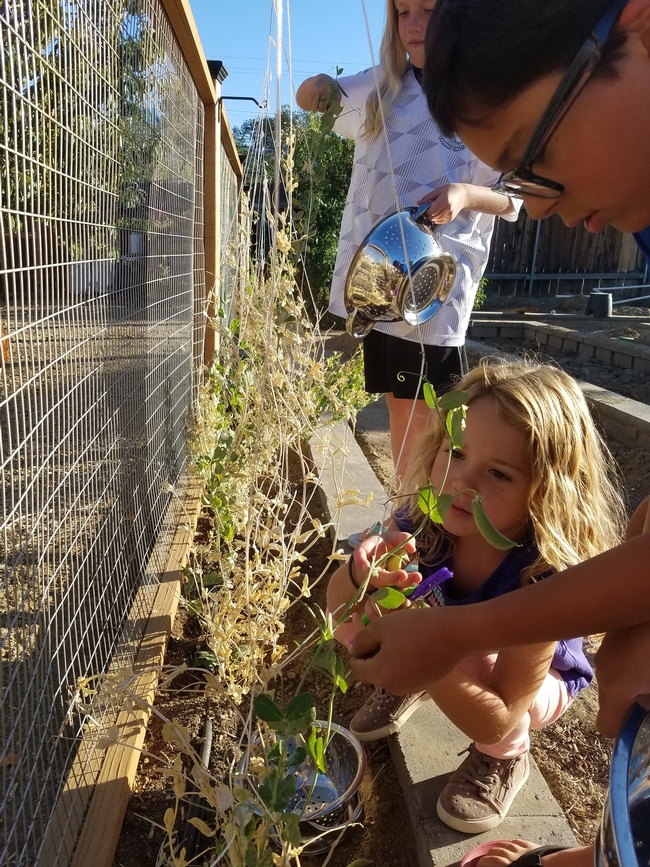
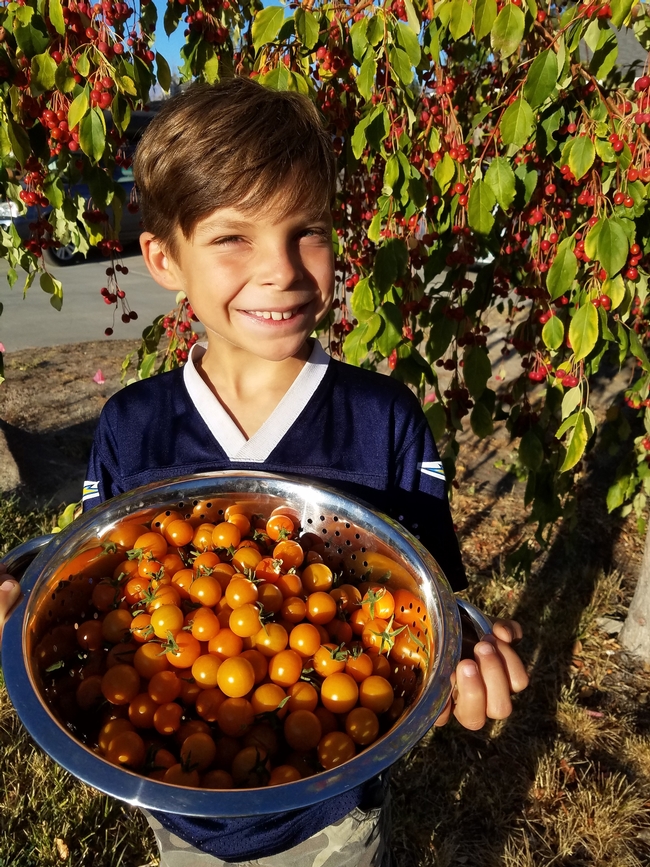
Nothing, however, is more powerful than doing. Getting my kids out in the garden involved in the growing of their food has been the most effective “trick” to getting them to eat vegetables. They eat everything from chives to tomatoes straight out of the garden, especially when I tell them to “Stop eating all of my vegetables!”
The most important component to successful gardening with children is, you guessed it, FUN! We bought our kids colorful kid-sized gardening tools and gloves. These were gleefully accepted with a shout of “toys!” Next, get rid of any ideas you have of how your kids are going to garden. After making the mistake of expecting my kids to garden in a neat and orderly way following my directions and ending up nagging them to death, I learned instead to designate a plot in the garden for each child, let them pick out their plants or seeds at the nursery, and then, after some light instruction, I let them go at it in their own way. Sometimes things grew, and sometimes they didn't. It's all part of the learning experience.
In addition to eating from the plants in the garden, gardening has been healthy for my kids in several ways. They are getting outside and moving their bodies instead of sitting in front of their electronic device of choice. They are building skills and abilities which make them feel confident, especially when they see something they planted grow and produce. They are learning experimentally about the soil, how plants grow, and the bugs and birds that rely on the plants. Most importantly, they are sharing the experience with you!
- Author: Amy Weurdig
It's been awhile since I attempted gardening any kinds of vegetables out in the Mesa after the initial year of failures.
I thought hard about putting in raised beds closer to the house, maybe putting in a pest deterrent fence around it.
I've had some fun and a lot of success having my garden at the Bishop Community Garden, so why would I want to garden at home? Well, it'd be great to just pick what I needed for the meal right then, rather than planning on it ahead of time and driving the 11 miles into town. Not very eco-friendly to keep driving back and forth to get a tomato!
So this year, we had some left over tomato starts and I acquired a six pack of habanero peppers that I decide to try out in a trug – you know one of those rubbery garden buckets. The idea being that the trug would elevate the plants enough that the critters couldn't reach them – like a raised bed.
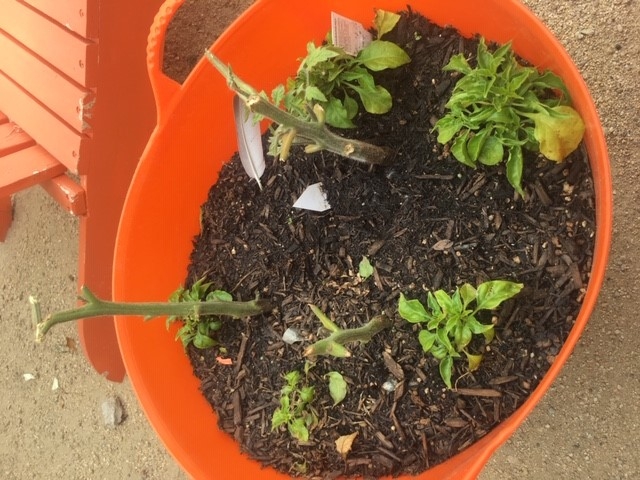
Fast forward 3 weeks: the plants looked pretty good. Had some crazy windy, cold, rainy weather for a couple weeks,but the plants still looked good. Then one evening I went out to water and found stumps.
All my plants were stumps. Cleanly eaten with no evidence at all other than the stumps.
So, my test showed that if I should do raised beds, they need to be at least 3' feet off the ground, enclosed in a wire cage, in order to see any fruits of my labor.
Here is the moral of my story: I'll keep my plot at the Community Garden where I get to see my friends, pull weeds, and pick my veggies free of pepper-eating varmints.


