Posts Tagged: jam
Preserving persimmons
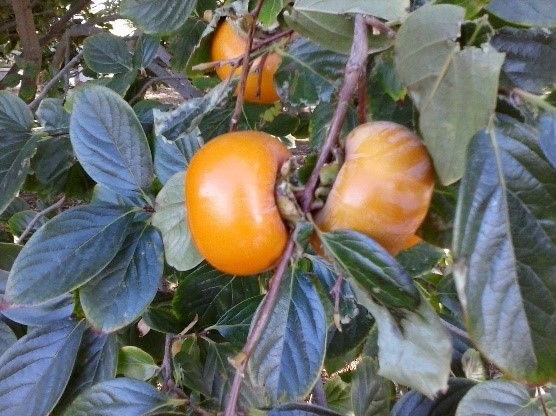
If you have a mature persimmon tree, you know it produces more fruit than you can consume fresh. But the good news is that there are ways to preserve them. You can freeze them, dry them, or turn them into jam. But before we go into the details of preserving persimmons, let's quickly review the two major types of persimmons that exist.
Persimmons are generally categorized as astringent or non-astringent. Non-astringent persimmons, such as the Fuyu and Jiro, are oblate shaped and can be eaten crisp like an apple, or slightly soft. Astringent persimmons, like Hachiya, are larger and acorn shaped. They are highly acidic and bitter unless they are really ripe, to the point of being somewhat mushy.
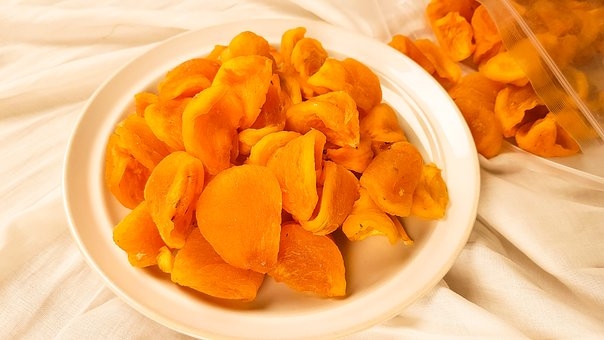
The most common method of preserving astringent and non-astringent persimmons is to dry them. Dehydrating astringent persimmons also removes the astringency. To dry persimmons in an electric food dehydrator, select firm persimmons and wash them under running water, patting them dry with a paper towel. Remove the stems. You can peel them or leave them unpeeled. Slice them into a quarter of an inch to no more than half inch slices. Lay the slices single layer on the dehydrator tray and dehydrate. To test for dryness, cut a couple of pieces in half. You should not be able to squeeze any moisture out of them, and there should be no visible moisture. And if you fold the piece over, it should not stick to itself.
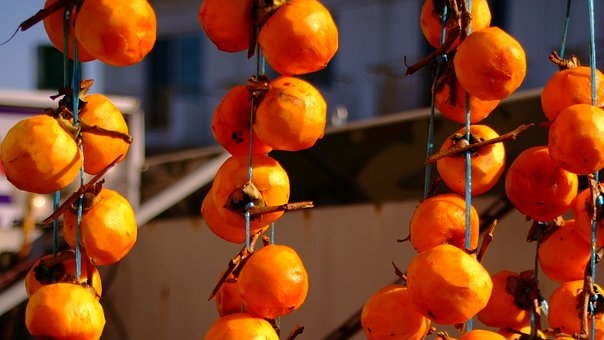
Astringent persimmons are also frequently dried whole Hoshigaki style, i.e. open air drying the whole persimmon. To dry Hachiya persimmons Hoshigaki style, harvest only orange, firm persimmons for this purpose, leaving about one and a half inches of the stem intact. Trim away the calyx (the green ruffled top,) being sure to leave the stem intact. Next, rinse the persimmon under running water, drying it with a paper towel. Peel away the skin. Tie a foot-long length of cotton string to the stem and hang it from the rafters or some other well-ventilated area for it to air dry. It can take one to two months to air dry. When dried, the persimmons should feel leathery but still pliable.
You can also freeze persimmons to use later in baked items. To freeze persimmons, puree the pulp. It is recommended to add 1/8 teaspoon of ascorbic acid to each quart of persimmon puree. Place the pulp in a canning jar or freezer container being sure to leave sufficient head space. (See https://nchfp.uga.edu/how/freeze/headspace.html if you're uncertain how much head space to leave.)
And if you do not mind the natural texture of ripe astringent persimmons, you can simply freeze the ripe pulp as is to consume later as a frozen treat.
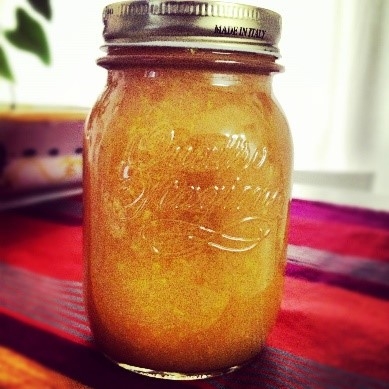
Persimmons can also be made into jam. Although you can find a lot of persimmon jam recipes on the web, many of them are not from reputable sources and may not be safe. Only use jam recipes from trusted sources such as the National Center for Home Food Preservation, pectin companies, universities etc. If you are uncertain if a jam recipe is safe or not, contact your local UCCE Master Food Preserver Program for assistance. Two sample reputable persimmon jam recipes can be found here: www.kraftrecipes.com/recipes/mcp-persimmon-freezer-jam-63386.aspx and www.pomonapectin.com/recipes/persimmon-jam/.
Sources/references: National Center for Home Food Preservation www.nchfp.uga.edu and “Persimmon Time.” (a handout), Author: Olive McCracken, Home Advisor, University of CA Cooperative Extension, Solano County.
For more information about the UC Master Food Preserver Program, including the Food Preservation Video Library, visit mfp.ucanr.edu.
Not your grandma’s jam
As a UC Master Food Preserver Program Coordinator, I've had the privilege of teaching new volunteers eager to learn more about food preservation, who then teach in their local communities.
Many students are experienced food preservers, creating delicious jams and jellies for their family and friends. It's exciting to see the ah-ha moments when I explain and discuss the reasons behind the research-based preservation techniques UC Master Food Preservers teach. Just because grandma or mom did something and no one got sick, does not mean that the process is safe by today's standards.
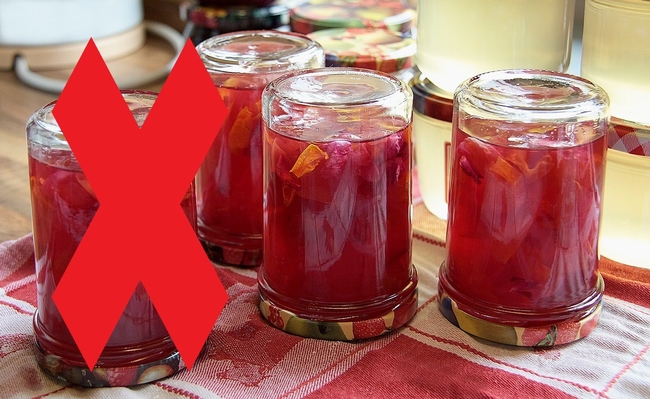
The traditional methods of preserving jams and jellies was to cook the product, put it in a sterile jar, and either pour melted paraffin wax on top or put a lid on then turn the jar upside down to force a seal. Each method has its own set of food safety concerns.
Using paraffin wax to create a barrier between the jam or jelly and the surrounding environment was fairly effective as long as the product was stored in a consistently cool place, such as a root cellar. Not many of us have the luxury of a root cellar. Unfortunately, if the storage temperature of the jar fluctuates, the wax contracts with cold temperature (letting in pathogens and – in my country house – ants) and then expands with warm temperatures to trap the undesirables in the product beneath the wax.
If there was mold under the wax, it was a common practice to scrape it off since it only appeared to be on the surface. We know better now. Molds don't just grow on the surface, they can create carcinogenic toxins (mycotoxins) that remain in the food, invisible to the human eye.
Another common canning practice was to sterilize the jars, fill almost to the top with hot jam or jelly, put the lids on, and turn the jars upside down to force out the air and create a vacuum seal. This is open kettle canning. This method made a more consistent barrier than wax, but there is still a common potential problem with the food inside the jar: there is no guarantee you destroyed all food borne pathogens and spoilage organisms.
When we boil jam and jelly in a cooking pot, we still don't reach a high enough temperature to destroy all spoilage and food poisoning organisms. Plus, the air is filled with floating microorganisms trapped in the jar when we add a lid. When we process a jar of jam or jelly in a boiling water or atmospheric steam canner, there's enough of an increase in the temperature within the jar to destroy the pathogens and enough of a pressure increase to force air out of the jar. When we remove the jars from the canner, the pressure equalizes and the vacuum seal forms over pathogen-free food.
Often people don't realize the purpose of adding (so much!) sugar to a jam and jelly isn't just to add sweetness. Sugar preserves the food and partners with the pectin to form the gel.
When I teach about the purpose of sugar in a jam or jelly, I have students (youth and adult) act out what happens in a jar of jam. Three volunteers at the front of the room represent water, sugar, and pathogens (the bad guy). Foodborne pathogens need water to grow, so if the pathogens have access to the food's water (the water and pathogen volunteers link arms), the pathogens do what they're supposed to do: grow mold, slime, fuzz – all that disgusting stuff you find growing in the containers shoved at the back of your fridge. We need to separate the water in food from the pathogens, so we bring in sugar. At a molecular level, the sugar molecules bind with the water molecules (the water volunteer now links arms with the sugar volunteer, leaving the pathogen volunteer off to the side). This bonding lowers the water activity of the food, making the water unavailable to the pathogen (private party by invitation only). The pathogen wants to join the food party but the sugar acts as a bodyguard, keeping the pathogen away from the food's water and preventing the pathogen from growing (the sugar volunteer blocks the pathogen volunteer from getting near the water volunteer). That's how sugar preserves the jam and jelly.
But what if you want to have a low sugar jam or jelly (aka fruit spread)? First, use a pectin and recipe designed for low-sugar to get a good gel. (Low-sugar pectin uses calcium instead of sugar to make the gel. Regular pectin uses sugar to make the gel, so if you just cut the amount of sugar, you'll make a delicious runny syrup.) Second, process the fruit spread in a boiling water or atmospheric steam canner to destroy the microorganisms. While the jar is sealed, nothing will grow. Unfortunately, once you open the jar, there isn't enough sugar to prevent microorganisms from growing (you have a tiny sugar bodyguard). Even stored in the refrigerator, mold forms within a couple of weeks and you need to toss the fruit spread. I always recommend canning low-sugar fruit spread in small 4-ounce jars to make it easy to finish using the product before it molds.
Knowing why current canning recommendations work is key to ensuring the jams and jellies we serve to our friends and family are safe to consume. UC Master Food Preservers rely on the National Center for Home Food Preservation for their information; you can, too!
For more information about the UC Master Food Preserver Program, including the Food Preservation Video Library, visit mfp.ucanr.edu.
Too many tomatoes?
If you also found a silver lining to staying/working at home this summer by planting and tending to your garden, did your wish for a bumper crop of tomatoes come true? What happens if your tomato plants are prolific producers?
Preserve those tomatoes!
The easiest way to preserve tomatoes is to freeze them. You don't need to blanch them, you don't need to peel them. Just rinse, dry, core, and put them on a small tray or plate in the freezer. Once frozen solid, move them to a freezer bag, removing as much air from the bag as possible before closing. Pull the bag out of the freezer when you're ready to use the tomatoes. To peel, let them thaw just a little and then run each tomato under warm water to slip off the skins. It's that easy. (They won't have the texture of a fresh tomato, but they'll be perfect to make a fresh sauce for dinner.)
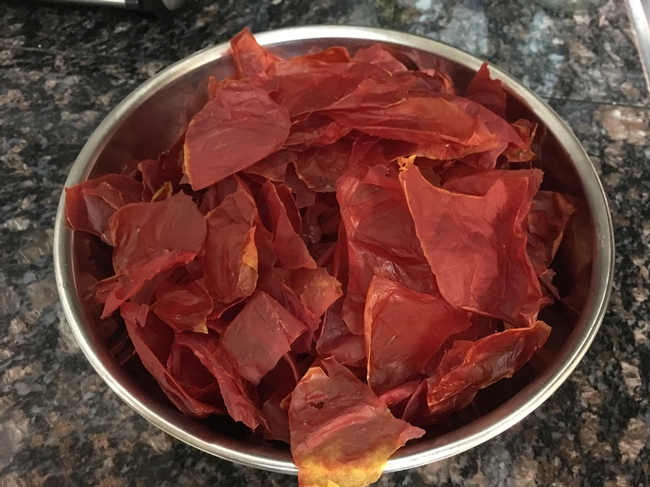
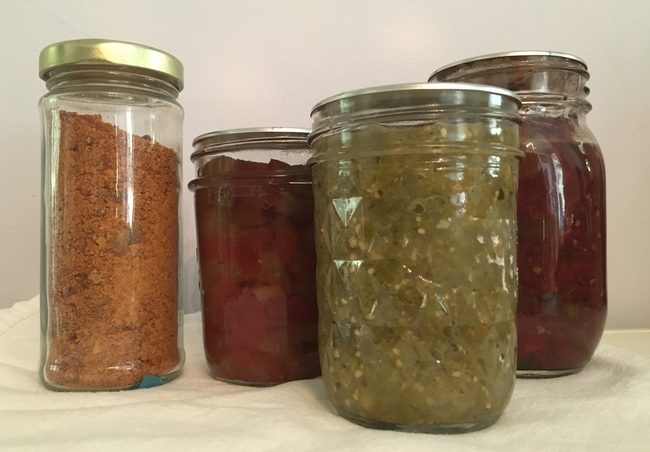
Don't throw away those skins! Or soft tomatoes. If you have a dehydrator, lay tomato skins on the tray, sprinkle with your favorite spice mix (garlic salt works well), and dry until crispy to make a tomato skin chip. Some heirloom tomato skins are bursting with flavor. Or instead of making chips, toss tomato skins and soft tomatoes into a freezer bag until you fill the bag. Thaw and puree the bag's contents and dry the mixture on your dehydrator tray as a crisp leather. Grind up the leather to make a tomato powder to use for camping soup mixes and dehydrated salsa mix. Sprinkle tomato powder on scrambled eggs for tomato flavor without the extra moisture or add to meatloaf, burgers or soups to enhance flavor. Get creative!
If you're a canner, there are lots of options. Many people don't think of tomatoes as a basis for jam or jelly, but with the right spices and some sugar, the flavor profile changes significantly. I served Spiced Tomato Jam in a blind taste test with third-graders a few years ago and they guessed it was apple pie and pumpkin pie because of the nutmeg, cinnamon and allspice. It's delicious!
A family favorite is Tomato Apple Chutney. This savory spread is a collection of tomatoes, apples, onions, raisins, garlic, cucumber, red bell peppers, a little sugar and spices. I like to mix it with mayonnaise for a sandwich spread. The first time I made it my husband and I ate sandwiches for lunch and dinner three days in a row. It is one of the first red tomato products I can each summer.
Another family favorite is Roasted Eggplant and Pepper Puttanesca Sauce. The combination of roasted plum tomatoes, eggplant, onions and red peppers with capers, olives, spices, balsamic vinegar and wine make a chunky pasta sauce that smells fabulous when you open the jar. I usually make 3-4 batches and enjoy them all year.
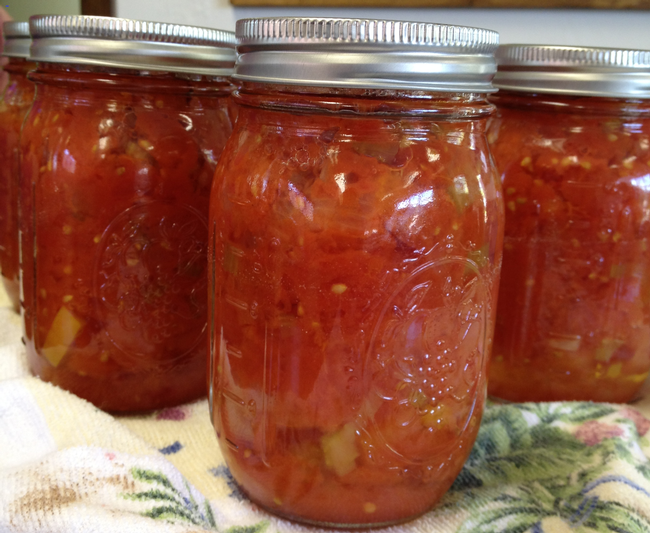
My pantry staple is plain crushed tomatoes. I add spices when I make a meal, cooking them down, adding tomato paste (remember the tomato powder?) and dried veggies. Each jar of crushed tomatoes can become part of a unique meal. The main thing to remember is to add acid to each jar before filling it to ensure there's enough acidity to make the tomatoes a high acid food and safe to can in a steam canner or boiling water canner. I normally use bottled lemon juice, but this year I'm trying a few jars with cider vinegar; rumor has it that after being stored for several months the vinegar flavor mellows and enhances the flavor. I'll label the jars to identify the acid used.
I learned a great tip at one of our public classes a couple of years ago. Often when canning tomatoes, there's watery liquid at the bottom of the cook pot. Don't throw out the tomato water! You can jar and process it with the rest of your crushed tomatoes. Use the tomato water to cook couscous, quinoa, rice or as the liquid in a soup.
This is the first year I've actually put my garden in on time and shouldn't have plants loaded with green tomatoes right before the first freeze. If I do, I'll be thrilled because I'll make Green Tomato Salsa Verde – it's delicious! (It ranks up there with Tomatillo Salsa; I've already made three double batches and plan to make more.) Green tomatoes are more acidic than ripened tomatoes and you can use them in place of red tomatoes in any canning recipe, following standard acidification methods.
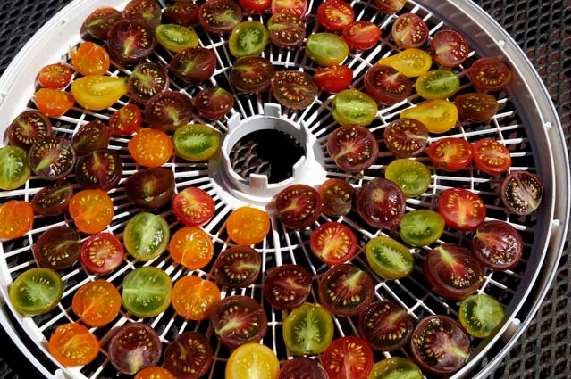
I just picked a cherry tomato off the potted plant on my back patio that is purposely within easy snacking distance from my kitchen. If I get too many to eat within a couple of days I'll cut them in half and dehydrate them. The result is as good as candy.
So many tomato possibilities! If you want more ideas, contact the UC Master Food Preserver online help line at Ask a Master Food Preserver.
Visit our website at http://mfp.ucanr.edu/to watch a variety of preservation videos from Cooperative Extension offices around the country, explore recipes, and find out more about the UC Master Food Preserver Program.

