The topsoil that had been delivered for our makeover project was not the rich loam that I had imagined it would be, but was the local desert sand. I amended it by digging in three cubic feet of commercial compost to each plot in order to add a modicum of organic matter. This action was also beneficial since it exposed the large roots from my neighbor's mulberry tree that had grown right across our front yard almost to the front door, some 50' from the trunk!
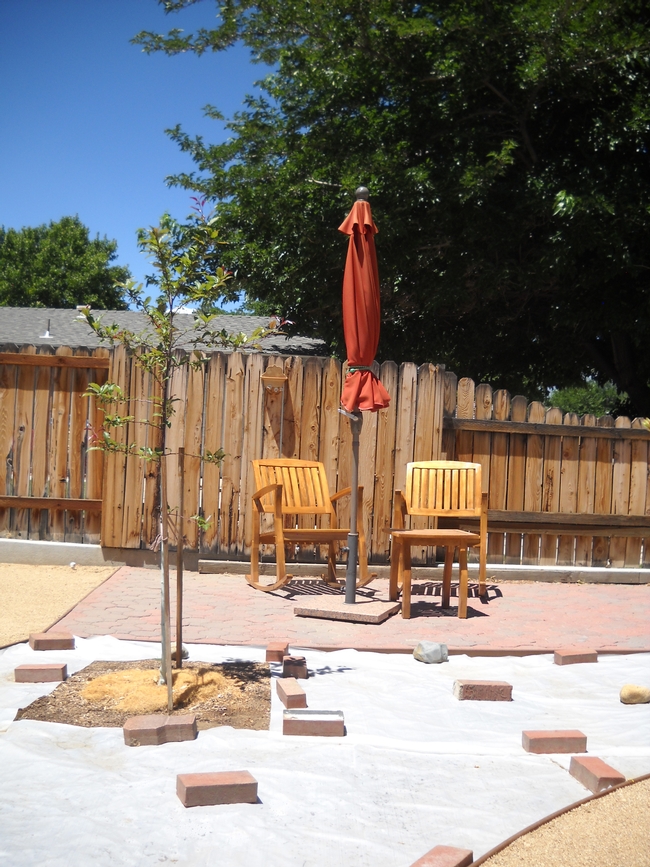
I decided to solarize the two plots on the south side since that area had been particularly weedy and infested with Bermudagrass. These plots were watered thoroughly, and a clear plastic sheet, well anchored with rocks all around, was laid over them. The sheet would be left until the following spring.
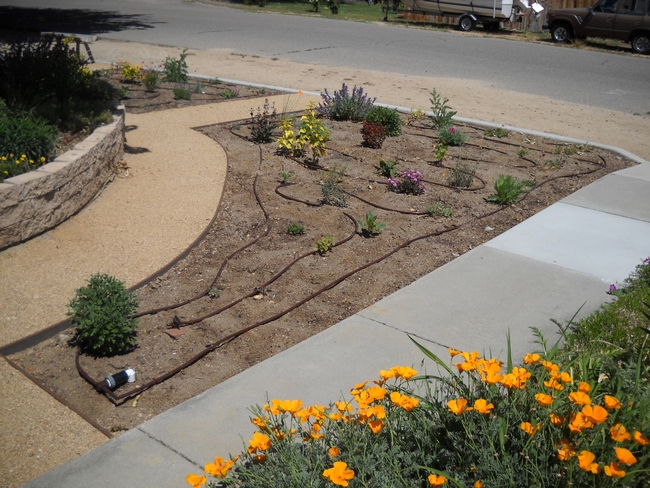
Luckily we were able to key into the old lawn irrigation system and put a riser in each plot and also one beside the hard standing which we were planning to use as a patio.
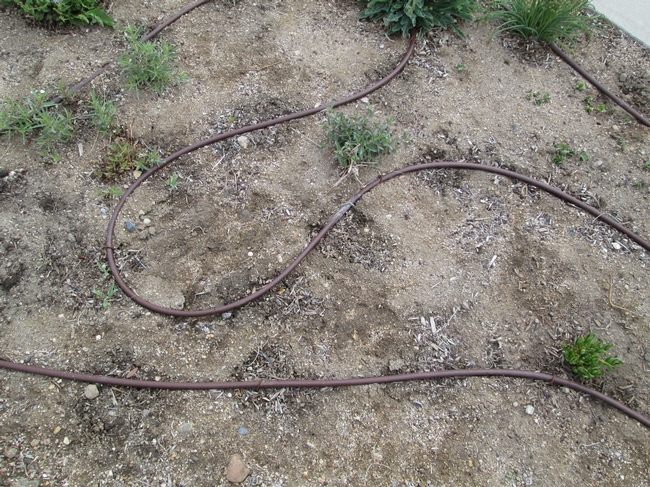
I had thought long and hard about irrigation and wanted something as trouble-free as possible. I decided to use only drip irrigation but considered the usual 17mm tubing too rigid so that I would have to use a lot of joints in order to get satisfactory coverage, on the other hand I did not want the surface to be covered with a spaghetti of ¼ inch black drip lines since in my experience they look messy, often split, and can get kicked out of place unless pegged down in numerous places.

Even low water use plants vary considerably in the amount of water that they need, so those few with the highest requirements are planted where two tubes are in close approximation, while those with xeriscape preferences are planted where the tubing is much further apart.
Netafim Irrigation Info: https://www.netafimusa.com/landscape/products/product-offering/driplines/techline-ez/
(No UC endorsement implied; only relating information about the material used in this project.)
Part 3 will cover plant choices and planting.

