- Seeds and plants saved become acclimated to our environment, climate
- There is a greater variety of vegetables to grow
- There may be more genetic diversity when growing old-time veggies
- It is can be cost effective due to higher seed prices
Hybrids vs. Heirlooms
There are two major types of seeds: Hybrid and Heirloom seeds
- Hybrid seeds have been cross pollinated from two different varieties in the same plant species. They are crossed to produce seeds that carry desired characteristics or appearances.
- Seeds saved from hybrid plants will revert back to their parent plants.
- Heirloom Seeds are non-Hybrid, and open pollinated.
- Heirloom Seeds are usually more than fifty years old and have been passed down from generation to generation
- If you plant an Heirloom seed that you have saved from an Heirloom plant, it will grow true to the parent plant.
Spacing plants to prevent cross-pollination
How long do seeds last?
This is dependent on the type of seed, but also on how they are taken care of after you save them. To ensure saved seeds will sprout in the future, store them in a cool, dry place away from moisture, heat, and light.
Common Beans
The seed is the mature bean. Allow the bean pod to dry on the vine. If growing more than one variety, isolate by at least 20 feet.
- Harvest the dried bean pods and place in a paper bag.
- Dry for a week or more before separating the bean from its pod.
- Grow and harvest from at least 10 plants of the same variety for diversity.
- Seeds can last up to 4 years.
Eggplant
Allow several fruits from at least 10 plants to ripen far past the edible stage. The skin will become a dark yellow or yellowish-brown color. If growing more than one variety, isolate by at least by 50 feet.
- Mash the pulp by hand as best as you can. The seeds are hard, smooth and plump and won't damage easily.
- Toss seeds and pulp into a bucket of water and stir until pulp separates from the seeds. Seeds will sink.
- Rinse until the water comes out clear. Pour seeds through a screen, spread them in a thin layer and dry for about 3 weeks.
- Seeds can last 3-6 years
Garlic
- After harvest, store garlic at room temperature to prevent premature sprouting.
- Plant from your crop every year.
Lettuce
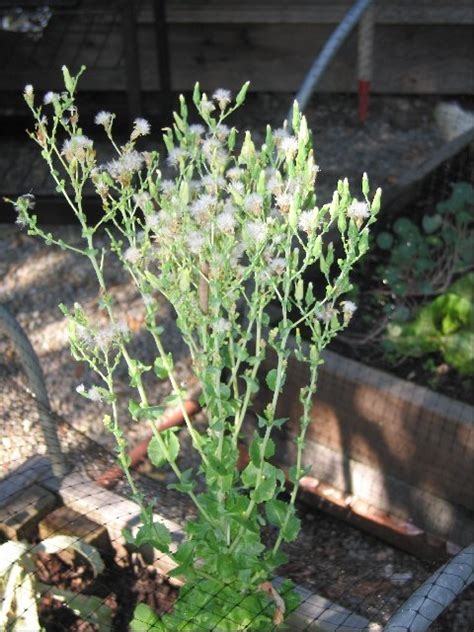
Seeds are very easy to save. Allow a dozen plants to grow, unharvested, through the spring and summer. They will “bolt” (send up seed heads). Isolate by 20 feet if growing more than one variety. Once the seed heads are a yellowing-tan color and very dry, they are ready to save.
- Cut at the stem and place in a paper bag. Once dry, crush the heads and sift to separate the seeds from the chaff.
- Harvest from at least 10 plants of the same variety.
- Seeds can last 2-4 years.
Okra
Pods should be left on the plants until fully mature. Okra is self-pollinating but will cross via bees if two varieties are planted near each other. Plant one variety to ensure purity.
- Pick just as the seeds begin to split.
- Clip and store in paper bag for a few weeks.
- Seeds can last up to 3 years.
Peas
Peas are self-pollinating, however, keep favored plant 20 feet away if growing more than one variety.
- Allow pods to slightly dry on the vine before harvesting.
- When picked, place in a paper bag and allow to dry further for a week or two.
- Thresh them from the pod, and store in a jar or envelope.
- Seeds can last up to 5 years
Peppers
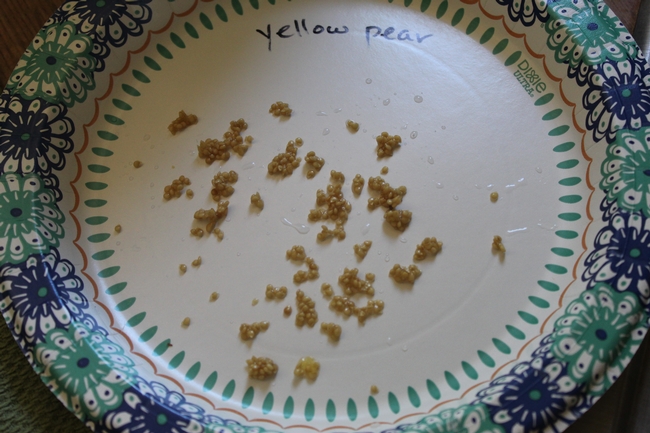
- Cut open the ripe fruit, scrape out the seeds and let dry on a paper plate for a week before storing in a jar.
- Seeds can last up to 2 years.
Tomatoes
Tomatoes are mostly self-pollinating, but to ensure purity, separate the favored plant by 10 feet. Allow the fruit to fully ripen on the stem before harvesting.
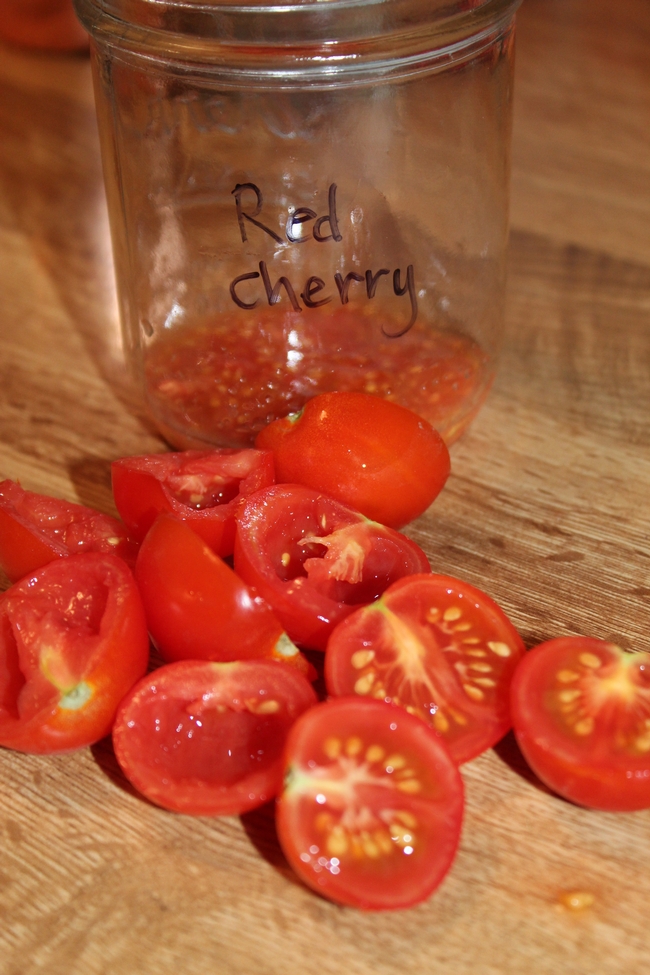
- Cut the tomato open and scoop out the seeds.
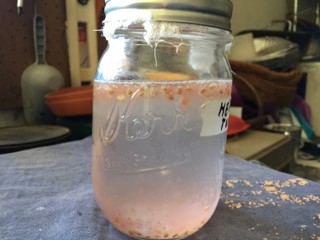
- Place the seeds in a jar of water and allow to ferment until a white mold forms on top of the water.
- During this process, cover the top of the jar with paper towel to keep flies out.
- Rinse the contents of the jar with water until it comes out clear.
- Allow seeds to settle between rinses. Good seeds will sink to the bottom each time.
- Spread seeds out on a paper plate and allow to dry for 3-4 days before storing in a paper envelope.
- Seeds can last up to 5 years.
- Watch our Tomato Seed Saving Video at https://www.youtube.com/watch?v=FvTCfcpLQgw&t=1s
Hopefully, these suggestions will inspire you to begin the exciting adventure of saving your own seeds from the crops you grow. Happy Gardening!!!
Heidi Aufdermaur has been a UCCE Stanislaus County Master Gardener since 2019; Heidi took all photos used in this article.
Resources
California Master Gardener Handbook.
Seeds Matter. www.seedmatters.org
The Heirloom Life Gardener. Bake Creek Heirloom Seed Company. Jere and Emilee Gettle.
- Author: Anne E Schellman
In August we featured an article by former Environmental Horticulture Advisor, Ed Perry, called "Save the Right Seeds."
This article discussed how to successfully choose which vegetable seeds to save to plant in your garden next year.
Now, we wanted to follow up with tips for how to save your chosen seeds. Master Gardeners Royce Rhoads and Heidi Aufdermaur taught this class last year, and plan to teach it again in 2021.
Here is a list of items to gather. Most likely you already have most of them:
-Tomato
-Marker and masking tape
-Knife and spoon
-Jars and rings; or just use paper cups
-Paper towels or cheesecloth
-Fine mesh or strainer
-Paper plates for drying
-Letter envelopes
Most people save tomato seeds, so let's go over the steps to save them. Tomato seeds have a gooey covering over them that needs to be removed first.
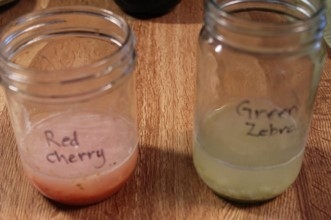
Allowing the seeds to sit in water lets “good” bacteria break down that covering. The empty seeds will float and you can skim them off. The seeds you want are at the bottom of the jar.
Step 1: Label the outside of your jar with masking tape and a permanent marker.
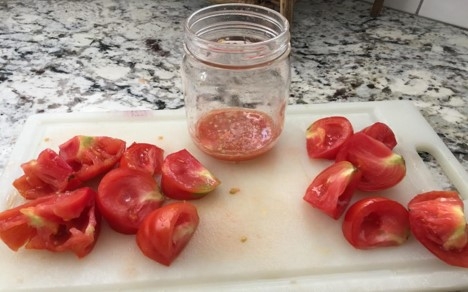
Step 2: Cut tomato, scoop out seeds & put into jar.
Step 3: Fill your jar, with the seeds in it, 1/2 full of water. Cover with paper towel/cheesecloth.
Step 4: Two days later, skim off floating seeds and remove.
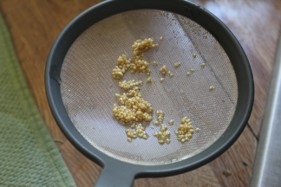
Step 5: Wait a few more days until a film forms on the surface (fermentation* process).
Step 6: Strain the pulp through a screen until seeds separate. Spread onto labeled plate until dry for a few days.
Step 7: Label a paper mailing envelope and add seeds. Make sure to include the date.
Your seeds can last up to 4 years if stored in a cool, dry, dark place. Did you save any seeds using this post? If so, please tell us how you did in the comments below!
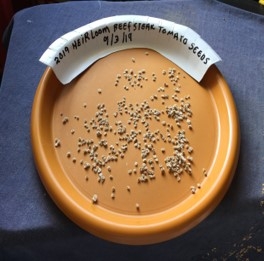
Vegetables such as peppers, eggplants, and melons are much easier to save than tomato seeds. Just remove and spread them out to dry. Squash seeds are also easy, but may need a little bit of cleaning by straining and rinsing with water.
We are excited to announce the UCCE Stanislaus County Master Gardener Program has started a YouTube Channel! Our goal is to bring you FREE gardening programming asked for by members of the community.
Our first video, Spring Container Vegetable Gardening was just posted. It was recorded on April 15, 2020. Master Gardener Rho Yare tells you everything you need to know about growing food in containers in spring.
Although spring is in full swing, there's still time to purchase vegetable transplants from a local garden or nursery. You can find tomato, pepper, eggplant, cucumber, and squash plants. There's still time to get seeds in the ground for melons, pumpkins, and beans.
Upcoming Classes
We are planning for classes on vermicomposting (composting using worms), pollinators, fall container vegetable gardens, and possibly herbs. If you have a request, feel free to type it into the bottom of this article.
Online Classes
Transforming our classes from in-person to online has been a new challenge for us, but we are taking it in stride. Please let us know what you think about our classes by commenting or sending us an email at ucmgstanislaus@ucanr.edu
Watch our new video clicking on the link below. After watching the video, please share it with your gardening friends, and leave a comment telling us if you found it helpful.
- Author: Rho Yare

The tomato, commonly called a vegetable, is a fruit botanically, and hard to believe but the tomato was the center of a U.S. Supreme Court decision, Nix vs. Hedden. Now, this is a fascinating bit of historical trivia. In the 1800's there was a tariff that put a tax on imported vegetables. Well, a business owner in New York City named John Nix wasn't too happy about this. He sued Edward Hedden, the “Collector of the Port of NYC” (tax collector). Mr. Nix declared that since tomatoes are a fruit, he was owed back taxes.
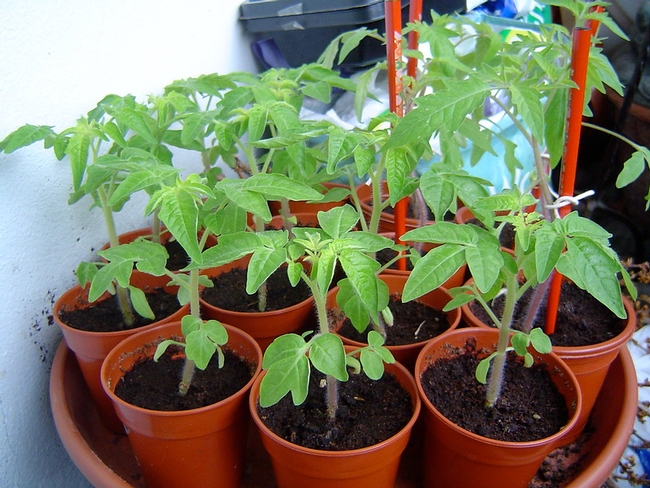
In Stanislaus County from early July and for months afterward, you'll see tomato truck gondolas on the road 24 hours a day filled with red, ripe tomatoes rushing to processors. We have perfect tomato growing conditions.
A tomato is not too picky. That's another reason it's so popular to grow. All that is required is full sun, an area (container or ground) with some soil, a support of some type, some water, some fertilizer, and a little love.
If you are a container/patio gardener, look on the label or tag for the term “determinate,” as these plants work best in containers. Also, anything named patio or pixie. Cherry tomato varieties are indeterminate but work great in a container. Use at least a 5-gallon bucket-sized container (with holes in the bottom). Your plant will need some support, but not as much as the indeterminate varieties.
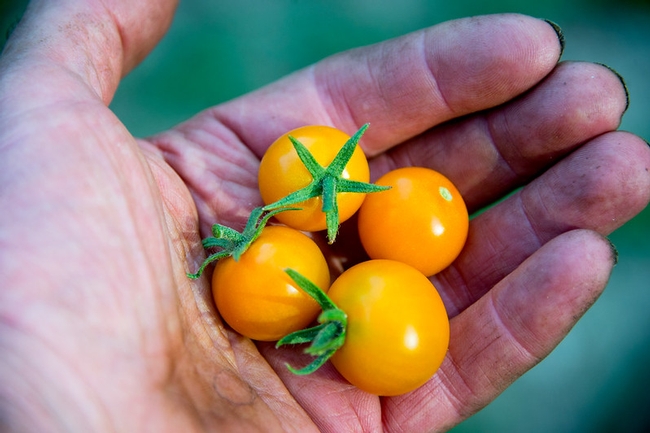
To ensure your plant is planted correctly, make your hole as wide and deep as the root ball of the plant. This is the area of soil and roots that you remove from the original container. The cool thing about tomatoes is you can plant them as deep as you need to if they are leggy.
To plant, carefully remove the root ball, and gently loosen the root mass and with gardening clippers or scissors remove lower branches. You are going to plant about 1/3 of the green plant below the soil. Gently pat the soil around the plant . Don't forget to place your support around or next to the plant now so you don't forget. Water gently and stand back and admire your gardening expertise. And imagine those delicious tomatoes gracing your salad, sandwich, or as I like to do, eat them out of my hand with a few napkins to catch the juice.
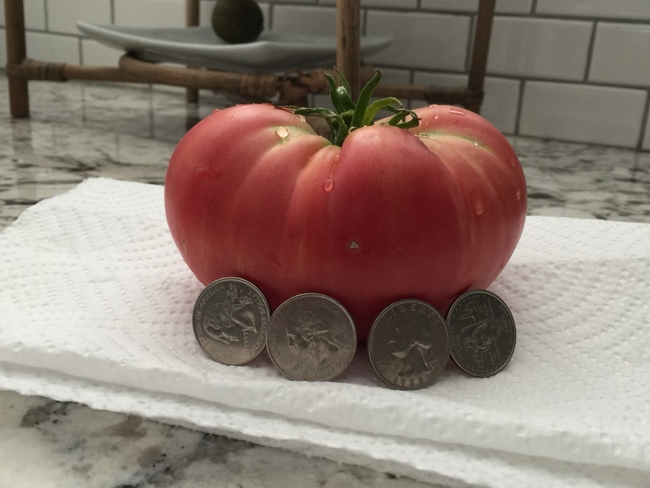
I hope you plant at least one tomato plant this season and send us pictures of your successes to ucmgstanislaus@ucanr.edu. Happy gardening and enjoy those dirty hands.
Be sure to join Rho on Wednesday, April 15 at 6 p.m. for Spring Container Vegetable Gardening. Sign up on our class website at https://ucanr.edu/sites/stancountymg/Classes/
- Author: Julie Silva
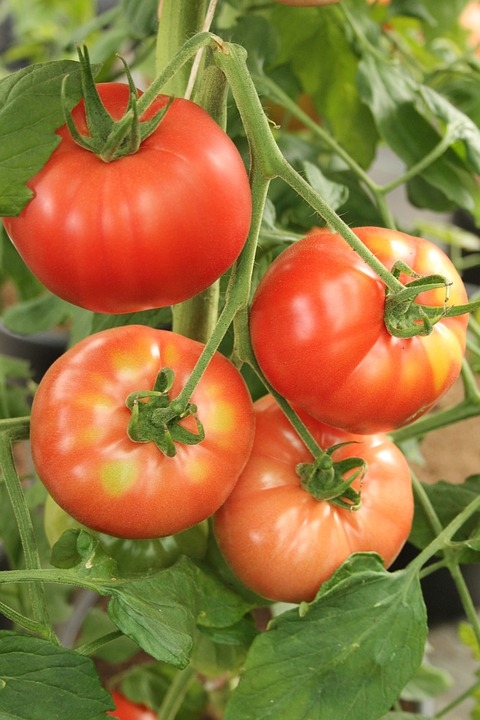
Tomatoes come in many different sizes–from pea-size to almost 3 pounds and as large as a grapefruit! Different sizes fulfill different needs; cherry tomatoes are perfect for salads, omelets, kebobs, and snacking. Medium size round tomatoes are easier to use for canning. Oblong, meaty tomatoes with less moisture are perfect for sauces, paste, or salsa. Large tomatoes, referred to as slicing tomatoes, are your hamburger's best friend.
You can find many different colors of tomatoes, including red, pink, black, purple, orange, yellow, green, yellow-white, swirls, and striped. Sometimes when sliced, the tomato could take on another color completely!
When deciding which tomato to grow it helps to decipher the tag. Tomatoes are either determinate or indeterminate. Determinate tomatoes grow to a particular height, then stop and put on a majority of fruit all at once. Indeterminate tomatoes continue to grow and will produce tomatoes along the branches throughout the growing season. It's usually best to grow both types.
You'll notice on plant tags some capital letters after the tomato variety name. Those letters indicate the tomato's resistance to a particular disease. You can read about these diseases as well as disorders and pests of tomatoes on the UC IPM Tomatoes page. 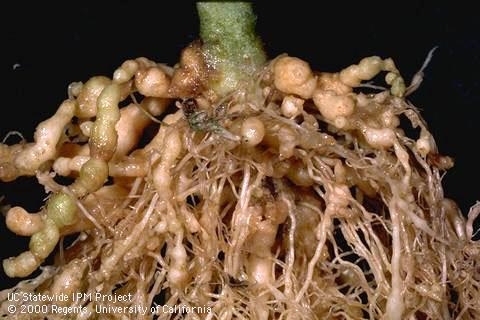
- V Verticillium Wilt
- F Fusarium Wilt
- N Nematodes
- ASC Alternaria Stem Canker
- TMV Tobacco Mosaic Virus
- ST Stemphylium (Grey leaf spot)
- SWV Tomato Spotted Wilt Virus
- LB Late Blight
Many hybrid tomatoes carry the VFN designation, unless they are heirlooms. Hybrid tomatoes are grown by crossing varieties to improve traits, making them stronger, more disease resistant and better producers. However, if you plant the seeds from a hybrid tomato, they won't produce the same tomato. This is why many people like to grow heirloom tomatoes and save the seeds for the following year.
To find the top ten tomatoes, be prepared to discover many lists. Opinions are like tomatoes: everyone has a favorite of their own! One of the most popular cherry tomatoes is ‘Sun Gold'; it's considered the sweetest tomato. The favorite early-season tomato is ‘Early Girl,' which is a determinate that produces within 54 days from seed. For main season tomatoes, ‘Celebrity,' ‘Fantastic,' ‘Better Boy,' and ‘Ace' (70-80 days) are popular.
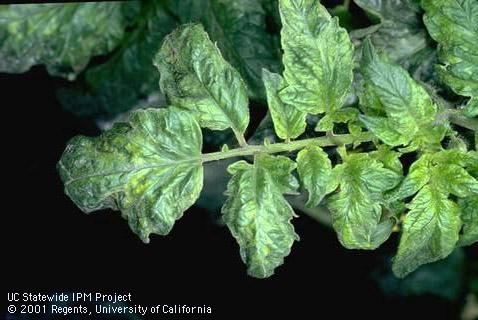
Summer for many people just does not start until that first hamburger with a slab of tomato right out of the garden. Here at the UCCE Stanislaus Master Gardener's Office we are curious: have you planted your tomato plants yet? What's your favorite tomato variety? Please sign in and post your comments below, or on our Facebook page.
Special thanks to Julie Silva for this guest post. She is a UCCE Master Gardener in Tuolumne County.

