- Author: Denise Godbout-Avant

Pepper seedlings take anywhere from one to six weeks to germinate, depending on the variety. When the weather and soil are warm enough, if you want to have pepper plants ready plant in your garden, now is the time to start the seeds.
This is part one of a two-part series. This article focuses on growing and caring for your pepper seeds. The second article will cover potting the seedlings, “hardening-off,” and transplanting them into your garden.
What Is Needed
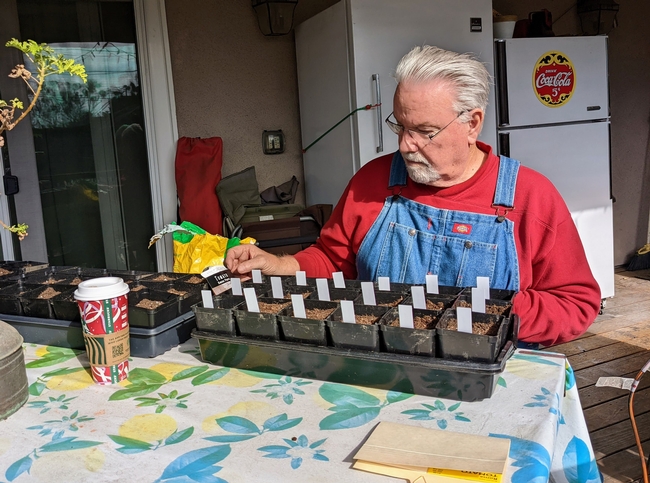
- 6-pack seedling tray(s) with a clear lid (humidity dome)
- Good quality seed-starting soil
- Seeds
- Water
- Heat mat (optional, but very helpful)
- Grow lights and timer
- Liquid plant starter fertilizer
- Oscillating fan (helpful, but not required)
- Latex gloves (if planting hot peppers, but not needed with dry seeds)
Beginning Steps: Planting the Seeds
- Fill clean seed trays with damp seed starting soil.
- If using new seeds, plant one/cell; if older or have low viability rate, plant 2-3 seeds/cell. Follow instructions on the seed packet, but the rule of thumb is planting depth is twice as deep as the seed is wide. For pepper seeds, this would be about ¼ inch deep. Cover the seeds with soil.
- If the soil is not already wet, add water. It is best to always water from the bottom so not to disturb the seed. Add enough water into tray until it is about ¼ inch. Do not overwater! Dump out any excess water that has not been absorbed in 15 minutes. Peppers dislike soggy roots, so let the soil dry out a bit between watering.
- Cover the tray with the clear dome lid to help keep the soil warm and moist.
- Place the tray in a warm spot. It is recommended to put it on top of a heat mat, which provides a consistent heat source and helps speed up germination. The ideal temperature is 80-90°F. If it is too cold the seeds may not grow.
- Once the seedlings sprout, remove the dome cover and turn off heat mat.
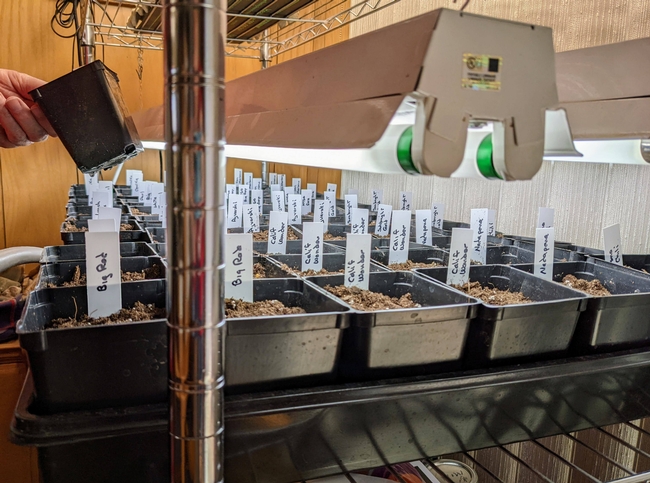
Pepper Seedlings Care: Light, Fertilizer and Air Circulation
- The seedlings need to be watered consistently, but do not like wet soil. Always water from the bottom. Allow the soil to dry out a bit between waterings, but keep it moist, never letting it dry out completely.
- Provide light as soon as they germinate! If pepper seedlings do not get enough light, they will get “leggy” because they are reaching for a light source. To keep them thick and compact, it is best to use a grow light, which is hung up a few inches above the tray and keep it on for 14-16 hours per day. The light should be close to the plants, but not touching. As they grow, move the light higher.
- Once the true leaves begin to form, it is time to start fertilizing using a liquid plant starter fertilizer. Following label directions, start with a weak dose at first, gradually increasing as the seedlings get larger.
- Once most or all the seeds in a flat have germinated, they need to have some airflow, so remove the plastic lids and run an oscillating fan over them on the lowest setting for a few hours each day (you can plug it into the same timer being used for the grow light). An alternative to the fan is to gently brush your hands over the top of the seedlings a few times each day. This will strengthen them and prevent mold in the trays.
Some pepper varieties grow faster than others, but in one to six weeks, your pepper plants will have started to outgrow the trays. Now will be the time for the next steps of transplanting to pots, “hardening” them (a vital step!), and finally, planting into your garden. This will be covered in the second part of this article, which will be posted towards the end of February.
With thanks to Tim Long, UC Master Gardener, for his expertise on growing peppers from seedlings.
Author: Denise Godbout-Avant, UC Master Gardener since 2020

- Seeds and plants saved become acclimated to our environment, climate
- There is a greater variety of vegetables to grow
- There may be more genetic diversity when growing old-time veggies
- It is can be cost effective due to higher seed prices
Hybrids vs. Heirlooms
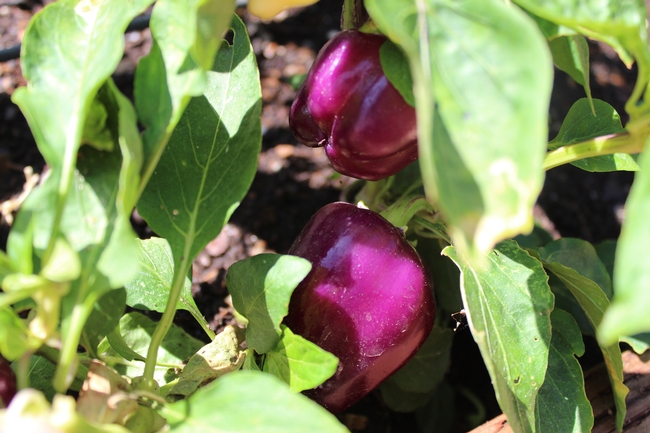
There are two major types of seeds: Hybrid and Heirloom seeds
- Hybrid seeds have been cross pollinated from two different varieties in the same plant species. They are crossed to produce seeds that carry desired characteristics or appearances.
- Seeds saved from hybrid plants will revert back to their parent plants.
- Heirloom Seeds are non-Hybrid, and open pollinated.
- Heirloom Seeds are usually more than fifty years old and have been passed down from generation to generation
- If you plant an Heirloom seed that you have saved from an Heirloom plant, it will grow true to the parent plant.
Spacing plants to prevent cross-pollination
How long do seeds last?
This is dependent on the type of seed, but also on how they are taken care of after you save them. To ensure saved seeds will sprout in the future, store them in a cool, dry place away from moisture, heat, and light.
Common Beans
The seed is the mature bean. Allow the bean pod to dry on the vine. If growing more than one variety, isolate by at least 20 feet.
- Harvest the dried bean pods and place in a paper bag.
- Dry for a week or more before separating the bean from its pod.
- Grow and harvest from at least 10 plants of the same variety for diversity.
- Seeds can last up to 4 years.
Eggplant
Allow several fruits from at least 10 plants to ripen far past the edible stage. The skin will become a dark yellow or yellowish-brown color. If growing more than one variety, isolate by at least by 50 feet.
- Mash the pulp by hand as best as you can. The seeds are hard, smooth and plump and won't damage easily.
- Toss seeds and pulp into a bucket of water and stir until pulp separates from the seeds. Seeds will sink.
- Rinse until the water comes out clear. Pour seeds through a screen, spread them in a thin layer and dry for about 3 weeks.
- Seeds can last 3-6 years
Garlic
- After harvest, store garlic at room temperature to prevent premature sprouting.
- Plant from your crop every year.
Lettuce
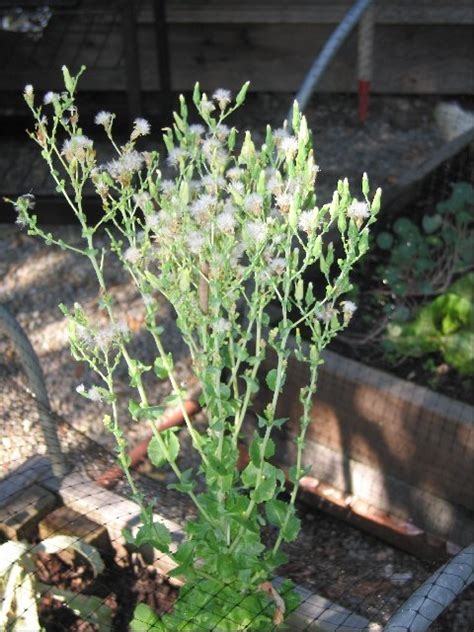
Seeds are very easy to save. Allow a dozen plants to grow, unharvested, through the spring and summer. They will “bolt” (send up seed heads). Isolate by 20 feet if growing more than one variety. Once the seed heads are a yellowing-tan color and very dry, they are ready to save.
- Cut at the stem and place in a paper bag. Once dry, crush the heads and sift to separate the seeds from the chaff.
- Harvest from at least 10 plants of the same variety.
- Seeds can last 2-4 years.
Okra
Pods should be left on the plants until fully mature. Okra is self-pollinating but will cross via bees if two varieties are planted near each other. Plant one variety to ensure purity.
- Pick just as the seeds begin to split.
- Clip and store in paper bag for a few weeks.
- Seeds can last up to 3 years.
Peas
Peas are self-pollinating, however, keep favored plant 20 feet away if growing more than one variety.
- Allow pods to slightly dry on the vine before harvesting.
- When picked, place in a paper bag and allow to dry further for a week or two.
- Thresh them from the pod, and store in a jar or envelope.
- Seeds can last up to 5 years
Peppers
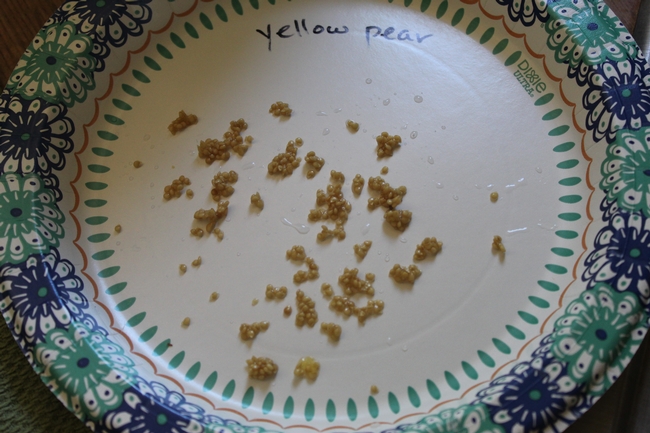
- Cut open the ripe fruit, scrape out the seeds and let dry on a paper plate for a week before storing in a jar.
- Seeds can last up to 2 years.
Tomatoes
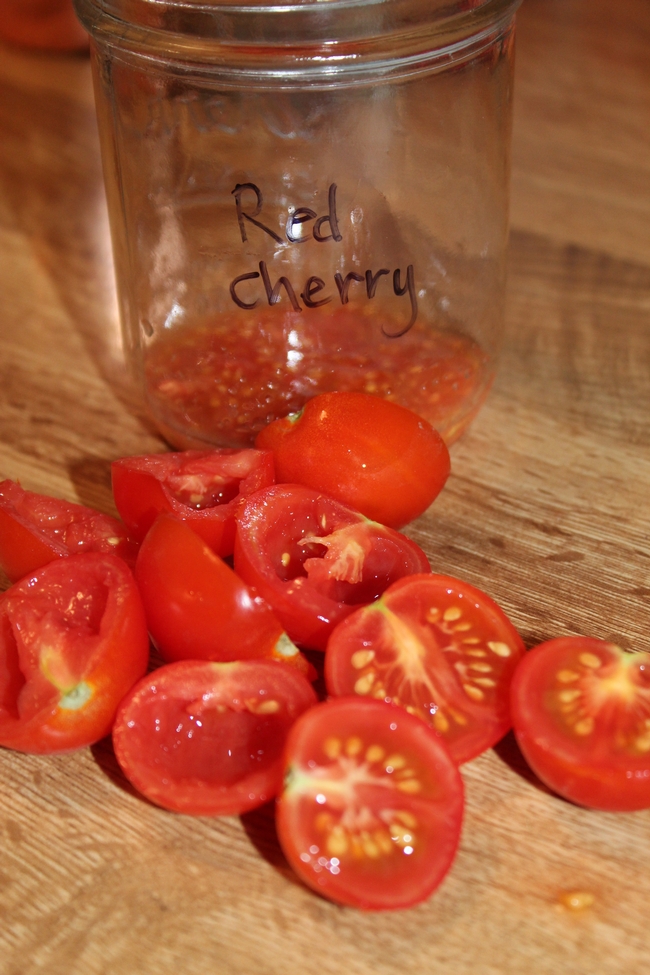
Tomatoes are mostly self-pollinating, but to ensure purity, separate the favored plant by 10 feet. Allow the fruit to fully ripen on the stem before harvesting.
- Cut the tomato open and scoop out the seeds.
- Place the seeds in a jar of water and allow to ferment until a white mold forms on top of the water.
- During this process, cover the top of the jar with paper towel to keep flies out.
- Rinse the contents of the jar with water until it comes out clear.
- Allow seeds to settle between rinses. Good seeds will sink to the bottom each time.
- Spread seeds out on a paper plate and allow to dry for 3-4 days before storing in a paper envelope.
- Seeds can last up to 5 years.
- Watch our Tomato Seed Saving Video at https://www.youtube.com/watch?v=FvTCfcpLQgw&t=1s
Hopefully, these suggestions will inspire you to begin the exciting adventure of saving your own seeds from the crops you grow. Happy Gardening!!!
Heidi Aufdermaur has been a UCCE Stanislaus County Master Gardener since 2019; Heidi took all photos used in this article.
Resources
California Master Gardener Handbook.
Seeds Matter. www.seedmatters.org
The Heirloom Life Gardener. Bake Creek Heirloom Seed Company. Jere and Emilee Gettle.
- Author: Ed Perry
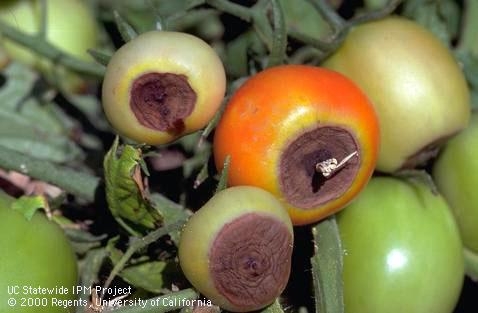
Symptoms of Blossom-End Rot
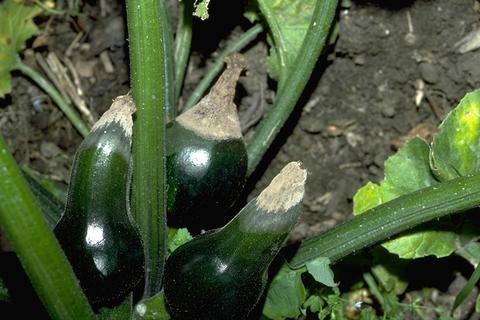
The first symptom is usually the appearance of a small spot at or near the blossom scar of green fruits. As the spot enlarges, the affected tissues dry out and become light brown to dark brown. The area then develops into a well defined sunken spot, with the tissues collapsed and leathery. The spot can grow large enough to cover the entire bottom half of the fruit. The skin remains unbroken because it is the tissues beneath that have dried out and collapsed. The disorder not only affects tomatoes, but can also occur on peppers and squash. While the fruit looks unappetizing, you can still eat it - just cut out the affected part.
Causes of Blossom-End Rot
Tips for Preventing Blossom-End Rot
There are several things you can do to prevent the calcium deficiency, and blossom end rot. First, water deeply, and on a regular schedule, especially during hot weather. Use a soil-covering mulch around your plants to conserve moisture, especially if your soil is sandy. If you are growing tomatoes in containers filled with a porous potting soil, you may need to water the plants every day during hot periods. When cultivation is necessary, it should not be too near
the plants nor too deep, so that valuable water absorbing roots remain uninjured and viable. The best way of preventing the disorder is to maintain adequate and uniform soil moisture in the root zone throughout the growing season.
More Questions about Vegetables?
Stay tuned for an announcement about an upcoming in person class in August! In the meantime, fill out our Ask a Master Gardener survey http://ucanr.edu/ask/ucmgstanislaus and attach any applicable photos.
References
UC IPM http://ipm.ucanr.edu/PMG/GARDEN/VEGES/ENVIRON/blossomendrot.html
Ed Perry is the emeritus Environmental Horticultural Advisor for University of California Cooperative Extension (UCCE) in Stanislaus County where he worked for over 30 years.
- Author: Kathy Low, UC Master Food Preserver of Solano and Yolo counties
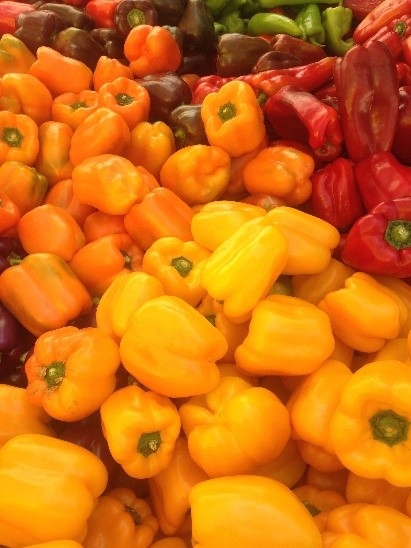
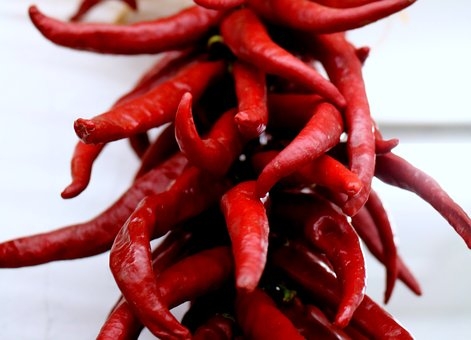
Air drying peppers can be a fun activity to do with children. For the best results, select only firm, fresh peppers free of any blemishes or other damage. Wash them thoroughly. Then use a knife to cut a slit in the stems. Using a large crafting needle, thread light string or a heavy thread through the stems of the peppers. Hang the string of peppers in a well-ventilated room since high humidity can cause the peppers to spoil. The peppers should dry within about four weeks.
Peppers can also be sun dried. Drying peppers in the sun requires a minimum temperature of 90°F for several days, with a humidity level below 60 percent. To sun dry peppers, first rinse them to remove any dirt. Then lay them on screen trays made of stainless steel, plastic, or Teflon coated fiberglass. Do not use galvanized metal, copper or aluminum screens. Place the trays on blocks to increase airflow and cover the peppers with cheesecloth to protect them from birds and insects. Once the peppers are dried, pasteurize them to kill any insect or insect eggs that may have gotten on the peppers. To pasteurize them, either seal them in a freezer bag and place the bag in the freezer (set at 0°F or below) for 48 hours, or lay the peppers out single layer on a tray and place them in the oven pre-heated to 160°F for 30 minutes.
If you have an electric food dehydrator, first thoroughly rinse the peppers and remove the stems and cores. Cut the peppers into 3/8-inch disks and place in a single layer on the dehydrator trays. The peppers generally take 8 to 12 hours to dry in a dehydrator.
You can also dry peppers in your oven, although you may not want to heat up your house using this method in the summer. To dry peppers in your oven, first make sure your oven can be set to 140°F. (Any higher temperature will cook, not dehydrate the peppers.) Place washed peppers single layer on an oven drying tray (note: cake cooling racks placed on a cookie tray work well). Make sure the drying tray clears all sides of the oven three to four inches. If you are placing more than one drying tray in your oven, make sure they're spaced two to three inches apart for air circulation. The oven door needs to be propped open two to six inches during the entire drying process. You can place an oven thermometer near the drying tray to get an accurate temperature reading and adjust the temperature as needed to reach 140°F. Since oven drying takes about twice as long as an electric food dehydrator, it will take approximately 16 to 24 hours to dry peppers using this method. Just be sure to let the peppers completely cool before packaging them for storage.
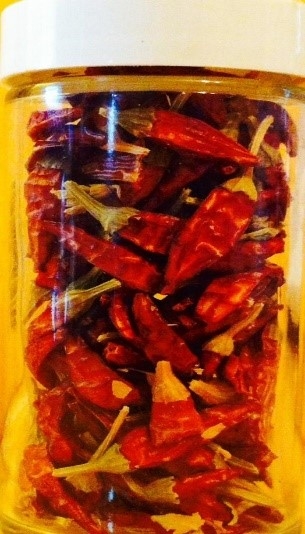
Dried peppers can be stored for several months in a cool dark place. They should be stored in moisture proof packaging such as a glass jar or freezer container. Plastic freezer bags can be used but be aware that they are not rodent proof. Rehydrate dried peppers for use in dishes like casseroles by soaking them in water. Or you may opt to crumble or turn the dried peppers into a powder to use as a seasoning.
Source of information and more reading:
For more information on drying peppers, see Peppers: Safe Methods to Store, Preserve and Enjoy from the University of California Division of Agriculture and Natural Resources accessible at https://anrcatalog.ucanr.edu/pdf/8004.pdf and Preserving Food: Drying Fruits and Vegetables from the University of Georgia Cooperative Extension Service accessible at https://nchfp.uga.edu/publications/uga/uga_dry_fruit.pdf.
For more information about the UC Master Food Preserver Program, including the Food Preservation Video Library, visit mfp.ucanr.edu.
- Author: Amy Weurdig
It's been awhile since I attempted gardening any kinds of vegetables out in the Mesa after the initial year of failures.
I thought hard about putting in raised beds closer to the house, maybe putting in a pest deterrent fence around it.
I've had some fun and a lot of success having my garden at the Bishop Community Garden, so why would I want to garden at home? Well, it'd be great to just pick what I needed for the meal right then, rather than planning on it ahead of time and driving the 11 miles into town. Not very eco-friendly to keep driving back and forth to get a tomato!
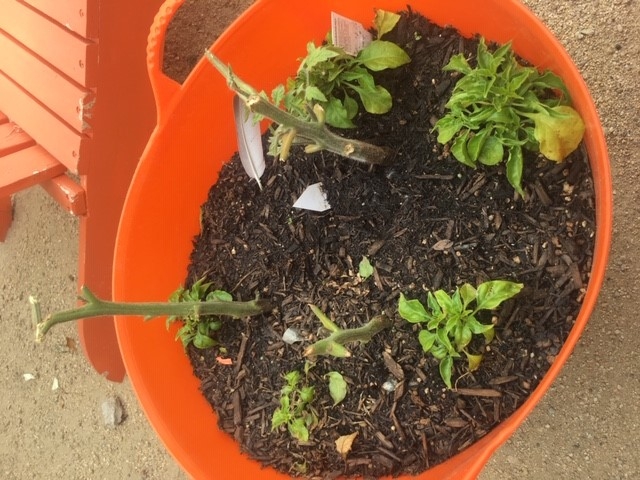
So this year, we had some left over tomato starts and I acquired a six pack of habanero peppers that I decide to try out in a trug – you know one of those rubbery garden buckets. The idea being that the trug would elevate the plants enough that the critters couldn't reach them – like a raised bed.
Fast forward 3 weeks: the plants looked pretty good. Had some crazy windy, cold, rainy weather for a couple weeks,but the plants still looked good. Then one evening I went out to water and found stumps.
All my plants were stumps. Cleanly eaten with no evidence at all other than the stumps.
So, my test showed that if I should do raised beds, they need to be at least 3' feet off the ground, enclosed in a wire cage, in order to see any fruits of my labor.
Here is the moral of my story: I'll keep my plot at the Community Garden where I get to see my friends, pull weeds, and pick my veggies free of pepper-eating varmints.

