
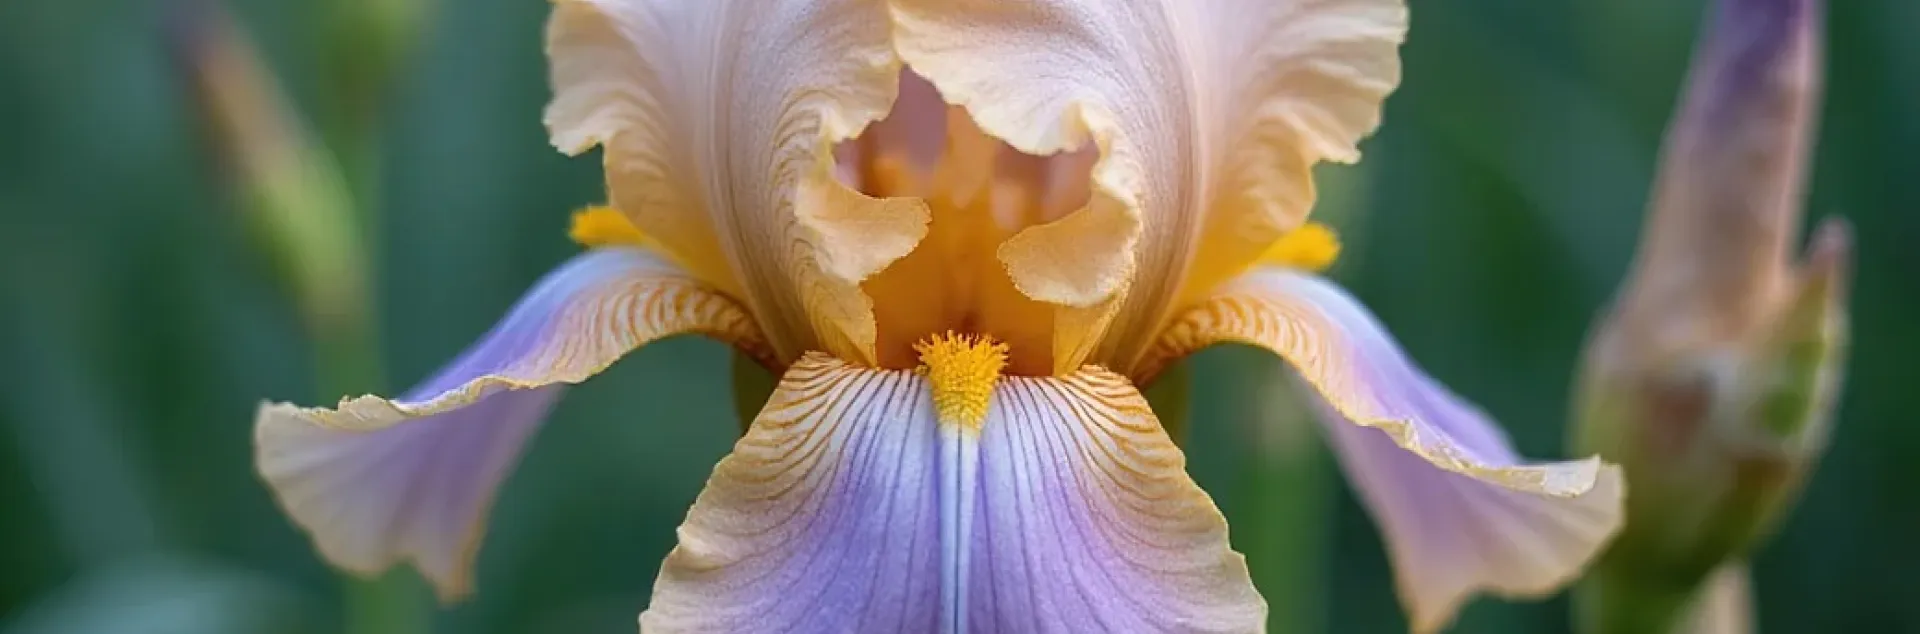
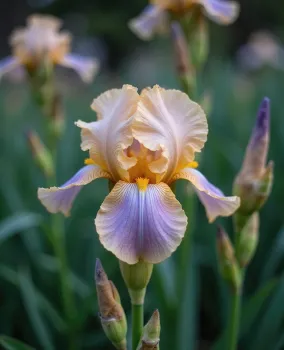
In the Winter edition of Garden Notes, I wrote about reevaluating your flower garden to determine needed changes (https://ucanr.edu/blog/garden-notes/article/perfect-time-reevaluate-your-flower-garden), using the Flower Garden at the Master Gardener Demonstration Garden as an example. One of the conclusions for the Flower Garden was that the bearded irises (Iris x germania) needed to be both divided and moved to a place where they would have some shade from the hot Central Valley sun. In this article, let’s learn about dividing iris.
Why Divide
Bearded irises provide a lovely spring bloom in many colors, require little water, and are low-maintenance. They have horizontal plant stems, called rhizomes, that grow at or just below the soil surface. These send out roots from nodes and store energy for the plant. The old rhizomes create new ones, and the old ones die. Over time, the rhizomes become crowded, the center of the planting thins out, and the plants bloom less. By dividing irises regularly, the plants have room to grow, have a better environment to prevent problems with iris borer and soft rot, and bloom well.
When to Divide
Iris generally needs to be divided every 3-5 years. Most sources recommend dividing in July or August, which will give the newly developing rhizomes enough time to fully develop, and allow the new plantings time to establish themselves before dormancy.
How to Divide
There are a few tools needed to divide iris: a rake to move away ground cover, a spading fork to dig (or a regular shovel if a spading fork is unavailable), a sanitized pair of pruners to divide, and a piece of burlap or tarp to put the rhizomes on to keep the dirt contained. A bucket of water is handy to loosen the dirt from the rhizomes and roots. Watering the plot the day before is often useful to soften the soil.
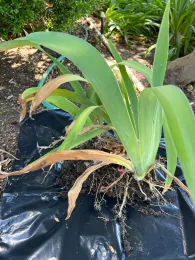
The first step is to rake away any ground cover over the iris, so you can see the rhizomes properly. The rhizomes may have spread out from the center, so use the spading fork to dig a circle 6-8 inches away from the rhizome to avoid damage. Once the soil has been loosened all the way around the plant, lift the entire plant out and put it on the burlap or tarp. Start working the soil off the plant, being gentle with the roots. Once most of the soil is off, you can swish the rhizome in the bucket of water to loosen the rest. This is especially useful if you have clay soil.
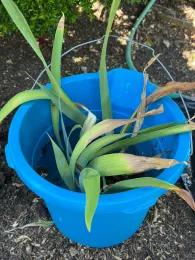
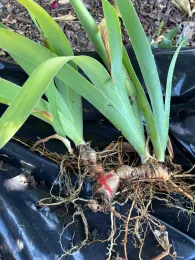
Examine the rhizomes. Any rhizome that is brown and has no green coming from it will not bloom again and should be broken off or cut off with sanitized pruners, pulling apart gently so as not to damage the roots of the healthy rhizomes. A rhizome with a spent flower stalk will not bloom again, and an old, brown rhizome with roots but no green leaves will likewise not bloom. Any evidence of iris borer damage or soft, mushy rhizomes should be cut off and discarded. Separate healthy rhizomes and carefully untangle roots. See accompanying photo of rhizomes to keep and discard for an example.
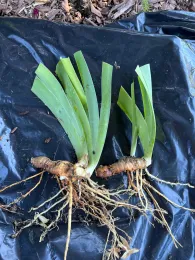
Keep rhizomes that are firm and light colored, are as thick as a thumb, have healthy roots, and have a fan of leaves. Ideally, the rhizome should be at least 3 inches long. Trim off any dead leaves and trim the green leaves down to about 6 inches. Usually, you can get a clean cut, but if you don’t, trim again a little further down. Cut off any brown, dead roots, and trim the healthy roots to an even length to make them easier to replant. See accompanying photo of healthy rhizomes.
Replanting
While the rhizomes can be stored in a garage in wood shavings over the winter, in our Mediterranean climate, we can also directly replant.
Iris prefers a sunny spot with well-drained soil, although as we discovered in the Demo Garden, a little shade is welcome in our hot Central Valley climate. Some people prefer to plant all the fans facing the same direction, while others prefer planting in groups with the fans facing each other.
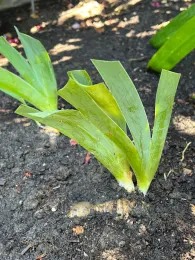
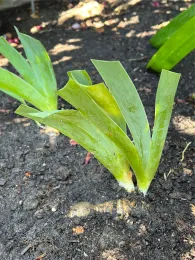
Plant the rhizomes horizontally, about 6-8 inches apart, in a hole 4 inches deep. Mound the center of the hole and spread the roots around it. Add back in the removed soil, making sure that the rhizome is still at soil level. Water thoroughly to settle the roots. See accompanying photo of properly planted rhizome.
If you know the variety you’re replanting, you can write the name right on the leaf with a permanent marker. And if you’ve lost track, it will be fun to write the color on the fan next spring when it blooms.
Most of all, remember that irises are sturdy and forgiving. You will likely have plenty of healthy rhizomes even if some get damaged, and even have some to give away. Happy Gardening!
Many resources are available about dividing iris, including an excellent video on digging up, dividing, and replanting iris from the San Luis Obispo Master Gardeners.
Resources:
UC Master Gardeners of San Luis Obispo County, How to Divide Bearded Irises, https://youtu.be/Km0XHLiYsCo?si=sn1pYq3vbvwE0hfR.
University of Illinois Urbana-Champaign Horticulture Extension, How to divide and plant bearded iris, https://extension.illinois.edu/blogs/good-growing/2021-08-20-how-divide-and-plant-bearded-iris
Mahr, Susan. University of Wisconsin-Madison, Dividing Bearded Iris, https://hort.extension.wisc.edu/articles/dividing-bearded-iris/
Photo credits:
Iris in Bloom, Sara Milnes, Master Gardener
Iris to Keep and Discard, University of Illinois Urbana-Champaign
Iris Divisions ready for planting, University of Wisconsin-Madison
Planted Iris, University of Wisconsin-Madison