
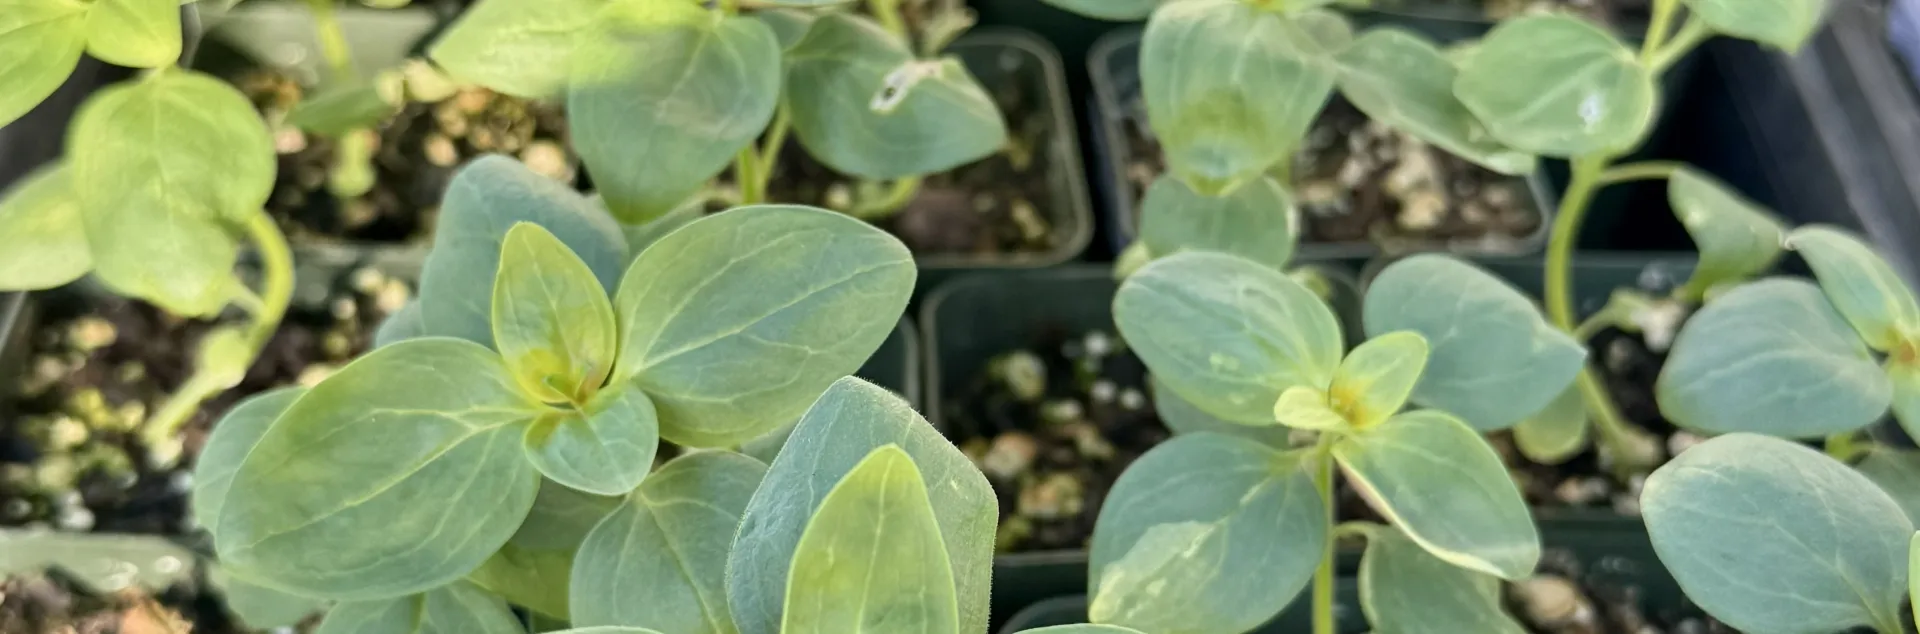
Whether you’re sending students home with their own seed kit, growing in containers in a patch of sunlight, or growing in the ground at school, here is a guide from the UC Master Gardeners of San Diego County.
What to Plant?
Radishes, peas, spinach, marigolds and sunflowers are among the many plants that are easy to grow from seeds. You may choose to plant seeds directly in the garden or start them earlier in pots in the classroom.
Teacher Tips: Poll students to see what they would like to plant. Ask about their favorite foods. Discuss plant needs: soil, light, temperature, water, space, and time. Consider the time of year and the weather. Will their favorite plants grow now? Is there room? When choosing seeds, gardeners may be concerned about genetically modified organisms but there are no GMO varieties of vegetable seeds on the market to consumers. Some seeds, such as carrots, need to be planted directly into the garden because they do not transplant easily. The seed packet will indicate whether the seeds can be sown indoors or whether they should be sown directly into the garden.
When to Plant?
Plan ahead for the growing season by having the class plant seeds in containers 4 - 8 weeks before the time to plant them outdoors. Keep them in the classroom or greenhouse, and transplant them into the garden when the recommended planting date arrives.
Tips: Read seed packets and visit MasterGardenerSD.org/downloads/VegetablePlantingGuide.pdf
How to Plant Seeds?
- Prepare your container making sure there is a drainage hole. Label container as needed.
- Moisten your soil. Then fill your container to the top with soil.
- Make an indentation in top of soil according to the depth required for your seed. A good rule of thumb is to plant seeds 3 times deeper than their width, but be sure to consult your seed packet or catalog.
- Sprinkle 2-4 seeds into indentation.
- Sprinkle soil over seeds to cover.
- Gently water the container until soaked. Be sure it can drain completely.
- Place in proper light & temperature.
- Wait and use observational skills daily. Note what you see. Feel the soil for constant moisture. Measure height and graph growth as a classroom math activity.
Tips:
- Good germination (seed sprouting) requires a sterile soil medium, constant moisture, air, proper soil temperature, and correct light.
- Be sure container is draining. Soggy wet conditions may cause the seed to rot or seedlings to die (damping-off disease).
- Do not mix a fertilizer into the seed-starting medium as it will hinder germination.
- Not every seed in a packet will germinate and some seeds are more difficult and take longer to germinate than others. It helps to discuss this ahead of time to save disappointment for the children. Seed packets and catalogs provide information on what to expect.
- Some seeds (e.g., lettuce and carrots) require light to germinate, therefore they should be very lightly covered with soil – just enough to keep them from washing away when watered.
- Some seeds, such as peas or beans, will rot if they are kept too moist. Planted in moist soil, they often do not need to be watered again until they sprout. Poke a finger into the soil to feel if it is moist at the depth seeds were planted. If needed, mist them lightly until they sprout.
What to Do When We See Leaves?
- Apply the first light feeding (half-strength liquid fertilizer) when the plants have their first set of “true” leaves. True leaves are the second pair of leaves to appear. The first pair are called “seedling leaves” or cotyledons.
- Thin the baby plants, or seedlings, when they begin to crowd one another. Carefully cut off extras with a pair of scissors. Many of the thinned plants, but not tomatoes, can be eaten as micro-greens.
- Be sure seedlings are now exposed to a sunny location in the classroom or greenhouse.
Tips: Good seedling growth requires correct moisture, moderate temperature, and correct light intensity (bright), and duration (8-16 hours).
When Are Plants Ready to Move Outdoors?
- Seedlings grown indoors need time to become accustomed to the variation in outdoor temperature and light before being planted in the garden. This is called “hardening off.” When the hardened-off seedlings are transplanted, they will experience less shock.
- When your seedlings are 2-4 inches tall, move them outside each day and expose them to increasingly longer periods of sun over a period of 1-2 weeks or more.
- Consider creating dappled shade over newly-outdoor tender seedlings if weather is very sunny and hot. Gradually adjust to more sun daily.
- Expand the time outside to include overnight to help them adjust to the temperature variation.
How Do We Transplant Seedlings Permanently?
Your hardened-off seedling can now be transplanted. You can also purchase transplants from a nursery if a garden needs to be started quickly. No “hardening off” is required for seedlings purchased from a nursery because this was done before they were shipped.
Steps:
- Water the garden a day or two before you want to plant, so the soil will be moist but not saturated.
- Dig a hole about the size of the seedling root ball with a trowel.
- Remove the seedling from the container by carefully inverting, squeezing container wall, and gently catching plant, keeping the root ball intact.
- Place the transplant in the hole, and pull the soil into the hole, firming it around the roots. For most plants, the top of the root ball should be even with the soil surface (Tomatoes can be planted more deeply).
- Make a small ridge of soil around the plant to create a basin to hold water in the root zone area.
- “Water in” the new plants to make sure the roots are in contact with the soil. Include a half-strength solution of plant food or starter fertilizer in this watering to get the plants off to a good start. Always check the directions on the plant-food container.
Tips: Keep a close watch for pests such as snails and slugs, cutworms and other insects. Pick off and destroy them. Consider creating row covers to keep out pests, or shade covers during heat waves.
Visit MasterGardenerSD.org for further growing instructions.
Does your school have a garden that needs help? Does your school want to start a garden?
Request a Master Gardener consultant at MasterGardenerSD.org/school-gardens
or email SchoolGardens@MasterGardenerSD.org
Sources: