- Posted By: Amy Breschini
- Written by: Lee Oliphant
The worm bins are $120 and must be paid for online or by check. Please make checks payable to "UC REGENTS".
Our next class is scheduled for September 8, 2012.
You can place your order by clicking on this link or reserve a spot if you would like to sit in:
Below is a little article by Lee Oliphant.. Thank you Lee!
Worm Composting - Composting on a Small Scale
By Lee Oliphant, Ed.D., Master Gardener
Traditional composting is not for everyone. Some folks just don’t have the space for composting bins but would love to have some of the “black gold” plant food that composting provides. If you want to try composting on a smaller, more concentrated level, worm composting (or vermicomposting) might be the answer for providing food for your plants while recycling kitchen scraps and newspaper or shredded office paper. The resultant castings provided by worm composting is a nutrient rich additive to soil. The leachate caught from the box can also be diluted and used to water ornamental plants.
Worm composting requires a shady, cool place for your worms to live. You will need only a few things to begin worm composting: a worm bin, newspaper bedding, kitchen scraps and, of course, your little “Red Wigglers” (Eisenia foetida).
Your Worm Bin
Commercial worm bins are available or you may begin your worm composting you might want to purchase a simple 5 to 10 gallon plastic tub with a lid that snaps shut. Worms like darkness, so an opaque bin is best. Drill 1/4 inch holes around the bin about 4 inches down from the top and 2 to 4 inches apart.
Worms thrive in temperatures between 50 and 75 degrees. Options for bin locations are the garage, basement, a shady deck or area in your garden, or in a garden shed. In the winter, make sure that the box is sheltered from the rain. The worms require oxygen and will easily drown!
Worm Bedding
In their natural habitat, “Red Wigglers” live in piles of fallen leaves above the soil surface. The best bedding in your bin is shredded paper such as uncolored newsprint or cardboard. Prepare your worm bedding by wetting the paper and wringing it or drain it until is like a wrung-out sponge. Separate the damp strips.
Worm Food
A pound of red worms need about a pound of scraps each week. They eat just about any part of fruits and vegetables, coffee grounds and filters, tea bags and watermelon rinds. To begin, layer about a pound of scraps over the bedding. Do not put meat, oils, cat or dog feces, or dairy products, citrus peels or bread that contains yeast in your bin! While worms can survive longer without food, they enjoy a weekly feeding.
The Worm Crew
”Red Wigglers” Eisenia foetida (not to be confused with earthworms) can be purchased at garden centers, bait shops or from suppliers on the Internet. You will need less than a half-pound of worms to begin your worm composting. Worms need to be separated from their casting about twice a year. One method for separation is to push the decomposed material to one side of the bin and remake the worms’ bed with paper and kitchen scraps. Worms will eventually migrate to the freshly filled side of the bin leaving you with fresh compost.
Another method for those of us who can’t wait for the wigglers to meander to “greener” pastures so that castings can be harvested is to expose the open bin to bright light or sunlight. The worms will dive for darker quarters. After a few minutes, remove the top inch (sans worms) and repeat.
Your Payoff
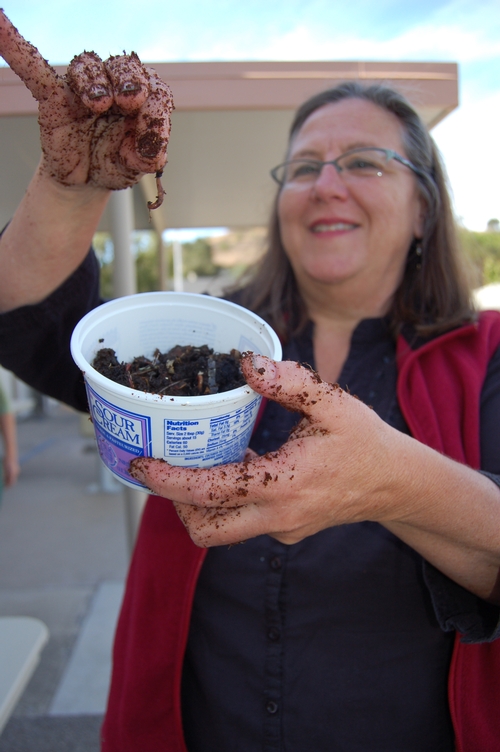
Worm compost is ready to use when all vegetation has been digested. It is very concentrated. You can sprinkle and dig it into freshly cultivated soil or mix one part worm compost to four parts potting mix. .
There are many informational resources for worm composting available. California Department of Resources Recycling and Recovery has an excellent resource page. “Worms Eat My Garbage” by Mary Appelhoff is a book that provides extensive coverage on the subject. Her Web site is wormwoman.com.
Having trouble with your worm bin? Contact the Master Gardeners! mgsanluisobispo@ucdavis.edu
Click HERE to read more articles about Worm Composting.
Did you find some weird larvae in your worm bin?
Click here to see the image.
Soldier Fly Larvae seems to appear in my worm box throughout the year. Once you recover from their ugliness, you will find that they are excellent composters and the flies are never even seen!
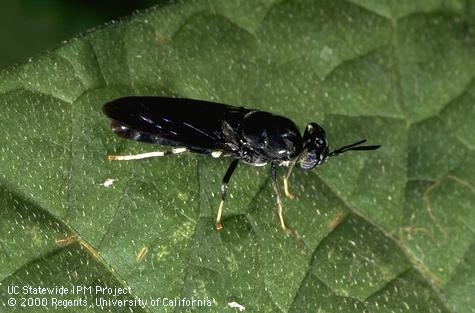
- Author: Amy Breschini
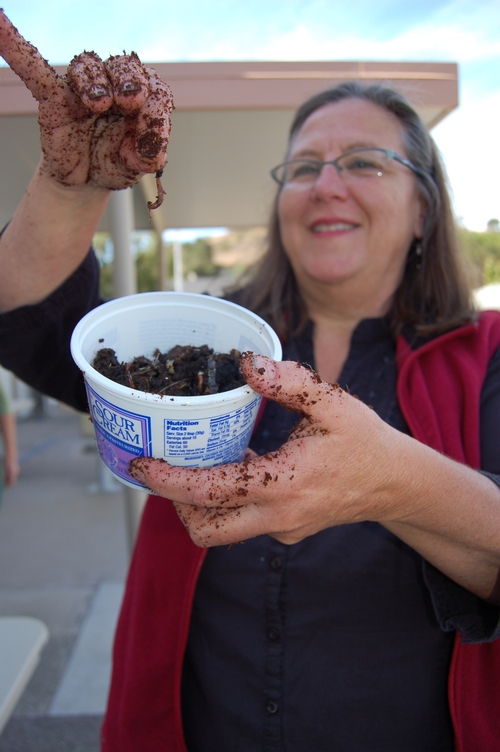
Sadly, Californians dispose of 5.6 million tons of food each year, using 16% of our landfill space! In our county, the local schools started composting their cafeteria waste a few years ago, with the help of the San Luis Obispo County Integrated Waste Management Authority. They have a school based education program that encompasses all types of composting, including vermiculture. UC Davis and UC Berkeley also are participating in vermiculture to reduce campus cafeteria waste. If you are interested in finding more ways to reduce the amount of food that goes to the landfills, check out this link:http://www.ciwmb.ca.gov/foodwaste/
Our worm composting class is 2 hours and includes setting up your own "Wriggly Wranch" worm bin, (which is made of sturdy black recycled plastic), a nice little book (printed on recycled paper), recycled coconut fiber for bedding, a cup of worms and several years of advice. Our instructor Alice has been "vermiculturist" for years and always has a few more funny stories to share!
Photos by Lee Olson
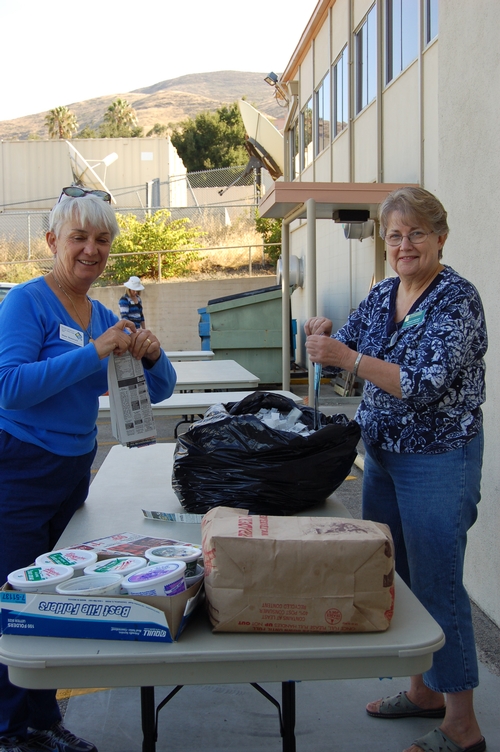

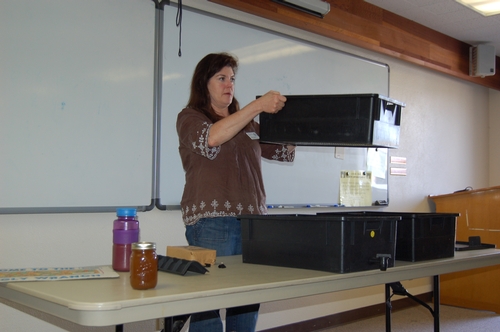
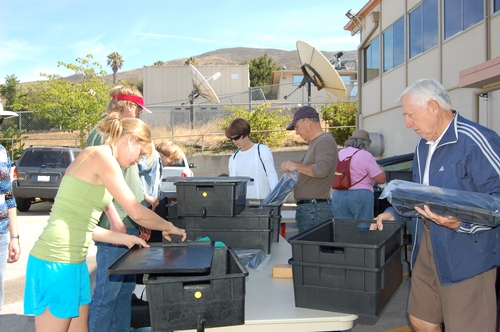
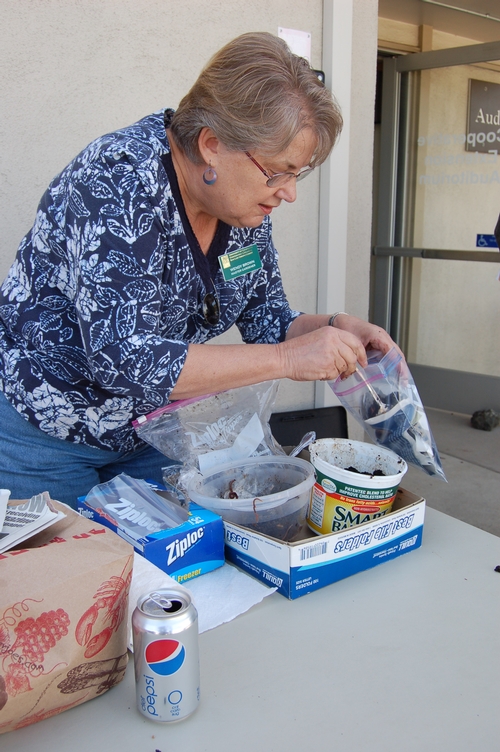
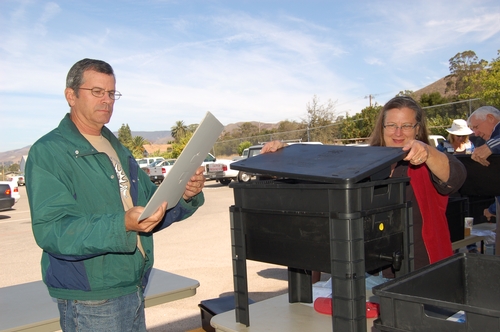
Some funny and important rules to worm composting , based on Alice's class and testimonials that I've heard! (and it's a treat to find someone else who has worms and you can share your experience, because your friends and family just won't get it!)
Here's just a few tips:
- Don't open your mouth when opening your worm bin! (Remember fungus gnats love decomposing, moist organic matter!) Thank you Alice! That's the most important rule!
- Don't over fuss with them- just let them be! (someone told me that they counted them often to see if they were reproducing..)
- Don't put a ton of potatoes in it. Rotting potatoes are horrid and Alice's worms weren't putting up with it.
- Don't put in big pieces of broccoli (it stinks beyond words!)
- Don't scream if you get something really gross (because your neighbors will think you are weird enough to have a box of worms out there to begin with).
- Don't add bread or yeast products or dairy or meat.
- Don't add lemons and oranges (too acidic).
- If your worm bin is soggy wet- add newspaper or shredded to give your worm some bedding.
- If you have ants, place each leg of the bin in a cup of water. Ants will not cross water.
- Slug Problems inside your bin: Place copper tape around the legs of the bin. Slugs and snails will not cross over.
- Too many fruit flies, try little bottles with a bit of apple cider vinegar in the bottom. Cover the opening with Saran Wrap and punch holes in it. They will be attracted to the strong fermenting odor and not be able to escape the bottle.

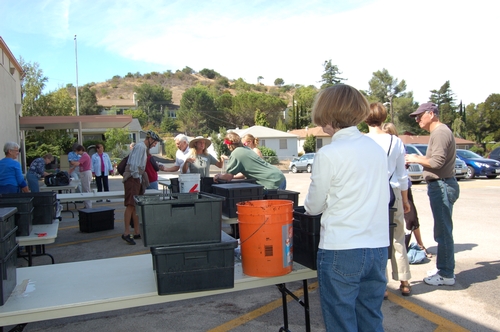
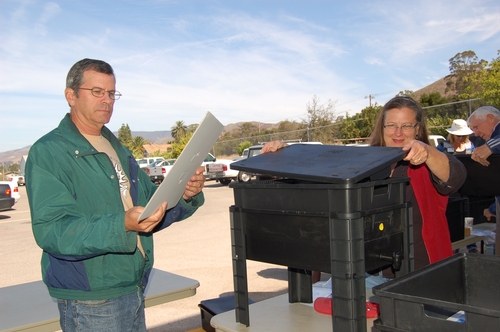
Here's how the worm composting boxes work:
- The bottom box is for catching "tea" (the moisture falling from the castings and decomposing organic matter) It has a spigot for easy access.
- The second box up has holes in the bottom, which the tea can exit. This box is where you start with your coconut fiber bedding, worms and fresh food.
- Add food, coffee grinds, crushed egg shells, etc.. Most people group the same foods together, so the worms can move into the areas that are ready to be eaten and then, if they for some reason do not like it, you can easily remove it later. Keep your lid on this box until it is full.
- As this box becomes full to the top, you may sit the next box right on top and start adding food. This is also a time you can incorporate some shredded or torn up paper (soy based newspaper inks). The worms will eventually all leave the second box and go into the top box. This takes a while! You will eventually find that the bottom box is all castings and very few worms.
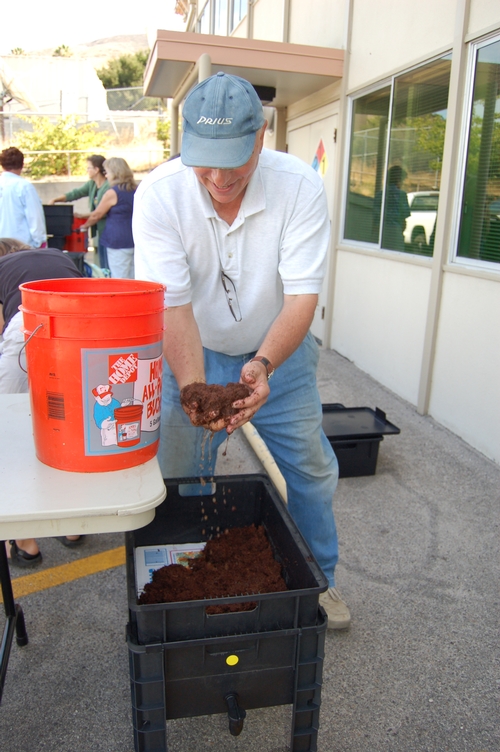
- Removing your compost from the box: if you gently tilt your box of worm castings and brush them off, any remaining worms in the box will burrow deeper (they burrow away from light). When you have a few inches left at the bottom, you will notice that any worms that were there had all gone to the bottom of the bin. You can incorporate this small amount back into your other working bin.
- Author: Amy Breschini

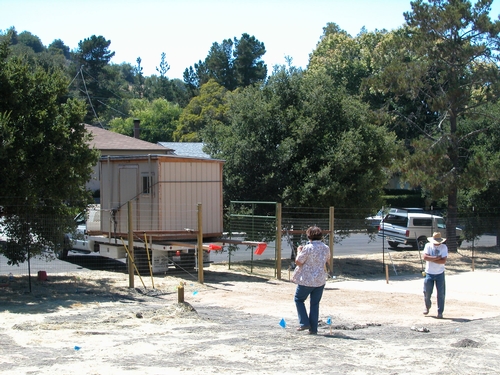
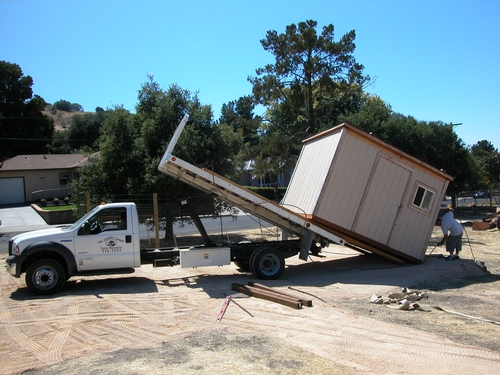
So excited! Here's the truck backing in with the delivery of the garden shed. We were so fortunate that Susie got a great discount on it from Oak Country Lumber and Ranch Supply in Santa Margarita because it was one of their samples in the store. At this point I'm wondering how on earth we will unload this thing!
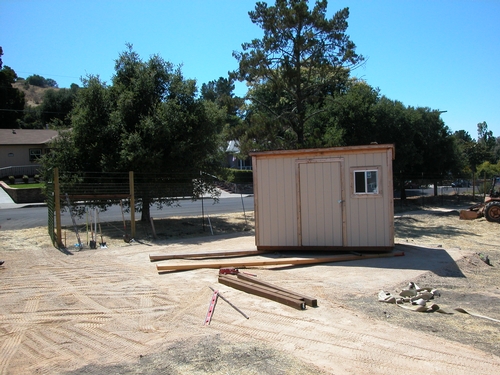
It was moved into final position by two boards with a pipe in between.
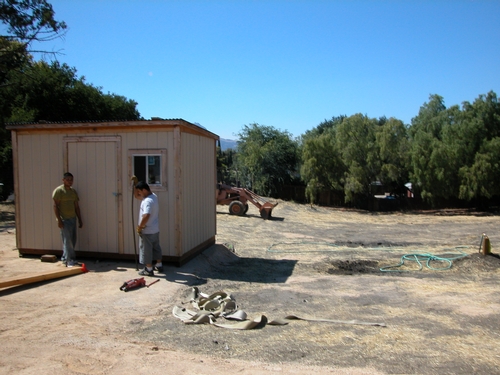
The delivery guys- who made it look easy!
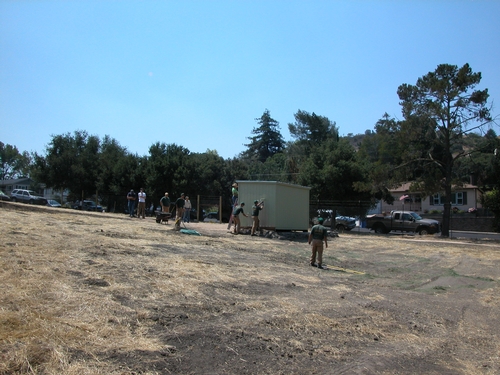
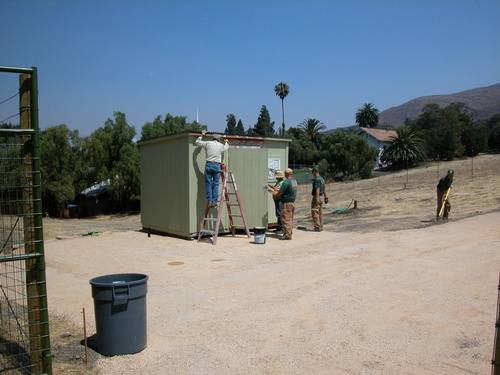
A beautiful coat of green paint was applied!
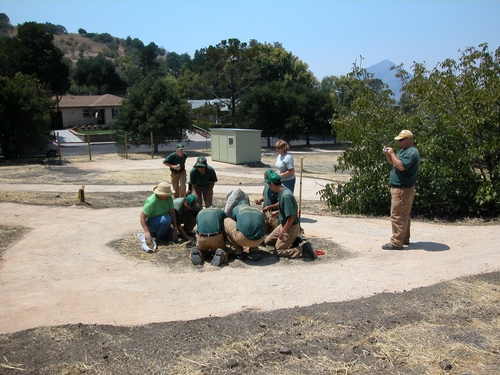
The final project for the day was planting iris around the rock.
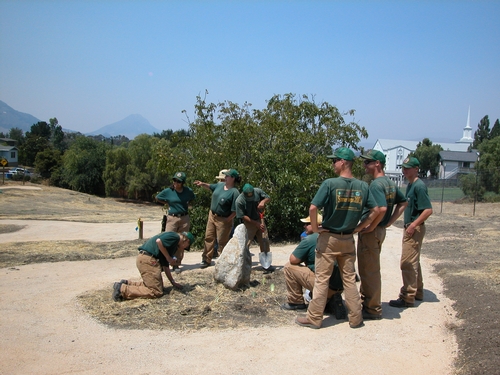
The kids were proud, happy and tired by the end of the week!


