
Garlic is a fun herb to grow and does not require a lot of time or effort. But just like any edible, it requires a little preparation and planning. Ordering your seed garlic (cloves) from a catalog works best. Order in July or August for fall planting. If you don’t have time to do this, you can buy garlic in the grocery store. The downside of doing this is that a sprout inhibiter is often sprayed on grocery store garlic. This has never been a problem for me, however, and the upside is that you will likely get a price break this way.
In California, garlic is a cool weather crop, and the soft neck variety does best. Fall is the time to plant. It may start to sprout in the winter but will go dormant and start to grow again in the spring. With garlic you are in it for the long haul, as it takes five to eight months to mature.
The first step, after you have purchased your garlic, is to gently break the cloves apart, leaving the outer skin intact on each clove. Now for soil preparation. Choose a sunny location. Sandy loam is ideal, but if your soil has clay in it, be sure to loosen soil to a depth of about four inches. Cloves will be planted at about two inches down, but soil should be loose below the clove, so that water will not sit around the base and root area. A standard soil amendment should give adequate nourishment. Water the soil a day before planting.
In order to improve the odds of a good yield, the day before planting soak the cloves overnight in a solution of about one teaspoon baking soda per quart of water. This will help kill any bacteria on the cloves. Drain the cloves about an hour before planting and soak them in a new bath of isopropyl alcohol to kill any fungus.
Plant the cloves pointed side up, about two inches deep and about eight inches apart in all directions. Water them and cover the bed with straw. When the tips of the plants appear, move the straw away from the plants to give them space. Now you just need to keep the soil moist. Do not over water!
Garlic will continue to grow slowly. Plants should be fertilized again in the spring. Stop fertilizing the plants about three months before harvest. For example, if you plant in late September, stop fertilizing in late February. Now watch the leaves. Lower leaves will start to brown as the bulbs mature, and this browning will continue upward.
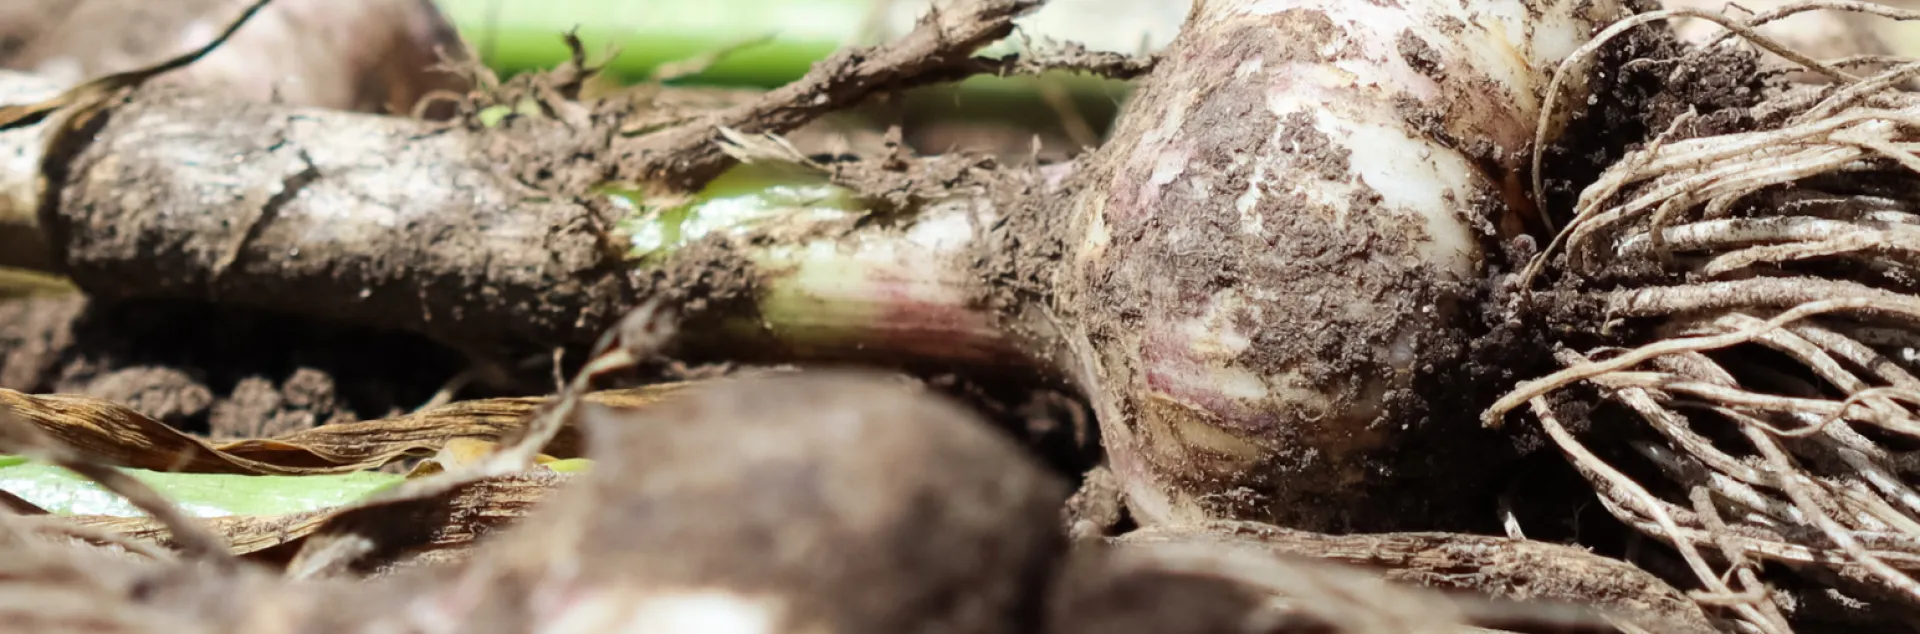
As leaves continue to brown, stop watering for one to two weeks before harvesting. Using a garden fork, try to dig below the root; avoid pulling up by hand. You want garlic bulbs to stay intact and have about two inches of roots. Remove loose clods of dirt only. Once you have completed your harvest, garlic can be cured in a dry shaded place with good air circulation, either inside or out. This curing process allows the vascular tissues to close and the bulb to harden. Larger bulbs should be ready to use in about four weeks but can often be stored for a few months.
For further information about garlic pests and diseases, see https://ipm.ucanr.edu/agriculture/onion-and-garlic/#gsc.tab=0. Good luck and happy gardening.
Wendy Kubow is a University of California Cooperative Extension Master Gardener of Calaveras County. UCCE Central Sierra Master Gardeners can answer home gardening questions, from rainwater tanks to drought-resistant plants. Call 209-533-5912 in Tuolumne County, 209-754-2880 in Calaveras County or fill out our questionnaire at: Ask a Master Gardener
Check out our webpage at https://ucanr.edu/site/uc-master-gardeners-central-sierra
You can also find us on Facebook and on the radio at kaad-lp.org or 103.5 FM on Motherlode Community Radio.