
by Katie Yamashita, Los Angeles County, Online Delivery Program Volunteer
Few preserving projects are as accessible as salt-cured citrus. There's no canner, no fermentation crock, no specialized equipment beyond a clean jar, and the ingredient list rarely goes beyond what's already on hand: citrus, salt, and a little patience. It's also a tidy answer to a problem a lot of home gardeners know well - a citrus tree that's suddenly producing more fruit than anyone in the house can eat fresh.
Preserved lemons are the classic version of this project, often dressed up with warm spices like cinnamon, coriander, or bay leaf. But lemons aren't the only citrus that takes to curing—limes work with the exact same process, and this version takes things in a different direction, with jalapeño and garlic as an optional add-in for a savory, slightly spicy customization that suits the dishes limes already show up in. Preserved limes bring a brighter, slightly more floral edge than their mellower lemon cousin, and they hold up well against rich or spicy food.
The Science Behind Preserved Citrus
Left alone, a fresh lime lasts a few weeks before it starts to mold, dry out, and break down. Packing it in salt and its own acidic juice changes that timeline dramatically—the salt pulls water away from anything trying to grow there, and the lime's natural acidity adds another layer of protection, especially against bacteria. Together, that combination stretches a few weeks of shelf life into months.
This process is called salt-curing through osmosis—a different (and much saltier) mechanism than the lacto-fermentation behind sauerkraut or kimchi, which relies on a much gentler brine that lets lactic acid bacteria do their work over days or weeks. The reason this stops bacteria is simpler than it sounds: bacteria need water to survive and grow, just like we do. Salt grabs onto water molecules and holds them so tightly that bacteria can't get to them anymore. The lime and its juice still look just as wet as ever, but a lot of that water is now locked up and off-limits. Food scientists have a name for this— "water activity" —and it's that rating, not how much liquid is technically sitting in the jar, that decides whether bacteria can multiply.
Acidity is the second hurdle facing any bacteria in that jar, and limes bring plenty of it. A low pH makes it hard for most bacteria to survive and grow at all, and limes are acidic to begin with —sitting around pH 2 to 2.5, well below the roughly pH 4.6 line most foodborne pathogens can't cross. So, bacteria in this jar are up against two things at once: salt locking away the water they need, and acid making the environment hostile on top of that. That combination is also why the curing jar can sit in a "dark, cool cupboard" at room temperature for two weeks rather than needing refrigeration from day one—salt and acid are already doing their work the moment the jar is packed, with no fermentation culture that needs time to establish itself.
Keeping the fruit submerged during that two-week cupboard cure, however, is essential. Anything sitting above the brine line is exposed to air, outside the protection of the salty acidic brine, and at real risk of surface mold. Limes’ petite profiles can make this a bit tricky. Lemons tend to wedge nicely under a jar's shoulder; but limes, being smaller and rounder, can be tougher to keep from floating to the top. A simple fix is a small zip-top bag filled with brine, set on top of the limes as a weight to hold them under the liquid while the jar cures. Fill the bag with brine matching the jar's salt concentration, not plain water. If the bag ever leaks, brine just blends into more brine—but a leak of plain water would locally dilute the salt right where the fruit is floating, weakening the one barrier doing the most work in exactly the spot that needs it.
Safety and Technique
Because there's no heat-processing step here, sanitation and technique—a clean jar, clean hands, keeping the fruit submerged—matter more, not less.
This is a refrigerator cure, not a shelf-stable canned product. The jar gets sterilized and the lid gets tightened, but there's no boiling water bath or pressure step, and the lid isn't forming a vacuum seal. Once the two-week cure finishes, the jar moves to the fridge and stays there and can last up to 6 months.
That shift partway through is worth explaining, because it can look inconsistent at first: if salt and acid are doing the heavy lifting, why does the jar suddenly need a fridge once curing is done? The answer is mold and yeast, which tolerate low water activity and acidity far better than bacteria do. The same salt level that's plenty to stop bacteria doesn't have nearly the same reach against mold spores landing on the surface. There's also a practical shift in handling at that point: a sealed, undisturbed jar during curing becomes a jar that gets opened repeatedly over the following months, with utensils or fingers reaching in and fruit potentially working above the brine line as the level drops. Refrigeration covers both gaps at once—slowing mold growth directly and adding a margin of safety for all that extra handling.
Recipe
Traditional Preserved Limes
Makes one quart (1 L) jar
These limes can be used as a condiment or as part of a relish tray, salad, or rice dish. Whether you leave the limes whole or cut them into wedges is simply a matter of taste.
Ingredients
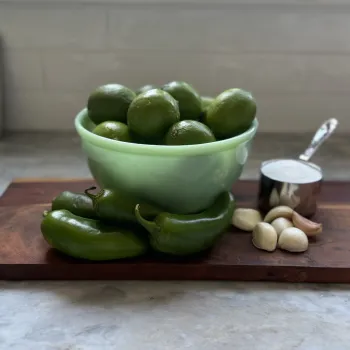
20 limes, divided
½ cup (125 mL) pickling or canning salt, divided
4 jalapeño peppers, stemmed and sliced lengthwise into eighths (optional)
6 cloves garlic (optional)
Tips
Pack the limes in groups of three as you go, to make sure they all fit in the jar.
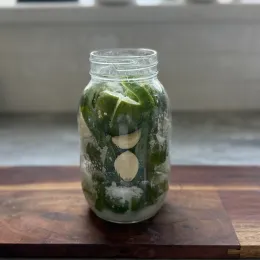
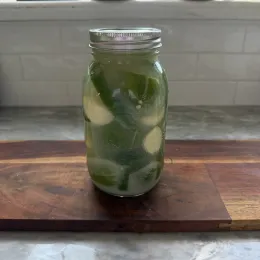
Once the two-week cure finishes, the jar moves to the fridge and stays there and can last up to 6 months (photo by K. Yamashita, used with permission).
Store finished preserved limes in a container with an airtight lid; refrigerate for up to 6 months.
If desired, top the jar with ¼ inch (0.5 cm) of vegetable oil during refrigerator storage — but use within 1 month if you do.
Method
Prepare jar and lid. For this recipe, the jar needs to be sterilized prior to packing. Boil jar in water for 10 minutes and keep hot until ready to use.
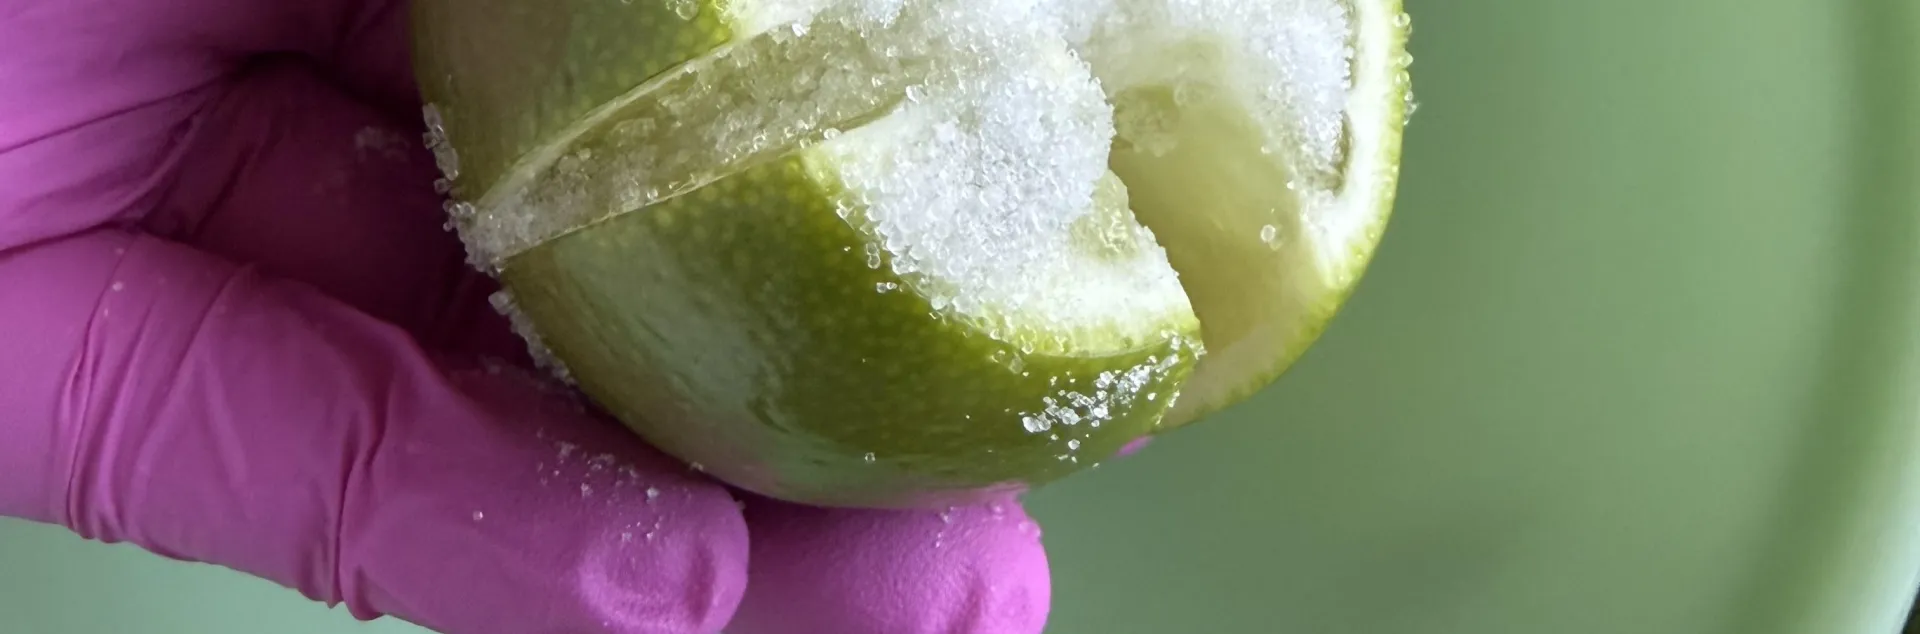
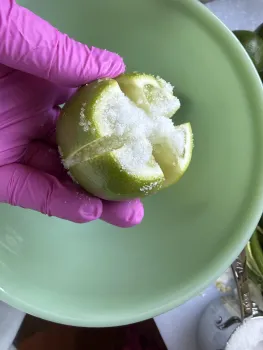
Wash 9 of the limes in warm water, scrubbing well to remove any dirt and wax, and dry well, using paper towels. Cut a thin (⅛-inch/0.25 cm) slice off the stem end. From stem end, cut each lime into quarters, without cutting through the bottom end and leaving it intact. Juice the remaining 11 limes to measure 1.5 cups (375 mL) juice.
Sprinkle 1 Tbsp. (15 mL) pickling salt over the bottom of sterilized jar. Working over a bowl, pack 1 heaping Tbsp. (15 mL) salt into each lime before placing in the jar, stem end up. When 3 limes have been salted and packed, sprinkle 1 heaping Tbsp. (15 mL) salt over the top. Slip about 8 jalapeno slices, if using, against sides of the jar and add 2 cloves garlic, if using. Repeat twice with remaining limes, salt, jalapeno and garlic. Cover with the remaining salt.
Fill jar with lime juice to within ½ inch (1 cm) of top of jar. Center lid on jar. Screw band down until resistance is met, then increase to fingertip tight.
Place jar in a dark, cool cupboard for 2 weeks, shaking every day to distribute the salt. After 2 weeks, the limes are ready to use. Remove pulp and membrane, using only the peel. Rinse under water to remove excess salt and dry with a paper towel. Store preserved limes in the refrigerator. Use within 6 months for best quality.
Variation: If you prefer, you can cut the limes into quarters. Combine in a large bowl with the salt. Toss to mix. Half fill the jar, add the jalapeno slices and garlic, then continue until the jar is filled, pushing the limes well down to squeeze in as many as possible.
Recipe from the Ball® Complete Book of Home Preserving, 2024.