"There ain't Nothing Better in Life than True Love and a Homegrown Tomato"
— Old saying
Spring has arrived! And with it, comes the moment we’ve all been waiting for… the Great Tomato Plant Sale! But that’s not the only reason to celebrate; we’re also thrilled to welcome you to the brand-new Gehringer Demonstration Garden in Concord, a fresh space designed to inspire, teach, and grow alongside our community.
This issue is bursting with ideas to get you excited about the season ahead. You’ll discover expert tips for growing abundant, flavorful vegetables, explore the beauty and benefits of California native lupines, and uncover the fascinating ways plants adapt and thrive—even when water is in short supply.
We’re also here to help you garden smarter and safer, with practical guidance on managing pests and plant diseases, plus important tips to protect yourself from mosquito-borne illnesses.
And if you’ve ever been curious about composting, now is the perfect time to jump in.
So, pour yourself your favorite drink, step outside, and settle in, you won’t want to miss a single article. Your most vibrant, successful garden season starts right here!
Hedwig Van Den Broeck and Robin Mitchell, editors.
Here is your link to subscribe to this newsletter.
UC Master Gardener Program of Contra Costa County: Page
The Great Tomato Plant Sale is our huge event where we sell thousands of spring veggie seedlings to our community. Get all the information on this page.
UC Master Gardener Program of Contra Costa County: Article
March 22, 2026
A new public demonstration garden is about to open! Located in the public walking space outside the Gehringer Community Garden fencing, at 1790 Lynwood Dr. in Concord, it will provide a real-life demonstration of the versatility and adaptability of California native plants. Join the community for…
UC Master Gardener Program of Contra Costa County: Article
February 16, 2026
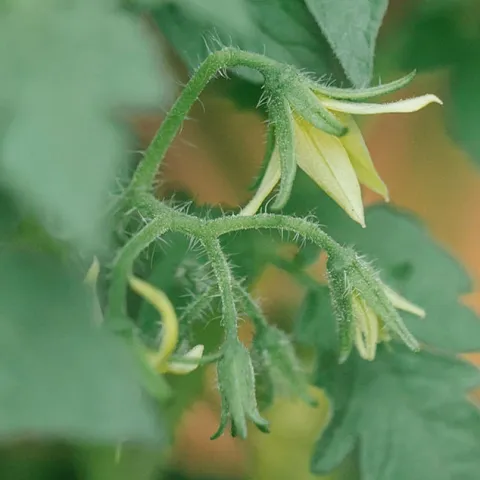
The Dwarf Tomato Lineup Just Got BetterHave you ever wished for the taste and quality of an heirloom tomato, but on a plant you could grow in a small space or container? Last year, we were excited to introduce several varieties from the Dwarf Tomato Project that achieve just that. This year, we are offering…
UC Master Gardener Program of Contra Costa County: Article
March 22, 2026
Plants are astonishing! Even in their highly vulnerable state of immobility, they are capable of developing defenses to outside forces that threaten them. Around 500 million years ago, land plants first appeared and were small and moss-like, lacking true roots and stems. They required moist environments,…
UC Master Gardener Program of Contra Costa County: Article
March 22, 2026
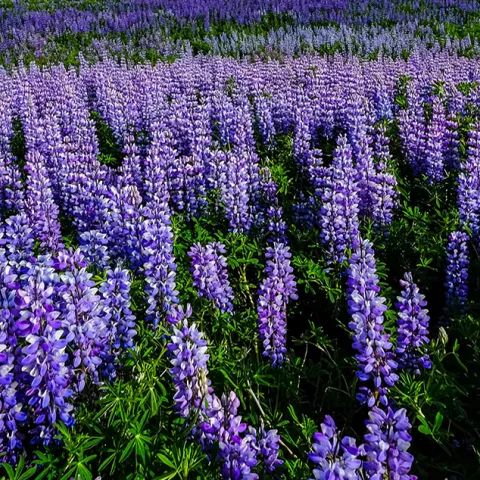
California native lupines are a wonderful addition to a garden. They have dramatic bloom stalks and support many insects and other critters.A remarkable diversityLupines are in the pea (or legume) family, Fabaceae, which means that they fix nitrogen in the soil. In California, there are 70 lupine species and…
UC Master Gardener Program of Contra Costa County: Article
March 22, 2026
Why a Tiny Bite Can Have Big Consequences A whining hum fills your left ear. A slight sensation on the back of your neck followed by a faint pinch of pain. SMACK! A broken and twisted long-legged insect and a small smear of red blood on your hand. Soon, the itching and swelling will start. You shrug; it…
UC Master Gardener Program of Contra Costa County: Article
March 22, 2026
Do I Need to Do Something?A Season of Observation As the growing season unfolds, many gardeners begin taking a closer look at their plants, wondering whether everything is thriving as it should. Spring is often the time of year to determine whether a little help might be needed to keep our plants…
UC Master Gardener Program of Contra Costa County: Article
March 22, 2026
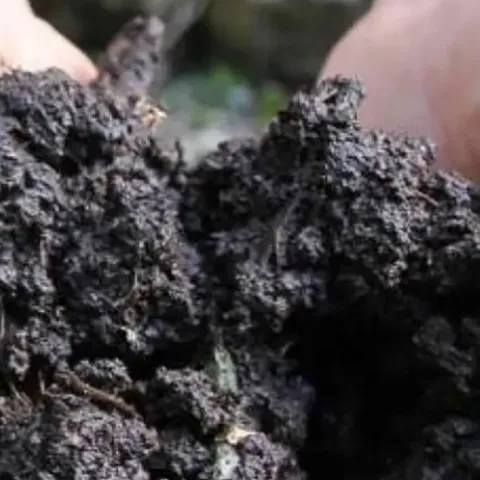
Composting 101 for BeginnersFirst installment in an upcoming series exploring home composting for small-space gardens—stay tuned for more in future issues of News to Grow By.Every trash day, I happily wheel my green waste barrel to the curb. The municipality will turn my garden and kitchen waste into…