Lately, I've been experimenting with making jam the “old fashioned way,” which means a long cooking time and no added pectin. I'm finding that the fruit's flavor is much more concentrated and the jam has an extra layer of richness that I don't taste from jams made with added pectin. These jams require quite a bit of sugar, so you may prefer to use a low or no sugar pectin to reduce the sweetness.
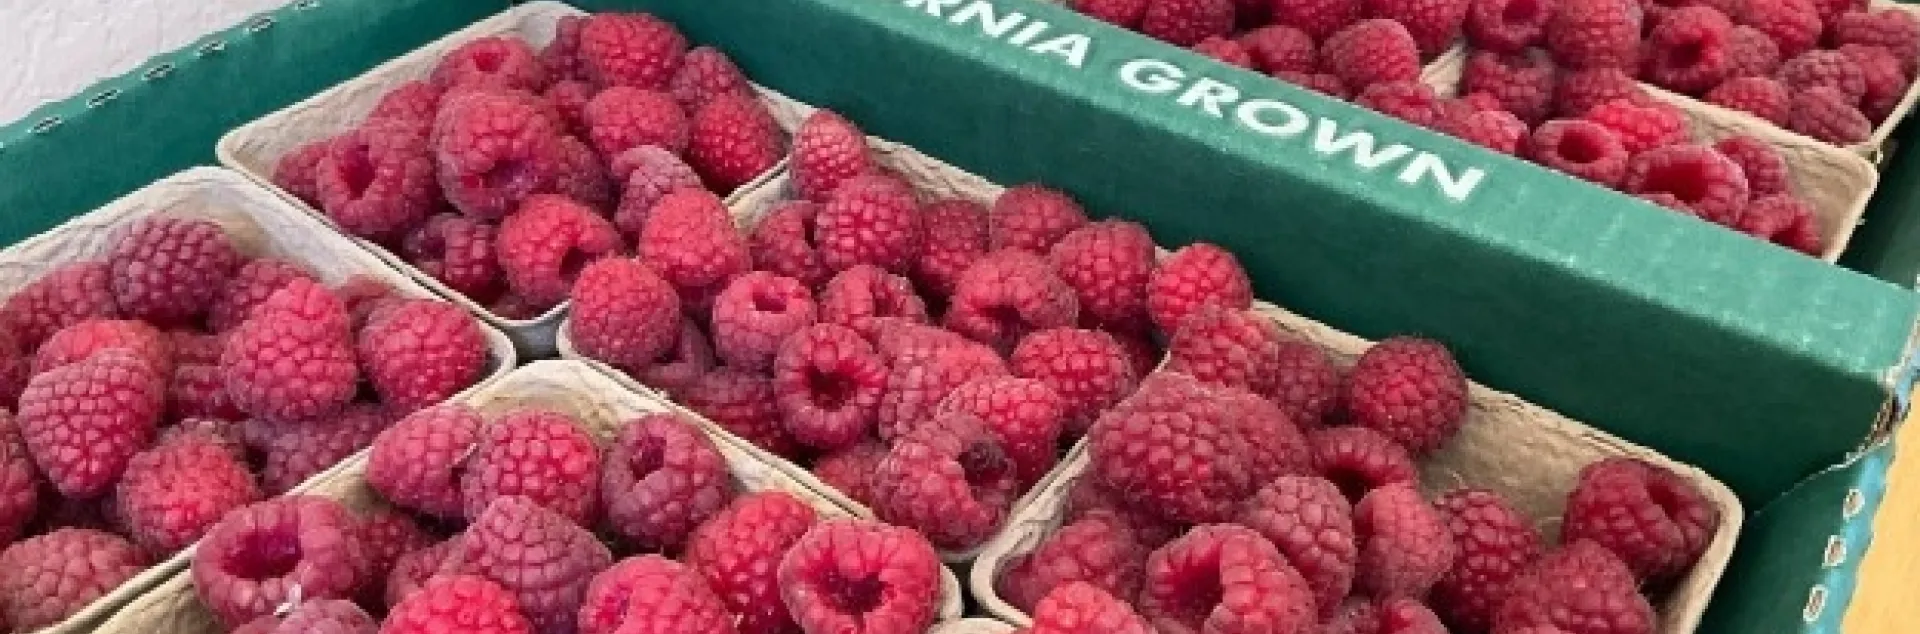
Today I made raspberry jam using the Ball Complete Book of Home Preserving (2016) recipe, Berry Jam, pg. 23. After purchasing the raspberries at my local farmer's market, cleaning and sanitizing the kitchen and gathering my canning supplies I set out to create some delicious jam during the height of raspberry season.

First, prepare your canner and jars.
Wash the raspberries and pick through making sure not to use any moldy or badly blemished berries. Ideally, you want a mix of ripe fruit and some of the berries a little underripe. These contain more natural pectin which helps the jam set.
When making a full sugar no pectin jam you will need to cook the jam longer and use the spoon gel test to make sure it will properly set after canning. To do this, take 3-5 teaspoons and set them on a plate and place in the freezer as you are cooking the berries.

Combine berries, sugar, and lemon juice in a large heavy bottom pot and bring to a boil over medium heat.
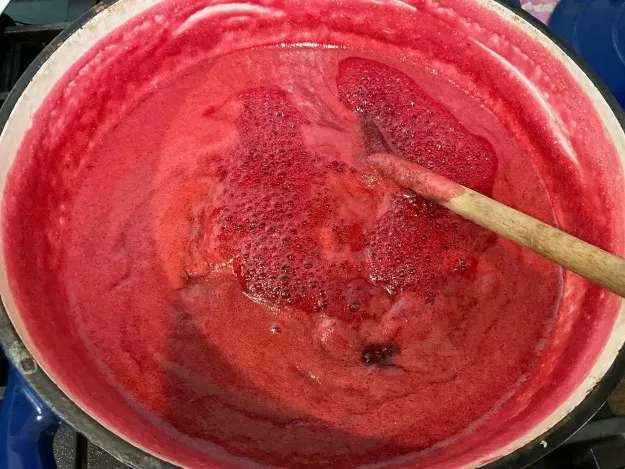
Bring this mixture to a boil and let boil for about 10 to 15 minutes until the foam recedes and the mixture starts to become glossy.

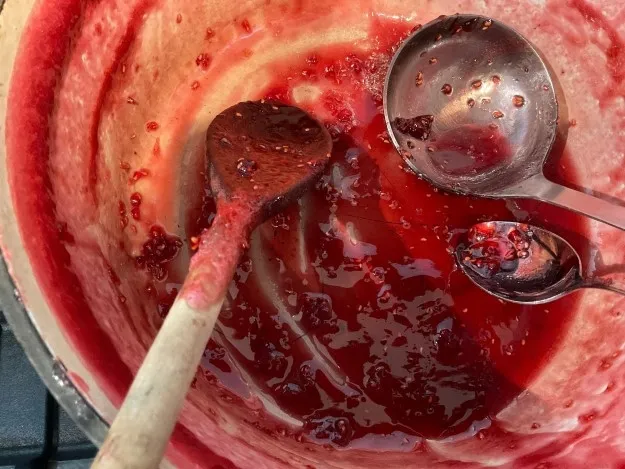
You can now take one teaspoon from the freezer and dip it into the mixture and return the spoon about half full to the freezer for about 3-4 mins. After that time, take the spoon out, make sure the bottom feels cool, not warm, and tilt it to the side. The drops should run together and form a sheet as viewed in the last spoon photo. If the jam runs quickly, keep stirring and cooking the mixture. Repeat the test after another 5 minutes.

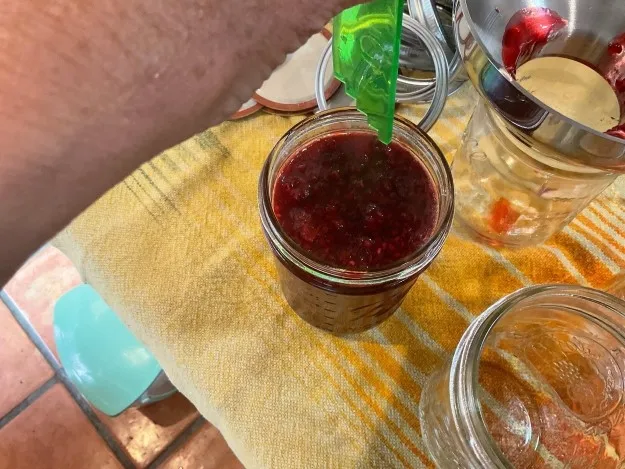
When the jam is done, remove from heat and ladle into the warm jars, leaving ¼ inch headspace. You can measure with the ruler tool and scrape down the sides of each jar to remove any bubbles that may have formed. Now take a damp paper towel and wipe the rims to remove any drips that may have occurred. After ensuring a clean rim on the jar, place the lids on and screw on the bands until fingertip tight. You don't want the bands too tight. You want to allow the air to move out under the band to help seal the lid during the canning process.


Process the jars in a boiling water canner at a full roiling boil for 10 minutes. Steam will escape through the side of the lid during this process. If the water ever drops below the boiling point, start your timer over for the full processing time as directed by the recipe. After 10 minutes, turn off the heat, remove the lid and let the jars stand for 5 minutes.
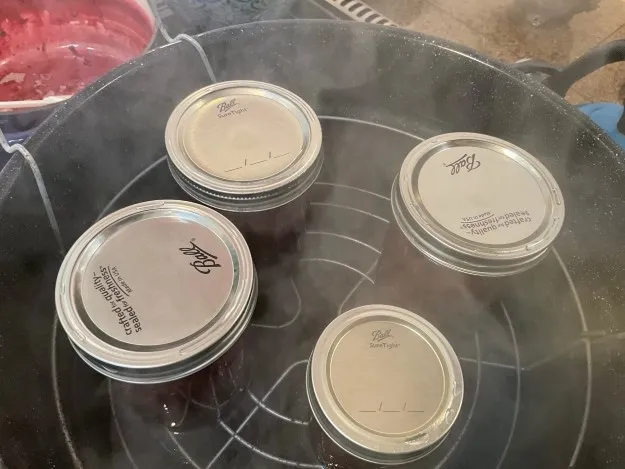
After this time, use a jar lifter and carefully remove each jar to a towel on your counter. You can use a tray lined with a towel if you want to move the jars to a different location before letting them set for 12-24 hours.
Don't worry about the water that pools on top of the lids. Just leave it be. Do not tilt the jars to remove it. Once the jars have sealed you can remove this with a paper towel and a little vinegar to remove any white sediment.
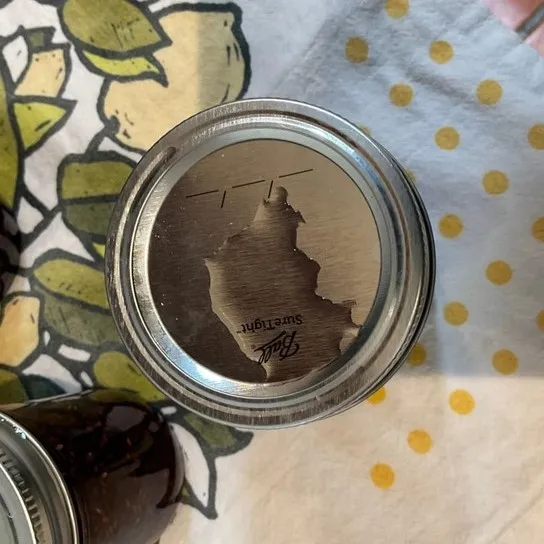
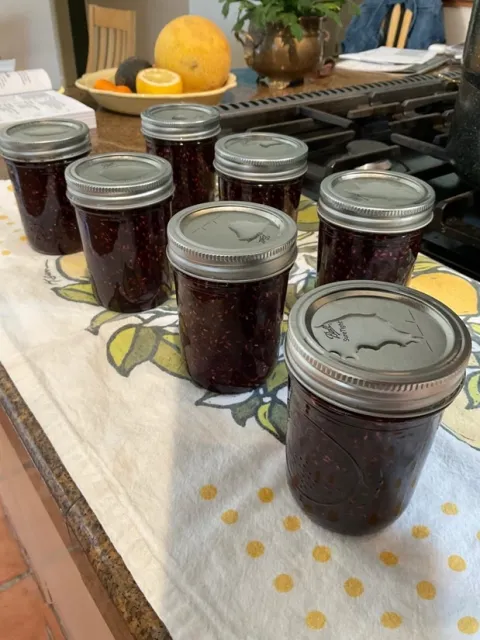
After 12 hours make sure the lids have sealed properly, the lids should be concave. Label the jars and store without the bands in a cool, dark location. If a jar or two has not sealed properly simply place them in the refrigerator and use them within a month. Once opened, store jam in the refrigerator. Use unopened jars within a year for best flavor.
I love this jam spread on toast but also plan on filling thumbprint cookies with it. The long cooking time creates a thicker jam with a richer color than what you usually get with a pectin added jam. The process is more labor intensive but well worth it!
