By Penny Pawl, UC Master Gardener of Napa County .
Have you ever heard of African keyhole gardening? The practice started in the 1990s in Lesotho, a small country surrounded by South Africa. With a keyhole garden, you can grow a lot of produce in a small space. They’re called keyhole gardens because the designs have a keyhole-like opening in the center so the gardener can easily access all the beds .
These gardens were intended as kitchen gardens, with borders constructed from available materials: stones, rubbish, anything that could retain the soil. After the borders were in place, creating beds, people would fill them with organic material such as palm leaves, straw and kitchen scraps that would decompose. The goal was to create workable, well-draining, nutrient-rich soil as the native soil was very hard .
Prior to filling the beds with organic materials, a basket was placed in the middle of the bed to hold more compostable material, like future kitchen scraps. Most of the baskets were made of chicken wire. The bed was watered and its contents eventually broke down into plantable soil . As materials in the basket decomposed, they fertilized the surrounding soil. Insects and worms in the basket helped break down the materials and their manure nourished the soil .
Now this clever and efficient method has moved around the world. Small kitchen gardens thrive in these controlled circular beds. You can purchase kits online to help you build a keyhole garden. Or you can do what I did and adapt your existing garden .
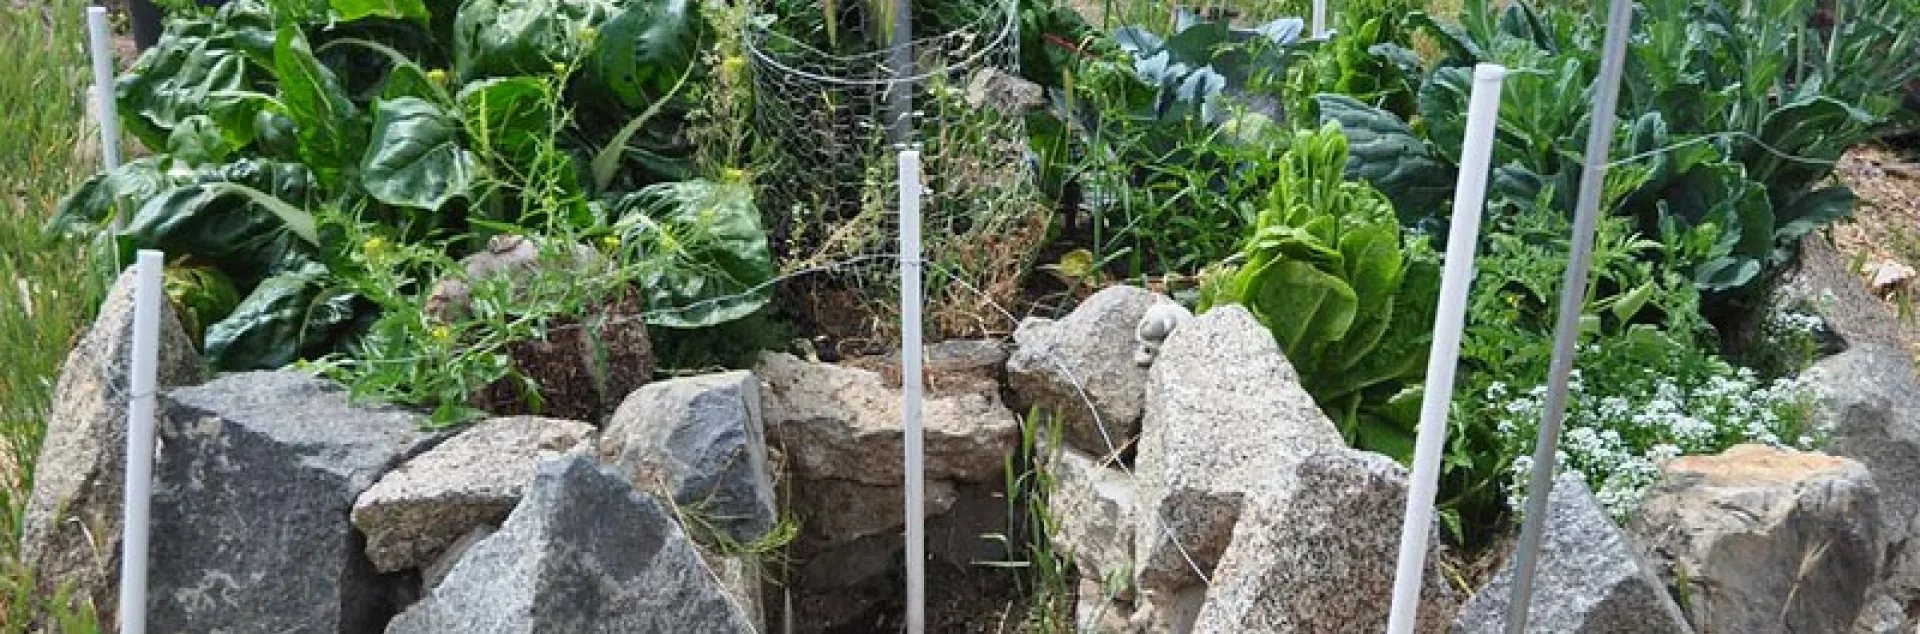
I already had seven raised beds with cinderblock walls three bricks high. I had worked for years to improve the soil in these beds. I was already doing worm composting and had used worm compost as a fertilizer for years, so I decided to sink four of my big worm bins into the beds .
The bins have been drilled all over to make quarter-inch holes, including on the bottom. The worms can easily move in and out of the bins through these holes. When they leave, they take some of their manure with them into the planting beds .
I cleaned one of these bins after 3 years and got 15 gallons of worm compost (“worm gold”). It seems like I get more worm compost from the keyhole-garden bins than from the free-standing bins .
Red wiggler worms are essential to this process as they eat decaying organic matter. I put kitchen waste (broccoli stems, banana peels, eggshells) in the keyhole-garden worm bins along with paper towels, shredded paper (old tax records!), dried leaves, clean cardboard, rice hulls, aged chicken manure and coffee grounds from a local coffee shop .
The worms love cardboard and seem to eat it first. I tear black-and-white newspaper into thin strips before adding it to the bin; I don’t colored newspaper because the ink is harmful .
Some composters cut kitchen waste into small pieces before composting to speed up the
decomposition. Composting material should be as moist as a wrung-out sponge, so I’ll cover or uncover the bins as needed if rain is imminent.
I use a variety of bin types because my beds vary in size. I have used old plastic garbage cans with lids. In smaller beds, I have smaller compost bins. Make sure the bottom of the bin is intact, either drilled with drainage holes or lined with hardware cloth. Otherwise, moles can enter and devour your precious worms.
Other creatures will move into any working compost bin and most I let stay. Sow bugs eat the same organic matter as worms and, according to University of California research, their manure is just as good. Small toads love my compost bins, and I never kick them out. The only creatures I remove are snails and slugs. If you see fruit flies around your compost, stop adding new material for a couple of weeks and they should go away.
Separating the worms from the finished compost so you can put them to work in a new bin is another story. If you want to learn more about worm composting, check the Master Gardener website in a few weeks for our schedule of upcoming compost workshops .
Workshop: Join UC Master Gardeners of Napa County for a workshop on “Winter Rose Care” on Saturday, January 10, from 10 am to noon, via Zoom. The workshop will highlight pruning techniques for all rose types, along with everything needed to make your roses a success .
Reserve here to receive the Zoom link .
Workshop: Join UC Master Gardeners of Napa County for a workshop on “Starting Your Own Vegetable Seedlings” on Saturday, January 10, from 2 pm to 4 pm, at UC Cooperative Extension, 1710 Soscol Avenue, Napa. We’ll cover all the basics, including proper moisture, temperature and light for successful seed starting, and care of seedlings until they are ready for transplant. We provide some seeds, containers and soil; bring your own seeds if you like. Reserve here .
Workshop: Join UC Master Gardeners of Napa County for a workshop on “Winter Fruit Tree Care” on Saturday, January 24, from 3 pm to 5 pm, at UC Cooperative Extension, 1710 Soscol Avenue, Napa. Tackling dormant season tasks will reward you with bigger and better fruit this summer. Learn about pruning techniques, dormant sprays and how to plant a bare-root tree . Attendees will be invited to a hands-on pruning session at a future date. Reserve here .
Help Desk: The Master Gardener Help Desk is available to answer your garden questions. Use our online Plant Problem Help Form or email us at mastergardeners@countyofnapa.org. Include your name, address, phone number and a brief description of the problem. You can also visit us in person on Mondays and Fridays from 10 am until 1 pm at the University of California
Cooperative Extension Office, 1710 Soscol Avenue, Suite 4, Napa.