How to keep honey bees healthy...UC Davis alumnus and Honey bee specialist Richard Martinez of the E. L. Niño lab will present his exit seminar, hosted by the UC Davis Department of Entomology and Nematology, on Wednesday, Dec. 3 in Room 122 of Briggs Hall.Martinez, who received his master's degree in…
By Sridharshi C Hewawitharana, Samantha Sam-Chen, Ron Strochlic, Wendi Gosliner
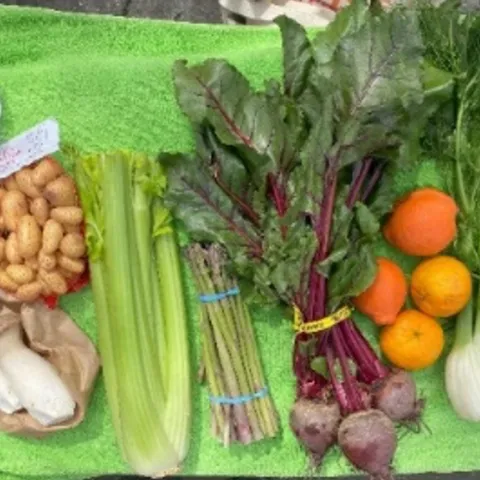
Research Brief • November 2025 • Download PDF (331 KB)BackgroundThe California Nutrition Incentive Program (CNIP) provides Supplemental Nutrition Assistance Program (SNAP) shoppers with matching funds for the purchase of fruits and vegetables (FV) primarily at farmers’ markets. [i] In a 2022 study,…
Contact Us PageThe "Contact Us" page should make it easy for visitors to reach the appropriate people and quickly find essential contact information. At a minimum, this page must include a “How to Reach Us” section with a valid email address, phone number, and physical mailing address.Additional options for…
Come to the Laguna Woods Library for a demonstration on two wonderful recipes to make for gifts that come from your kitchen. The Master Food Preservers of Orange County will make a Spiced Orange Jelly and give you a recipe for a Master Muffin Mix with several variations to delight your family and friends…
Come to the Great Park Farm and Food Lab for a demonstration on two wonderful recipes to make for gifts that come from your kitchen. The UC Master Food Preservers of Orange County will make a Spiced Orange Jelly and give you a recipe for a Master Muffin Mix with several variations to delight your family and…