Growing Edibles in Containers

Containers can provide a quick and easy way to grow edibles
• A great solution when growing space is limited
• Locate to be convenient and accessible
• Relocate to protect edibles from bad weather
• Create visual interest in outside living areas
• Avoids soil borne diseases in native garden soil
• Reduces accessibility of some pests
**Note: Container plants require more frequent watering and fertilizing
Any vegetable & herb that you can grow in the ground or in a raised bed can be successfully grown in a container.

Choose your containers:
• Most containers will work if you have good drainage
• Containers should be a minimum of 6 inches deep
• Some plants require more depth
Important considerations:
• Drainage holes are essential to allow excess water to drain so roots do not rot from sitting in stagnant water.
• Don’t add gravel, pebbles, or sand to the bottom of containers. This will make it more difficult for excess water to drain away from roots.
• Smaller containers and unglazed clay pots dry out very quickly in summer. They require more watering and have less room for roots to grow.
• Deeper containers provide more space for roots to grow down into in search of moisture and cooler temperatures.
This enables plants to thrive during the long, warm summer days which cause soil to dry out fast.
• Choose containers large enough to support plant root systems when they are full grown.
• If you are using recycled containers, scrub them well and rinse in a solution of nine parts water to one part bleach.
• Never choose a container that held toxic products.
Site your containers:

• Most vegetables need a minimum 6 hours of direct sun per day.
• Some leafy greens like lettuce, spinach, chard, and kale will tolerate part shade (3-4 hours minimum of sun per day).
• You can extend your growing season of some vegetables like leafy greens by moving their containers to a less sunny position during warm weather.
• Some herbs in small containers can be grown indoors.
Add Potting Mix:

Potting mix is one of the most important factors to growing happy and productive container plants. It supplies the roots with nutrients, air, and water. It allows space for root growth and it physically supports the plant.
• Garden soil should usually be avoided in containers as it can harbor disease, weed seed, and create drainage problems.
• Add high-quality fresh potting mix that is light, porous, and quick draining.
• The soil-less mix should retain moisture but also have plenty of air spaces for the roots.
• Water soil mix well and let it sit for a day to dampen and settle.
Plant seeds or seedlings:
• To get the most out of limited space, choose high yielding and dwarf varieties with small- to-moderate sized fruit.
• For plants that vine or trail, add stakes or trellis when you first plant so you will not damage roots by adding them later.
• Eggplant, peppers, and tomatoes are best planted as seedlings due to the seed germination needs.
• Plant beans, beets, carrots, cucumbers, lettuce, peas, radishes and summer squash from seed or seedlings.
• Remember to dampen your soil before you plant and gently water after.
Water

All containers dry out quickly. Watering requirements will vary according to the season, type of container, soil mix and sun exposure.
• Keep the soil moist. Do not allow the soil to dry out, especially while plants are young.
• Check containers daily. Stick your finger or moisture meter into the top inch of soil. If it is dry, water until some runs out the bottom of the container.
• Water early in the morning to avoid wet leaves at night when temperatures drop and mildew and disease organisms flourish. Use a slow even spray.
• In mid-summer and on windy days water requirements will be higher.
• To reduce evaporation and plant stress along with and saving water, mulch plants with straw or other non-woody material from June through the summer.
• Irregular watering contributes to stressed plants that may fail to thrive.
Fertilize
Use an organic fertilizer balanced for growing vegetables to be certain your plants get adequate nutrients.
• Confined root systems demand frequent but light fertilizing during their growing period.
• Nutrients are leached from the soil with every watering and need to be replenished regularly.
• Follow the package directions. Liquid and granular products can both be found on nursery shelves.
Be creative - most containers will work!

• These tomatoes are growing directly in a bag of potting soil.
• Holes were made in the bag for excess water to drain.
• A trellis provides support for the plants.
BACK TO EDIBLES
> What Edible Gardens Need
> Best Choices for Marin
> How to Prepare
> How to Plant
> Edibles in Containers
> Planting Calendar
> Grow & Care Sheets for Vegetables, Herbs & Fruits
> Tips & Techniques
> How to Maintain
> Fruit Trees
> Top 20 Edible Garden Problems
> Cover Crops & Soil Enhancements in the Off-season
> Conserving Water
•••••••••
Visit our EDIBLE DEMO GARDEN at IVC Organic Farm & Garden


September 2021: Growing Your Own Plant Starts
Growing Your Own Plant Starts
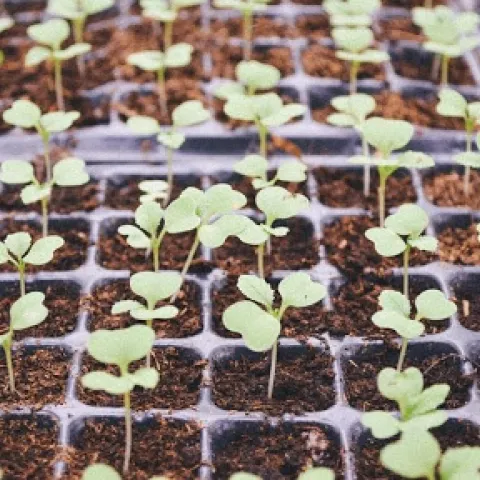
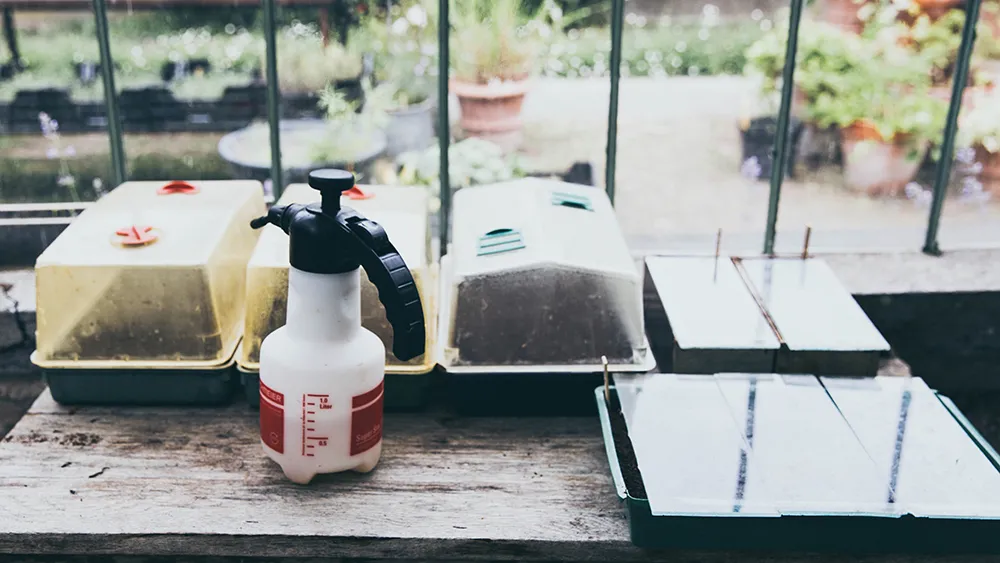
Even with access to a greenhouse, our team is not always successful at producing the number of plant starts that we want. So, we are paying extra attention to the most important factors that affect germination: sufficient light and warmth, seeding mix composition that provides enough oxygen, and careful watering without disturbing delicate seeds and seedlings.
Ideal Light and Temperature Conditions for Germination
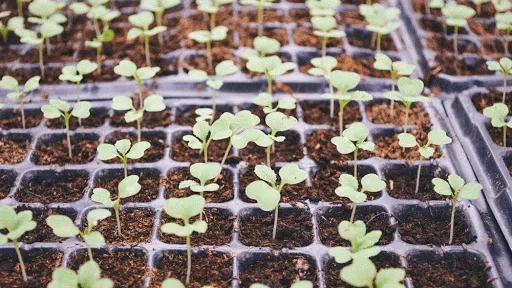
After germination, your plant will need to be moved to a bright, airy location. A window facing south could provide adequate light although the more fail-safe solution is to use grow lights for about 12-16 hours per day.
Temperature: The ideal temperature for seeds to germinate is 65°F-75°F. If your house is cold, particularly at night, a warming mat may be needed. However, many gardeners find the top of the refrigerator is perfect for this purpose.
Seed Starter Mix
The ideal seed starter mix is fine and uniform in texture, well-aerated and loose, free of insects, disease organisms, and weeds, and able to hold moisture and drain well. The farm uses a mixture of about two parts aged compost, one part peat moss, and a one part mixture of perlite and vermiculite. The peat moss and compost are sifted to get a finer medium. Also, fertilizers like kelp meal and bone meal are added because once seeds germinate, they require feeding in order to grow well.
If making your own seed starting mix is too much work for you, then there are commercial seed mixes that you can purchase. Be sure to check the ingredients to determine if fertilizers have been added. If not, you will need to regularly apply a half-strength solution of a fertilizer like fish emulsion or a liquid fertilizer for houseplants once seedlings emerge.
Steps for Planting your Seeds
- Crush any lumps in your mix and then moisten until it feels like a wrung-out sponge.
- Fill washed and sterilized (one part bleach to nine parts water) containers to three-fourths of an inch from the top.
- Firm mix at the corners and edges so there is a uniform surface.
- Plant two-three seeds in each unit according to the depth indicated on the seed packet. If no seed packet is available, use the rule of thumb to plant to a depth that is two-four times the diameter of the seed.
- After seeds are sown, water using a fine mist spray for small seeds and for larger seeds, use a gentle trickle of water on the surface of the container. Cover your container loosely (not airtight) with either plastic or a glass sheet. No further water is needed until seeds have sprouted.
- Remove cover when first seedlings appear. Lightly water and move your container to the brightest, airy spot you have.
- Begin watering regularly when the mix on top feels dry.
- Fertilize every other week if your seeding mix does not contain fertilizer.
- If more than one seed germinates, thin the weaker ones by using scissors to cut the stems.
Stay tuned for next month when we will answer this question: After you have your starts, what is the process for getting them into your garden?