

Growing Fruit Trees

Fruit trees need suitable climates, well-drained soil, proper planting, and maintenance throughout the season. It takes some planning and work to get them established, but once you do it's a joy to pick fruit fresh from the garden. Here's how to create your very own home orchard.
Site considerations
There are many things to consider when deciding which fruit trees are a good match for your garden, including:
• Careful evaluation of your microclimate
• Chill hours available (see below)
• Soil quality
• Access to water
• Space
• Protecting fruit from wildlife
Choosing a fruit tree

The best way to assure success is to choose fruit trees that work in your microclimate, and to grow them in the conditions they need. One important consideration is the number of chill hours required. Fruit trees (except citrus) need a specific number of cumulative hours of chilling (temperatures between 32°F and 45°F) to break winter dormancy. This varies by variety.
Preparation and planting
All edible plants require proper preparation and planting, and fruit trees are no exception. Fruit trees need proper spacing to avoid crowding and other problems. To get them off to a good start, make sure you follow guidelines for proper planting and handling.
Growing instructions
Cick on the individual trees below to learn how to grow healthy trees for sweet, delicious fruit for years to come.
> Apple
> Apricot
> Cherry
> Citrus
> Fig
> Olive
> Peach
> Pear
> Persimmon
> Plum
Pruning instructions
Pruning is different for every type of fruit tree. Most fruit trees benefit from summer and winter pruning. Refer to our full Pruning Library or click on the individual trees below for detailed tips, techniques, and timing.
Benefits of pruning fruit trees
• Controls size for easier harvesting and care
• Increases strength so weight of the fruit doesn't break branches.
• Distributes sunlight evenly throughout tree
• Regulates fruit bearing by removing excess fruitwood
• Renews fruitwood to continue strong buds and flowers
• Removes undesirable wood such as dead, broken, diseased, and crossing branches.
> HOW TO PRUNE COMMON FRUIT TREES
Maintenance
Use this maintenance schedule, which provides fruit tree care by type of tree and time of year.
Irrigation

Generally speaking, fruit trees need a large volume of water -- but not every day. The correct amount of water for a given fruit tree depends primarily on the size of the tree and the heat of the day. Here's detailed irrigation advice and guidelines, including examples of how long to water using different watering methods such as drip or sprinklers.
Pollination

Without pollination, flowers may bloom abundantly but will not bear fruit. To avoid this frustration, learn your fruit tree's pollination requirement. This will vary depending on your tree, climate, and regional conditions.
Fertilizing
Specialized fruit tree fertilizers can be purchased at nurseries. Be sure to follow all instructions. Do not add more fertilizer to help your tree “grow faster.” Excess fertilizer could damage your tree or get washed away in storm drains.
Fruit thinning

Fruit trees often produce more fruit than the branches can hold when young, and more fruit than the tree can support as it matures. Thinning fruit or removing extra fruit when the fruit is small is key to harvesting good-sized fruit. The amount of fruit to thin depends on the species and the overall fruit load on the tree.
Stone fruits produce one fruit per bud:
• Apricots and plums are fairly small, so they should be thinned to 2 to 4 inches apart on the branch.
• Peaches and nectarines should be thinned to about 3 to 5 inches.
• If excessive fruit have been set, more thinning may be required.
• If the fruit load is light, but one or two branches have a large amount of fruit, less thinning is required.
Pome fruits (apples and pears) produce a cluster of flowers and fruit from each bud:
• Thin to no more than one to two fruit per cluster, depending on the total fruit set and growing conditions.
• Retain the largest fruit whenever possible.
• When the crop is heavy, fruit should be spaced no less than 6 to 8 inches apart.
Propagation
If you eat a delicious peach and decide to plant the seed, you will be disappointed. Fruit trees require propagation by budding and grafting, which assures quality fruit plus disease resistance and other traits. Budded and grafted fruit trees are available bareroot in winter.
Pests and Diseases
Integrated Pest Management (IPM) encourages natural predators to control pests in your garden or orchard. Nature provides a balance between plant pests and the beneficial insects that control these pests. The less we do to tamper with that balance, the more likely it is to work successfully. How does it differ from organic gardening? Proponents of IPM are not opposed to the use of chemical controls, but use them only when necessary and only in amounts and with proper timing to minimize a negative effect on the beneficial bugs in the garden.
Learn more about common pests and diseases of individual fruit trees.
Harvest and storage
Ripening, harvesting, and storage requirements vary by the type of fruit. Taste and texture will be at their best if you use proper strategies. Here are guidelines for storage.
FRUIT TREE CARE CARDS TO PRINT & KEEP!
Use Master Gardener and master pruner Susan Pearson's pruning and growing cards for specific fruit trees common in Marin. Print them out and keep them for easy reference.

APPLE
FIG
LEMON
PEACH
PEAR
PERSIMMON
PLUM
POMEGRANATE
BACK TO EDIBLES
> What Edible Gardens Need
> Best Choices for Marin
> How to Prepare
> How to Plant
> Edibles in Containers
> Planting Calendar
> Grow & Care Sheets for Vegetables, Herbs & Fruits
> Tips & Techniques
> How to Maintain
> Fruit Trees
> Top 20 Edible Garden Problems
> Cover Crops & Soil Enhancements in the Off-season
> Conserving Water
•••••••••
Visit our EDIBLE DEMO GARDEN at IVC Organic Farm & Garden
May 2021: Straw Bale Gardening
The word last month was ‘weeds’. This month, it is ‘straw’. Straw is one of the most versatile materials for our vegetable gardens. Our team uses it in many ways.
Straw vs. Hay
Straw is the plant material leftover after grains have been harvested, for example, from wheat, oats, and barley. Straw is composed of only the stems of the plant and has no nutritional value. Hay is what is fed to animals and has both the nutritious seeds and the leaves. Because it contains seeds, you would never want to use hay in your vegetable garden.
We use rice straw because it is less likely to have viable seeds in it. Straw can be purchased from area feed stores. Because we are located on an organic farm, we buy certified organic rice straw for about $11 per bale. Nonorganic bales will be less. At this time of year, you might also find bales for free that a farmer has left over or a friend wants to give away!
Straw Bale Gardening
From the creation of the Edibles Demo Garden, we have experimented with straw bale gardening. It is basically a container garden using bales as the container. Because a bale has no nutritional value, before planting the bales are conditioned with water and organic fertilizer. The addition of fertilizer starts the composting process that will create a source of nutrition for our plants. We have found that our summer and winter squash as well as cucumbers thrive in our bales. At the end of the season, we take our bales apart and use the composted insides as a nutritious fertilizer. In a side-by-side comparison, horseradish grew faster and with more lush growth using our decomposed straw than using our farm’s compost.EXTERNAL IMAGE
Here's Straw Bale Conditioning Schedule">how to condition your Straw Bale Conditioning Schedule">straw bales before planting.
Straw Bales Use Less Water
You can take advantage of the rainy season by getting your bales in place early for the conditioning process. Straw is hollow and as the bales are watered or rained on, the droplets are trapped in the straw by a natural attraction called cohesion. A straw bale can hold between 3-5 gallons of water at the beginning of the growing season so you only need to water in small spurts. As the season progresses, you increase the water as needed but always using less than you would require for gardening in soil, a real plus for our drought ridden times.
Straw as a Mulch
After removing the composted insides of our bales for use as fertilizer, we have non-composted straw left over that we use for mulch. Mulch on our vegetable beds is a must for the hot months ahead. There are many reasons to use mulch from improving soil health to adding organic matter. But for gardeners in the drought years we are experiencing, mulch is an absolute must for preventing soil moisture evaporation. Straw is great as mulch for vegetable gardens. Add to your bare soil at a depth of 3-5 inches pulling it back to keep it from touching plant stems. Because straw decomposes quickly, you will need to add more straw as the season progresses to keep the soil well insulated from the heat.
Straw as Mulch for Strawberries and Potatoes
We use straw under our strawberries so that they don’t touch the soil. And this year, we planted potatoes in soil but will cultivate them by adding layers of straw as the plants grow. What a great material for our gardens!
April 2021: Controlling Weeds
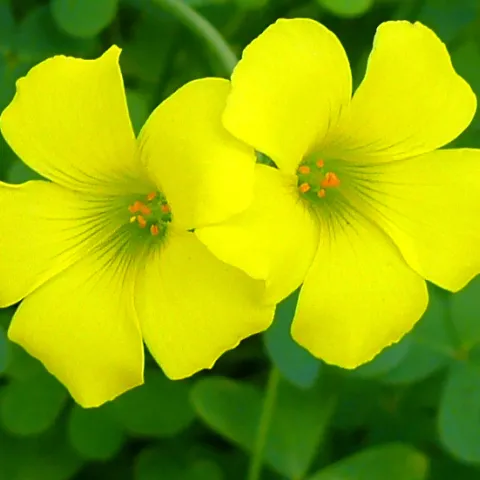
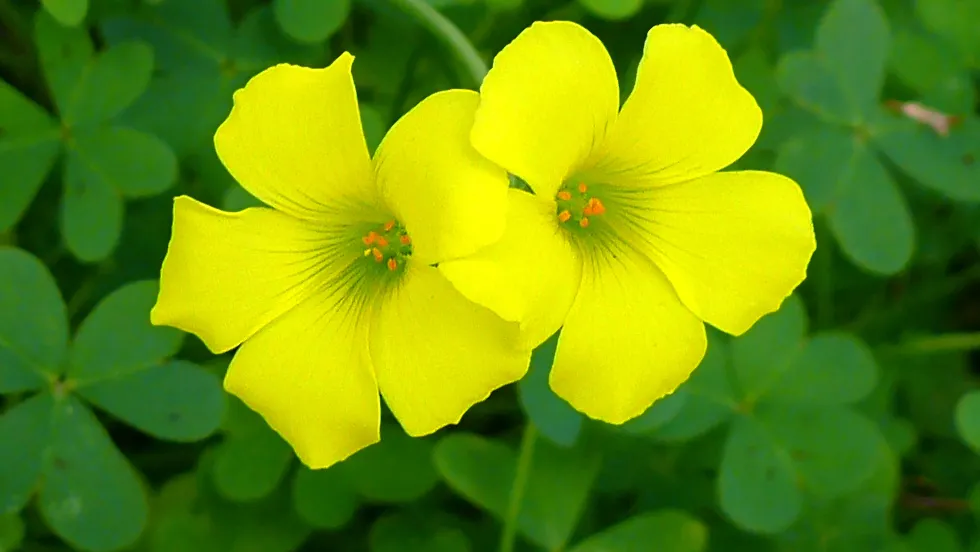
Weed Control for Annuals: Get them before they Pop
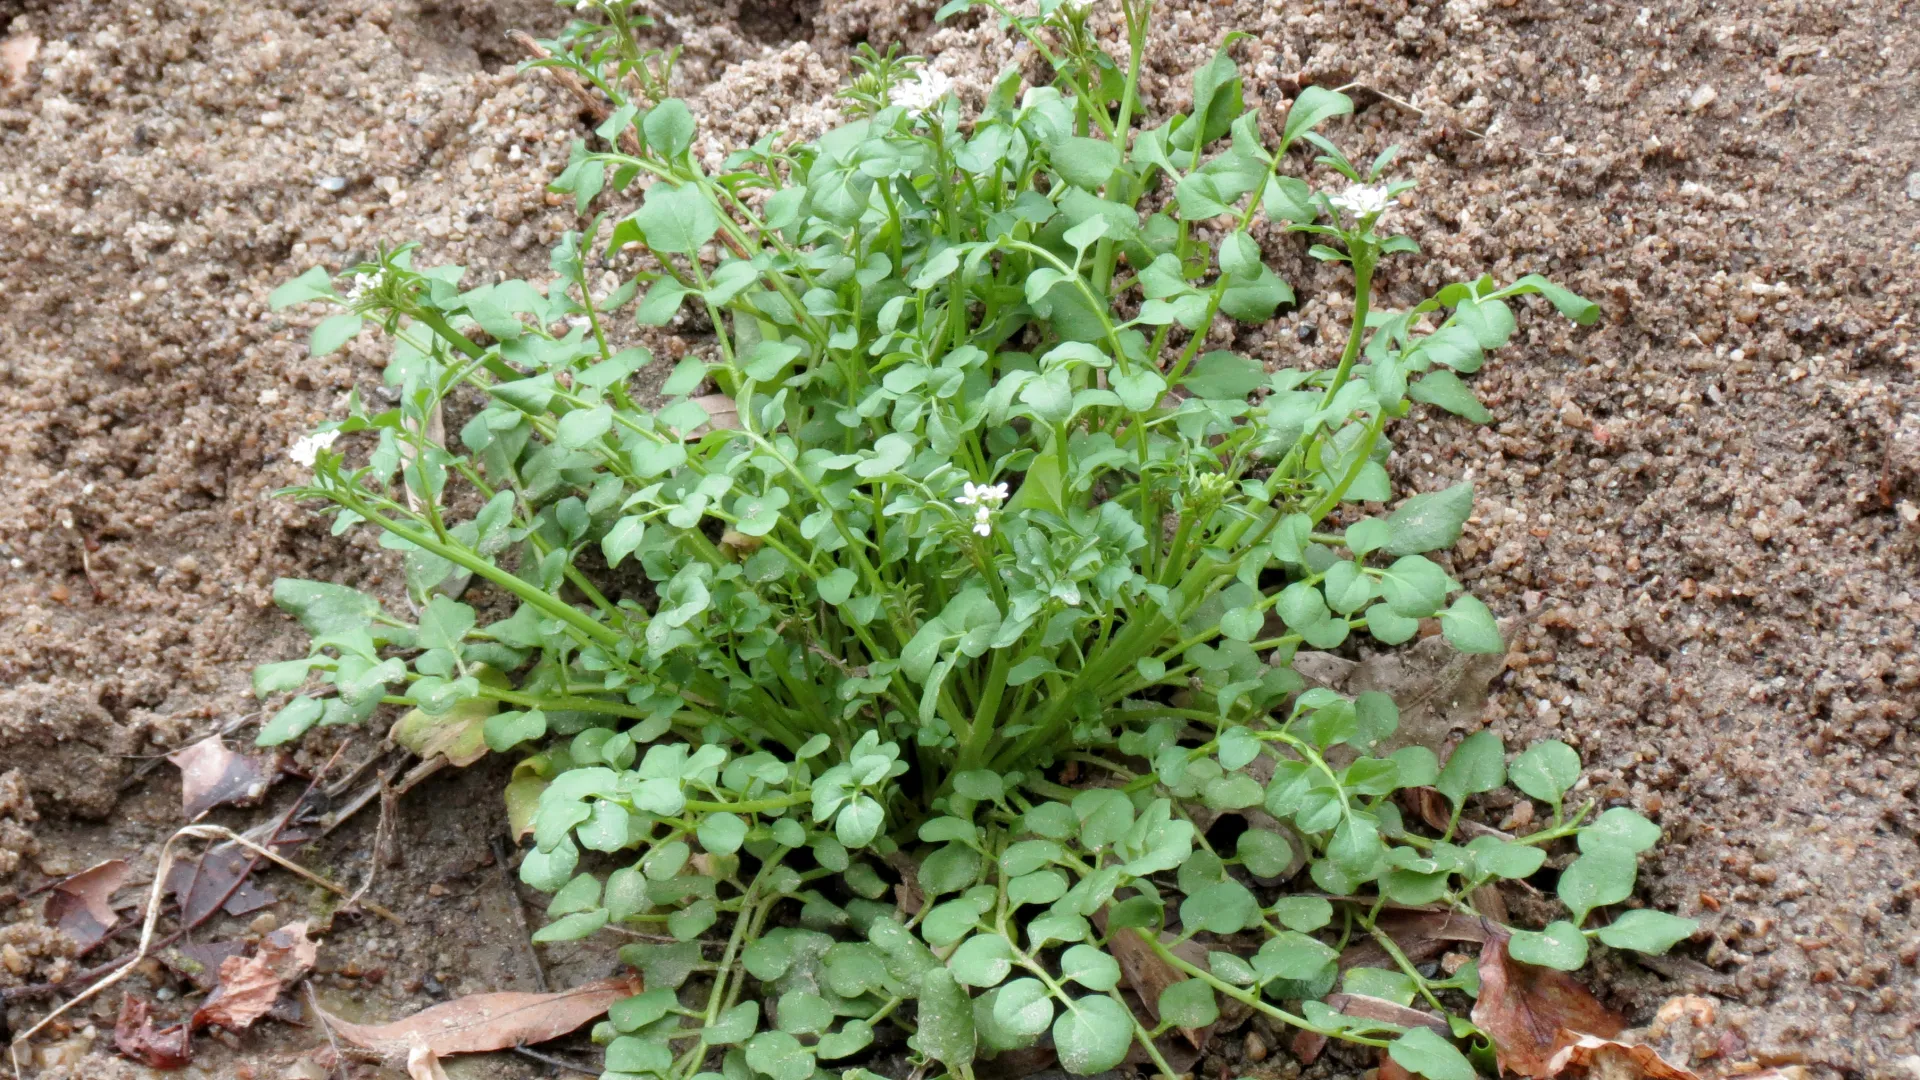
Annual weeds sprout from seeds, grow for one year, and then die. An example of an annual in our garden this spring is Hairy Bittercress, a beautiful plant that has edible spicy leaves. It reproduces by flowering and then forming a pod that pops open explosively to fling its seeds around your garden. So to overcome this weed as well as other annual weeds, you need to prevent pod production by removing weeds when they are young before they set seed.
‘Water, Wait, then Cultivate’
A second strategy goes after those hidden seed reserves in the soil. It is ‘water, wait, then cultivate’. This can eliminate up to 95% of the weed seed population for a season. Clear an area of all weeds; then water or wait for a shower to germinate hidden weed seeds. After most have germinated, spade them out of the soil and remove. Then water a second time. Repeat the spading and removal. This process will get rid of most of the weed seeds in the top ½ inch of soil where germination largely occurs.
Weed Control for Perennials
Perennial weeds are not as simple to control. They live longer than 1 to 2 years and some have large root systems in addition to flowering. Dandelions are simple perennials that reproduce by seed only. But there are creeping perennials like woodsorrel (Oxalis) that flower and make seeds and also have underground root systems (stolons, rhizomes, tubers, bulbs). So the objective for these more complicated weeds is to destroy the underground reproductive organs because the weed will grow back even when you remove the plant before seeds set. But if you maintain vigilance and remove the plant faithfully, eventually the underground root systems will be starved for food and will die. You have shut down photosynthesis, the process that makes food for the plant. This practice takes more than one year to see results but your patience will pay off down the road.
The Magic of Mulch
The last step to reducing this yearly weed onslaught is to employ the magic of mulch. Mulch blocks the sunlight needed for weed seeds to germinate and underground root systems to reproduce. It prevents weeds from reaching sunlight, thus shutting down photosynthesis. Keep in mind that the coarser the material used, the deeper the mulch needs to be. Use 1 to 3 inches for finer materials like grass clippings and 3 to 6 inches for coarser materials like straw or chunky bark.
Have your toolbox ready for next spring’s unwelcome guests, apply these strategies and you will be on your way to having more freedom to sit back and enjoy our glorious springtime.
More information on weeds.
March 2021: Growing Edibles in Drought
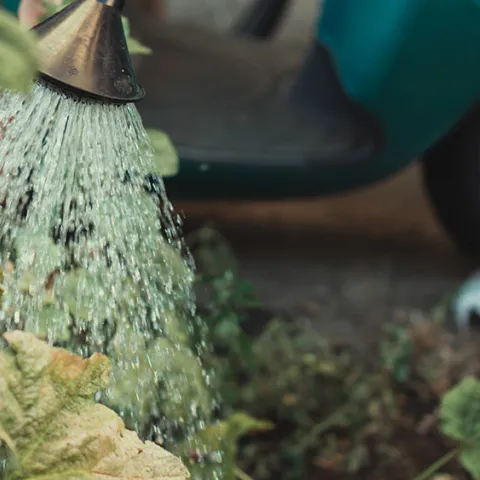
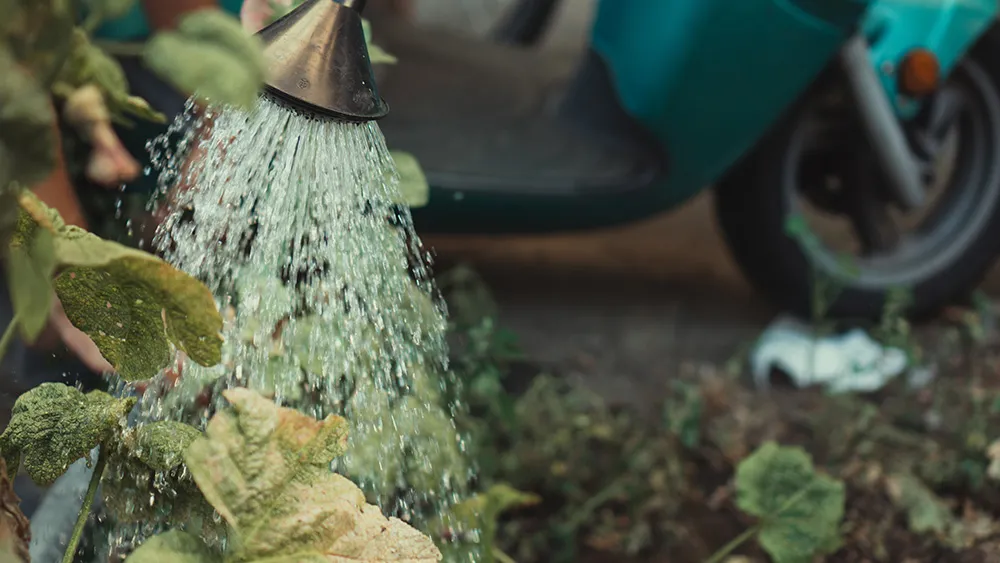
There is a more critical concern now: how to increase the efficiency of our water use during prime growing season. As reported by the Marin Municipal Water District, our reservoirs are at 57% of capacity. This is just 64% of the average at this time of year. Weather predictions show no significant rain in sight and even the dreaded word, ‘rationing’ is being thrown about. How can we become more efficient in our watering practices during the hot months and still maintain our beautiful garden?
Good Cultural Practices to Promote Efficient Watering
First, here is a list of basic practices that you should be following in your garden:
- Use drip irrigation because it wastes less water.
- Add organic matter (compost) to soils regularly to improve soil texture and boost the water holding capacity.
- Add at least 2 inches or up to 6 inches of mulch in early spring.
- Water only when plants need moisture.
Factors Affecting When Plants Need Moisture
The time of year affects the amount of water plants need. With drip irrigation, you may need only 15 minutes of watering in the spring while during the summer your watering time could increase to as much as an hour. Generally, your water usage will be at its height at the summer solstice, the longest day of the year. As late summer and autumn approaches, you should be decreasing your watering time even if the days are still hot. Plants are not growing as rapidly and need less water. Less water even concentrates flavors in some fruits and definitely does so for tomatoes. Hot days and wind, which is more drying than heat, should also be a consideration for adjusting your watering.
Watering Depth
Most people water too often and not thoroughly enough.
How do we give our plants the water they need without wasting it when we need to water deeply? Watering depth depends on the kind of plant being watered. Here are some general rules:
- leafy vegetables and bedding plants – 6 inches to 1 foot
- small shrubs, corn, tomatoes – 1 to 2 feet
- large shrubs, trees – 1.5 to 5 feet
How to Determine Whether to Adjust Watering Frequency and Time
Make it a habit to check your soil moisture throughout the growing season to determine if your irrigation time and frequency need to be adjusted. Dig a hole near the root zone (see watering depth guidelines above), grab a handful of soil and make a ball.
- If you cannot make a ball, then the soil moisture is approaching 0% and you need to water now.
- If you can form a loose ball that is a little crumbly with thumb pressure but will hold together under hand pressure, the soil moisture is at 50% or less of the last water applied and it is approaching time to irrigate.
- If the soil forms a ball, feels a little plastic, and possibly slick with pressure, 50%-75% of the last water applied is still available and water is not needed.
- If it forms a ball, is very easy to shape and may feel slick, plenty of moisture is available. Glistening or dripping soil samples indicate excessive water.
Consider using a moisture meter (available at most plant nurseries) in addition to evaluating a soil sample manually. These meters use a scale of 1 to 10. 5 would indicate 50% water availability. A meter will add more certainty to your decisions about adjusting your irrigation time and frequency. As with everything, the more you practice this procedure and see the consequences of your actions, the more confidence you will gain in your ability to determine that sweet spot between too little water and too much. Our goal at the EDG this season is not to waste a drop. Let’s all work on this together.
Learn more about irrigation, conserving water in your edible garden, and water-saving tips
February 2021: Winter Pruning
Bare Root Fruit Trees For Sale Now
Some of our members are interested in expanding our fruit tree stock. Although we are coming to the end of it, this is the time of year to purchase new bare root trees. We know where we want to plant about six to seven trees and it is now decision-making time. Our news next month will reveal what decisions we have made.
Pruning Small Fruit Trees
We currently have two small fruit trees: a pear and three Asian plum varieties that are grafted on the same rootstock. We have had these for at least a few years and have tended to them sporadically. They have not been regularly pruned, but this year we plan to treat them right. It is time for winter pruning.
Winter Fruit Tree Pruning
Winter pruning can happen any time in mid- to late winter while the tree is dormant even when it is budding or flowering if you don’t get to it earlier. Pruning in winter should be lighter than the second pruning each year near the summer solstice. Most of us who are not professionals may be reluctant to take that first cut. However, for fruit trees, it is more important that you do the pruning rather than the precise cuts that you make. Your tree will forgive any mistakes and you will learn more every year. Winter pruning is the perfect time to start your learning. The tree is bare of leaves and its structure is totally revealed.
How to Decide What to Prune
Before you make that first cut, stand back and observe all sides of the tree. Look at negative space too; well- pruned trees have an airy quality. Ask yourself the question “What bothers me about this tree?” Is there a branch that is too low? Does anything droop or look sickly? Is the center too crowded so that the sun will not reach the lower branches? Are there branches that cross each other or head in the wrong direction? If the tree has not been regularly pruned, do not correct all problems this season. Winter pruning is a light pruning. Some problems are best corrected over time.
As you begin to answer these questions, take some blue painter’s tape and apply it to the places where you want to make the pruning cuts. For pruning an entire branch, apply the tape just outside the limb’s collar, the swollen area of trunk tissue around the base of a branch. If you want to correct the direction in which a branch is growing, then put the tape just above a bud that is pointing in the direction you would prefer. Then step back and visualize what your tree might look like. Remember that there is no one right answer in pruning and you always get a chance to fix what you have done the next season. You are more capable than you think!
Learn more about PRUNING
January 2021: Propagation
What is Propagation?
Propagation is the process of creating new plants. Most of the plants in our garden are created by sexual propagation in which the pollen (male) of a plant combines with the egg (female) resulting in a seed. But new plants can also be created by asexual methods. A simple example is rooting a plant part in water. Another asexual method is propagation by division. This type of propagation is used on plants that have stolons (aka runners), bulbs, tubers, or rhizomes. These plants produce multiple stems above the ground. A plant with a single stem cannot be propagated by division.
Techniques for Propagation by Division
We have many perennial plants in our garden that were planted to attract pollinators. One of these plants is yarrow. It is a beautiful plant that produces lemon yellow flowers in the spring and summer. We now have two of them and it was time to create some more for another part of the garden.
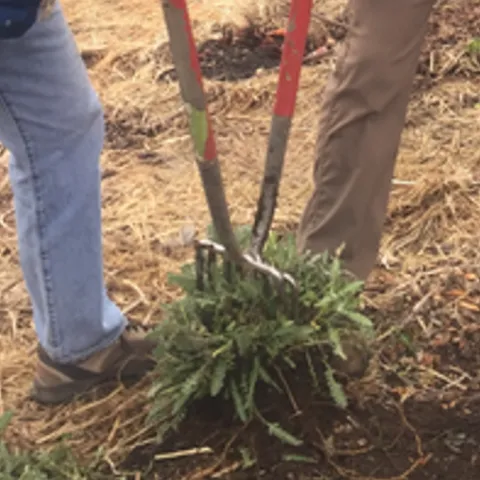
These were the steps we took to divide it:
- scraped back the soil and debris under the plant
- determined a place where the plant looked like it would naturally separate
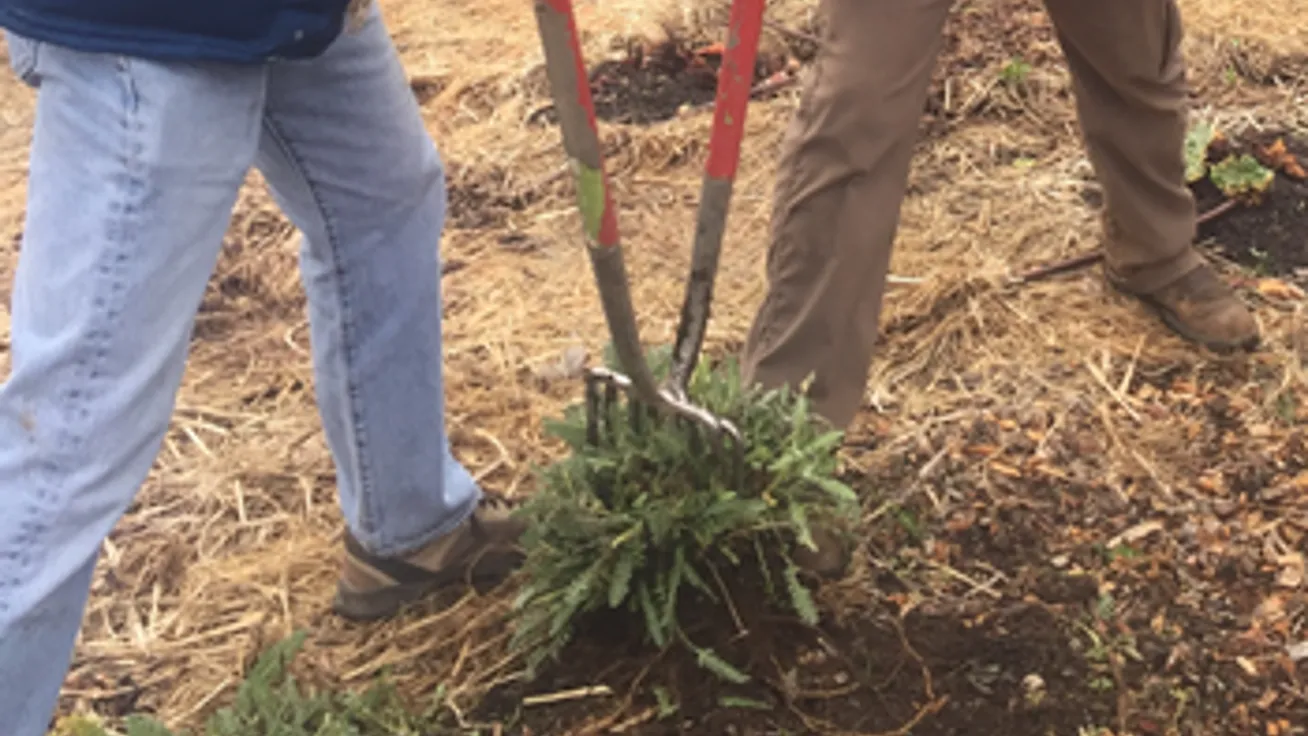
- used the Double-fork Method* for separating the new plant from the mother plant
- with a shovel, made 2-3 cuts around the new plant to release it from the soil and mother plant
- removed the new plant from the ground with a shovel
- planted the new plant in another part of the garden mixing in some compost with the soil in the planting hole
- watered well
*Double-fork method
Insert a spading fork into the ground where you want to make the division with the back of the fork positioned away from you. Have a garden buddy do the same thing from the other side of the plant so that the forks are back to back and the tines are interlocked. First, you and your buddy push the forks toward each other and then pull them away.
Other Plants Requiring Division
Some of our rhubarb plants that have been in the ground for a long time will need dividing also this winter in addition to some herbs like chives that would benefit from more space.
This is the time of year when the soil is moist to look around your garden and give yourself the gift of new plants that you can use to extend your garden or just to fill in some spaces. Jump right in and propagate!
December 2020: What to Grow in Winter

Winter gardens vs. summer gardens
The primary difference between a winter and summer garden is how slowly the winter garden grows. The days are shorter, the nights cooler sometimes with frost and the sun is different too. It is lower in the sky and casts longer shadows that create problems if you’re not careful. For example, we planted Gypsy broccoli, a large broad-leafed plant, on the south side of a bed and then planted Broccoli Rabe, a much smaller plant on the North side. Broccoli Rabe gets the morning sun but is shaded by the far larger broccoli plants in the afternoons. Paying attention to shadowing is far more important in the winter when sunshine is at a premium.
Plants in the Brassica family for the winter garden
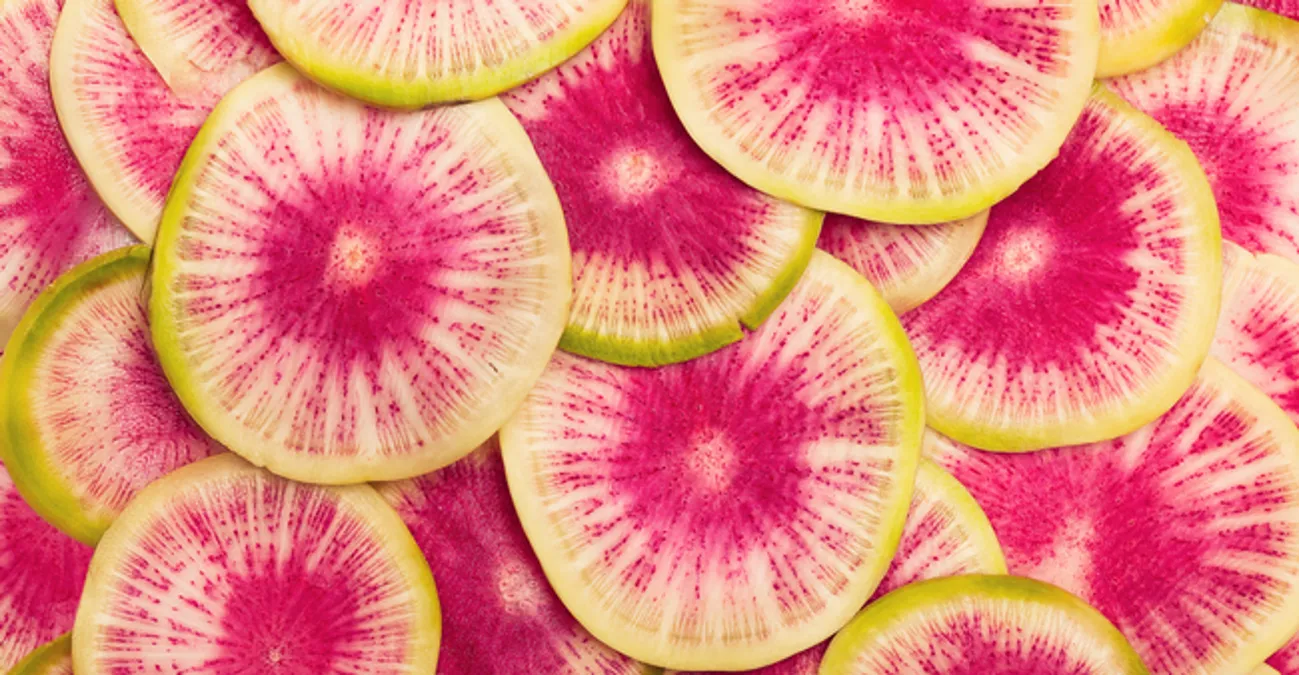
The Brassica family of plants will thrive in a winter garden. This family includes familiar plants like Broccoli, Cabbage, Kale, Cauliflower, and Radish. All of these plants are in our winter garden. We’ve planted three different kinds of broccoli: Gypsy broccoli, Broccoli Rabe, and Broccoli De Cicco. We’ve also planted Brussels Sprouts for the first time. And it’s a great time to plant watermelon radish. Not only is it beautiful when you cut it open, it can be eaten raw or roasted. Like any radish it is easy to grow from seed but don’t plant in the summer because the heat will produce a radish so spicy that it will be inedible.
In accord with the motto not to argue with success, we have again planted Astro Arugula, another member of the Brassica family. This was the big producer in our 2019-2020 winter garden. Whether you direct seed into your bed or use starts, it is easy to grow and will give you spicy (but not too much) greens all winter long.
A last word: horseradish
Horseradish is also in the Brassica Family and like winter squash, it is harvested in the late fall. We have grown horseradish in the Demo Garden for a few years now, more as an experiment than as something that is common on our tables. We just recently harvested 12 pounds of fleshy, pungent horseradish roots. After chopping it finely in the food processor and covering it with vinegar, it will last in your refrigerator for at least a month. Mixed with other condiments or sour cream, it is an unusual addition to recipes and will spice up anything you’re serving during the winter months.
You can get just as excited about a winter garden as you can your summer garden. Look for more ‘Tales of the Winter Garden’ next month as we report on our progress. Happy winter gardening adventures!
November 2020: Cover Crops
Reasons for Cover Cropping
Increase Nitrogen in Soil
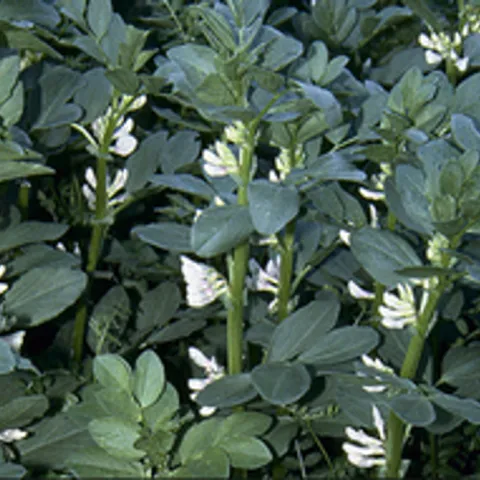
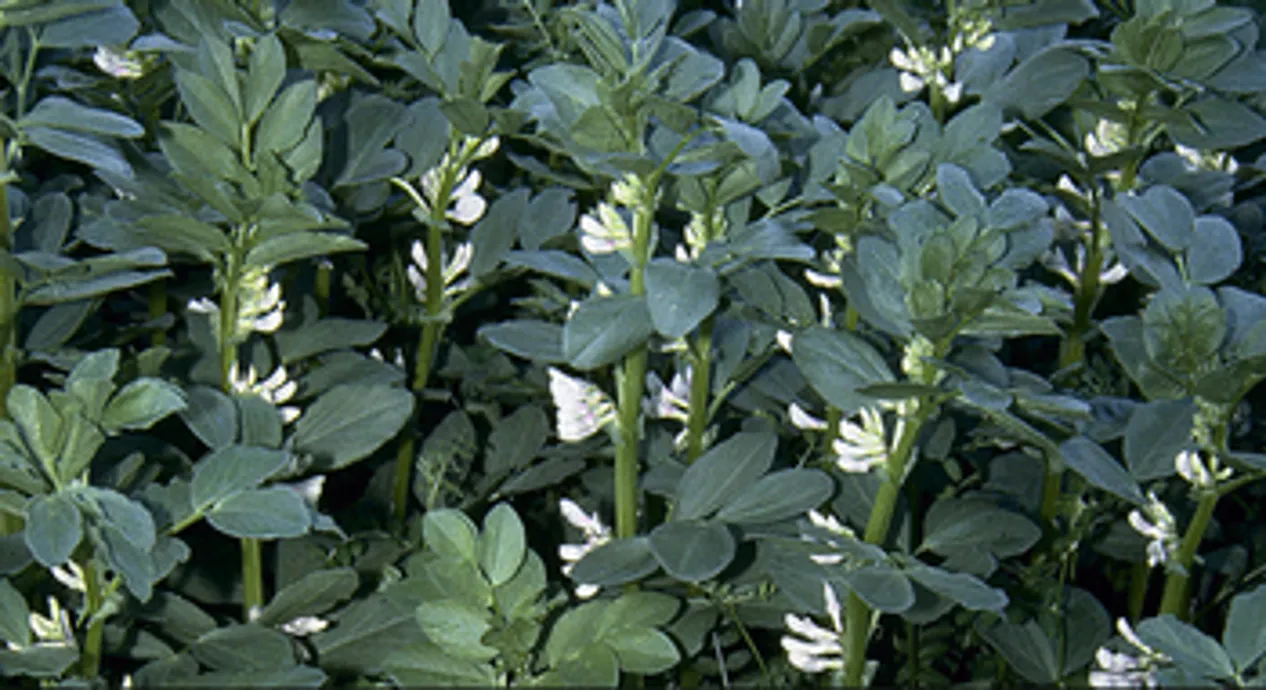
Many gardeners know that Fava Beans improve the soil by fixing nitrogen. The plant takes the nitrogen from the air and with the help of a soil borne bacteria, converts it to a form that can be taken up by the plant through its roots. Other kinds of beans, peas, and non-edible clovers can do this also. A substance called an inoculant can be applied to the seeds at planting time. Fava Bean seeds and any legume should be inoculated at the time of planting. An inoculant provides a beginning supply of the necessary bacteria that will immediately be available when the seed germinates. It will increase the amount of nitrogen fixation above what the plant produces naturally.
Weed Suppression
Rye, Barley, and Vetch as well as many other plants can be used to suppress weeds. With vetch, you get the added benefit of nitrogen fixation as well. These plants suppress weeds by directly competing with them for resources. A blend of these plants is often used so that there is coverage over a long season by early germinators and later ones. In the spring when the grasses are mowed, this green mulch blocks the sun and thus continues to suppress weeds.
Other Reasons
Other reasons you might want to plant a cover crop include compaction control (alfalfa, clover) and erosion control (alfalfa, barley, clover, rye). Alfalfa, barley, and clover can also attract beneficial insects to your garden.
Cover Crop Seasons
Just like vegetables, cover crops have planting seasons. Most of the cover crops mentioned can be planted now. So get them in the ground quickly if you want to amend your existing garden or improve the soil in a new area. Then put your feet up and know that your garden is working its magic without you.
Note: Look to future news about how and when to cut down your cover crop and what to do with it afterwards in order to enhance its benefits.
Learn more about cover crops here.
October 2020: The Fall/Winter Garden
Ripen Your Green Tomatoes Indoors
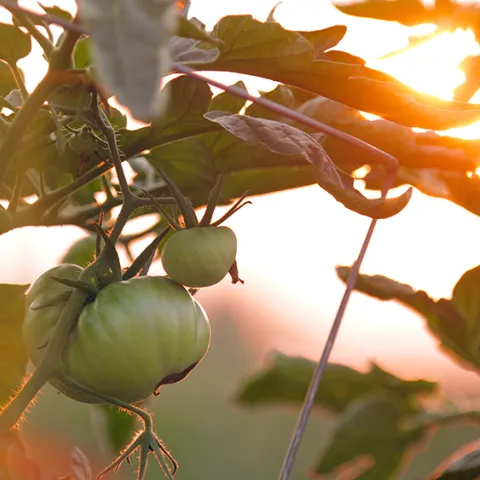
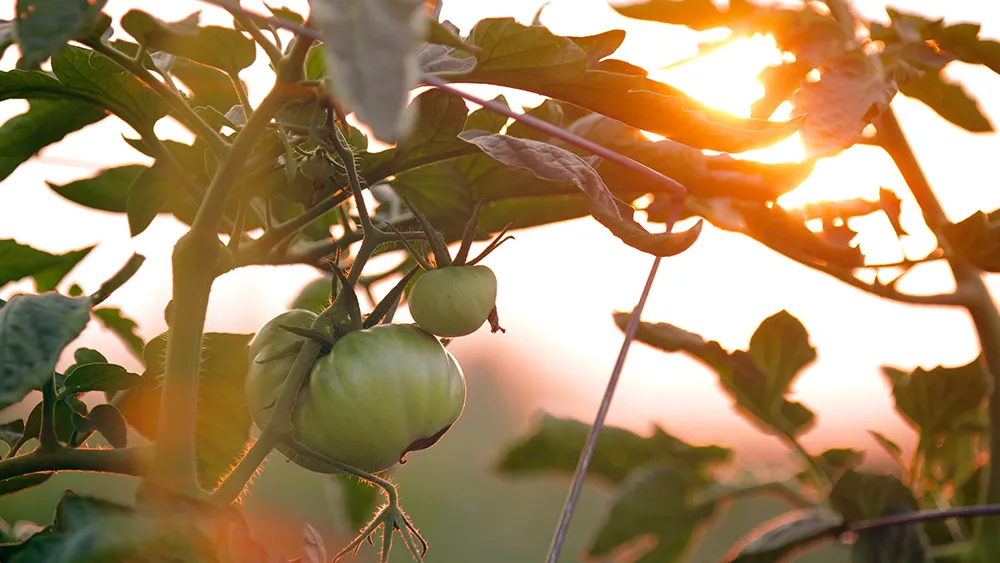
We are still holding on to our tomatoes and peppers although ripening has slowed down significantly. Our winter squash is not yet ready to pick but our summer squash is at its end. Many gardeners are reluctant to let go of their summer vegetables, particularly tomatoes. But you can pull out your tomato plants while at the same time ripening those mature green tomatoes indoors. Just wrap each green tomato in paper and store at room temperature for a few weeks. Check on them regularly for ripeness and you may still be eating tomatoes into November.
Add Compost for Your Fall/Winter Garden
Your soil has been supporting the production of vegetables throughout the spring and summer months. Before planting anything, a 1-2 inch layer of compost should be added to your beds. There is no need to dig this layer in. Recently our team discovered in an accidental experiment the power of compost. We had added a compost layer to a half row of parsley. It was a month later when we got back to the other half of the row. We discovered that the plants with the compost were taller with more lush growth than the ones that had not gotten the compost yet. Don’t forget this crucial step when you prepare for your fall/winter garden.
Plants for Fall/Winter Garden
Our summer vegetables needed at least six hours of sun each day to thrive. Our days have already shortened significantly. By the December solstice, our daylight hours will be at about 9½ hours. But there is no need to forgo that garden you want. Many of the vegetables that grow well in the fall/winter do not need as many hours of daylight that our summer vegetables do.
Plants that need only four hours of direct sun
- Root crops: carrots, beets, and radishes (seed directly into soil)
- Cole Crops: broccoli, cabbage, Brussels sprouts, cauliflower, kale (buy or start seedlings inside)
- Legumes: Peas, Fava Beans (seed directly into soil)
Plants that Can Grow in Open Shade (bright light only)
- Arugula
- Parsley
- Lettuces including mixes like mesclum
Our plan for the EDG fall/winter garden includes all of the above plants. We will try out some new varieties like watermelon radishes, Broccoli De Cicco, and Broccoli Rabe. We will also be planting Brussels Sprouts for the first time this year.
In the following months, we will bring you updates on the progress of our fall/winter garden. Start adding compost now and you can join us in the adventure of cold weather gardening.