Tips and Techniques

Edible gardens are a world unto themselves in the landscape. There are many strategies unique to vegetable gardens that extend growing times, keep the garden healthy, and maximize crop yields. Here's a cheat sheet of common edible garden lingo and strategies.
Succession garden
Think of a succession garden as a master plan for the garden from season to season. For instance, in June, you can plan to clear some spring vegetables and plant summer crops. Or you can sow and transplant alongside waning spring vegetables with a view to next season's produce.
Succession planting
The primary purpose of succession planting is to provide continuous crop output within the season by sowing seed of a given crop at 1 to 2 week intervals. For instance, you can stagger corn production by making a subsequent planting when the first is 1 to 2 inches tall. Beans, turnips, seasonal lettuce, and beets are well-suited to this practice.
Companion planting

Companion plants like aromatic herbs or flowers are purported to repel pests in the vegetable garden. Although there is a lack of science behind companion planting, growing a wide variety of pollinator-friendly herbs alongside edible crops does help attract beneficial insects and natural enemies.
Intercropping
This involves planting early maturing crops between rows of late maturing crops to increase production in a small area. For example, beans, radishes, green onions, or seasonal leaf lettuce may be planted between rows of tomatoes, peppers or corn. The quicker-maturing plants will be harvested before the others become large.
Crop rotation
Crop rotation is the practice of changing the location of edible crops from year to year. Rotating crops in the garden enhances soil fertility and lowers risk of pests and diseases. Backyard gardeners with limited space should at least avoid planting exactly the same crop or crops from the same plant family year after year in the same part of the garden. For example, do not follow melons with cucumbers or squash, and do not plant peppers, eggplant, or potatoes where tomatoes grew the year before.
Cold frames

Like mini-greenhouses, cold frames are structures that create a stable environment for frost-tender seedlings by protecting them from big temperature swings. Keeping delicate seedlings in cold frames helps them thrive until winter temperatures stabilize. Cold frames also work to protect seedlings from pests, including birds, cutworms, earwigs, slugs, and snails. Cold frames are easy to assemble and can be made from inexpensive or recycled materials. Because they are better acclimated from the outset, plants that start life in cold frames often do not experience the transplant shock that many plants face. Among the most transplant-vulnerable seedlings are basil, beans, cabbage-family plants, lettuce and peas.
To make a standalone cold frame:
• Place an old window pane or a rigid sheet of plastic on top of a four-sided box filled with soil.
• Be sure that the box receives plenty of sunlight.
• The box can be made out of any material that holds the soil in place, including wood, straw bales, metal, cinder block, or brick.
• If you want to reuse your cold frame every winter, consider adding a hinge to one side so you can easily open and close it.
Floating row covers

Floating row cover is a white, lightweight, synthetic fabric with a gauze-like appearance. Air, sunlight, and water can penetrate the material. Vegetable gardeners drape it over and enclose individual plants or groups of plants and secure it to the ground with pins, bricks, rocks, soil, etc. The cover “floats” directly on top of the growing crop. Some gardeners install simple frames to support floating row covers, creating a dome effect. Row covers are often used in the winter to protect plants from frost, and in summer to provide some shade.
Floating row covers provide many benefits:
• Provides frost protection in early spring and late fall/early winter
• Encourages faster plant growth due to increased temperature and humidity under the cover
• Prevents insects, deer, birds, and other pests from eating your plants
• Inexpensive
• Reusable: can be re-used for two to three years
BACK TO EDIBLES
> What Edible Gardens Need
> Best Choices for Marin
> How to Prepare
> How to Plant
> Edibles in Containers
> Planting Calendar
> Grow & Care Sheets for Vegetables, Herbs & Fruits
> Tips & Techniques
> How to Maintain
> Fruit Trees
> Top 20 Edible Garden Problems
> Cover Crops & Soil Enhancements in the Off-season
> Conserving Water
•••••••••
Visit our EDIBLE DEMO GARDEN at IVC Organic Farm & Garden


September 2021: Growing Your Own Plant Starts
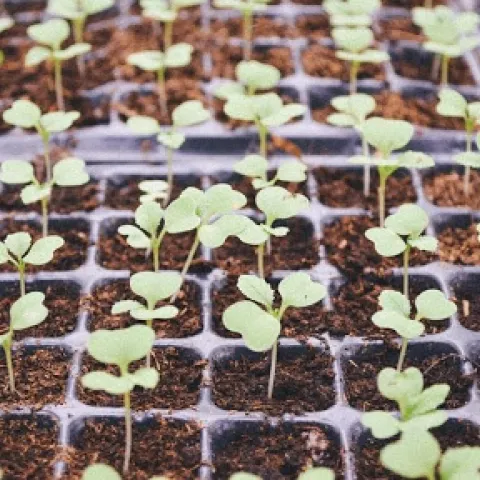
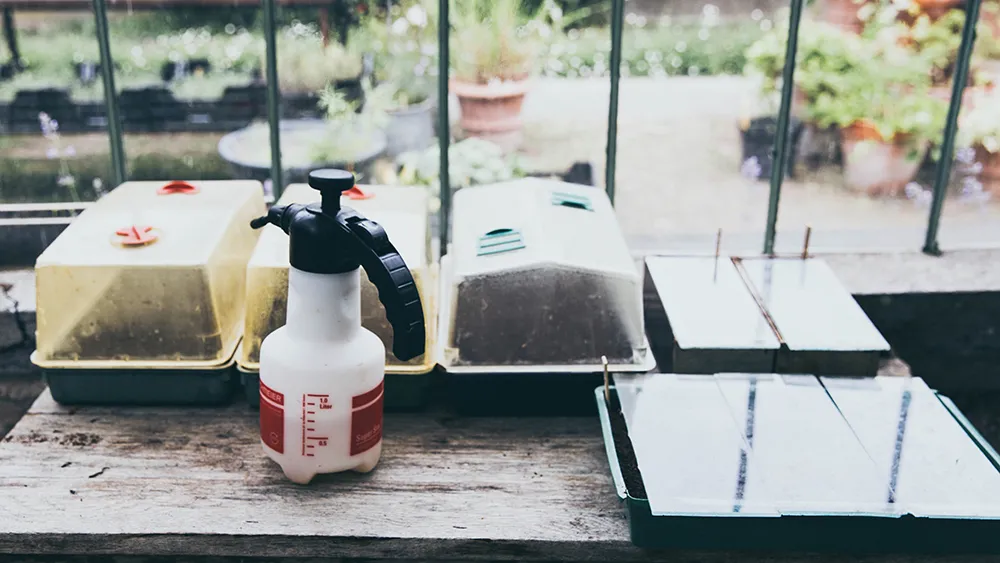
Growing Your Own Plant Starts
Even with access to a greenhouse, our team is not always successful at producing the number of plant starts that we want. So, we are paying extra attention to the most important factors that affect germination: sufficient light and warmth, seeding mix composition that provides enough oxygen, and careful watering without disturbing delicate seeds and seedlings.
Ideal Light and Temperature Conditions for Germination
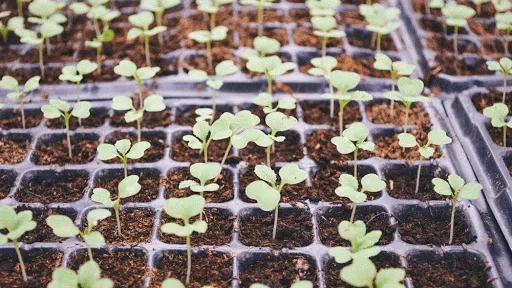
After germination, your plant will need to be moved to a bright, airy location. A window facing south could provide adequate light although the more fail-safe solution is to use grow lights for about 12-16 hours per day.
Temperature: The ideal temperature for seeds to germinate is 65°F-75°F. If your house is cold, particularly at night, a warming mat may be needed. However, many gardeners find the top of the refrigerator is perfect for this purpose.
Seed Starter Mix
The ideal seed starter mix is fine and uniform in texture, well-aerated and loose, free of insects, disease organisms, and weeds, and able to hold moisture and drain well. The farm uses a mixture of about two parts aged compost, one part peat moss, and a one part mixture of perlite and vermiculite. The peat moss and compost are sifted to get a finer medium. Also, fertilizers like kelp meal and bone meal are added because once seeds germinate, they require feeding in order to grow well.
If making your own seed starting mix is too much work for you, then there are commercial seed mixes that you can purchase. Be sure to check the ingredients to determine if fertilizers have been added. If not, you will need to regularly apply a half-strength solution of a fertilizer like fish emulsion or a liquid fertilizer for houseplants once seedlings emerge.
Steps for Planting your Seeds
- Crush any lumps in your mix and then moisten until it feels like a wrung-out sponge.
- Fill washed and sterilized (one part bleach to nine parts water) containers to three-fourths of an inch from the top.
- Firm mix at the corners and edges so there is a uniform surface.
- Plant two-three seeds in each unit according to the depth indicated on the seed packet. If no seed packet is available, use the rule of thumb to plant to a depth that is two-four times the diameter of the seed.
- After seeds are sown, water using a fine mist spray for small seeds and for larger seeds, use a gentle trickle of water on the surface of the container. Cover your container loosely (not airtight) with either plastic or a glass sheet. No further water is needed until seeds have sprouted.
- Remove cover when first seedlings appear. Lightly water and move your container to the brightest, airy spot you have.
- Begin watering regularly when the mix on top feels dry.
- Fertilize every other week if your seeding mix does not contain fertilizer.
- If more than one seed germinates, thin the weaker ones by using scissors to cut the stems.
Stay tuned for next month when we will answer this question: After you have your starts, what is the process for getting them into your garden?