Tips and Techniques

Edible gardens are a world unto themselves in the landscape. There are many strategies unique to vegetable gardens that extend growing times, keep the garden healthy, and maximize crop yields. Here's a cheat sheet of common edible garden lingo and strategies.
Succession garden
Think of a succession garden as a master plan for the garden from season to season. For instance, in June, you can plan to clear some spring vegetables and plant summer crops. Or you can sow and transplant alongside waning spring vegetables with a view to next season's produce.
Succession planting
The primary purpose of succession planting is to provide continuous crop output within the season by sowing seed of a given crop at 1 to 2 week intervals. For instance, you can stagger corn production by making a subsequent planting when the first is 1 to 2 inches tall. Beans, turnips, seasonal lettuce, and beets are well-suited to this practice.
Companion planting

Companion plants like aromatic herbs or flowers are purported to repel pests in the vegetable garden. Although there is a lack of science behind companion planting, growing a wide variety of pollinator-friendly herbs alongside edible crops does help attract beneficial insects and natural enemies.
Intercropping
This involves planting early maturing crops between rows of late maturing crops to increase production in a small area. For example, beans, radishes, green onions, or seasonal leaf lettuce may be planted between rows of tomatoes, peppers or corn. The quicker-maturing plants will be harvested before the others become large.
Crop rotation
Crop rotation is the practice of changing the location of edible crops from year to year. Rotating crops in the garden enhances soil fertility and lowers risk of pests and diseases. Backyard gardeners with limited space should at least avoid planting exactly the same crop or crops from the same plant family year after year in the same part of the garden. For example, do not follow melons with cucumbers or squash, and do not plant peppers, eggplant, or potatoes where tomatoes grew the year before.
Cold frames

Like mini-greenhouses, cold frames are structures that create a stable environment for frost-tender seedlings by protecting them from big temperature swings. Keeping delicate seedlings in cold frames helps them thrive until winter temperatures stabilize. Cold frames also work to protect seedlings from pests, including birds, cutworms, earwigs, slugs, and snails. Cold frames are easy to assemble and can be made from inexpensive or recycled materials. Because they are better acclimated from the outset, plants that start life in cold frames often do not experience the transplant shock that many plants face. Among the most transplant-vulnerable seedlings are basil, beans, cabbage-family plants, lettuce and peas.
To make a standalone cold frame:
• Place an old window pane or a rigid sheet of plastic on top of a four-sided box filled with soil.
• Be sure that the box receives plenty of sunlight.
• The box can be made out of any material that holds the soil in place, including wood, straw bales, metal, cinder block, or brick.
• If you want to reuse your cold frame every winter, consider adding a hinge to one side so you can easily open and close it.
Floating row covers

Floating row cover is a white, lightweight, synthetic fabric with a gauze-like appearance. Air, sunlight, and water can penetrate the material. Vegetable gardeners drape it over and enclose individual plants or groups of plants and secure it to the ground with pins, bricks, rocks, soil, etc. The cover “floats” directly on top of the growing crop. Some gardeners install simple frames to support floating row covers, creating a dome effect. Row covers are often used in the winter to protect plants from frost, and in summer to provide some shade.
Floating row covers provide many benefits:
• Provides frost protection in early spring and late fall/early winter
• Encourages faster plant growth due to increased temperature and humidity under the cover
• Prevents insects, deer, birds, and other pests from eating your plants
• Inexpensive
• Reusable: can be re-used for two to three years
BACK TO EDIBLES
> What Edible Gardens Need
> Best Choices for Marin
> How to Prepare
> How to Plant
> Edibles in Containers
> Planting Calendar
> Grow & Care Sheets for Vegetables, Herbs & Fruits
> Tips & Techniques
> How to Maintain
> Fruit Trees
> Top 20 Edible Garden Problems
> Cover Crops & Soil Enhancements in the Off-season
> Conserving Water
•••••••••
Visit our EDIBLE DEMO GARDEN at IVC Organic Farm & Garden
July 2021: Summer Harvesting Tips
General Harvesting Rules
Do not fall into the ‘bigger is better’ trap.
Peak quality often happens before a vegetable is fully mature.
Harvest in the early morning hours.
Plants regain moisture overnight. In addition, the starches formed during the day may be converted to sugars in the evening. You will get crisper, juicier, and sweeter vegetables in the morning.
Be gentle when harvesting.
If the vegetable is not easily picked, then use a knife, scissors, or pruner. Be careful not to damage the leaves and stems of the plant.
Pick frequently to prolong the harvest.
Keep in mind that a plant’s goal is to reproduce. If a plant’s fruit is allowed to fully mature, there is no need for the plant to continue flowering. Fruit production will slow or even cease.
Harvesting Tips for Specific Summer Vegetables
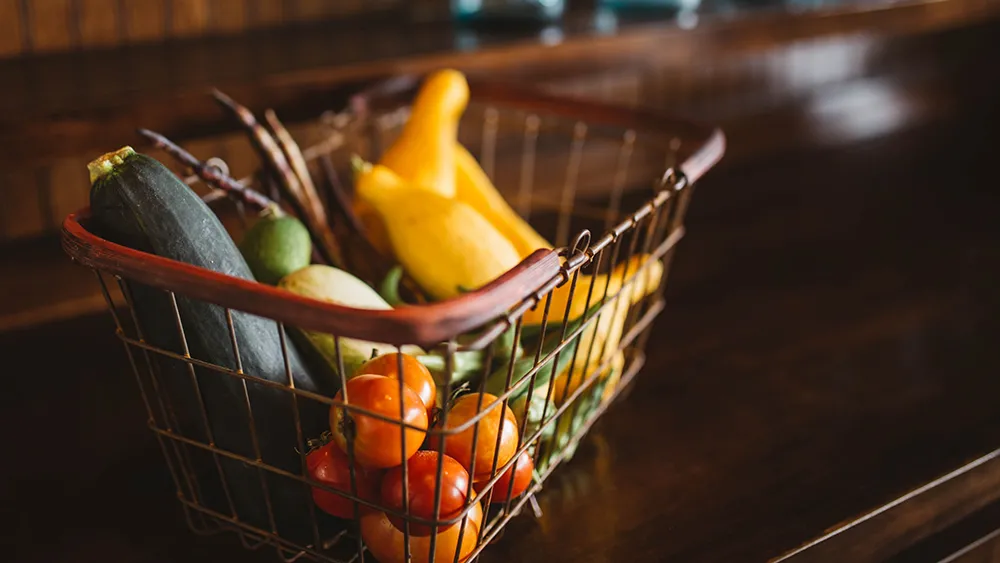
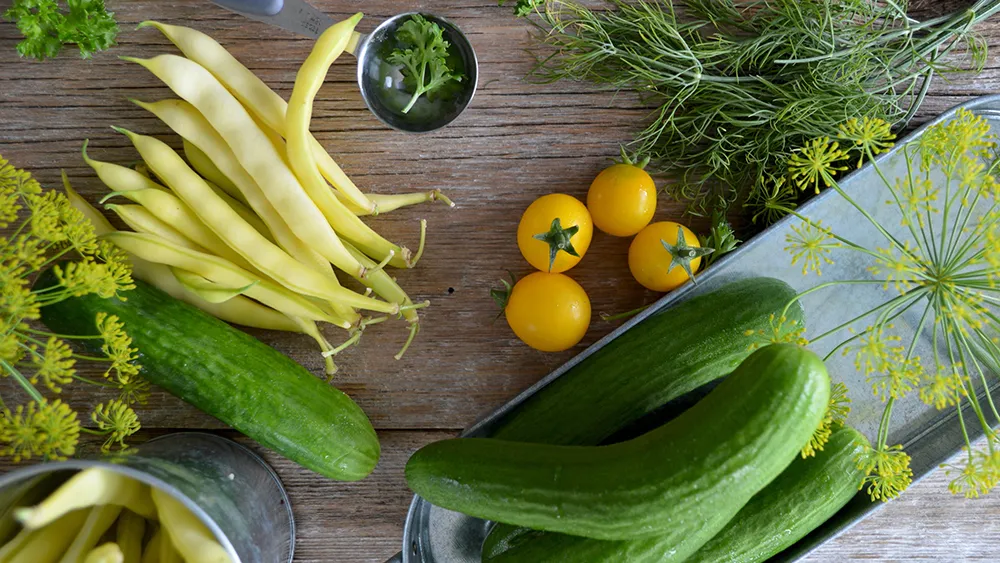
Cucumbers: Pick slicing types when six to nine inches long and pickling types between two to six inches. They should be bright green and firm.
Eggplant: Harvest when about four to six inches in diameter. Fruit should be shiny and uniform in color. When pressed slightly with a thumbnail, the indentation remains.
Peppers (Sweet): Pick when they are green and as soon as they stop enlarging. They can mature on the vine to red, yellow, or purple but the ripening process may keep the plant from setting new fruit. If you want abundance, pick them green.
Squash (Summer): The rule of thumb with summer squash is ‘the smaller the squash, the better it tastes.’ Pick every one -three day(s) and don’t let them mature on the vine. Pick when crookneck or straight varieties are a maximum of one and a half -two inches in diameter, zucchini is seven-eight inches long, and scallop types are three- four inches in diameter. But if you want your squash to be extra tender, harvest them before they reach the sizes listed above.
Squash (Winter): In contrast to summer squash, winter types (pumpkins, acorn, butternut, Delicata) must fully mature on the vine for that deep sweet flavor. It is better to leave them too long on the vine than not long enough. Wait for the squash to reach maximum size, the shell is so hard that it cannot be punctured with your thumbnail, and the color is dull and uniform. The final clue is that the green color of the stem changes and develops brown woody stripes. Nature tells you when the fruit is ready to separate from the vine.
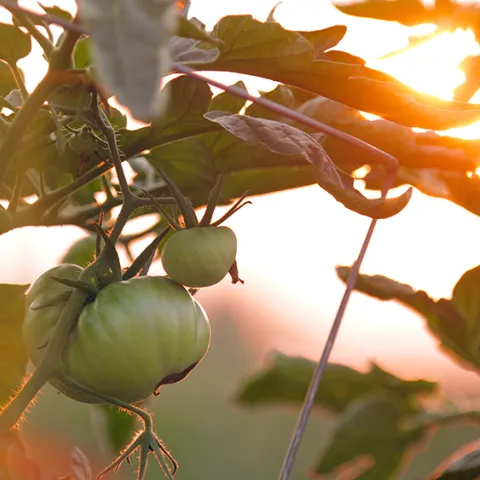
Tomatoes: Tomatoes are complicated. You have two choices:
Fully Ripen on the Vine: A ripe tomato should feel heavy. It should also give slightly to the touch, neither too firm nor too soft, but just a little tender. For solid color tomatoes, the color should be even all over. Check the color on the bottom of a tomato, the deeper the color the riper it is. Some tomatoes tend to have green shoulders like Cherokee Purple. If the rest of the tomato appears fully ripe, then it is ripe for the picking.
Pick With First Traces of Color and Ripen Indoors: The central question with this method is whether, as a few studies have indicated, the vine shuts down the transfer of nutrients and flavor when the tomato begins ripening showing the first traces of color. After side-by-side comparisons, some people believe the flavor of a kitchen-ripened tomato is no different from a vine-ripened one. There are many reasons why you might want to use this method: to reduce the risk of cracking and blossom end rot, to deny the birds and squirrels a fully ripened tomato, and to avoid damage from a heat wave, which negatively effects ripening and causes sun scald. Also, too many tomatoes ripening at once can slow down further fruit production.
If you want to try this method, pick your tomatoes when they start to develop streaks of color down at the blossom end. Store them away from sunlight in a shallow dish or even on a baking rack so the air can circulate under them. They will ripen best at temperatures between 65°-70°.
So, when you take that morning trip to your garden and you have gently removed an armload of summer squash and ripe (or not quite ripe) tomatoes to bring to your kitchen, enjoy the sublime taste of your own hard work. There is nothing like it!
June 2021: Fertilizing Your Soil
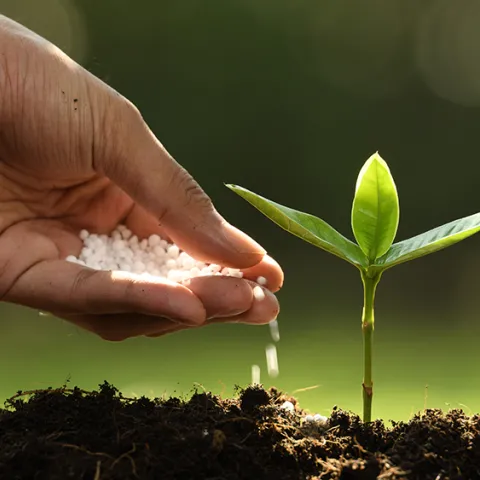
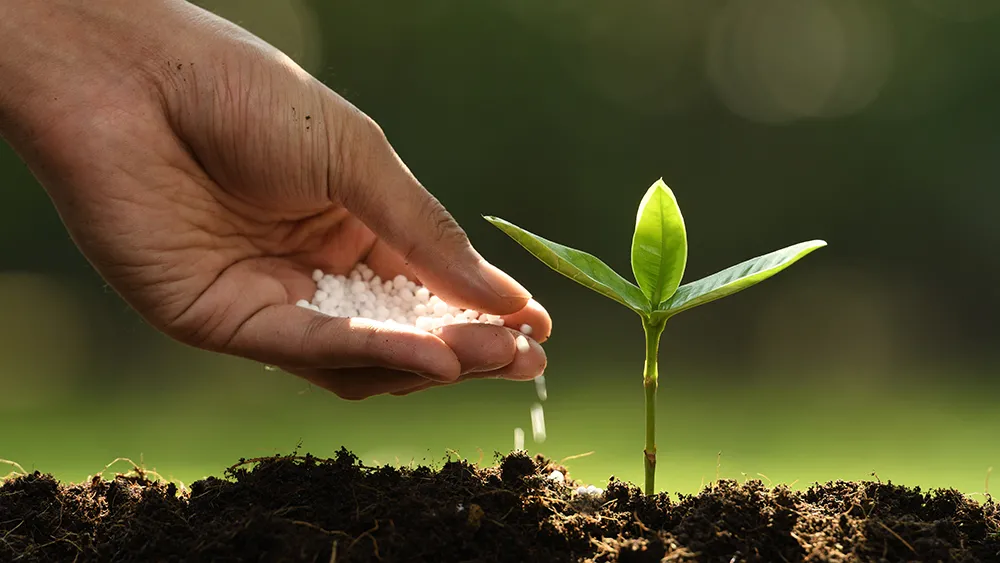
NPK?
Nitrogen - Of the three primary nutrients, California soil is most likely to be deficient in nitrogen. This deficiency is increased with the rainy season when nitrogen can be leached from the soil. Nitrogen is very important for photosynthesis; the most prominent symptom of nitrogen deficiency is chlorosis or yellowing of older leaves.
Phosphorus. California soils usually contain phosphorous naturally, although highly-weathered soils can be deficient. The symptoms of a phosphorous deficiency include stunted growth, purplish tint on leaves, and/or poor fruit or seed development.
Potassium. Additional potassium is usually not needed in California soils. However, if deficient, plants can experience slow growth, browning with dieback of leaf edges and tips, weak stalks, and small fruit.
NPK Testing
Prior to planting, a quick test of the NPK in your soil can alert you to the need for fertilizer. At most nurseries, you will find simple testing kits for NPK that also test pH. You will feel like a chemist as you shake water and tablets in test tubes and look at color charts to determine nutrient levels in your soil. This process can be intimidating for some. Many gardeners just watch their plants carefully and based on plant symptoms, they get a sense for what is needed. So what choices do you have when you determine a nutrient is needed?
Fertilizer Types
Inorganic: These fertilizers are composed of minerals and synthetic chemicals. They are fast acting and low in cost. But they contain salts and can leach and burn crops if applied incorrectly. They do not have the ability to improve the soil.
Organic: These are derived from plant or animal products. They are bulkier and more costly than inorganic fertilizers and can have odors. They are also slower to act. But besides adding nutrients, they work more naturally, improving the soil by decreasing density, which increases water filtration and the soil’s ability to hold nutrients.
Manures: These contain animal excrement, plant remains, or both. They are a good organic fertilizer and they improve soil structure. Many gardeners raise chickens and they get the benefit of chicken manure, the most concentrated NPK source of any type of manure.
Fertilizer Use on a Certified Organic Farm
Because we are located on a certified organic farm, the Edibles Demonstration Garden (EDG) can only use organic fertilizers that in most cases are labeled OMRI Certified. OMRI stands for the Organic Materials Review Institute and is a nonprofit organization that maintains lists of products that are FDA approved for use on certified organic farms.
The EDG most often uses compost to improve our soil. But compost alone does not provide the amount of NPK needed for heavy summer feeders like tomatoes. We also use worm castings from our worm bins. The approximate NPK percentages for worm castings are 5-5-3, which is much higher than compost.
In the past few months, we have used fish emulsion (4-1-1) as a nitrogen boost for our artichoke plants and worm compost ‘tea’ for our seedlings that had yellowing older leaves. We added blood meal (12-0-0) to our raspberries and a balanced fertilizer (7.5-5-7.5) to our fruit trees. Artichokes, raspberries, and fruit trees are perennials. Edible perennials often have specific fertilizer requirements especially in the spring so pay attention to their fertilizer needs also.
As you tend to your garden this summer, look for symptoms of nutrient deficiencies. Try to choose fertilizers that mimic the way nature provides nutrition for plants. The nutrient boost may take longer for you to see the benefits, but natural fertilizers pay off in the longer term.
March 2021: Growing Edibles in Drought
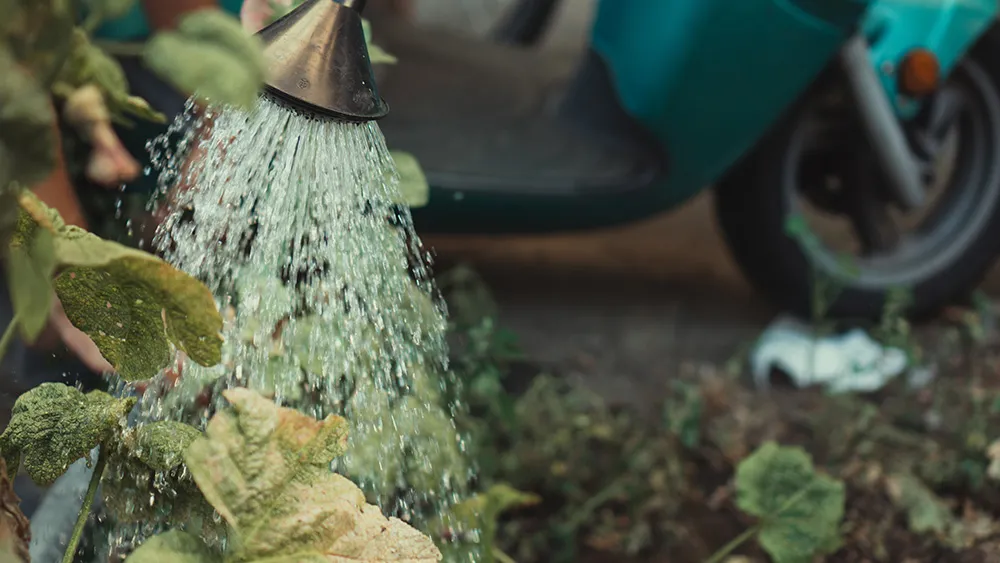
There is a more critical concern now: how to increase the efficiency of our water use during prime growing season. As reported by the Marin Municipal Water District, our reservoirs are at 57% of capacity. This is just 64% of the average at this time of year. Weather predictions show no significant rain in sight and even the dreaded word, ‘rationing’ is being thrown about. How can we become more efficient in our watering practices during the hot months and still maintain our beautiful garden?
Good Cultural Practices to Promote Efficient Watering
First, here is a list of basic practices that you should be following in your garden:
- Use drip irrigation because it wastes less water.
- Add organic matter (compost) to soils regularly to improve soil texture and boost the water holding capacity.
- Add at least 2 inches or up to 6 inches of mulch in early spring.
- Water only when plants need moisture.
Factors Affecting When Plants Need Moisture
The time of year affects the amount of water plants need. With drip irrigation, you may need only 15 minutes of watering in the spring while during the summer your watering time could increase to as much as an hour. Generally, your water usage will be at its height at the summer solstice, the longest day of the year. As late summer and autumn approaches, you should be decreasing your watering time even if the days are still hot. Plants are not growing as rapidly and need less water. Less water even concentrates flavors in some fruits and definitely does so for tomatoes. Hot days and wind, which is more drying than heat, should also be a consideration for adjusting your watering.
Watering Depth
Most people water too often and not thoroughly enough.
How do we give our plants the water they need without wasting it when we need to water deeply? Watering depth depends on the kind of plant being watered. Here are some general rules:
- leafy vegetables and bedding plants – 6 inches to 1 foot
- small shrubs, corn, tomatoes – 1 to 2 feet
- large shrubs, trees – 1.5 to 5 feet
How to Determine Whether to Adjust Watering Frequency and Time
Make it a habit to check your soil moisture throughout the growing season to determine if your irrigation time and frequency need to be adjusted. Dig a hole near the root zone (see watering depth guidelines above), grab a handful of soil and make a ball.
- If you cannot make a ball, then the soil moisture is approaching 0% and you need to water now.
- If you can form a loose ball that is a little crumbly with thumb pressure but will hold together under hand pressure, the soil moisture is at 50% or less of the last water applied and it is approaching time to irrigate.
- If the soil forms a ball, feels a little plastic, and possibly slick with pressure, 50%-75% of the last water applied is still available and water is not needed.
- If it forms a ball, is very easy to shape and may feel slick, plenty of moisture is available. Glistening or dripping soil samples indicate excessive water.
Consider using a moisture meter (available at most plant nurseries) in addition to evaluating a soil sample manually. These meters use a scale of 1 to 10. 5 would indicate 50% water availability. A meter will add more certainty to your decisions about adjusting your irrigation time and frequency. As with everything, the more you practice this procedure and see the consequences of your actions, the more confidence you will gain in your ability to determine that sweet spot between too little water and too much. Our goal at the EDG this season is not to waste a drop. Let’s all work on this together.
Learn more about irrigation, conserving water in your edible garden, and water-saving tips
February 2021: Winter Pruning
Bare Root Fruit Trees For Sale Now
Some of our members are interested in expanding our fruit tree stock. Although we are coming to the end of it, this is the time of year to purchase new bare root trees. We know where we want to plant about six to seven trees and it is now decision-making time. Our news next month will reveal what decisions we have made.
Pruning Small Fruit Trees
We currently have two small fruit trees: a pear and three Asian plum varieties that are grafted on the same rootstock. We have had these for at least a few years and have tended to them sporadically. They have not been regularly pruned, but this year we plan to treat them right. It is time for winter pruning.
Winter Fruit Tree Pruning
Winter pruning can happen any time in mid- to late winter while the tree is dormant even when it is budding or flowering if you don’t get to it earlier. Pruning in winter should be lighter than the second pruning each year near the summer solstice. Most of us who are not professionals may be reluctant to take that first cut. However, for fruit trees, it is more important that you do the pruning rather than the precise cuts that you make. Your tree will forgive any mistakes and you will learn more every year. Winter pruning is the perfect time to start your learning. The tree is bare of leaves and its structure is totally revealed.
How to Decide What to Prune
Before you make that first cut, stand back and observe all sides of the tree. Look at negative space too; well- pruned trees have an airy quality. Ask yourself the question “What bothers me about this tree?” Is there a branch that is too low? Does anything droop or look sickly? Is the center too crowded so that the sun will not reach the lower branches? Are there branches that cross each other or head in the wrong direction? If the tree has not been regularly pruned, do not correct all problems this season. Winter pruning is a light pruning. Some problems are best corrected over time.
As you begin to answer these questions, take some blue painter’s tape and apply it to the places where you want to make the pruning cuts. For pruning an entire branch, apply the tape just outside the limb’s collar, the swollen area of trunk tissue around the base of a branch. If you want to correct the direction in which a branch is growing, then put the tape just above a bud that is pointing in the direction you would prefer. Then step back and visualize what your tree might look like. Remember that there is no one right answer in pruning and you always get a chance to fix what you have done the next season. You are more capable than you think!
Learn more about PRUNING
January 2021: Propagation
What is Propagation?
Propagation is the process of creating new plants. Most of the plants in our garden are created by sexual propagation in which the pollen (male) of a plant combines with the egg (female) resulting in a seed. But new plants can also be created by asexual methods. A simple example is rooting a plant part in water. Another asexual method is propagation by division. This type of propagation is used on plants that have stolons (aka runners), bulbs, tubers, or rhizomes. These plants produce multiple stems above the ground. A plant with a single stem cannot be propagated by division.
Techniques for Propagation by Division
We have many perennial plants in our garden that were planted to attract pollinators. One of these plants is yarrow. It is a beautiful plant that produces lemon yellow flowers in the spring and summer. We now have two of them and it was time to create some more for another part of the garden.
These were the steps we took to divide it:
- scraped back the soil and debris under the plant
- determined a place where the plant looked like it would naturally separate
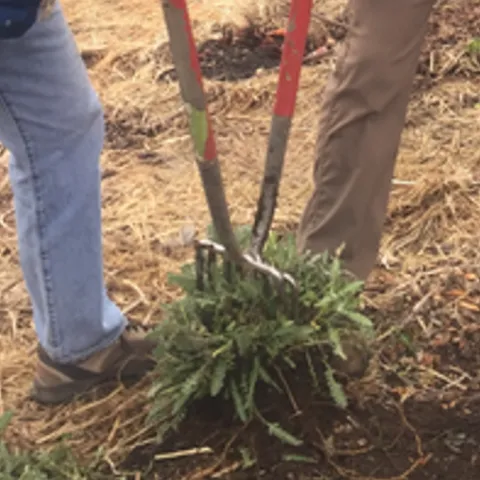
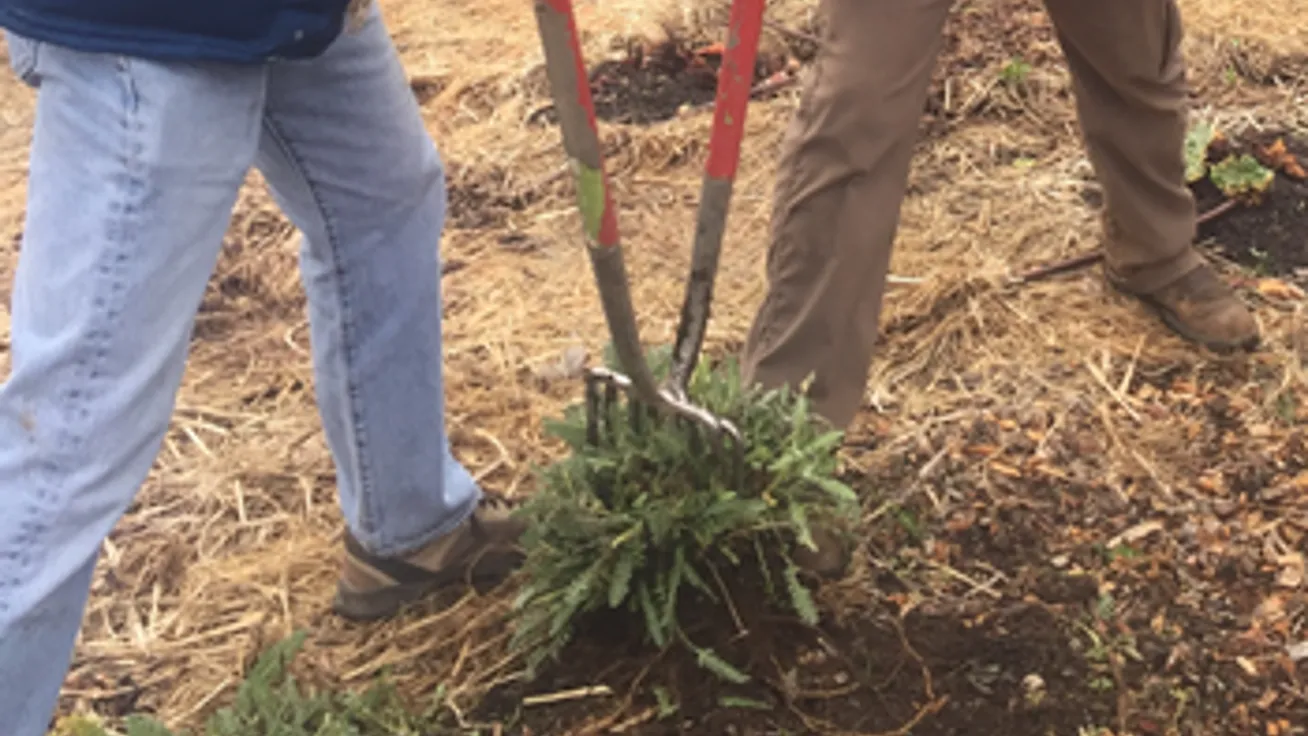
- used the Double-fork Method* for separating the new plant from the mother plant
- with a shovel, made 2-3 cuts around the new plant to release it from the soil and mother plant
- removed the new plant from the ground with a shovel
- planted the new plant in another part of the garden mixing in some compost with the soil in the planting hole
- watered well
*Double-fork method
Insert a spading fork into the ground where you want to make the division with the back of the fork positioned away from you. Have a garden buddy do the same thing from the other side of the plant so that the forks are back to back and the tines are interlocked. First, you and your buddy push the forks toward each other and then pull them away.
Other Plants Requiring Division
Some of our rhubarb plants that have been in the ground for a long time will need dividing also this winter in addition to some herbs like chives that would benefit from more space.
This is the time of year when the soil is moist to look around your garden and give yourself the gift of new plants that you can use to extend your garden or just to fill in some spaces. Jump right in and propagate!

November 2020: Cover Crops
Reasons for Cover Cropping
Increase Nitrogen in Soil
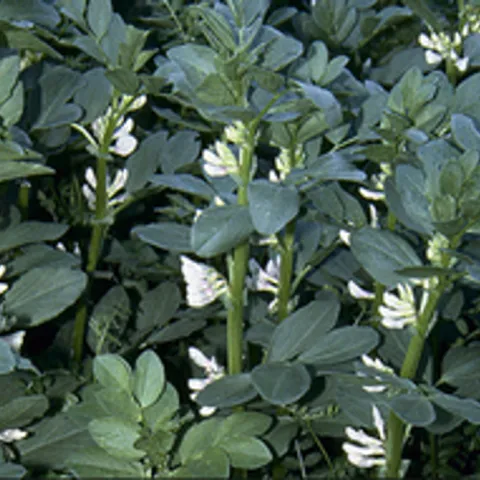
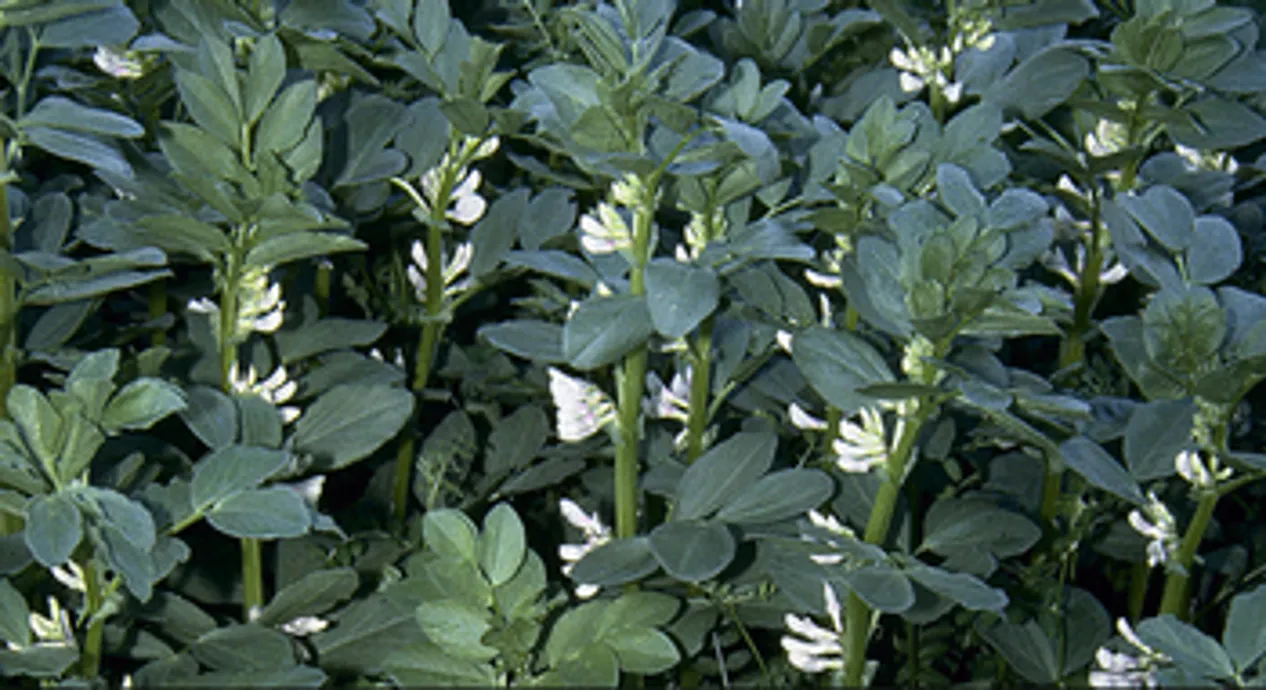
Many gardeners know that Fava Beans improve the soil by fixing nitrogen. The plant takes the nitrogen from the air and with the help of a soil borne bacteria, converts it to a form that can be taken up by the plant through its roots. Other kinds of beans, peas, and non-edible clovers can do this also. A substance called an inoculant can be applied to the seeds at planting time. Fava Bean seeds and any legume should be inoculated at the time of planting. An inoculant provides a beginning supply of the necessary bacteria that will immediately be available when the seed germinates. It will increase the amount of nitrogen fixation above what the plant produces naturally.
Weed Suppression
Rye, Barley, and Vetch as well as many other plants can be used to suppress weeds. With vetch, you get the added benefit of nitrogen fixation as well. These plants suppress weeds by directly competing with them for resources. A blend of these plants is often used so that there is coverage over a long season by early germinators and later ones. In the spring when the grasses are mowed, this green mulch blocks the sun and thus continues to suppress weeds.
Other Reasons
Other reasons you might want to plant a cover crop include compaction control (alfalfa, clover) and erosion control (alfalfa, barley, clover, rye). Alfalfa, barley, and clover can also attract beneficial insects to your garden.
Cover Crop Seasons
Just like vegetables, cover crops have planting seasons. Most of the cover crops mentioned can be planted now. So get them in the ground quickly if you want to amend your existing garden or improve the soil in a new area. Then put your feet up and know that your garden is working its magic without you.
Note: Look to future news about how and when to cut down your cover crop and what to do with it afterwards in order to enhance its benefits.
Learn more about cover crops here.