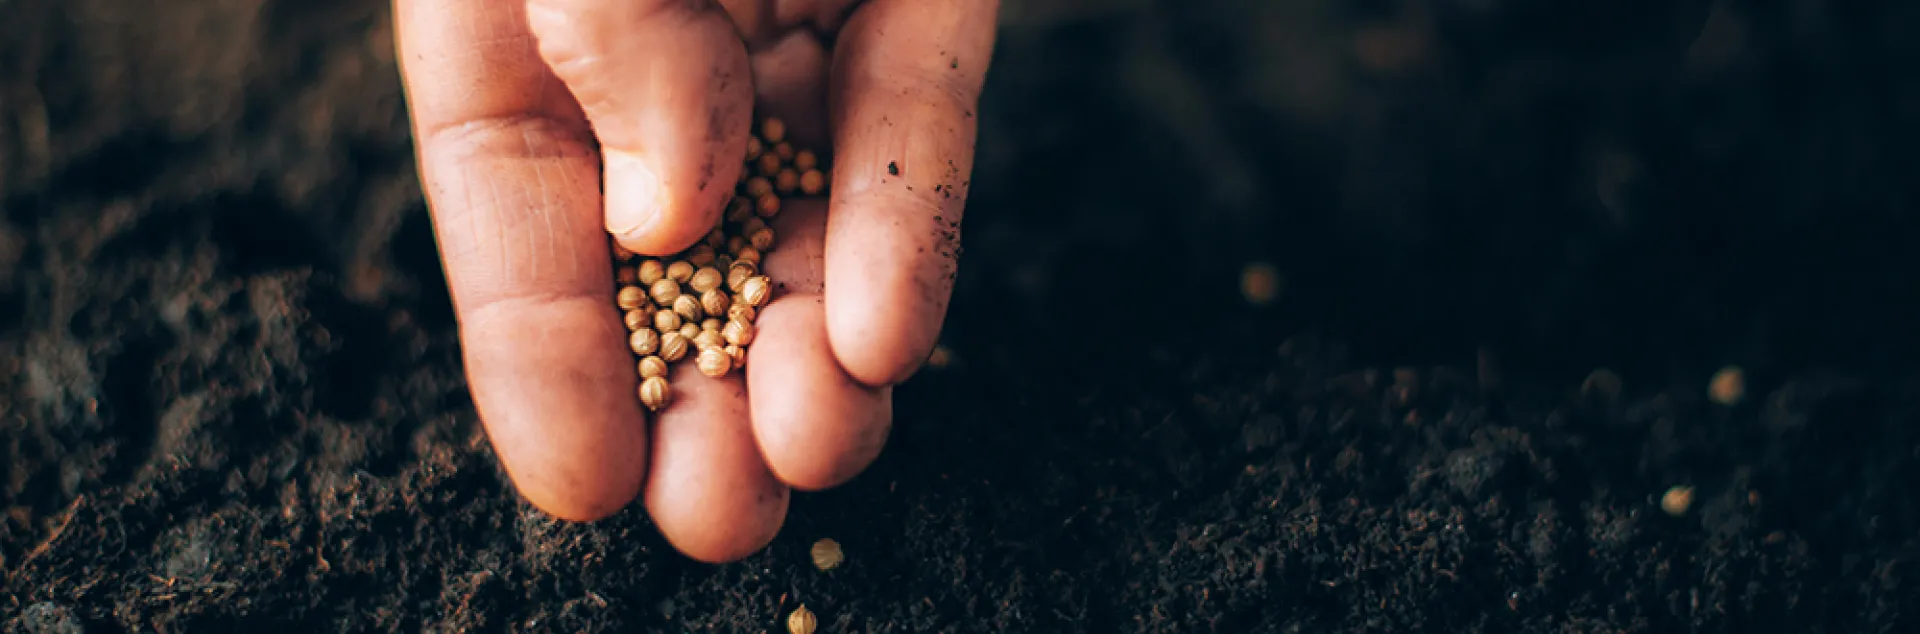
hand sowing seeds
UC Marin Master Gardeners

Cover Crops & Soil Enhancement

What to Do Off-Season in the Edible Garden  

Mustard is a beautiful cover crop that suppress some harmful soil-dwelling nematodes. Photo: Courtesy of UC Regents

Putting the garden to rest
Thanks to Marin's mild winter weather, home gardeners can grow vegetables year-round. But you may choose to give the garden (and yourself) some rest and rejuvenation once you've harvested your last summer-fall crop. Here are two options for putting the edible garden to bed before you kick back in your easy chair and flip through seed catalogs. 

Two basic options for your edible beds:
> Grow cover crops
> Straw-covered manure layer

Option one: GROW COVER CROPS 
Cover crops provide dense cover that helps snuff out weeds. Photo: Courtesy UC Regents

Cover crops are plants grown primarily to improve soil. Planted when traditional garden crops are not present, they enrich soil and provide numerous other benefits. Cover crops are often referred to as a “green manure.” 

Advantages 
• Build soil fertility
• Increase soil organic matter
• Suppress weeds
• Protect soil from wind and water erosion 
• Provide habitat for beneficial insects and earthworms
• Loosen soil without digging, as roots reach down deeper than any shovel 
• Fix nitrogen in the soil. Research shows that legume crops, especially vetch, are the best for nitrogen fixing.
• Suppress some harmful soil-dwelling nematodes: Mustard plants do this naturally. 
• Provide aesthetic addition to winter gardens.

 Disadvantages
• May require watering, at least until fall rains keep soil evenly moist. 
• Cutting down the crop and digging it into the garden bed is work.
• Patience is required while the chopped material breaks down in the planting bed. Alternatively, put greens in the compost pile.


TIMING: when to plant and cut down a cover crop
Planting cover crop seed at the right time is important for success. 

September or October: Sow cover crop. To enhance the soil for spring edibles, avoid planting cover crops after November.

February or early March: When cover crops are 25-50% in flower, cut them down, chop them up, and dig the greens into the soil 3 to 6 weeks prior to planting. The buried material will decompose and provide nutrients and organic material to the soil while increasing biological activity, water infiltration, and soil tilth. Shredded cover crop may also be added to your compost pile instead of digging it into the bed. 

Example: Plant cover crop on October 1, cut down on March 1, plant tomatoes and other spring crops on April1-15. 

Any time of year: Plant a cover crop at any time to enhance a tired bed, as long as the crop planting is consistent with the growing season. 


HOW TO PLANT a cover crop: 
Inoculant: Some UCCE (University of California Cooperative Extension) Farm Advisors recommend inoculating legume seeds prior to planting to effectively fix nitrogen. Legumes work with bacteria called Rhizobium that live on their roots, and allow the plant to fix nitrogen into the soil. Buy inoculant where you buy cover crop seeds.  
Planting depth is based on seed size. In general, the larger the seed, the more soil cover it requires. Follow instructions on seed package and the suggestions below.
Rake the soil smooth, removing any significant debris from a previous crop.
Broadcast the seed at the recommended rate for the plant type.
Cover the seed with soil to the recommended depth for the plant type. 
• Water if necessary and keep moist until rains begin.


WHAT TO PLANT
Choose a cover crop based on your goals: 

Improve soil structure
Plant deeply rooted plants and/or plants with large biomass such as barley, rye, and daikon radish.

Build soil microbial biomass
(fungi, bacteria and other microbes): Plant Phacelia.

Protect the soil from erosion
Plant grasses, mustard, and radish.

Suppress weeds
Plant grasses, mustard, and radish.

Attract beneficial insects
Plant mustard and radish. 
(These plants may also attract undesirable insects such as cucumber beetles and stink bugs).

Increase nitrogen
Plant vetch and other legumes.

Seeding for the season
Common Cover Crops for California are included in the chart below. Once you’ve identified the desirable crop, check with local nurseries or online seed suppliers for availability.  

Image
CoverCropchart-01

Option two: LAYER OF MANURE COVERED WITH STRAW
Image
Adding a layer of manure and rice straw helps rejuvenate edible garden beds. Photo: Courtesy UC Regents

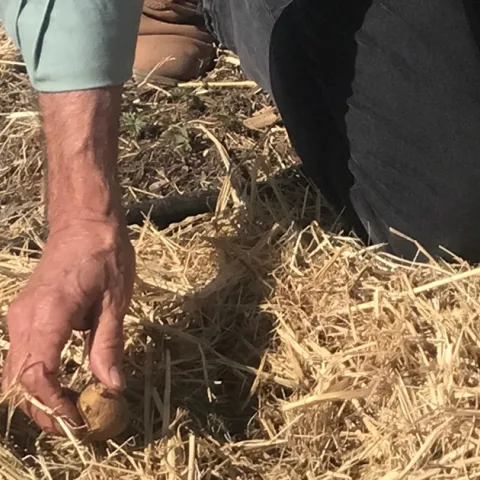
A rice straw-covered layer of manure is another way of boosting soil. 

Advantages
• Works slowly over the winter to enrich soil
• Attracts earthworms
• Feeds legion of beneficial microbes needed for healthy spring crops
• One-and-done deal; there is nothing to cut down in spring like there is with a cover crop. 

Disadvantages
• Sourcing, transporting, and shoveling manure
• A smelly wait for a couple of days for the barnyard aroma to dissipate
 

HOW TO LAYER IT UP
• Pile on 2 or more inches of herbivore-generated manure (horse, chicken, cow, goat, llama and rabbit are all equally good (preferably from animals that have not been treated with antibiotics or other pharmaceuticals). 
• Top it with a fluffy layer of rice straw (often available inexpensively at horse or farm supply stores) or dry leaves three times as deep as the manure layer. The straw stays neat-looking for months, and thick layers of organic material smother most weeds. 
• Winter rains keep the pile moist, attracting earthworms and helpful decomposers. 
• Straw and leaves hold in moisture and prevent rain from compacting the soil. 
• In spring, turn the composted manure and straw into the top layer of soil before planting. 

BACK TO EDIBLES
> What Edible Gardens Need
> Best Choices for Marin
> How to Prepare
> How to Plant
> Edibles in Containers
> Planting Calendar
> Grow & Care Sheets for Vegetables, Herbs & Fruits
> Tips & Techniques
> How to Maintain
> Fruit Trees
> Top 20 Edible Garden Problems
> Cover Crops & Soil Enhancements in the Off-season
> Conserving Water

•••••••••

Visit our EDIBLE DEMO GARDEN at IVC Organic Farm & Garden
March 2022: Growing Blueberries

Primary Image
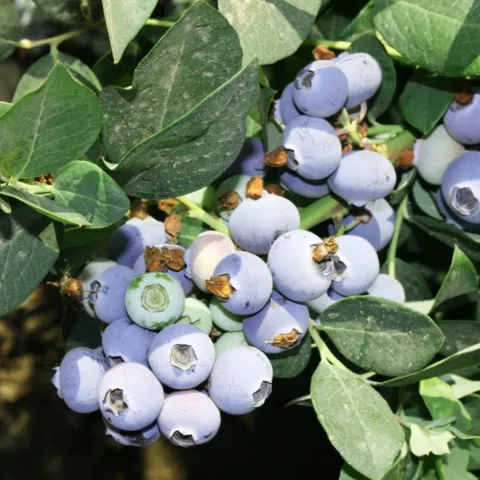
Choose low chill hour varieties for Marin. Brenda Dawson
Body

Blueberries
Blueberries are the focus of the newest demo garden project. Blueberries grow on long-lived and attractive shrubs and are both delicious and nutritious. They can be an ideal addition to an edible garden or to a home landscape if their growing conditions are met. Whether these conditions could be met in the edible demo garden is the question driving the project. While strawberries and raspberries have grown successfully in the demo garden, blueberries can struggle in hot dry summers.

Growing Conditions for Blueberries

Blueberries are in the Ericaceae family and are related to rhododendrons and azaleas and thrive under similar conditions. They need:

  • Full sun with some shade protection in hot weather
  • Acid soil (pH 4.5 to 5.5)
  • Ample water
  • Good drainage

Much of our Marin garden soil is not sufficiently acidic for blueberries so it’s necessary to create it using pH lowering organic amendments such as peat moss or elemental sulfur. A layer of organic mulch will help keep the soil cool and moist and will protect the shallow roots. Regular feeding with acid-forming complete fertilizers will provide nutrients and help maintain the low pH.

Selecting the Best Varieties

Blueberries native to the northeastern US require too many annual chill hours (hours with temperatures between 32 to 45 degrees), to grow well in Marin. Fortunately, there are many cultivars with low chilling requirements available. Ripening time is another consideration. There are early season, midseason, and late season varieties. Planting at least two different varieties improves pollination and increases production, so choosing kinds that ripen at different times increases harvest length. Two hybrid “varieties were chosen for the edible demo garden:

  • ‘Misty’. Classified as southern highbush variety, it produces very early, large, good-flavored fruit. It has a 150 to 300 chill hour requirement and tolerates a higher than usual soil pH.
  • ‘Blueray’. It is a southern highbush midseason variety with a chill requirement around 500 hours. It produces large, flavorful berries and is more tolerant of summer heat than some other varieties.
Promoting Production

The best fruit production requires patience and careful pruning. Removing blossoms the first year or two allows the plant to focus its energy on vigorous growth. Initially pruning all branches back to about 30% also promotes new growth. In following years, older branches or weak shoots can be removed, but fruit is produced on 1-year old wood so excessive pruning will reduce yield.

For more information, see our grow sheets on blueberries! 

If the edible demo garden blueberry project is a success, the next problem will be keeping the birds from devouring the crop.

UC Marin Master Gardeners
Primary Image
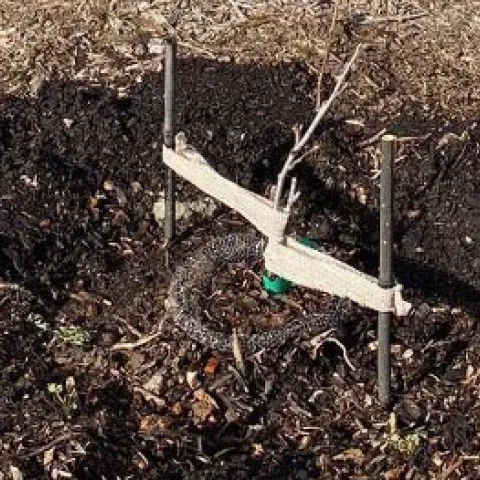
Planting a bare root tree. Photo by Joan Kozlowski
UC Marin Master Gardeners: Article

February 2022: Getting Bare Root Fruit Trees Off to a Good Start

January 31, 2022
The addition of new fruit trees added excitement to an otherwise routine month of garden maintenance. An enthusiastic group of Master Gardeners planted six organically sourced fruit trees along the garden perimeter in line with the existing plum and pear trees...
View Article

January 2022: Choosing Bare Root Fruit Trees

Primary Image
Christian Koepke, Unsplash
Body

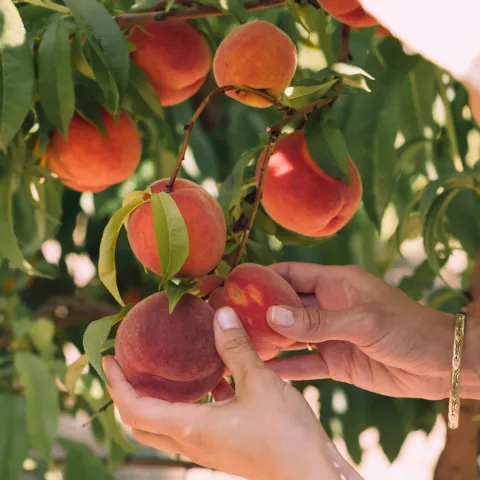
peaches christiann-koepke-Dwj_hJom_Sc-unsplash
December was a slow time in the garden.  We added a few plants like leeks and arugula but our workdays were limited due to the regular rain that came through our county.  No one is complaining though, since our drought conditions have eased somewhat.  Although we must all still be vigilant about water conservation, we revisited our idea to expand our small fruit tree orchard.

December and January are the best months to purchase bare root trees.  The supply is much better and you will have more choices.  So what does the home gardener need to consider before purchasing a fruit tree?

Climate Considerations: Chill Hours

The successful growing of deciduous tree fruits (not citrus) requires that you know how many cumulative chill hours (temperatures between 32°F and 45°F) that your area gets in the winter season. Each kind of fruit tree requires a specific number of chill hours in order to break dormancy and begin growing again in spring.

See the table below for specific hours for some popular fruits.

Type of FruitApprox. chill hours needed to break dormancyEquiv. time if continuously exposed to <45°F
Apple1200-15007-9 weeks
Apricot700-10004-6 weeks
Cherry (sweet)1100-13006-8 weeks
Figa few hours---
Olive200-3008-13 days
Peach/Nectarine650-8504-5 weeks
Pear1200-15007-9 weeks
Persimmon<1004 days
Plum European800-11005-6 weeks
Plum, Japanese700-10004-6 weeks
Pomegranate200-3008-13 days
Quince300-4002-3 weeks

*  Table adapted from UC's The California Backyard Orchard

There are also low chill varieties (usually less than 300 hours) that have been developed for apples, apricots, pears, peaches, and plums.

In general, Northern California gets about 800-1500 chill hours each winter.  Any good bare root nursery should be able to advise you about the suitability of a particular fruit tree that you want to purchase for the area where you live. 

Environmental Considerations

Light:  at the very least, 6-8 hours of sunlight daily

Space:  the right sized tree for the right space

Note: dwarf trees bear fruit earlier, but are more fussy, requiring more frequent irrigation, careful pruning, and better soil fertility.  You can grow a smaller tree just by pruning it properly when planting it and regularly pruning it to keep it small. 

Pollination Requirements:  self-fruitful (pollinates among its own flowers) or self-sterile (requires pollen from another variety)

Water Source:  an irrigation system is best but you can also water by hand

Fruit Tree Maintenance Requirements

Yearly Pruning:  both in winter and in summer

Fruit Thinning:  required to grow larger sized fruit

Common Diseases of particular fruit trees:

Pear trees: fire blight
Plum trees: plum aphid
Peach & Nectarine trees: peach leaf curl

With this knowledge in your pocket, you are ready to do some after holidays shopping at your local nursery.  Don’t let the maintenance requirements discourage you from starting your own small orchard.  Do like our team does; research and learn as you grow.  A good source for all of your questions is the UC Davis California Backyard Orchard at https://homeorchard.ucanr.edu/

Also, check out our information on:
How to plant a bare root tree
How to grow fruit trees 

UC Marin Master Gardeners
Primary Image
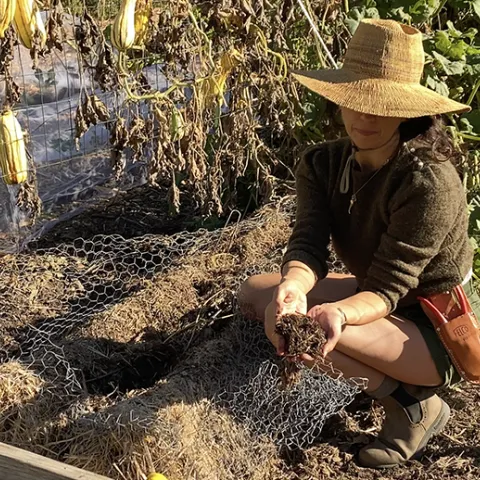
UC Marin Master Gardener Stephanie Scarpullo gathering composted straw from our straw bales. L Stiles
UC Marin Master Gardeners: Article

December 2021: Composting & Testing Your Soil

December 2, 2021
November and December are clean up times in the garden, as well as assessing the state of our garden after growing all of those heavy feeder summer vegetables...
View Article
Primary Image
Charlotte Harrison, Unsplash
UC Marin Master Gardeners: Article

November 2021: Integrating Native Plants in Your Edible Garden

October 29, 2021
In October the EDG team, with inspiration and planning by members of the MMG Native Plant Guild, added a native plant area to our edibles garden. This small garden was installed around a vernal pool that is at the back of our garden.
View Article
Primary Image
Zoe Schaeffer, Unsplash
UC Marin Master Gardeners: Article

October 2021: Seedling Transplanting Tips

October 21, 2021
At the Edible Demonstration Garden this month, we have been following best practices for seeding our winter garden plants in the greenhouse. These practices were outlined in last months article. This month, we will begin moving some of these seedlings into the garden.
View Article

September 2021: Growing Your Own Plant Starts

Primary Image
Seeds germinating
Body

stella-de-smit-Nt974ZIgqgo-unsplash
The end of the summer is approaching and some of our plants are producing heavy harvests, particularly our summer squash, which are growing in straw bales.  (See our new YouTube video on Straw Bale Gardening.)  We have also cleared some beds and planning has begun for our fall/winter garden.  Some of these plants will be directly seeded into the garden, while others we will start in the farm’s greenhouse.  A planting calendar gives us the information needed to decide when and how to germinate seeds.  (Link to our planting calendar for vegetables and one for herbs.

Growing Your Own Plant Starts

Even with access to a greenhouse, our team is not always successful at producing the number of plant starts that we want.  So, we are paying extra attention to the most important factors that affect germination: sufficient light and warmth, seeding mix composition that provides enough oxygen, and careful watering without disturbing delicate seeds and seedlings. 

Ideal Light and Temperature Conditions for Germination

Seeds germinating
Light:  Light and temperature are important not only after sprouting, but also for some plants like lettuce that need light to stimulate germination.  When planting lettuce, lay the seeds on top of the germinating medium and then cover with a thin layer of fine peat moss or vermiculite so that light can reach the seeds.  Most other summer growing annuals do not need light for germination but many flowers do.

After germination, your plant will need to be moved to a bright, airy location.  A window facing south could provide adequate light although the more fail-safe solution is to use grow lights for about 12-16 hours per day. 

Temperature:  The ideal temperature for seeds to germinate is 65°F-75°F.  If your house is cold, particularly at night, a warming mat may be needed.  However, many gardeners find the top of the refrigerator is perfect for this purpose.

Seed Starter Mix

The ideal seed starter mix is fine and uniform in texture, well-aerated and loose, free of insects, disease organisms, and weeds, and able to hold moisture and drain well. The farm uses a mixture of about two parts aged compost, one part peat moss, and a one part mixture of perlite and vermiculite.  The peat moss and compost are sifted to get a finer medium.  Also, fertilizers like kelp meal and bone meal are added because once seeds germinate, they require feeding in order to grow well. 

If making your own seed starting mix is too much work for you, then there are commercial seed mixes that you can purchase.  Be sure to check the ingredients to determine if fertilizers have been added.  If not, you will need to regularly apply a half-strength solution of a fertilizer like fish emulsion or a liquid fertilizer for houseplants once seedlings emerge. 

Steps for Planting your Seeds
  • Crush any lumps in your mix and then moisten until it feels like a wrung-out sponge. 
  • Fill washed and sterilized (one part bleach to nine parts water) containers to three-fourths of an inch from the top. 
  • Firm mix at the corners and edges so there is a uniform surface.
  • Plant two-three seeds in each unit according to the depth indicated on the seed packet. If no seed packet is available, use the rule of thumb to plant to a depth that is two-four times the diameter of the seed.  
  • After seeds are sown, water using a fine mist spray for small seeds and for larger seeds, use a gentle trickle of water on the surface of the container.  Cover your container loosely (not airtight) with either plastic or a glass sheet.  No further water is needed until seeds have sprouted.
  • Remove cover when first seedlings appear. Lightly water and move your container to the brightest, airy spot you have. 
  • Begin watering regularly when the mix on top feels dry.    
  • Fertilize every other week if your seeding mix does not contain fertilizer.
  • If more than one seed germinates, thin the weaker ones by using scissors to cut the stems.

Stay tuned for next month when we will answer this question:  After you have your starts, what is the process for getting them into your garden?

UC Marin Master Gardeners
Primary Image
planting tomatoes
UC Marin Master Gardeners: Article

August 2021: Growing Tomatoes and Physiological Problems

August 22, 2021
What are those brown areas on the tomatoes and whats causing the plants leaves to roll up? Often the cause is physiological, which is a fancy way of saying the symptoms are caused by environmental stresses and not by pests or disease.
View Article

July 2021: Summer Harvesting Tips

Primary Image
Nadine Primeau, Unsplash
Body

Harvest summer vegs
The summer solstice has passed and our garden team is waiting for the abundance of the summer harvest.  Every gardener wants to pick vegetables at the height of their quality.  You can’t depend on the “days to maturity” indicated on seed packets because conditions vary year to year.  How do we determine when a vegetable is just right for the picking?

General Harvesting Rules

Do not fall into the ‘bigger is better’ trap.
Peak quality often happens before a vegetable is fully mature.

Harvest in the early morning hours.
Plants regain moisture overnight.  In addition, the starches formed during the day may be converted to sugars in the evening.  You will get crisper, juicier, and sweeter vegetables in the morning. 

Be gentle when harvesting.
If the vegetable is not easily picked, then use a knife, scissors, or pruner. Be careful not to damage the leaves and stems of the plant.

Pick frequently to prolong the harvest.
Keep in mind that a plant’s goal is to reproduce.  If a plant’s fruit is allowed to fully mature, there is no need for the plant to continue flowering.  Fruit production will slow or even cease. 

Harvesting Tips for Specific Summer Vegetables

Harvesting brooke-cagle-TiTU0k1E0UE-unsplash
Beans (Snap):  Harvest when the pods are almost full-size according to the seed packet, but before the beans inside begin to bulge.  Pods should break easily with a ‘snap.’ 

Cucumbers:  Pick slicing types when six to nine inches long and pickling types between two to six inches. They should be bright green and firm. 

Eggplant:  Harvest when about four to six inches in diameter.  Fruit should be shiny and uniform in color.  When pressed slightly with a thumbnail, the indentation remains.    

Peppers (Sweet):  Pick when they are green and as soon as they stop enlarging.  They can mature on the vine to red, yellow, or purple but the ripening process may keep the plant from setting new fruit.  If you want abundance, pick them green.

Squash (Summer):  The rule of thumb with summer squash is ‘the smaller the squash, the better it tastes.’  Pick every one -three day(s) and don’t let them mature on the vine.  Pick when crookneck or straight varieties are a maximum of one and a half -two inches in diameter, zucchini is seven-eight inches long, and scallop types are three- four inches in diameter.  But if you want your squash to be extra tender, harvest them before they reach the sizes listed above. 

Squash (Winter):  In contrast to summer squash, winter types (pumpkins, acorn, butternut, Delicata) must fully mature on the vine for that deep sweet flavor.  It is better to leave them too long on the vine than not long enough.  Wait for the squash to reach maximum size, the shell is so hard that it cannot be punctured with your thumbnail, and the color is dull and uniform. The final clue is that the green color of the stem changes and develops brown woody stripes.  Nature tells you when the fruit is ready to separate from the vine. 

Tomatoes:  Tomatoes are complicated.  You have two choices: 

Fully Ripen on the Vine:  A ripe tomato should feel heavy.  It should also give slightly to the touch, neither too firm nor too soft, but just a little tender. For solid color tomatoes, the color should be even all over.  Check the color on the bottom of a tomato, the deeper the color the riper it is.  Some tomatoes tend to have green shoulders like Cherokee Purple.  If the rest of the tomato appears fully ripe, then it is ripe for the picking. 

Pick With First Traces of Color and Ripen Indoors:  The central question with this method is whether, as a few studies have indicated, the vine shuts down the transfer of nutrients and flavor when the tomato begins ripening showing the first traces of color.  After side-by-side comparisons, some people believe the flavor of a kitchen-ripened tomato is no different from a vine-ripened one.  There are many reasons why you might want to use this method:  to reduce the risk of cracking and blossom end rot, to deny the birds and squirrels a fully ripened tomato, and to avoid damage from a heat wave, which negatively effects ripening and causes sun scald.  Also, too many tomatoes ripening at once can slow down further fruit production.

If you want to try this method, pick your tomatoes when they start to develop streaks of color down at the blossom end.  Store them away from sunlight in a shallow dish or even on a baking rack so the air can circulate under them.  They will ripen best at temperatures between 65°-70°. 

So, when you take that morning trip to your garden and you have gently removed an armload of summer squash and ripe (or not quite ripe) tomatoes to bring to your kitchen, enjoy the sublime taste of your own hard work.  There is nothing like it!

UC Marin Master Gardeners

June 2021: Fertilizing Your Soil

Primary Image
young-plant-WZDQUG2
Body

young-plant-WZDQUG2
May found our team tucking summer harvest seedlings into our beds and anxiously monitoring them to make sure they have everything they need to thrive.  Fertile soil is a must and the primary nutrients needed are N, (Nitrogen) P (Phosphorous), and K (Potassium).  All fertilizers sold are labeled with the content of these three nutrients as a percentage of the total nutrients supplied. 

NPK?

Nitrogen -  Of the three primary nutrients, California soil is most likely to be deficient in nitrogen.  This deficiency is increased with the rainy season when nitrogen can be leached from the soil.  Nitrogen is very important for photosynthesis; the most prominent symptom of nitrogen deficiency is chlorosis or yellowing of older leaves.

Phosphorus.  California soils usually contain phosphorous naturally, although highly-weathered soils can be deficient.  The symptoms of a phosphorous deficiency include stunted growth, purplish tint on leaves, and/or poor fruit or seed development. 

Potassium.  Additional potassium is usually not needed in California soils.  However, if deficient, plants can experience slow growth, browning with dieback of leaf edges and tips, weak stalks, and small fruit.    

NPK Testing

Prior to planting, a quick test of the NPK in your soil can alert you to the need for fertilizer.  At most nurseries, you will find simple testing kits for NPK that also test pH.  You will feel like a chemist as you shake water and tablets in test tubes and look at color charts to determine nutrient levels in your soil.  This process can be intimidating for some.  Many gardeners just watch their plants carefully and based on plant symptoms, they get a sense for what is needed.  So what choices do you have when you determine a nutrient is needed?

Fertilizer Types

Inorganic:  These fertilizers are composed of minerals and synthetic chemicals.  They are fast acting and low in cost.  But they contain salts and can leach and burn crops if applied incorrectly.  They do not have the ability to improve the soil.

Organic:  These are derived from plant or animal products.  They are bulkier and more costly than inorganic fertilizers and can have odors.  They are also slower to act. But besides adding nutrients, they work more naturally, improving the soil by decreasing density, which increases water filtration and the soil’s ability to hold nutrients. 

Manures:  These contain animal excrement, plant remains, or both.  They are a good organic fertilizer and they improve soil structure.  Many gardeners raise chickens and they get the benefit of chicken manure, the most concentrated NPK source of any type of manure. 

Fertilizer Use on a Certified Organic Farm

Because we are located on a certified organic farm, the Edibles Demonstration Garden (EDG) can only use organic fertilizers that in most cases are labeled OMRI Certified.  OMRI stands for the Organic Materials Review Institute and is a nonprofit organization that maintains lists of products that are FDA approved for use on certified organic farms. 

The EDG most often uses compost to improve our soil.  But compost alone does not provide the amount of NPK needed for heavy summer feeders like tomatoes.  We also use worm castings from our worm bins.  The approximate NPK percentages for worm castings are 5-5-3, which is much higher than compost.    

In the past few months, we have used fish emulsion (4-1-1) as a nitrogen boost for our artichoke plants and worm compost ‘tea’ for our seedlings that had yellowing older leaves.  We added blood meal (12-0-0) to our raspberries and a balanced fertilizer (7.5-5-7.5) to our fruit trees.  Artichokes, raspberries, and fruit trees are perennials.  Edible perennials often have specific fertilizer requirements especially in the spring so pay attention to their fertilizer needs also. 

As you tend to your garden this summer, look for symptoms of nutrient deficiencies.  Try to choose fertilizers that mimic the way nature provides nutrition for plants. The nutrient boost may take longer for you to see the benefits, but natural fertilizers pay off in the longer term.  

UC Marin Master Gardeners