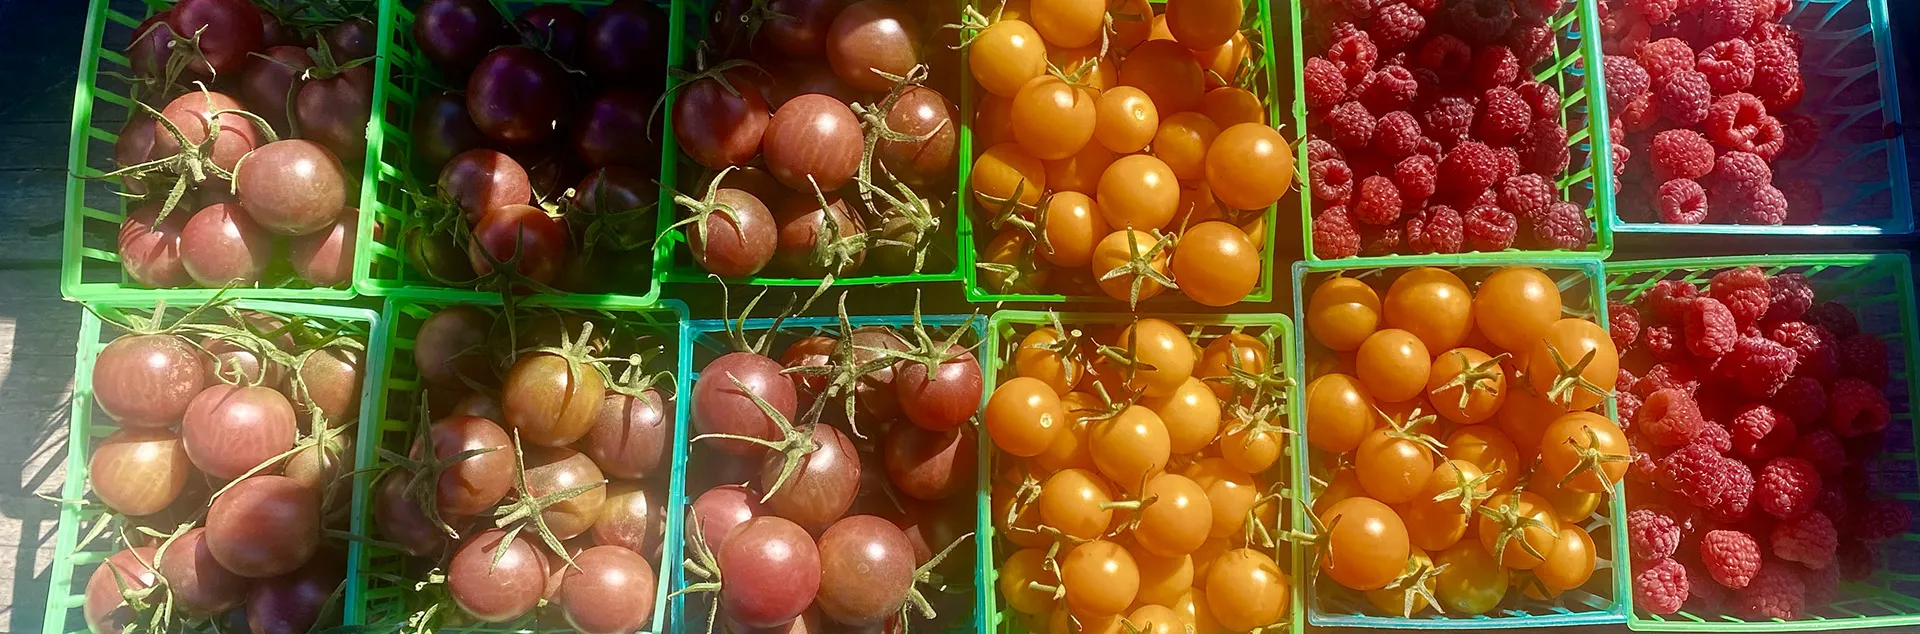
The Edible Demo Garden at IVC Organic Farm & Garden

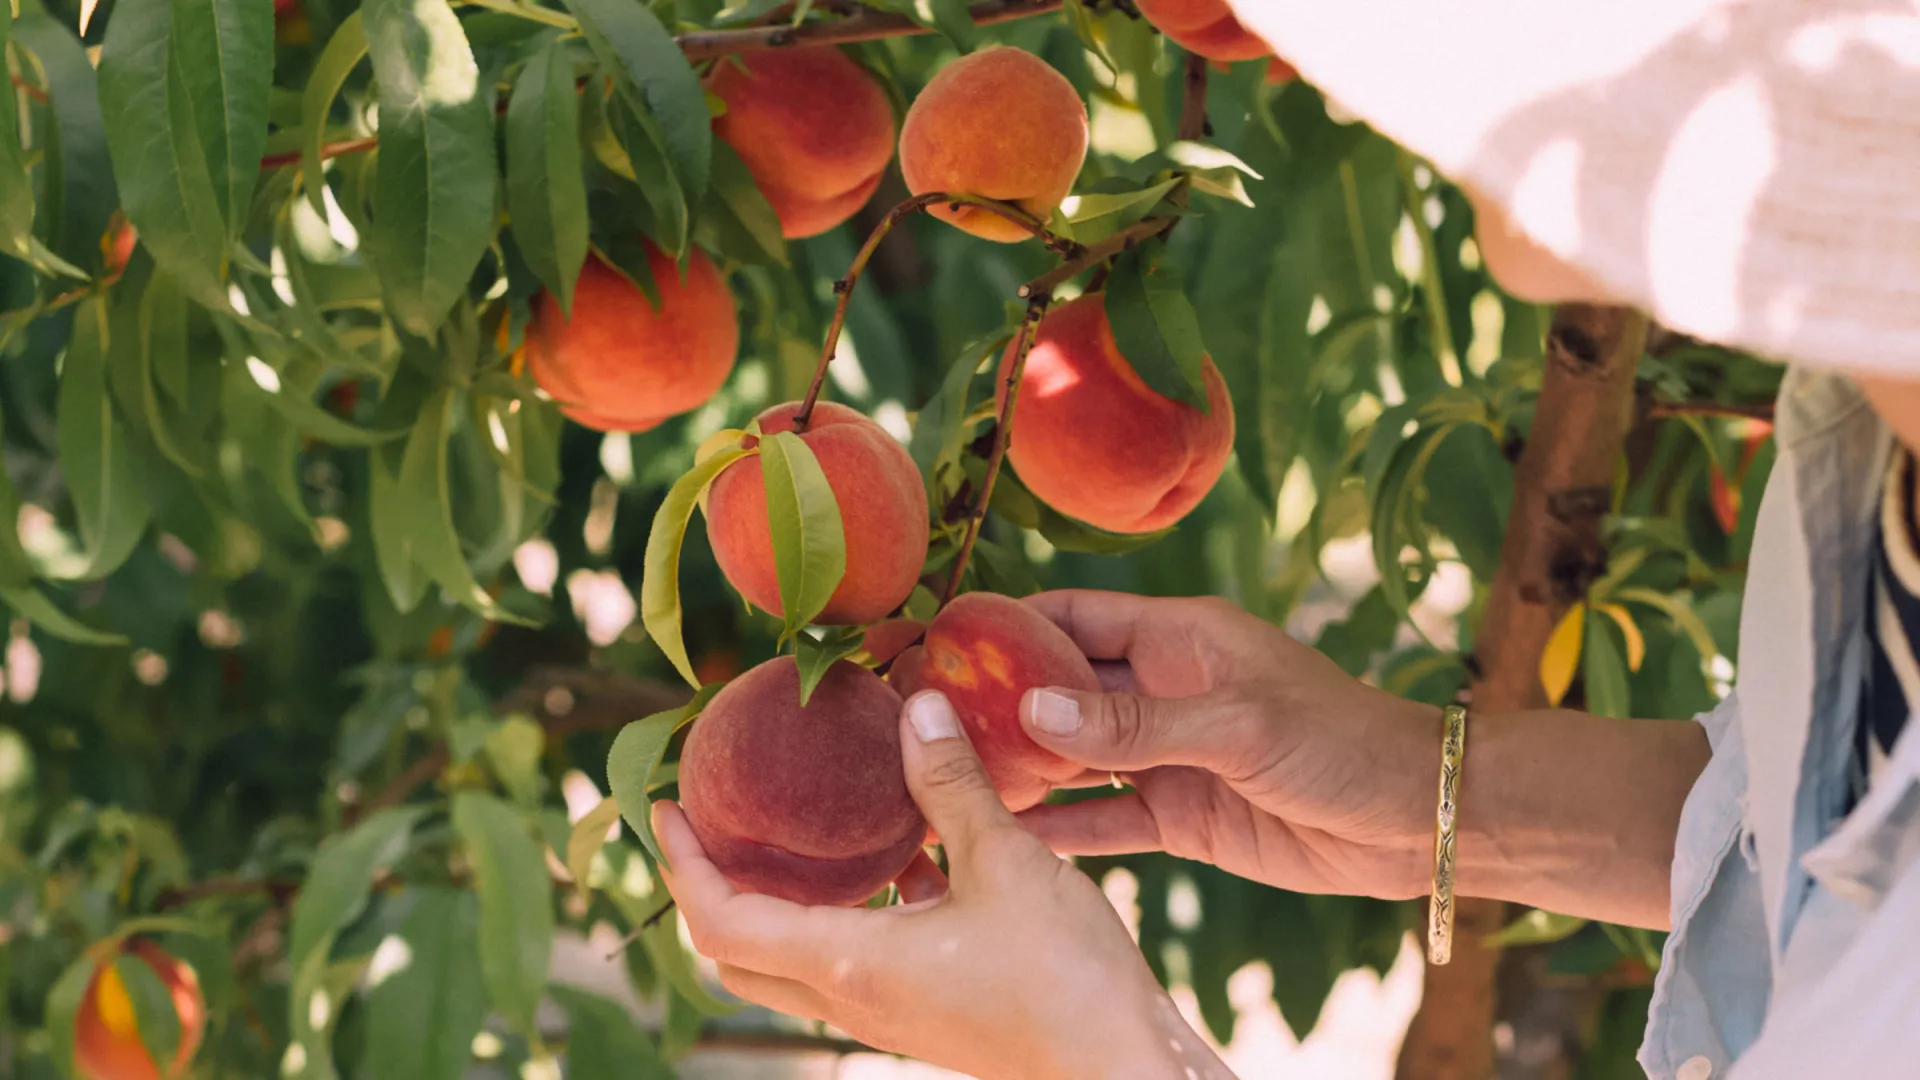
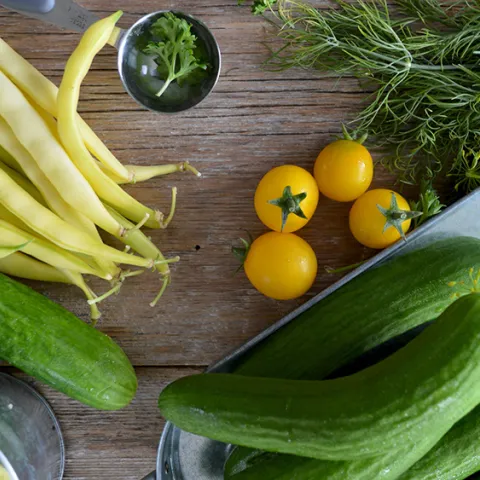
The 2100 sq ft Edible Demonstration Garden at Indian Valley Organic Farm and Garden (IVOFG) in Novato was designed and installed by UC Marin Master Gardeners in 2016 and is a hands-on teaching tool for UC MMG and the public. The garden showcases sustainable agricultural practices while growing over 100 varieties of vegetables, flowers, fruit and herbs using a variety of growing situations that are options for Marin gardeners.
News from the Edible Demo Garden
What you can do at the Edible Demo Garden

Visit the garden
Drop in any first Friday of the month between 9am-11am. We will give you a tour and answer any gardening questions.
Guided group tours
Private educational tours and training are available to groups. To schedule a private tour, contact us at EdibleDemoGarden@MarinMG.org
Buy our sustainably-grown, organic produce at the Farm Stand
All produce grown in the garden meets the Marin Organic Certified Agriculture (MOCA) requirements and is sold at the IVOFG farm stand or included in the farm's CSA boxes. The farm stand is open Saturdays 10am - 1pm July through October.
Learn from our workshops:
• Offered periodically on Saturday mornings during the year
• Learn how to plant, maintain and harvest vegetables, identify and manage pests and problems, and maintain soil fertility.
• Check for upcoming workshops/events on our events calendar
Email us at the Edible Demo Garden for more information
HOW TO GET THERE
College of Marin Indian Valley Campus
1800 Ignacio Blvd
Novato CA 94949
> Directions to Indian Valley Organic Farm & Garden
OTHER UC MMG
DEMONSTRATION GARDENS
> Harvey's Garden at Blackie's Pasture, Tiburon
> Falkirk Demonstration Garden, San Rafael
LEARN HOW TO GROW EDIBLES IN STRAW BALES
> BACK TO ASK US
January 2022: Choosing Bare Root Fruit Trees
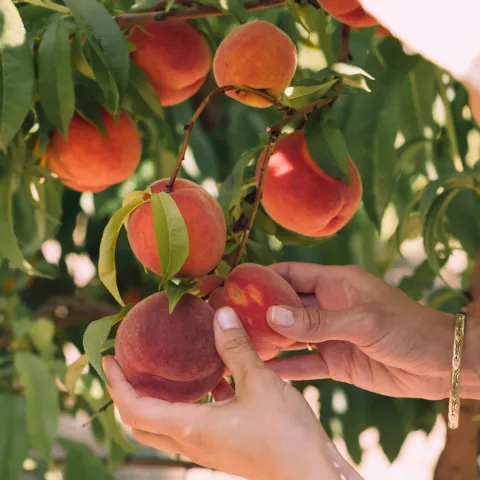
December and January are the best months to purchase bare root trees. The supply is much better and you will have more choices. So what does the home gardener need to consider before purchasing a fruit tree?
Climate Considerations: Chill Hours
The successful growing of deciduous tree fruits (not citrus) requires that you know how many cumulative chill hours (temperatures between 32°F and 45°F) that your area gets in the winter season. Each kind of fruit tree requires a specific number of chill hours in order to break dormancy and begin growing again in spring.
See the table below for specific hours for some popular fruits.
| Type of Fruit | Approx. chill hours needed to break dormancy | Equiv. time if continuously exposed to <45°F |
| Apple | 1200-1500 | 7-9 weeks |
| Apricot | 700-1000 | 4-6 weeks |
| Cherry (sweet) | 1100-1300 | 6-8 weeks |
| Fig | a few hours | --- |
| Olive | 200-300 | 8-13 days |
| Peach/Nectarine | 650-850 | 4-5 weeks |
| Pear | 1200-1500 | 7-9 weeks |
| Persimmon | <100 | 4 days |
| Plum European | 800-1100 | 5-6 weeks |
| Plum, Japanese | 700-1000 | 4-6 weeks |
| Pomegranate | 200-300 | 8-13 days |
| Quince | 300-400 | 2-3 weeks |
* Table adapted from UC's The California Backyard Orchard
There are also low chill varieties (usually less than 300 hours) that have been developed for apples, apricots, pears, peaches, and plums.
In general, Northern California gets about 800-1500 chill hours each winter. Any good bare root nursery should be able to advise you about the suitability of a particular fruit tree that you want to purchase for the area where you live.
Environmental Considerations
• Light: at the very least, 6-8 hours of sunlight daily
• Space: the right sized tree for the right space
Note: dwarf trees bear fruit earlier, but are more fussy, requiring more frequent irrigation, careful pruning, and better soil fertility. You can grow a smaller tree just by pruning it properly when planting it and regularly pruning it to keep it small.
• Pollination Requirements: self-fruitful (pollinates among its own flowers) or self-sterile (requires pollen from another variety)
• Water Source: an irrigation system is best but you can also water by hand
Fruit Tree Maintenance Requirements
• Yearly Pruning: both in winter and in summer
• Fruit Thinning: required to grow larger sized fruit
• Common Diseases of particular fruit trees:
Pear trees: fire blight
Plum trees: plum aphid
Peach & Nectarine trees: peach leaf curl
With this knowledge in your pocket, you are ready to do some after holidays shopping at your local nursery. Don’t let the maintenance requirements discourage you from starting your own small orchard. Do like our team does; research and learn as you grow. A good source for all of your questions is the UC Davis California Backyard Orchard at https://homeorchard.ucanr.edu/.
Also, check out our information on:
How to plant a bare root tree
How to grow fruit trees
December 2021: Composting & Testing Your Soil
Soil Testing for the Home Gardener
Every Master Gardener in our training class learns how to use a do-it-yourself soil testing kit that will give you a pH reading and the level of Nitrogen (N), Phosphorous (P), and Potassium (K) in your soil. The kits we use are inexpensive (under $20). The process involves dissolving pills in distilled water with a soil sample and after the soil settles, comparing the color of the water against a key that tells you the level of a particular nutrient. Are these tests totally accurate? Probably not, but they can give you a rough estimate of your soil fertility for the primary nutrients that are required in larger amounts than other soil nutrients. One piece of advice, do this with a buddy because the directions are complicated and it helps to have one person read them while the other one actually does the testing. It is more fun that way too.
If you don’t feel like being a chemist, there are also nutrient testing kits you can purchase that just require you to send a soil sample to a lab for testing. You get a list of the results and also some recommendations for amending any deficiencies. These test kits are also under $20 but you have to pay the postage for shipping to the lab.
Choose which method suits you best. For Master Gardeners, getting your hands dirty and experiencing science up close and personal can feel quite rewarding.
Soil Testing Results
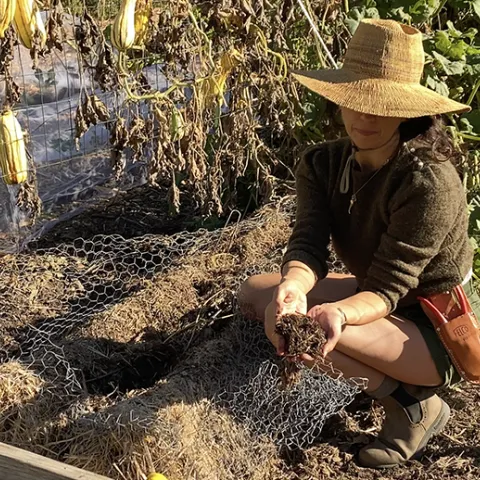
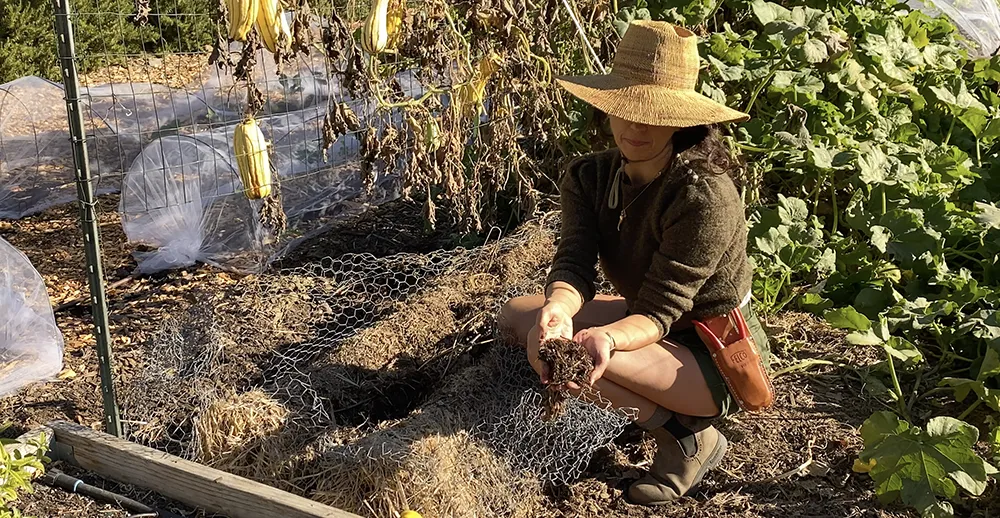
We tested the pH and the nitrogen level in our straw compost and found out that the pH was perfect for growing vegetables. The Nitrogen level, however, was between low and very low. So what was the difference between last year and this year? In October, we had substantial rain: 17 inches for the reservoirs in Southern Marin and 7.6 inches for Stafford Lake in North Marin. We left our bales in place during October because we were still harvesting winter squash and the rains came down hard on them.
At the end of the growing season, the leftover nitrogen is mostly dissolved in water held in the pore space between the soil particles. It is very mobile and probably was depleted by the onslaught of heavy rains as it was washed into the soil below. So what we hoped would fertilize our soil will now be used as mulch which will improve the soil structure but not fertilize our plants.
Compost to Increase Fertility for your Spring Garden
As a result of our testing, we will now go back to the tried and true use of compost to solve our garden fertility problems. Even though our straw compost was a faster way to start our horseradish growing again, by the spring, the farm’s compost had proven to be just as effective even with the slower start.
The nitrogen in compost is in a form that is not available to plant roots. But it is slowly converted over time to a form that can be used by the plant. Now is the time to apply compost to your winter garden plants and the also the parts of the garden that will be left fallow. Also, adding a mulch like straw, for example, on top of the compost will help to conserve soil moisture just like it does in the summer.
Let’s hope that we get more storms this winter but with the compost’s slow process of converting organic nitrogen to a usable nutrient, your garden will be all ready to go come spring. As we Master Gardeners love to say, "compost, compost, compost"!
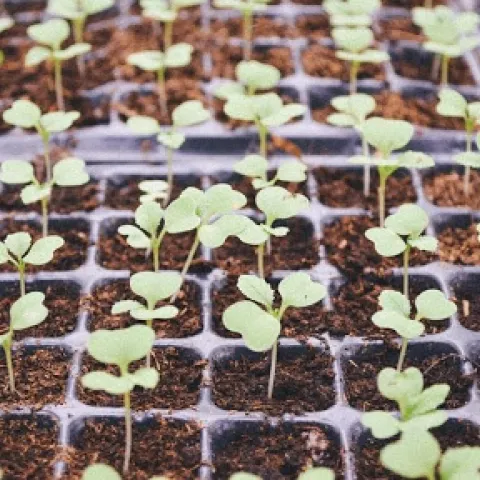
October 2021: Seedling Transplanting Tips

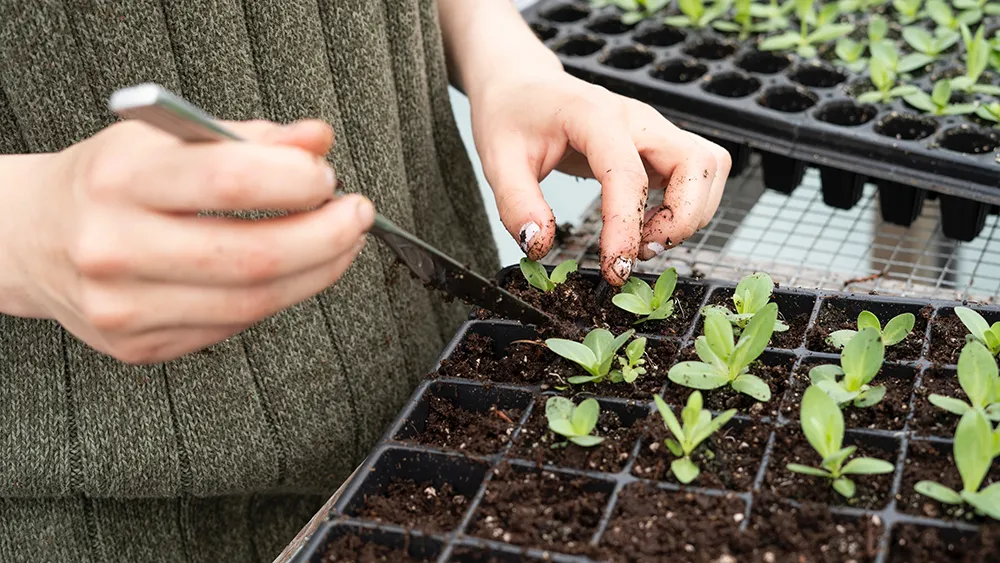
When is a seedling ready to move?
The most common problem with transplanting is timing. Many gardeners, including our team, make the mistake of waiting too long. A good rule of thumb is that the seedling should have at least three to four true leaves in addition to the seed leaves that appear first. The height of the seedling is not as important as the number of leaves it has. An ideal seedling would be as wide as it is tall. So how do we toughen up that soft, succulent type of growth into a firmer, harder type? This process is called ‘hardening off’.
Take the Time for Hardening Off
Your seedlings need a transition time to the harsher outside conditions. If you do not provide this, a severe, long-term check in growth can occur. The hardening process will take at the very least seven days or up to two weeks, so this requires patience. Remember that you’re looking for the plant to lose those soft stems and harden up. So observe your plants closely.
Hardening Off Process
As you transition your seedlings to the outside, keep in mind the two elements that will have the most impact on them: wind and sun. A hot, windy day would not be the day to start the move. For the first excursion, pick a temperate day with no wind and even then, put your plants in a protected area in the shade. You might leave them out for only a few hours. After that, increase the exposure time each day, moving eventually to dappled morning sunlight, and then gradually to full morning sunlight. Placing plants in full afternoon sun will be done toward the end of this process, as well as leaving them out overnight, but only when temperatures do not fall below 50°F. Reducing water frequency to slow growth during hardening is advised.
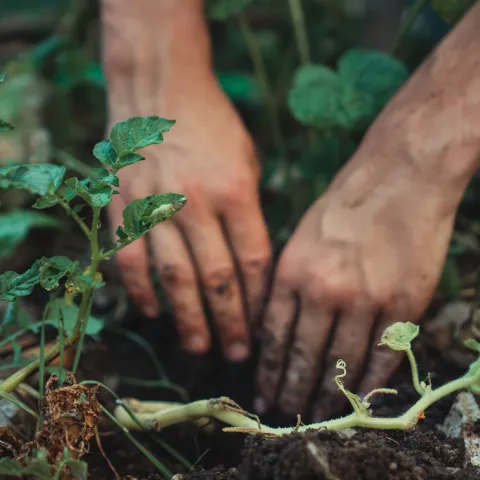
Transplanting Seedlings into the Garden
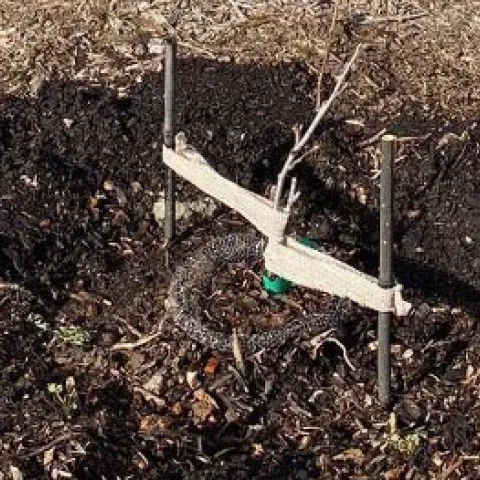
Like ‘hardening off’, choose your day and time carefully. An ideal time would be the late afternoon or evening of an overcast day with little or no wind. The worst day would be during a lengthy heat spell with lots of wind.
Water your seedlings well before transplanting. Then, dig a hole with the same depth at which the seedling is growing and a bit wider. (Tomatoes, broccoli, cabbage, and cauliflower should be set deeper than they are growing.) Mix in compost or a starter fertilizer at the bottom of the hole. When removing the seedling from its container, treat the roots gently, trying not to tear them. Also, if possible, handle the plant by its leaves rather than the stem. After firming the soil around the plants, water gently including the leaves. If there is concern about the effect of intense afternoon sun, you can choose to shade your seedlings by placing a board or piece of cardboard on the southwest side of the plants for a couple of days.
Finally, the plants will likely experience little or no growth for up to several weeks, but do not get discouraged. After that, the seedlings will have made themselves at home with roots that can support growth and your plants will begin to thrive.
Congratulate yourself on the careful fostering of your little seedlings, and celebrate when they give back to you the abundance of their fruiting.
June 2021: Fertilizing Your Soil
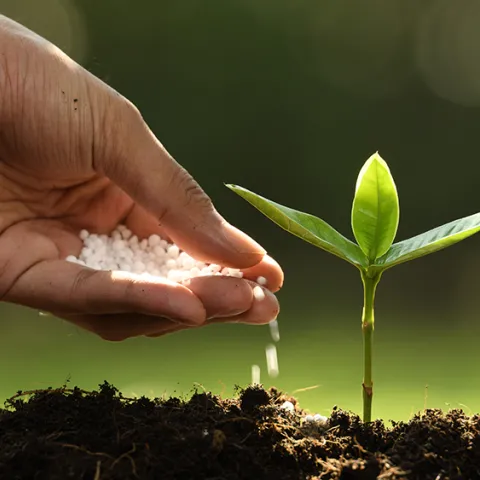
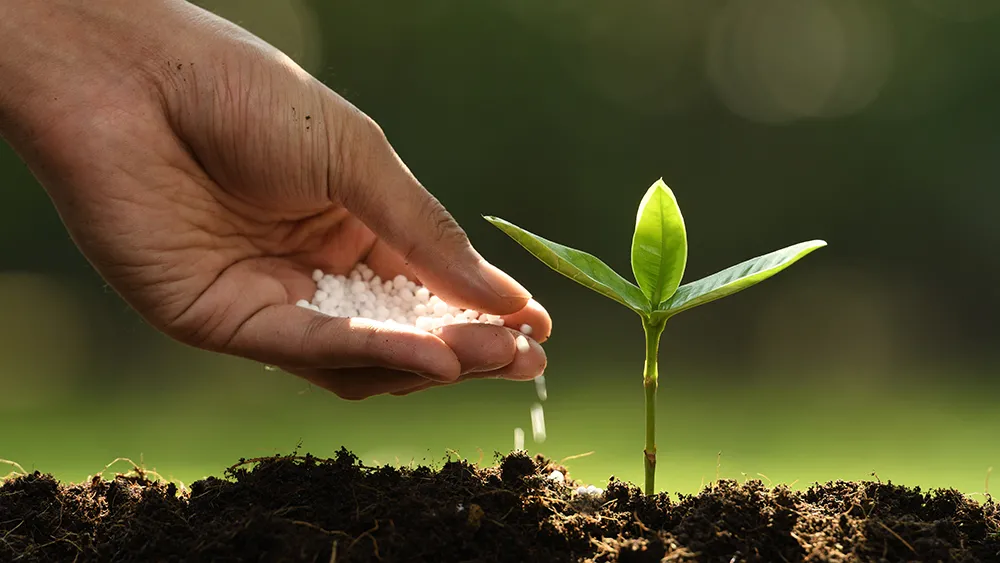
NPK?
Nitrogen - Of the three primary nutrients, California soil is most likely to be deficient in nitrogen. This deficiency is increased with the rainy season when nitrogen can be leached from the soil. Nitrogen is very important for photosynthesis; the most prominent symptom of nitrogen deficiency is chlorosis or yellowing of older leaves.
Phosphorus. California soils usually contain phosphorous naturally, although highly-weathered soils can be deficient. The symptoms of a phosphorous deficiency include stunted growth, purplish tint on leaves, and/or poor fruit or seed development.
Potassium. Additional potassium is usually not needed in California soils. However, if deficient, plants can experience slow growth, browning with dieback of leaf edges and tips, weak stalks, and small fruit.
NPK Testing
Prior to planting, a quick test of the NPK in your soil can alert you to the need for fertilizer. At most nurseries, you will find simple testing kits for NPK that also test pH. You will feel like a chemist as you shake water and tablets in test tubes and look at color charts to determine nutrient levels in your soil. This process can be intimidating for some. Many gardeners just watch their plants carefully and based on plant symptoms, they get a sense for what is needed. So what choices do you have when you determine a nutrient is needed?
Fertilizer Types
Inorganic: These fertilizers are composed of minerals and synthetic chemicals. They are fast acting and low in cost. But they contain salts and can leach and burn crops if applied incorrectly. They do not have the ability to improve the soil.
Organic: These are derived from plant or animal products. They are bulkier and more costly than inorganic fertilizers and can have odors. They are also slower to act. But besides adding nutrients, they work more naturally, improving the soil by decreasing density, which increases water filtration and the soil’s ability to hold nutrients.
Manures: These contain animal excrement, plant remains, or both. They are a good organic fertilizer and they improve soil structure. Many gardeners raise chickens and they get the benefit of chicken manure, the most concentrated NPK source of any type of manure.
Fertilizer Use on a Certified Organic Farm
Because we are located on a certified organic farm, the Edibles Demonstration Garden (EDG) can only use organic fertilizers that in most cases are labeled OMRI Certified. OMRI stands for the Organic Materials Review Institute and is a nonprofit organization that maintains lists of products that are FDA approved for use on certified organic farms.
The EDG most often uses compost to improve our soil. But compost alone does not provide the amount of NPK needed for heavy summer feeders like tomatoes. We also use worm castings from our worm bins. The approximate NPK percentages for worm castings are 5-5-3, which is much higher than compost.
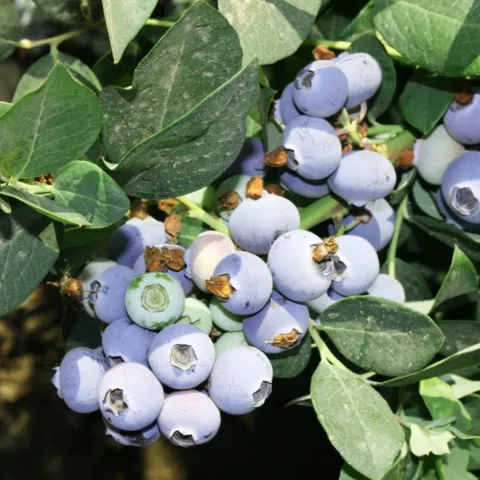
In the past few months, we have used fish emulsion (4-1-1) as a nitrogen boost for our artichoke plants and worm compost ‘tea’ for our seedlings that had yellowing older leaves. We added blood meal (12-0-0) to our raspberries and a balanced fertilizer (7.5-5-7.5) to our fruit trees. Artichokes, raspberries, and fruit trees are perennials. Edible perennials often have specific fertilizer requirements especially in the spring so pay attention to their fertilizer needs also.
As you tend to your garden this summer, look for symptoms of nutrient deficiencies. Try to choose fertilizers that mimic the way nature provides nutrition for plants. The nutrient boost may take longer for you to see the benefits, but natural fertilizers pay off in the longer term.