The Edible Demo Garden at IVC Organic Farm & Garden

The 2100 sq ft Edible Demonstration Garden at Indian Valley Organic Farm and Garden (IVOFG) in Novato was designed and installed by UC Marin Master Gardeners in 2016 and is a hands-on teaching tool for UC MMG and the public. The garden showcases sustainable agricultural practices while growing over 100 varieties of vegetables, flowers, fruit and herbs using a variety of growing situations that are options for Marin gardeners.
News from the Edible Demo Garden
What you can do at the Edible Demo Garden

Visit the garden
Drop in any first Friday of the month between 9am-11am. We will give you a tour and answer any gardening questions.
Guided group tours
Private educational tours and training are available to groups. To schedule a private tour, contact us at EdibleDemoGarden@MarinMG.org
Buy our sustainably-grown, organic produce at the Farm Stand
All produce grown in the garden meets the Marin Organic Certified Agriculture (MOCA) requirements and is sold at the IVOFG farm stand or included in the farm's CSA boxes. The farm stand is open Saturdays 10am - 1pm July through October.
Learn from our workshops:
• Offered periodically on Saturday mornings during the year
• Learn how to plant, maintain and harvest vegetables, identify and manage pests and problems, and maintain soil fertility.
• Check for upcoming workshops/events on our events calendar
Email us at the Edible Demo Garden for more information
HOW TO GET THERE
College of Marin Indian Valley Campus
1800 Ignacio Blvd
Novato CA 94949
> Directions to Indian Valley Organic Farm & Garden
OTHER UC MMG
DEMONSTRATION GARDENS
> Harvey's Garden at Blackie's Pasture, Tiburon
> Falkirk Demonstration Garden, San Rafael
LEARN HOW TO GROW EDIBLES IN STRAW BALES
> BACK TO ASK US


April 2025: The Joys of Selecting and Planting Seeds


It’s hard to find a gardener who doesn’t love checking out new seed varieties and anticipating the abundant and tasty harvest they promise. The photos and descriptions are tantalizing and the names intriguing. Who wouldn’t be curious about a pumpkin variety called ‘Abominable’, a pepper named ‘Frodo’, or a tomato tagged ‘Dancing with Smurfs’? With so many seed varieties to select from, narrowing down the choices can be challenging. In January this year, a team of EDG volunteers had a lot of fun picking out varieties for our spring and summer crops.
How Seeds are Selected
Seed selection starts with a garden plan, taking into consideration the space available for each type of crop. Once decisions are made about which crops to plant and where to plant them, choosing the right varieties becomes the focus. The Demo Garden is the perfect place to try out some of those new and different seed options while continuing to plant those varieties that have proven to be reliable. Planting more than one variety of each crop makes it possible to directly compare them in terms of growth and productivity.
Time to maturity is important in determining which summer crop varieties to plant. The soil must be consistently warm (over 55 degrees) for the time specified in the variety description to produce a crop. The climate in the Indian Valley Organic Farm and Garden where the Edible Demo Garden is located provides a long enough growing time for most summer crops. However, varieties requiring more than 120 days to maturity may not achieve full production before the weather turns cool.
Seeds planted in the Edible Demo Garden must be organic certified. Organic seeds are from plants grown in compliance with federal standards which exclude the use of synthetic fertilizers, pesticides, and genetically modified technologies. Seed choices for the Demo Garden are often based on the descriptions provided by organic seed companies and it’s up to the volunteers to determine which varieties seem well suited for the garden conditions and promise the best taste.
Planting the Seeds

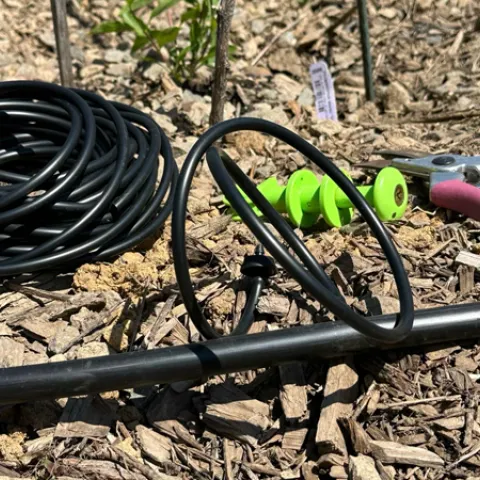
On February 27th, the new MMG training class got hand-on practice in seed starting. Seeds are planted in a starting soil mix in flats of cells with 2 or 3 seeds per cell. Supervised by EDG volunteers, the trainees planted 60 cells of cucumbers (‘Armenian’, ‘Crystal Apple’, ‘Jin Yang’ and ‘Early Fortune’) and 90 cells of sweet peppers (‘Pusztagold’ and ‘Bacskai Feher’), along with 30 cells of green onions and 72 cells of lettuce. The class will have the chance to take some of the cucumber and pepper starts home to plant in their own gardens where they can assess how well they grow in our different microclimates. The planted seeds are now germinating in the greenhouse.

Starting plants in the greenhouse gives them an advantage and allows better timing for optimum crop production. They are not ready for transplanting outside until they have developed at least one set of true leaves. The first set of leaves to appear are embryonic leaves called cotyledons. They look different from the plant’s typical foliage. True leaves are the more recognizable leaves that develop above the cotyledons. The time required for seedlings to be ready for transplanting varies. Beans can be ready in 3 to 4 weeks while peppers can take more than 8 weeks.
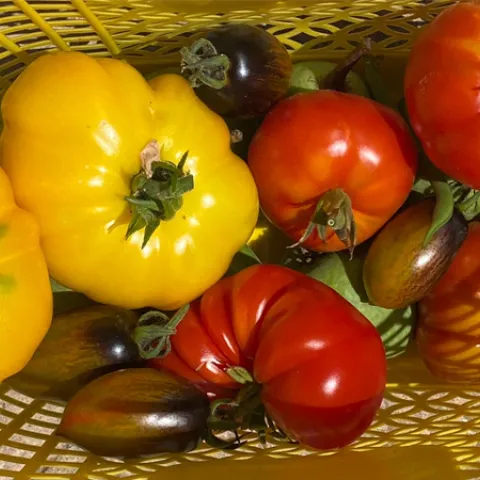
New Varieties in the Demo Garden

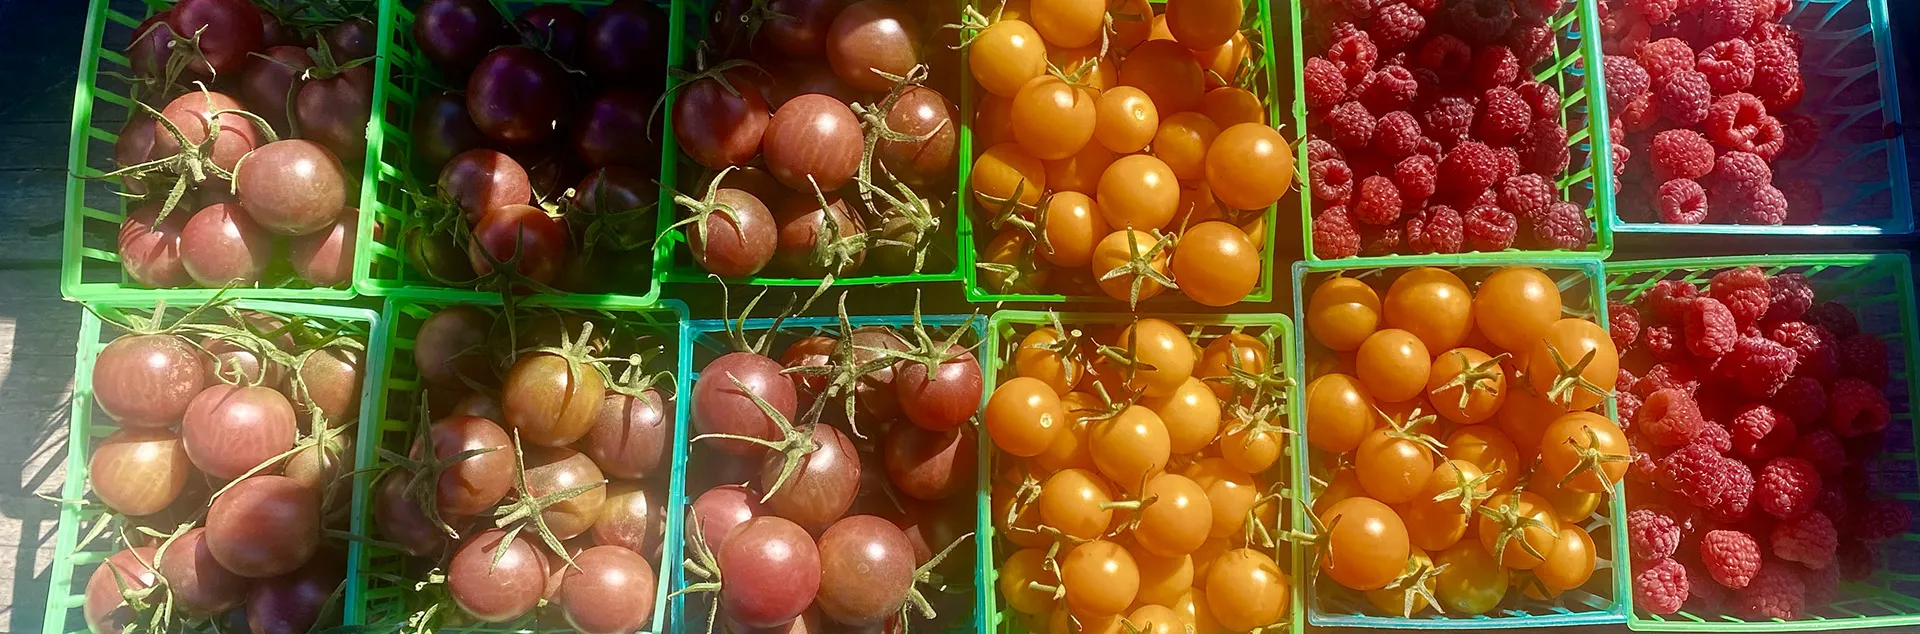
EDG volunteers look forward to growing the new seed varieties they have selected for the summer. The seeds have been ordered but not all have been planted. ‘Dancing with Smurfs’, an indigo-colored cherry tomato, along with ‘Altai Orange’ and ‘Woodstock’ are among the new tomato varieties. Two new melon varieties, ‘Sweet Freckles’ and ‘Farthest North Galia’ will be tried in the garden. The ‘Pusztagold’, and ‘Bacskai Feher’ peppers, now germinating in the greenhouse, are small, sweet Hungarian type peppers. Last summer’s pepper crop included an overabundance of hot peppers, so it’s sweet peppers in demand this year.
Starting with seeds is rewarding. There is the pleasure of choosing seeds from the many available varieties and the joy of nurturing them and watching them grow into tiny plants. It’s even better when the veggies and fruits turn out to be as yummy as the seed descriptions promise.
Click here for more information on planting from seeds.
February 2025: Choosing the Right Garden Tools
In January, the 2025 Marin Master Gardener training class was welcomed into the Edible Demonstration Garden for a discussion and demonstration on the use and care of garden tools. The right tools make the difference between gardening that is pleasurable and gardening that is a struggle. Your first experience with a garden tool might have been that pointed stick you used when digging in the dirt as a child. Now as a gardener, you are presented with an array of better tool choices, some essential for basic garden work and some designed for specific tasks. There are tools for pruning, tools for digging, tools for raking, and tools to make gardening easier. Here are some of the more popular tools in those categories.
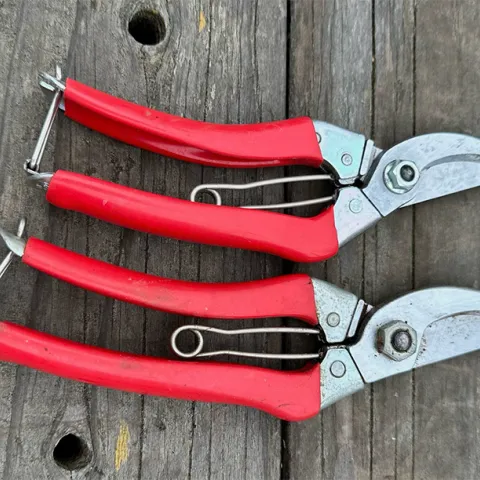
Pruning Tools
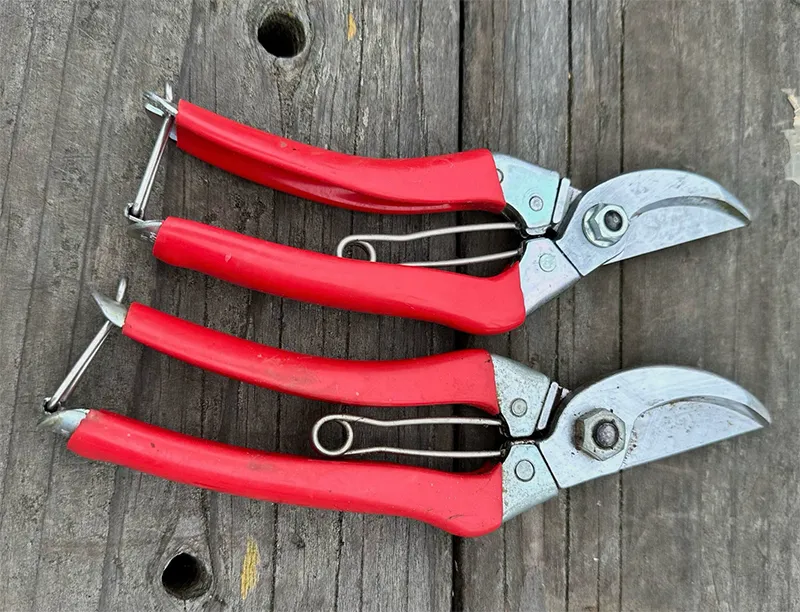
Hand pruners are the favorite tool for most home gardeners. They are the tools used most often for cutting and thinning small branches to maintain plant health and appearance. They are also used for cutting flowers and harvesting vegetables. By-pass pruners, which work like scissors, are best for making clean cuts on living plants. Anvil pruners crush branch tissue and are good for removing and cutting up dead branches.
- Pruning saws are used to remove branches larger than what hand pruners can remove. They can have a fixed or folding blade.
- Loppers are long-handled by-pass pruners that can help access higher and hard to reach branches. The long handles also provide leverage to enable pruning thicker branches.
Digging Tools

Trowels are essential for digging, planting, potting, and weeding. A trowel is a spade-shaped hand tool with a slightly scooped blade.
- Garden knives are a type of trowel with a sharp narrow blade and a pointed end. One blade edge is usually serrated. Hori-Hori garden knives are a Japanese design that has proven to be so useful for digging and weeding that the name is often applied to any type of garden knife.
- Shovels and spades are long-handled digging and soil lifting tools with the shape of blade and the length of the handle determining their particular uses.
Raking Tools
- Rakes are useful for cleaning up leaves, removing debris, and spreading out soil amendments like compost and mulch. Hand rakes are great for getting into small spaces. Rakes with flexible, fan-shaped tines work well for cleaning up lighter debris and are sometimes called leaf rakes. Garden rakes have larger stiff metal tines and are intended for heavier use in soil or larger debris.
- Forks are used for raking out stones and weeds. Like a dinner fork, a garden fork has four strong tines which can push easily into the ground and enable it to double as a digging tool for loosening and turning over the soil.
Gardening Comfort Tools

Gloves provide the hand protection every gardener needs. They are a barrier against pricks, cuts, abrasions, blisters, insect bites, and other skin irritations. While most gardeners don’t mind getting their hands dirty, getting jabbed with a nasty thorn is not only painful, but it can also lead to serious infections. There are many types of gloves to choose from depending on the type of protection required. Most important is that they fit well and are comfortable to wear.
- Kneelers cushions protect the knees when planting, weeding, and performing other low to ground garden tasks. Kneelers made of rectangular shaped heavy foam are the simplest type. However, kneelers with handles that are lightweight and easy to fold up can make the up and down movements around the garden easier. Some even flip over to form a bench.
- Ergonomically modified tools can help gardeners get more done with less effort by enabling good body alignment and reducing joint strain. Grips should be comfortable to hold and keep hands and wrists in natural positions. Handles should be the right length to enable good posture without excessive bending and twisting.
Tool Care
Tools need to be kept clean, sharpened, in good repair, and organized to keep them working well. Surface dirt and dried sap should be brushed or washed off after each use. Periodically applying a light layer of oil will reduce rust. Pruners need regular sharpening and should be sanitized with a 10% bleach solution following contact with diseased plant material. Storing tools in dry place where they can be easily accessed will ensure they are ready for work when you are.
Click here to learn more about choosing and caring for garden tools.