What Does an Edible Garden Need?
Growing a successful edible garden takes planning, correct timing, and a little know-how. But once you have it down it is such a pleasure to eat homegrown produce fresh from the garden. Here's what you need to get started.

Plenty of sun
Choose a site with a minimum of six hours of full sun -- eight to ten hours is even better. Southern exposure is ideal. Most edible plants prefer full sun; however, root and leafy crops can tolerate light shade.
Climate that's a good fit for what you're growing
• Know your ->climate zone
• Assess your ->microclimate
• Be aware of frost dates
Most edibles prefer to be grown during frost-free periods, which vary within Marin’s many microclimates. For a rule of thumb, begin watching for frost around Thanksgiving and consider planting frost sensitive edibles after St. Patrick’s Day. (These dates are derived from 30 years of historical data from the National Oceanic Atmospheric Administration). Many cool season crops may be planted before the end of winter frost, including beets, broccoli, cabbage, carrots, chard and kale. Check seed packets for instructions.
Rich soil

Edible crops prefer fertile, loamy soil that drains well and holds water on hot days.
A layer of mulch
Use mulch to protect against moisture loss, suppress weeds, and keep plant roots cool in hot weather. Learn more.
Easy access to water

Be sure a nearby faucet and hose is easily accessible. Use a ->drip irrigation system if possible.
Ample air flow but not too windy
Choose a site that has air movement but not high winds.
Level topography
A level garden is the easiest to prepare, plant, irrigate, maintain and harvest. On slopes, consider constructing level terraces or raised beds so that water does not pool or run off. Many edibles can be grown successfully in containers.
Adequate drainage
Avoid low areas where water may pool or where ground water stands. Poorly drained soils may create anaerobic soil conditions with inadequate air (evidence: stinky soil). Look for moving surface water and correct if possible (evidence: erosion, exposed tree roots, channels in soil). Redirect drainage as necessary.
Easy access
A conveniently located edible garden encourages frequent visits for care and enjoyment.
A well thought out location
Mitigate any potential problems before you plant. Raised beds solve many problems.
• Identify limitations above ground: wires, structures, street lamps, trees and structures that cast shade, eaves, setbacks, and easements.
• Identify limitations below ground: utilities, plumbing, roots, bedrock, groundwater, etc.
Crops growing at the correct time
A planting calendar is a vegetable gardener's best friend.
Safe food growing and handling
Use best practices to ensure your crops are as safe as they are delicious.
> Visit our Edible Demonstration Garden at IVC Organic Farm & Garden in Novato!


September 2021: Growing Your Own Plant Starts
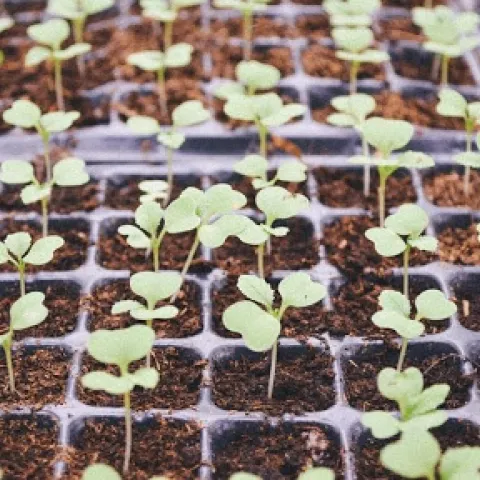
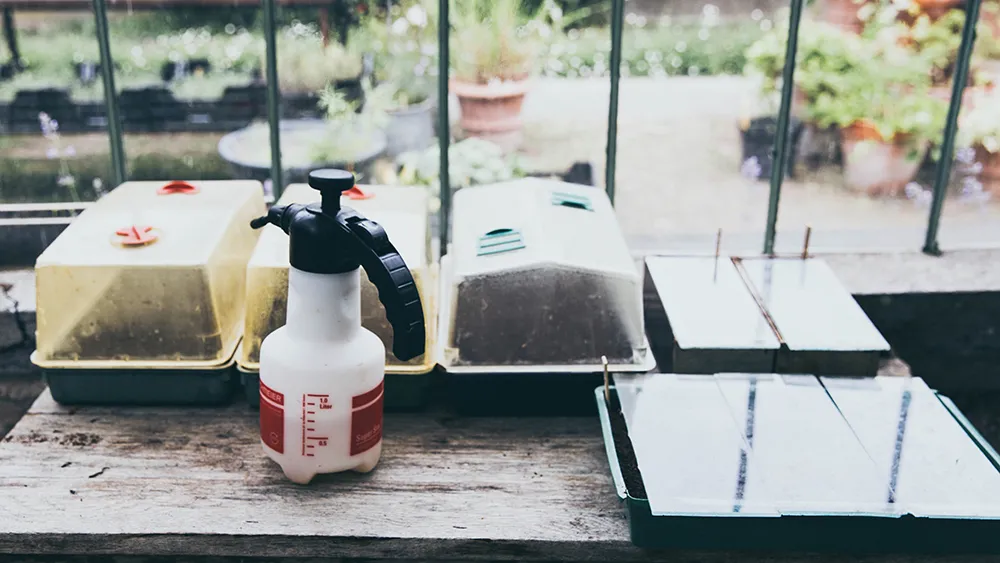
Growing Your Own Plant Starts
Even with access to a greenhouse, our team is not always successful at producing the number of plant starts that we want. So, we are paying extra attention to the most important factors that affect germination: sufficient light and warmth, seeding mix composition that provides enough oxygen, and careful watering without disturbing delicate seeds and seedlings.
Ideal Light and Temperature Conditions for Germination
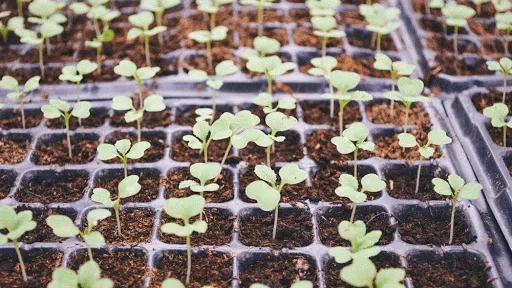
After germination, your plant will need to be moved to a bright, airy location. A window facing south could provide adequate light although the more fail-safe solution is to use grow lights for about 12-16 hours per day.
Temperature: The ideal temperature for seeds to germinate is 65°F-75°F. If your house is cold, particularly at night, a warming mat may be needed. However, many gardeners find the top of the refrigerator is perfect for this purpose.
Seed Starter Mix
The ideal seed starter mix is fine and uniform in texture, well-aerated and loose, free of insects, disease organisms, and weeds, and able to hold moisture and drain well. The farm uses a mixture of about two parts aged compost, one part peat moss, and a one part mixture of perlite and vermiculite. The peat moss and compost are sifted to get a finer medium. Also, fertilizers like kelp meal and bone meal are added because once seeds germinate, they require feeding in order to grow well.
If making your own seed starting mix is too much work for you, then there are commercial seed mixes that you can purchase. Be sure to check the ingredients to determine if fertilizers have been added. If not, you will need to regularly apply a half-strength solution of a fertilizer like fish emulsion or a liquid fertilizer for houseplants once seedlings emerge.
Steps for Planting your Seeds
- Crush any lumps in your mix and then moisten until it feels like a wrung-out sponge.
- Fill washed and sterilized (one part bleach to nine parts water) containers to three-fourths of an inch from the top.
- Firm mix at the corners and edges so there is a uniform surface.
- Plant two-three seeds in each unit according to the depth indicated on the seed packet. If no seed packet is available, use the rule of thumb to plant to a depth that is two-four times the diameter of the seed.
- After seeds are sown, water using a fine mist spray for small seeds and for larger seeds, use a gentle trickle of water on the surface of the container. Cover your container loosely (not airtight) with either plastic or a glass sheet. No further water is needed until seeds have sprouted.
- Remove cover when first seedlings appear. Lightly water and move your container to the brightest, airy spot you have.
- Begin watering regularly when the mix on top feels dry.
- Fertilize every other week if your seeding mix does not contain fertilizer.
- If more than one seed germinates, thin the weaker ones by using scissors to cut the stems.
Stay tuned for next month when we will answer this question: After you have your starts, what is the process for getting them into your garden?